DIY Custom Backpacks Using a Cricut
This is a sponsored post written by me on behalf of Cricut. All opinions are 100% mine.
Learn how to make DIY custom backpacks using Iron-on vinyl and Cricut. This is a great way to make special designs and personalize any backpack! We made these to donate to the wonderful cause – Backpacks of Love.

This is a sponsored post written by me on behalf of Cricut. All opinions are 100% mine.
There are almost 444K children in foster homes in the country.
These kids are scared and heartbroken. When they enter the foster system, they rarely have belongings. They are told to take what they have in a trash bag.
Backpacks of Love is a Blue Ribbon Project which provides backpacks filled with essentials for the kids entering the system.
You can read all about them here and donate a backpack too!
They have a list of essentials needed by the age group and you can either donate just the backpack and all or a few of those items, or make monetary donations towards a backpack.
When Cricut contacted me about helping them spread the word and send in custom backpacks, of course, I had to say yes!
I hope that these will bring a small smile to the kids who receive them during a scary time in their life.
Custom Backpacks Using a Cricut
The age groups I had were 3-4-year-old girl and 13-14-year-old boy.
For the girls, I knew it had to be fairies and magic. For the boy, I decided to go with a video game theme.

Materials Needed –
- Backpack. I bought these. Most options are under $10!
- Cricut Maker or Explore Air2
- Premium Fine Point Blade
- Glitter Iron-on Sampler, Metallics
- Everyday Iron-On Sampler, Sugar Berry
- Holographic Iron-On in Cobalt
- EasyPress Mat
- EasyPress Mini
How to Make the Backpacks
It is important to make sure the backpacks are either cotton or polyester and not nylon so the Iron-on works well with them.
I also carefully cut and removed the patch that it came with.
Step 1: Pick Your Pattern
The Cricut design space has many awesome patterns and designs which you can mix and match to create your own patterns.
There are also design templates like a backpack that you can pull in to help you visualize the pattern better.
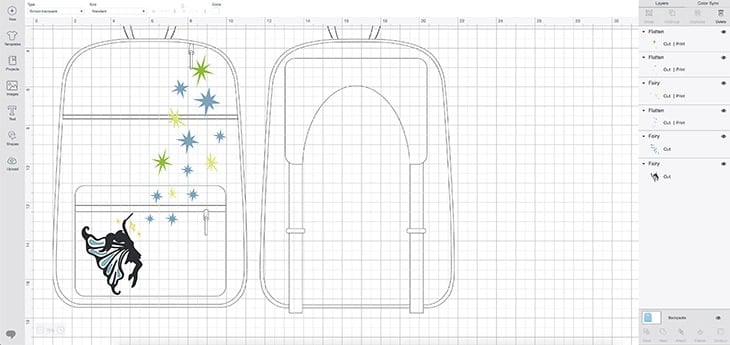
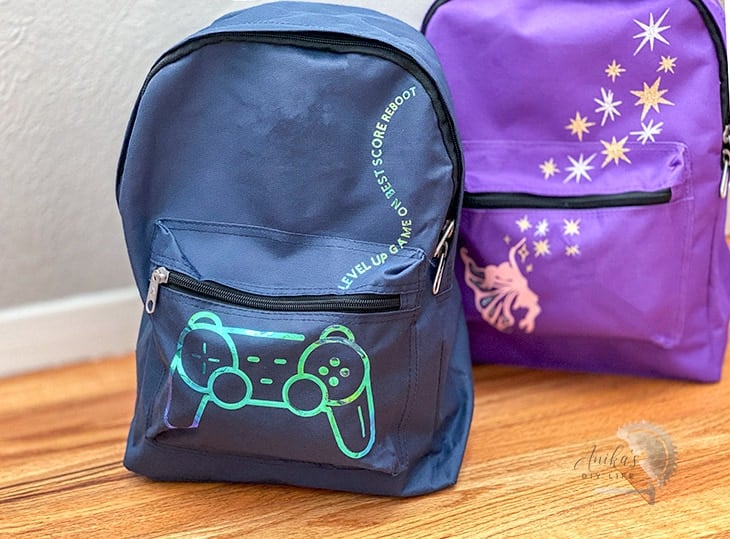
For the fairy backpack, I used a fairy design and a few stars. You can access the design I created here.
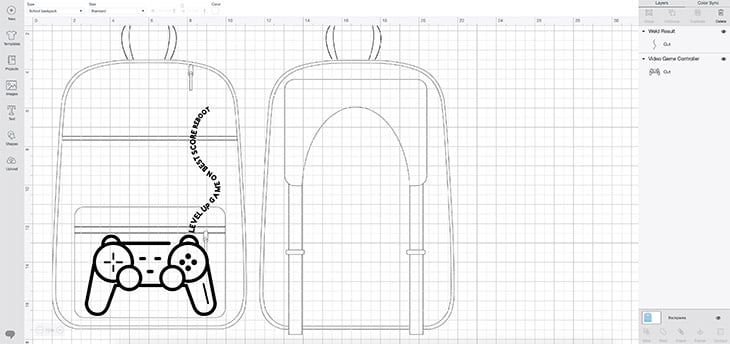
For the video game backpack, I used a video game console, a few positive gaming-related words which I curved and arranged to look like a cord. You can access the design here.
Step 2 – Cut Design on the Cricut
I used my Cricut Maker with the fine point blade to cut the designs out of the Iron-on sheets.
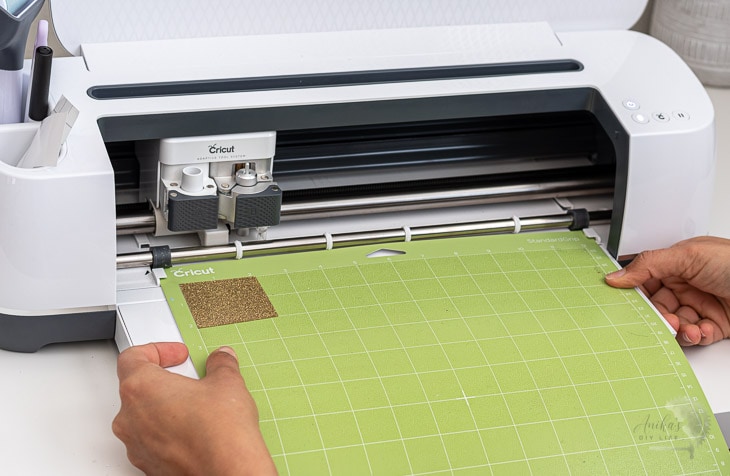
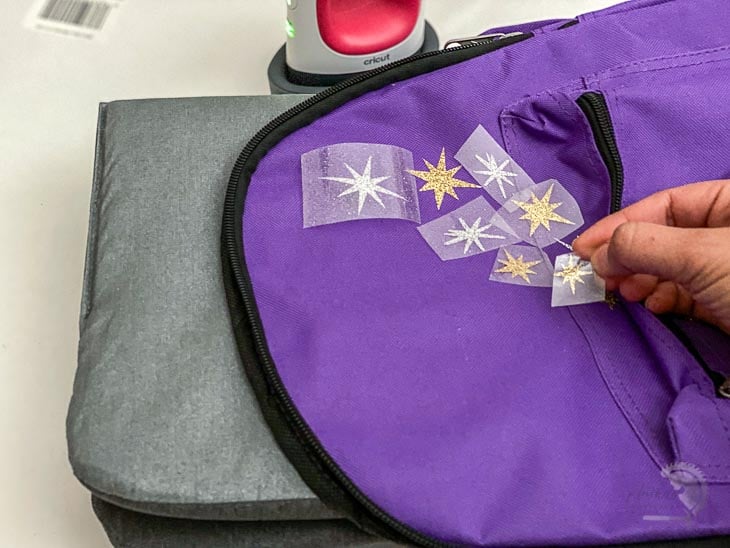
For the fairy backpack I used – pink for the fairy, a mix of silver and gold glitter for the stars.
For the video game backpack – I used holographic Iron-On in Cobalt for the video game console and the cord. I initially intended for the cord to be white but I thought to make the entire thing holographic would look so much better and I was right!
Remember to mirror all images before cutting them!
Step 3 – Weed and Arrange Design
Using your weeding tools, remove all the negative space.

Then, arrange design on the backpack as needed.
Step 4 – Iron-on the Design
Add a towel or a small EasyPress Mat underneath the surface where you want to apply the design.
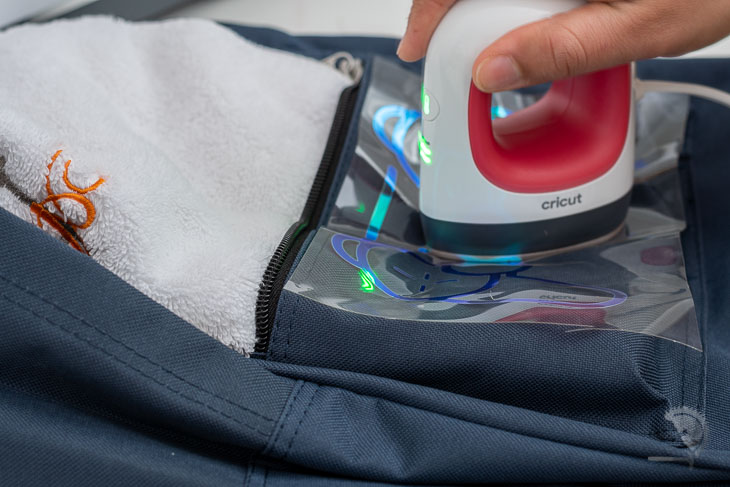
Transfer the Iron-on onto the backpack using an iron or an EasyPress machine. I love using the EasyPress mini for this because of all the little corners and uneven surfaces on the backpacks.
On the fairy backpack, I started with pink Iron-on and then went on to the glitter Iron-on.
And DONE!
These special backpacks are ready!

It is a quick project that I hope will bring a little smile into the kids’ day.
I urge you to look into the Backpacks Of Love project to see what you can do to help make a small difference in the little kids’ lives.
You can even just order the backpacks and have them shipped directly if you like!
The kids need certain items in the first 48 hours and the Blue Ribbon Project has a list for each age group that can be included in the backpacks. But it is totally up to you – you can provide a fully filled backpack of just a couple of items.
They appreciate every little thing!
Anika's goal is to inspire and empower beginners with woodworking, DIY, home improvement, and home decor ideas.
She wants everyone to unlock their creative potential and experience the feeling that comes with making something. Nothing feels better better than seeing something and saying "I can make that!"


