DIY Toy Car Ramp Using Scrap Wood
Learn how to make a fun toy car ramp using scrap wood with this full tutorial. Watch cars speed down through multiple ramps. Quick weekend project idea!

Lately, I have seen my son turn everything into a ramp for his cars.
So, when I was challenged by my friends to build something out of material already at home, I looked at my pile of cut-offs from when I trimmed the window and knew it needed to be a car ramp!
It’s a quick project except for one thing that took me a while to figure out… the angle and the spacing.
But, now that I have it figured out how to decide the angle and spacing, I hope building one should be much easier for you.
Materials Needed –
- Lumber – 1×4, 1×2, 1/4″ or thinner plywood.
- Miter Saw
- 1-1/4″ finish nails
- Brad nailer
- Pin nailer
- Wood glue
- Paint in colors of your choice.
RELATED: 25+ Easy Scrap Wood Project Ideas
How to Build the Toy Car Ramp
Below is a full video showing you how I built the toy car ramp. The full step by step tutorial follows.
Click here to subscribe to my YouTube Channel for more great videos!
Plans for the Ramp –
You can get a copy of the printable instructions with schematic in your email by clicking the link below.
Step by Step Tutorial –
Building this car ramp took me a total of about 2 hours. The hardest part was getting the ramps lined up so they worked well. But once I figured it out, it was smooth sailing!
Step 1 – Make Cuts
1×4 boards are the main ramp – I cut five of these at 18″. Then I cut 3″ pieces to go at one of the ends.
The 1×2 boards are 20″ high.
The plywood underlayment are just 1.5″ strips I had remaining from trimming the window which I cut into 18-3/4″.
Step 2 – Build the Ramps
Build each ramp by attaching the short piece on one end and the plywood underlayment on both sides of the 1×4.
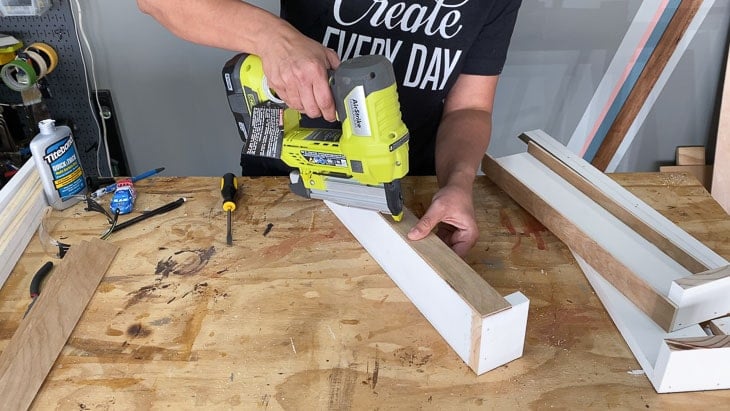
The sides are attached using 1-1/4″ brad nails and the underlayment is attached using the pin nailer.
Note – This is a good time to paint the ramps. I did not paint them because I wasn’t very sure that point about how it would work out. Painting them later was a lot harder!
Step 3 – Build the Ramp Structure
This is the trickiest part of the project.
I spent almost an hour trying to get the ramp angles aligned. The cars would either flip over or just not go down the ramp.
After sleeping over it, I decided to do it each level at a time.
This helped me test the ramp to see it was working, decide the exact spacing and angle and then attach before going on to the next one.
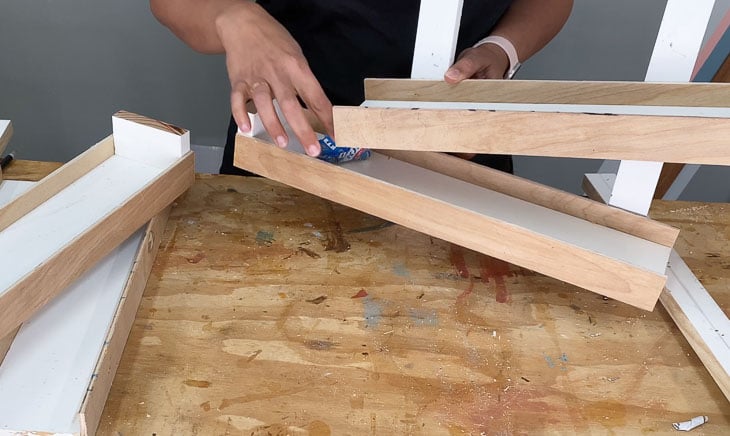
Be sure to watch the full video to see how I went about attaching the levels.
Basically, I found that the ramps needed to be close enough for the cars to fit through. If the fall was too big, the car would end up turning over.
Once the angle and spacing of the ramp were final, I nailed it in place on two of the legs and went on to the next level.
Step 4 – Attach Legs
Once all the levels are attached to 2 of the legs, attach the other two legs – making sure that they are all level.
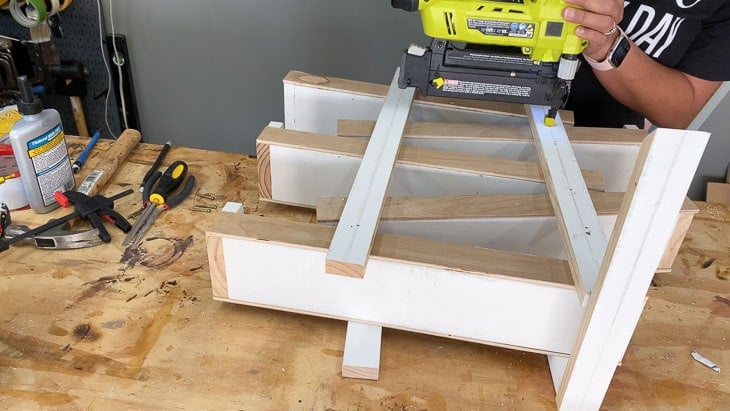
Step 5 – Finish and Paint
Well, you really should have taken my advice and painted the ramps before attaching. But now is a good time to fill all the nail holes and touch up the paint where needed.
To paint, we found leftover paint in my collection of million sample pots – yellow from the kids’ room makeover, red from my front door and a perfect gray-black from I have no idea where!
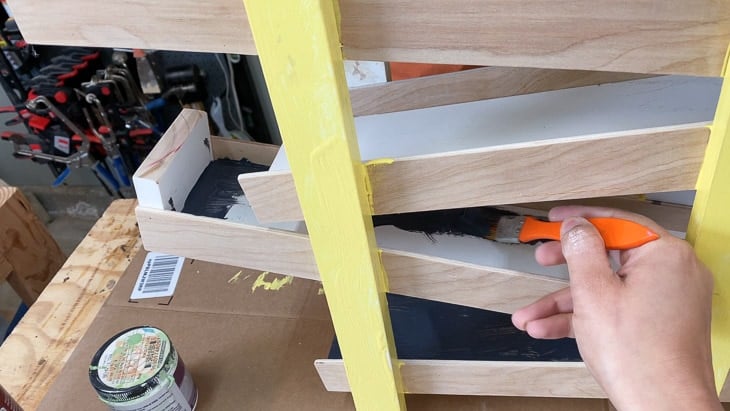
The kids were very excited about it and wanted to help me paint which was a lot of fun! Of course, I did end up spending another hour the next to clean up all the paint lines 🙂

And now start the hours of cars speeding down and jumping off.
Be sure to watch the video to see it in action!
More Amazing Scrap Wood Projects
And now, here are the other projects by my talented builder friends for the #buildathome challenge –
- DIY patterned plywood key holder by DIY Huntress
- Jen Woodhouse
- DIY desk topper shelf by Jaime Costiglio
- Band saw box with speaker by Addicted2DIY
- DIY carved hexagon plant stand by Ugly Duckling House
- Modern slim hall tree by Pneumatic Addict
- Scrap wood toy dinosaur by Lazy Guy DIY
- The Genealogist Woodworker
- DIY marble solitaire game by 3×3 Custom
- DIY storage bins by Eye In The Detail
- Wooden cooler box by At Charlotte’s House
- Scrap wood toilet paper holder by Walkers Woodworks
- Live edge dovetailed Japanese toolbox by Cow Dog Craftworks
- DIY quote bookends by Never Skip Brunch
Anika's goal is to inspire and empower beginners with woodworking, DIY, home improvement, and home decor ideas.
She wants everyone to unlock their creative potential and experience the feeling that comes with making something. Nothing feels better better than seeing something and saying "I can make that!"


I like this very much, not just for the small cars but can roll marbles and anything else a little boy can think of!