DIY Wall Decals With Cricut
Learn how to make your own wall decals or custom wallpaper to customize any wall with Cricut machines. Here we use Maker 3, but you can use any Cricut machine.

Recently, I built a custom closet for my daughter. It was already a huge step up from the builder grade version it started as. But it needed a little something to add some character and take it up a notch.
The hardware was going to be brushed bronze, so I decided to add white and gold wallpaper to the back of the closet. Of course, I had to DIY it.
***This post contains referral or affiliate links. It is a way for this site to earn advertising fees by advertising or linking to certain products and/or services. Please read my full disclosure here ***
I used the Cricut Maker 3, which can make long cuts without a mat, and made a decal/wallpaper for the entire back of the closet.
Cricut Maker 3 – For Large Projects
The Cricut Maker 3 has quickly become my favorite machine because of its versatility – especially being able to make long cuts without worrying about the long cuts. the Cricut Maker 3 can do everything the original Maker can do, but it can also cut Smart Material without any mat at 2x the speed and up to 12 ft in one go.
It was the perfect choice for this project because I definitely had a lot of decals to cut. I used up all 12ft of the roll and didn’t have to worry about loading and unloading mats.

I did make the cuts in 3 runs because I wasn’t sure how much I would need. The machine was so fast that it could make a 7 ft cut in about 8 minutes!
See all about the Cricut Maker 3 here.
However, you don’t need a Cricut Maker 3. You could most definitely do this with any other Cricut machine – the Air 2 or Maker. You would have to use the 24″ mat and go in 2′ increments.
What Kind of Vinyl Do You Use for Wall Decals
Cricut recommends using Removable vinyl for decals. These are meant to be temporary and can be easily removed without damage to the wall.
However, I wanted that particular gold, and the Smart Vinyl in matte metallic gold was absolutely perfect. They don’t have a similar color in removable vinyl.
I tested out permanent vinyl in an inconspicuous corner and was able to scratch it off after a couple of days without any damage to the wall. Of course, this depends on the type of wall and the paint.
If you do want to use permanent vinyl, I highly recommend testing it.
In my case, it was going to be in a closet, and I was ok with having to fix the wall paint later if there was any damage during removable.
Material Needed for Making Your Own Vinyl Wallpaper
Step-By-Step Tutorial
Step 1 – The Design
Picking the design was probably the hardest part of this project. We ended up picking design #M156AD23 but with only one set of arrows.
I had originally planned to make it like wallpaper so the designs would be spaced out evenly on the computer, and the entire sheet of vinyl could be transferred over to the wall in one go. But, once we settled on a simple design, it seemed a little wasteful of the vinyl.
This would definitely be an option if using a more detailed and continuous pattern, and I will definitely be trying that in the future.
Instead, I decided to let the machine decide the best way to cut as many patterns as possible on the sheet efficiently and then transfer them over one by one. This was definitely going to be a lot more work, but it would save a lot of vinyl.
Step 2 – Make the Cut
Once all set up, I made the first cut. I cut the patterns in increments of 40-50 because I wasn’t sure how many I needed and didn’t want to waste too much of the vinyl.

- Since I am using the 12ft roll, I used the roll holder to feed the vinyl into the Cricut Maker 3 machine.
I am using Permanent Vinyl in matte metallic gold.
- Once the cut was complete, I used the built-in cutter and cut off the vinyl. This helps ensure a straight line cut.

- Then I remove the roll holder off of the machine to make space for the vinyl to unload.

It is easy to unload the vinyl back and take it off without the roll holder in the way.

Step 3 – Weed the Design.
This can be very intimidating and really depends on the design you choose. I had about 7ft cuts, and it wasn’t that hard to weed the design.

Smart vinyl is actually really easy to weed too. I removed the majority of the negative space by hand.

Then, I brought in the weeding tool and weeded out the triangles.

This was a little time-consuming but also oddly therapeutic.
Step 4 – Transfer Design
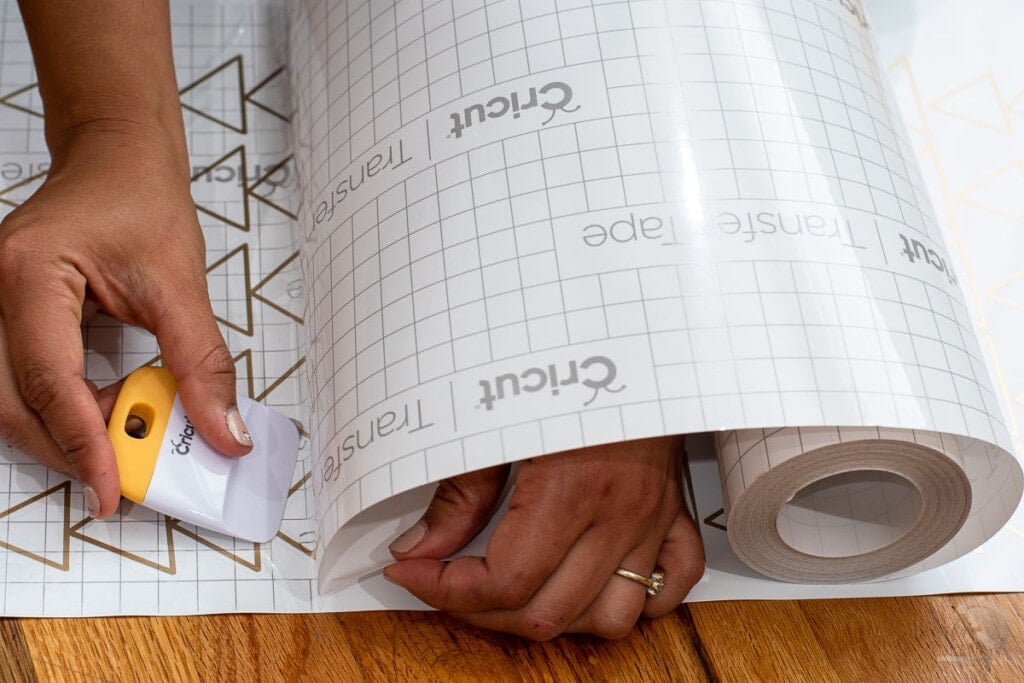
Once the design was ready, I applied transfer tape to the entire length.

I tried doing it both ways – cut it off, apply transfer tape, and apply transfer tape to the entire length. I found that it was definitely a lot easier and faster to simply apply the transfer tape the entire length and then cut it into pieces.
Next, I cut out and separated all the designs and got ready to apply them to the wall.

Step 5 – Apply Design
This is probably the most time-consuming part of the project.
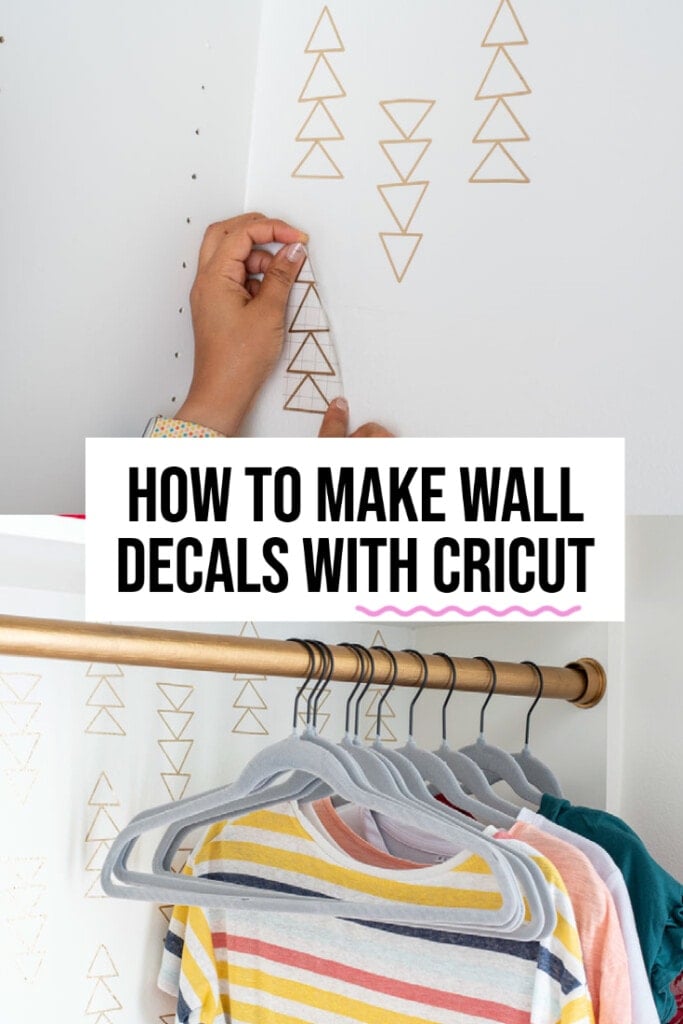
- Removed the vinyl backing from the decal so the design was on transfer tape. The easiest way to do this is to lay it face down and pull away the backing.

- I applied the design in a staggered pattern to the wall.

- Once I was happy with the placement of the design, I slowly peeled off the transfer tape.

I would tell you to measure and mark each decal’s location for a very tidy look, but I just eye-balled it.
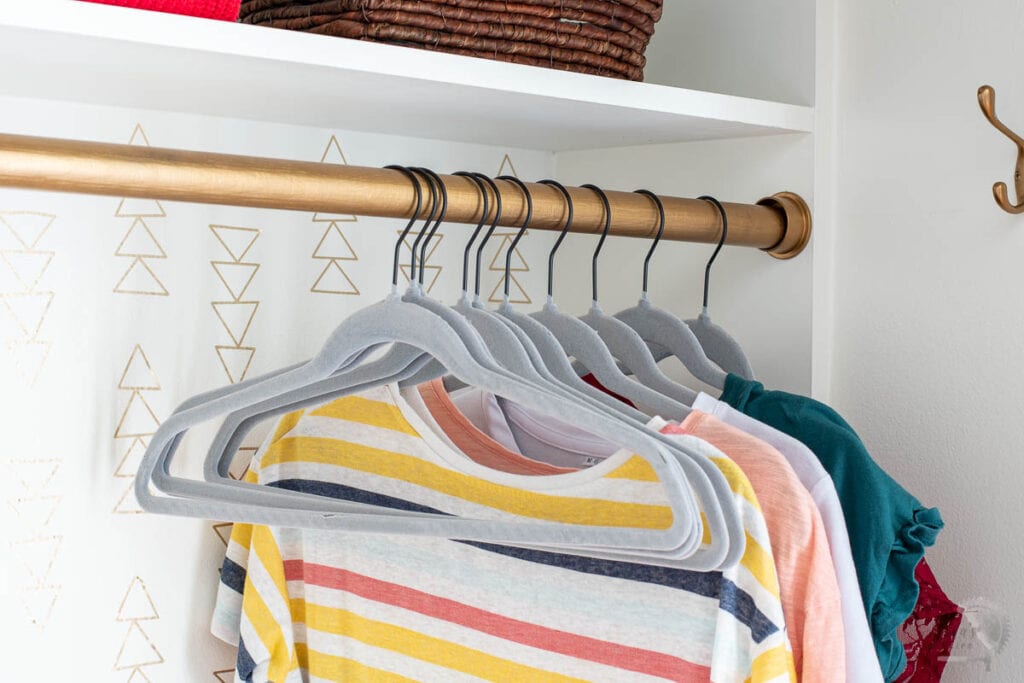
140 decals later… here is the closet.

The decals look like wallpaper, and I have had many people on Instagram ask me where I got the wallpaper from!
The color of the wall decals was absolutely perfect and blended in with the hardware really well.

It adds just the right amount of glam for the tween girl without being too bright or shiny. It completely elevated the closet.
More Cricut Projects You May Like
- DIY reusable stencils using Cricut – I gave my coat closet a makeover with painted “wallpaper” using stencils I made on the Cricut and it turned out gorgeous
- DIY Custom Lightweight Corn hole boards – I made a fun whimsical game that the kids LOVE to play!
- Engraving Acrylic with cricut – I made a gorgeous nightlight using the Cricut Maker
Anika's goal is to inspire and empower beginners with woodworking, DIY, home improvement, and home decor ideas.
She wants everyone to unlock their creative potential and experience the feeling that comes with making something. Nothing feels better better than seeing something and saying "I can make that!"


