DIY Lap Desk With Epoxy Resin Top
Learn how to make an easy DIY lap desk with our free plans. Plus learn how to create a gorgeous colorful jewel-toned epoxy resin look!
You will also enjoy these fun scrap wood project ideas.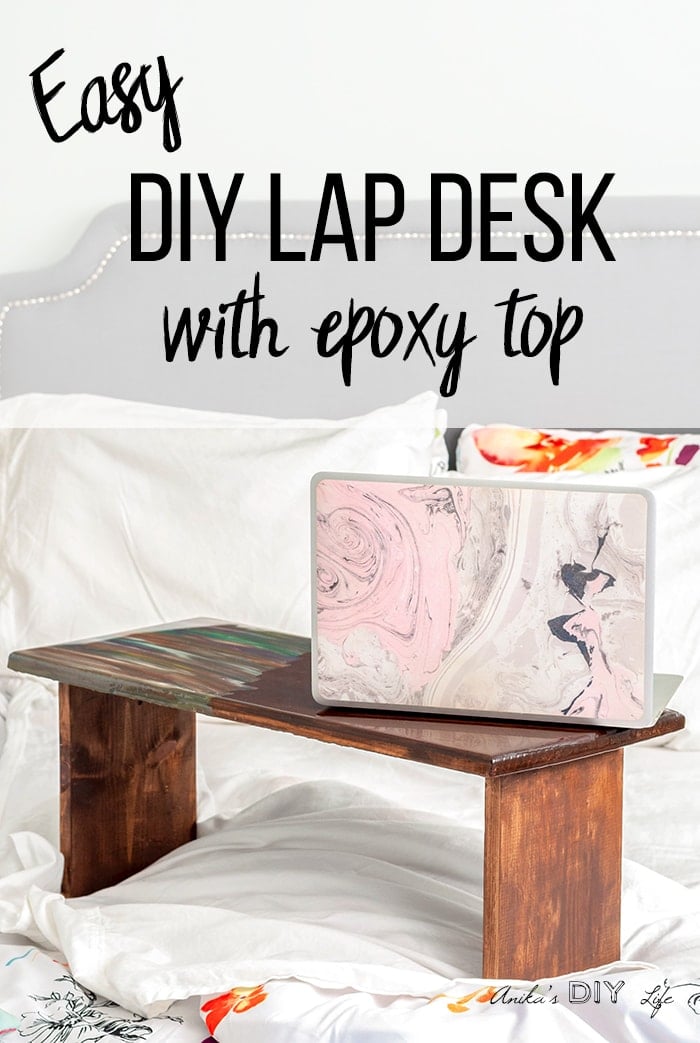
Epoxy poured table tops and live edge are all the rage right now.
But epoxy pours need you to first build a good mold and mix large amounts of epoxy.
It definitely takes a lot of time!
What if you could create a faux epoxy top?
Today, I am showing you a fun and quick way to achieve a similar look!

*** This post is sponsored by Eclectic Products. All opinions are my own. Thank you for supporting the brands that help me bring fun projects to you.***
Yup! That is NOT an epoxy pour!
That – my friends – is the magic of Unicorn SPiT and glaze coat!
And it is SO easy to do!
I’ve got a full tutorial for you on that.
But first, let’s talk about the lap desk for a minute.
DIY Wooden Lap Desk
Almost 9 months ago, when my husband broke his foot, we had an urgent need for a lap desk for him to be able to work out of bed.
My daughter and I put this simple wooden lap desk together using scrap boards.
But since we needed it right away, we didn’t have time to wait for stain or paint to dry.
We used it in its bare form. It ended up being one of the most used pieces in our home!
From work for my husband and me to playing board games and even as a ramp for cars and dinosaurs.
I’ve been waiting for inspiration to strike to finish this lap desk.
And I am so glad I waited… because I love how it finally turned out!
***This post contains affiliate or referral links. It is a way for this site to earn advertising fees by advertising or linking to certain products and/or services. Please read my full disclosure here ***
Materials for the DIY Epoxy Resin Lap Desk –
- Lumber per the plans
- Miter Saw
- Kreg Pocket Hole Jig
- 1¼” pocket hole screws
- Wood glue
- Power Drill
- Random orbital sander
- Masking tape
- Unicorn spit in various colors (see below for the ones I used)
- Glaze coat
- Disposable epoxy mixing cups
- Foam brush
- Wooden stir sticks (I used a popsicle stick)
- Heat gun or butane torch
As you already know, the magic ingredient in creating the gorgeous look is Unicorn SPiT.
What is Unicorn SPiT?
UniCorn SPiT is a very versatile gel stain and glaze which comes in amazingly vibrant colors and can be used in SO many ways! And guess what?! It smells like jasmine!
How to Build a Lap Desk With Legs
Building the lap desk is very simple. It is just 3 boards joined together by pocket holes. I used a router to round off the edges of the top.
You can download the printable DIY lap desk plans by clicking the button below.
How to Make the Epoxy Resin Lap Desk
Step 1 – Prepare the Surface
If you have a new wood surface, you can just sand it down smooth and skip this step.
If you are using an old piece, clean it up and strip any paint or stain as needed.
We had a lot of scratches and dents. You can see how I fixed them.
Step 2 – Stain the Base Color
I used Unicorn SPiT in Rustic Reality as the base stain color and used a foam brush to spread it out.
Then, I wiped off excess stain with a rag.

The final result was a smooth uniformly stained lap desk.
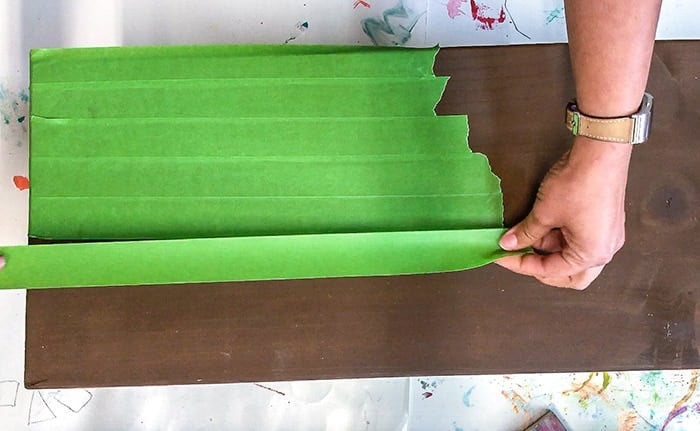
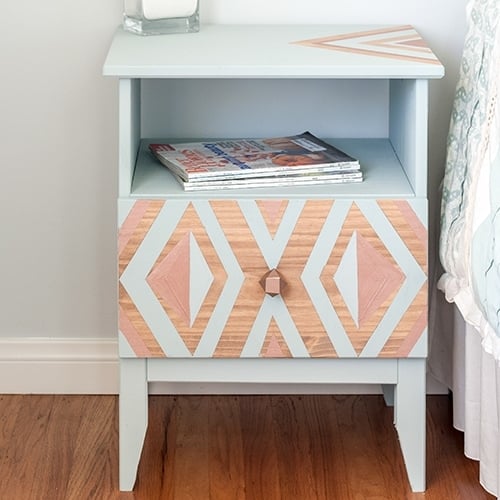
Step 3 – Tape the Pattern
I wanted to color about a third of the top in jewel tones so I covered the rest of the table top with masking tape.
I intentionally used jagged and non-uniform edges of the tape to create a “live-edge” type look.
Step 4 – Pour Unicorn Spit
For the “pour” – I chose bright jewel-toned colors and added a little bit of white to balance it out.
The colors I used are –
- Navajo Jewel
- Lemon Kiss
- Molly Red Pepper
- Pixie Punk Pink
- Phoenix Fire
- Dragon’s Belly
- White Ning
Side note- Aren’t these the most amazing names ever?
I randomly poured all the colors on the top in a zigzag pattern trying to balance out the quantities of each.
Step 5 – Mix Them Up
Then, I went to town mixing them up with a foam brush.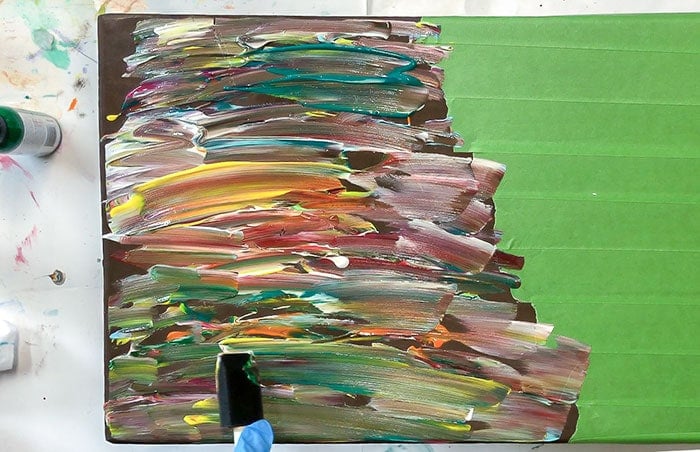
Note – If you are not happy with the pattern you get, you can easily wipe it all off and start again. I ended up having to do that once. The second time turned out perfect!
Once I was satisfied with it, I pulled off the tape and let it dry overnight.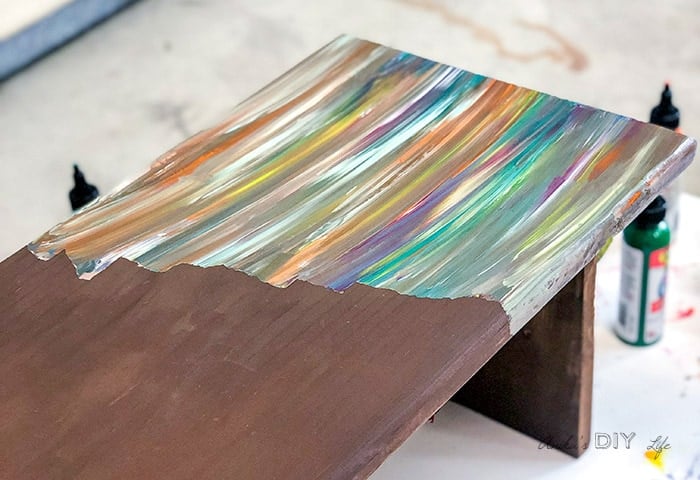
There are many other ways you can use Unicorn SPiT to create amazing effects! You can get lots of information and ideas here.
Step 6 – Add Glaze Coat
To protect the top and to get that gorgeous glossy look, I applied a glaze coat.
How to apply a glaze coat
There are clear directions in the box on how to use the glaze coat. Here is what I did –
- Mix equal parts resin and hardener in a mixing cup for 6 minutes
- Transfer to a new cup and mix for 6 minutes
- Spread it out on the surface using a foam brush
- Make sure to push it over the edge and drip over to coat all around the edge.
- Remove bubbles using a heat gun.
- Be sure to use the foam brush to remove excess dripped epoxy from the edges before it solidifies into little droplets
- Cover and keep in an isolated location to protect from dust and debris.
- The glaze coat takes about 72 hours to fully cure.
I needed half cup hardener and half cup resin (total 1 cup glaze coat) to cover the entire surface of my lap desk.
The glaze coat is self-leveling and dries to a gorgeous smooth glossy finish!
That’s it!
A DIY lap desk with an epoxy resin top! 
What do you think?
I think Unicorn SPiT is my new favorite and my head is exploding with all the fun ideas and projects!
Have you tried Unicorn SPiT?
Share your projects below or on Instagram and tag me @anikasdiylife. I would love to see them!

More fun painted projects –
[mv_create title=”DIY Lap Desk With Epoxy Resin Top” type=”diy” key=”25″]
Anika's goal is to inspire and empower beginners with woodworking, DIY, home improvement, and home decor ideas.
She wants everyone to unlock their creative potential and experience the feeling that comes with making something. Nothing feels better better than seeing something and saying "I can make that!"


This turned out amazing! There are so many cool combinations you could put together. I recognized that desk that your daughter made for her daddy, I bet she really loves the new update 🙂
Thanks Toni!
Yes she totally loves it! She had been wanting to paint it rainbow colors… this seems like a nice compromise 🙂
Love this table.
Somebody had to invent it! Unicorn Spit? Well, there are so many products out there, I’m glad you’re trying these things out for me! I bet it is a popular piece of furniture in your house!
That’s great! I just did my first project using Unicorn Spit and epoxy, trying it out on an old TV tray. Isn’t it fun? And the results are so cool! Thanks for another inspiring project! You give me the courage to try out so many new things!