DIY Outdoor Storage Box
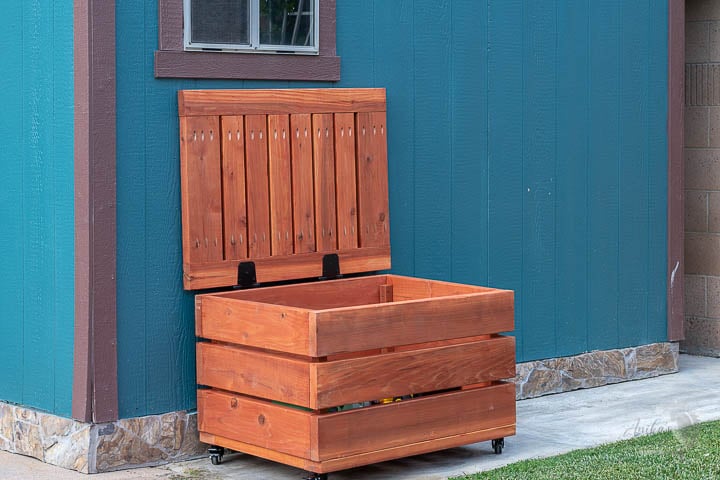
Learn how to build a DIY outdoor storage box for your patio, porch, or deck to store toys, packages, and tools.

We can never have enough storage – that too covered storage which can also double as a bench. We have been looking for a solution to store all the pool and yard toys. A plastic box was not cutting it – the lid would be left open, and we couldn’t keep wet items in there till they dried.
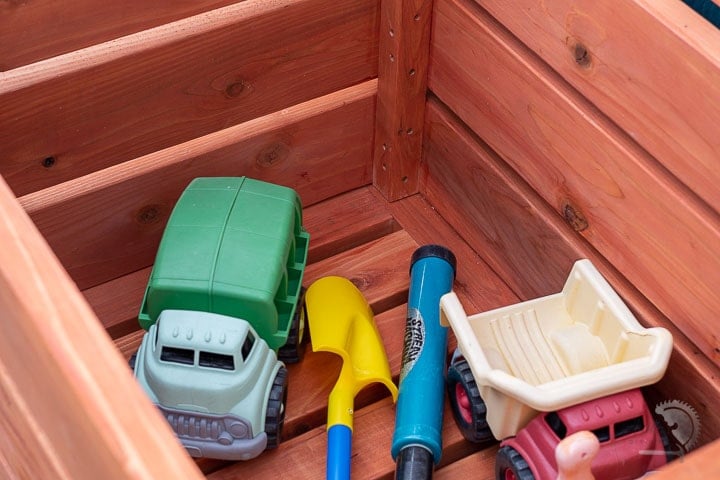
I decided it was time to build an outdoor toy storage box that will be sturdy and look great. The slatted design is great for it to be used for pool toy storage or as a deck box because there is air circulation to help dry everything out.
I also designed it to fit in an 18-gallon outdoor tote so you can also seal it up in the winter months when not using the toys to keep the crawlies out of it.
***This post is sponsored by Mendocino Redwood. Thank you for supporting the brands that make it possible to bring you new projects***
How Hard Is It to Build?
Not hard at all! This is a really great beginner woodworking project. It is a basic project that needs a few cuts and pocket holes. It can be easily completed in a day.
Do You Need a Lot of Tools to Build It?
Nope! Just a power drill, a pocket hole jig, and a saw to build it! I used a miter saw which is great for making accurate cuts. However, a circular saw will work just as well.
RELATED: How to make accurate cuts with a miter saw.
What Kind of Wood Do You Need?
Since this box will be outdoors, it needs to be made with wood that can withstand the elements. I used redwood lumber for it. Redwood lumber is sustainable, renewable, recyclable, and cleaner to produce. It is very strong and also much lighter than its alternatives.
You can read more about advantages of using Redwood here.
I have built a hammock stand, an outdoor dining table, and a towel rack out of redwood, and they have stood up really well to the elements. Plus, I love the gorgeous and rich color.
Let’s get to building the storage box now!
***This post contains referral or affiliate links. It is a way for this site to earn advertising fees by advertising or linking to certain products and/or services. Please read my full disclosure here ***
Material Needed
- Lumber per the plans
- Blue-Kote 2 ½” pocket hole screws
- Exterior 2½” wood screws
- Exterior wood glue
- Stain or paint in the color of your choice. I used a weatherproofing transparent stain in the color “redwood.”
- Casters
- Heavy-duty hinges
Tools Needed
- Miter saw
- Kreg Jig. I used the Kreg 720. Learn more about the Kreg Jig and pocket holes here.
- Power drill
- Kreg face clamp (optional but highly recommended)
How to Build the Outdoor Storage Box
I have a full step-by-step video showing you exactly how to build this storage box. Watch it below. The full written tutorial follows as well.
Click here to subscribe to my YouTube Channel for more great videos!
Step-By-Step Tutorial
Step 1 – Prepare the Boards
- Make the cuts per the cut list in the plans. You can easily modify the plans to change the size of the box if needed.
- Sand the boards smooth.
I like using my orbital sander with 150 grit sandpaper. You can also use a sanding block. The advantage of using redwood is that if you pick the boards carefully, they are already pretty smooth and good to go. - This is also a good time to stain the boards because the slatted design will make it hard to get into the tight spaces later.
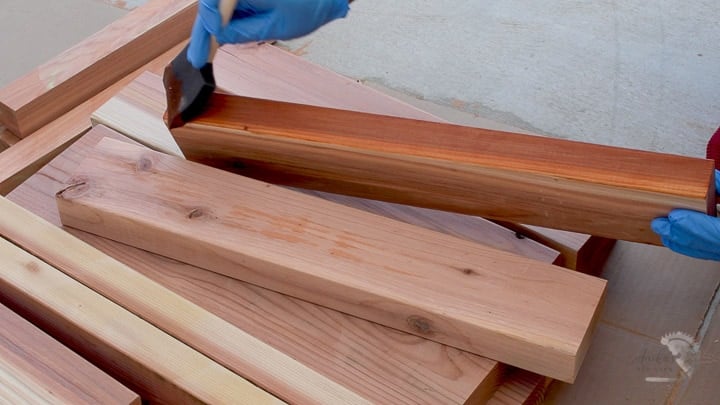
If you plan to paint, do not paint it because wood glue doesn’t work through the paint.
Step 2 – Build the short sides
The short sides are built by attaching the supports to the slats using 2½”” wood screws.
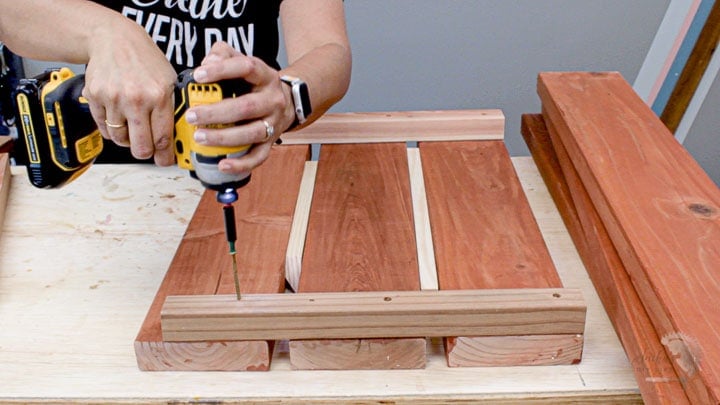
I used these screws that did not require pre-drilling (they are my new favorite!). However, with any other wood screws, be sure to pre-drill to avoid splitting the boards.
Step 3 – Build the box
Lay the long sides on a flat surface with the spacers between them and attach the short sides to the long slats using the 2½” wood screws. Use at least 2 screws on each slat.
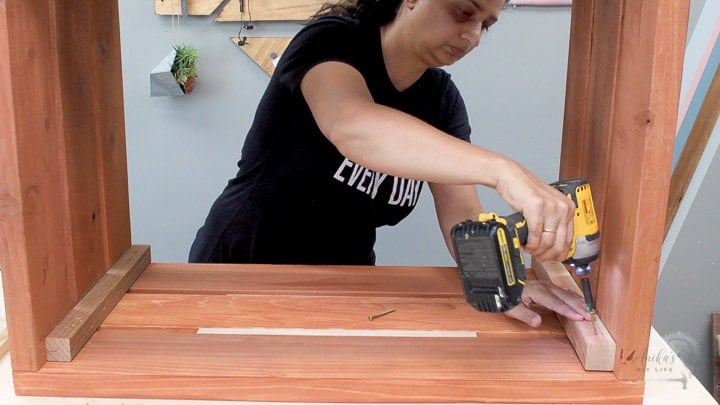
Once the two long sides are attached, the box if ready!
As you install the screws, be careful about the placement of the screws, so you don’t hit the screws from attaching the short sides.
Step 4 – Build the bottom and top
- Drill pocket holes on both ends of the slats. Check out my guide to all things pocket holes.
- Attach the slats to the rails using exterior grade 2-1/2” pocket hole screws and wood glue to make the top and the bottom using scrap boards for the spacing.

I highly recommend using a face clamp to hold down the boards as you attach because that helps keep all the boards aligned and flat.

At this point, I decided to move everything to the backyard as it was getting a bit heavy and everything together would have been too heavy for me to move by myself.
Step 5 – Attach the bottom
Attach the bottom to the box using exterior 2-1/2” wood screws. Make sure the pocket holes for the bottom face outside so the inside can smooth.

This is also a good time to attach the casters. Casters are totally optional, but I like having the option of rolling the box to wherever it is needed. Of course, be sure to pick casters with brakes!

Step 6 – Attach top
Attach the top to the box using heavy-duty hinges. You can also add a lid support hinge for safety.
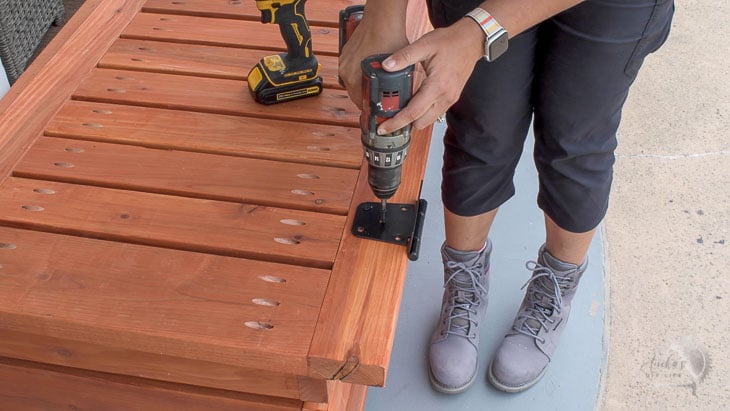
That’s it! It also doubles as an outdoor storage bench if you need one!
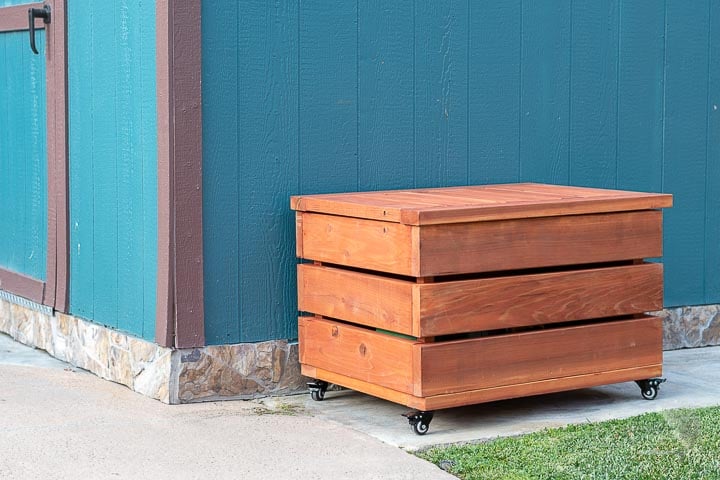
We now have a gorgeous storage box on our patio for all of the toys or tools.
Printable Plans for the Outdoor Box
Click the link below to get the woodworking plans for this project. The plans have all the dimensions plus step-by-step instructions with illustrations to help you build the storage box.
More DIY Outdoor Projects –
Anika's goal is to inspire and empower beginners with woodworking, DIY, home improvement, and home decor ideas.
She wants everyone to unlock their creative potential and experience the feeling that comes with making something. Nothing feels better better than seeing something and saying "I can make that!"


