How to Make Accurate Cuts with a Miter Saw (8 Essential Tips)
Tired of gaps in your wood joints? Learn how to make accurate cuts with a miter saw using these 8 simple tips and tricks for DIY projects that look pro.

For the longest time, I could not figure out why my DIY projects didn’t fit together perfectly. I measured twice. I lined my blade up right on the pencil mark. And yet, my boards still came out a hair short, or the joints had these frustrating little gaps I would have to rescue with a mountain of wood filler.
Turns out it wasn’t me. It was just a handful of small things nobody tells you when you buy your first miter saw.
Once I started doing these seven things, every single cut started coming out clean, square, and exact.
Whether you are trying to figure out how to make accurate cuts with a miter saw for the first time or you just want to level up your precision, these 8 essential miter saw tips and tricks are exactly what you need to master your saw.
If you learn better by watching, I also have a detailed, step-by-step video breakdown of these tips right here!
Table of Contents
The Ultimate Miter Saw Accuracy Checklist
Need a quick overview before you go into the details? Here is a fast reference guide to getting perfect cuts every single time.
|
Accuracy Tip |
Why It Matters |
What You Need To Do |
|---|---|---|
|
1. Cut Off Factory Ends |
Store-bought board ends are almost never square. |
Slice 1/2″ to 1″ off a new board before measuring. |
|
2.Use a sharp pencil |
Eliminates a 1/16″ guessing game on your cut line. |
Swap chunky carpenter pencils for a sharp mechanical line. |
|
3. Account for Kerf |
Prevents your good piece from turning out 1/8″ short. |
Line the blade teeth up on the waste side of your mark. |
|
4. Clamp a Stop Block |
Guarantees perfectly identical lengths without re-measuring. |
Use a fixed block against the fence for repeated parts. |
|
5. Support long boards |
Eliminates angled cuts and dangerous blade kickback. |
Use a roller stand or a scrap 2×4 to hold up overhangs. |
|
6. Ignore the Laser or not |
Lasers get bumped out of alignment; the blade never lies. |
Lower the blade while turned off to physically check your alignment. Or make sure the laser is aligned often. |
|
7. Check for Alignment often |
Heavy use, transit, or a minor kickback will knock a saw out. |
Use a combination square against the blade, table, and fence. |
|
8. Upgrade the Blade |
Drastically reduces rough, splintered, and fuzzy edges. |
Ditch the stock blade for a 60+ tooth fine-finish blade. |
***This post contains referral or affiliate links. It is a way for this site to earn advertising fees by advertising or linking to certain products and/or services. Please read my full disclosure here ***
What you will need
- A speed square
- A combination square
- A sharp pencil. Mechanical pencils are great or my current favorite is this Cabinetmaker’s Pencil.
- A miter saw stand. I use this one. It is easy to roll away. You can also use a homemade stand.
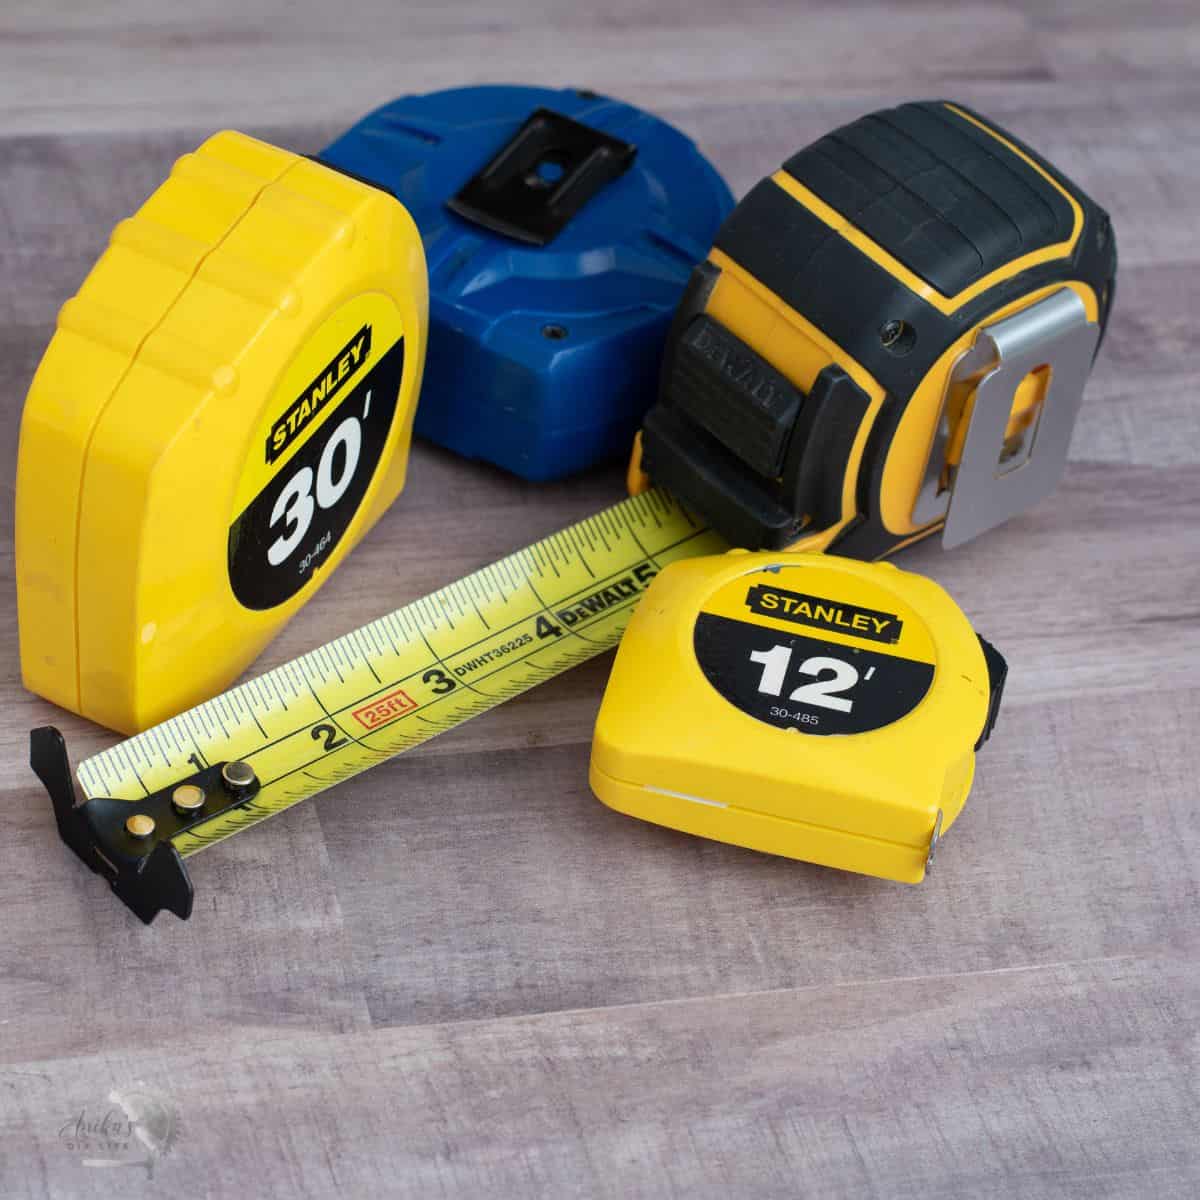
- A good tape measure. This one is my favorite because of the quick-read markings.
- Miter saw (of course!) – previous 10″ miter saw, current 12″ miter saw
- Miter saw blade – 60 tooth count blade or 100 tooth count blade.
Miter Saw Safety
Before you use the miter saw, it is important to follow all the safety guidelines. Be sure to read the manual and always keep your hand away from the blade!
Specifically, be sure to use
- Eye Protection
- Hearing protection. This one is my favorite. Get $10 off with code ANIKA10
- Dust protection
1. Always Cut Off the Factory Ends
When I realized this… I was super surprised! The end of every board you buy from the home center is garbage.
If you put a speed square right up against a brand-new factory end, you will almost always see a gap. They are simply not square. If you grab that board and start measuring your project pieces right from that factory edge, your entire project will be off from the very first cut.

What to do: Before doing anything else, chop off about half an inch to an inch on each end of your lumber to establish a dead-square starting point.
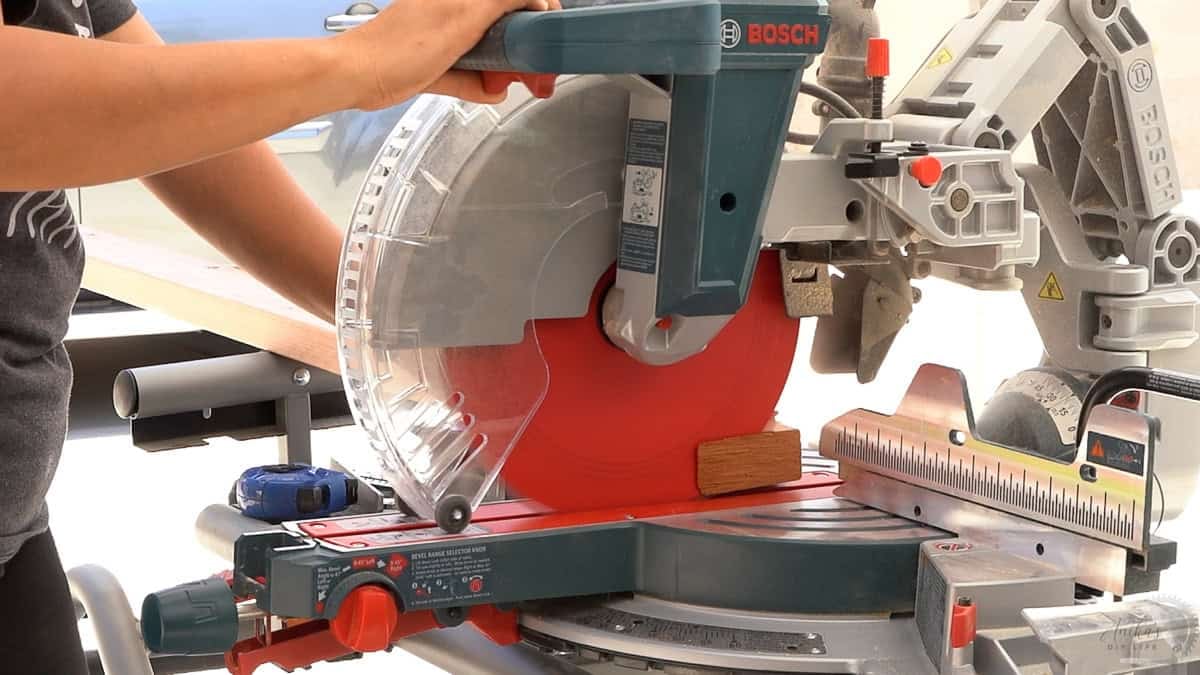
It costs you a couple of inches of wood, but it saves you an entire afternoon of frustration.
2. Mark Your Lines with a Sharp Pencil
This is the cheapest accuracy upgrade you will ever make in your workshop.
Take a look at the line a chunky, traditional construction pencil leaves behind and can easily be 1/16″ wide.
When you go to pull the trigger, which side of that fat line are you actually aiming for? That tiny bit of guesswork at every cut is exactly why your joints aren’t lining up.
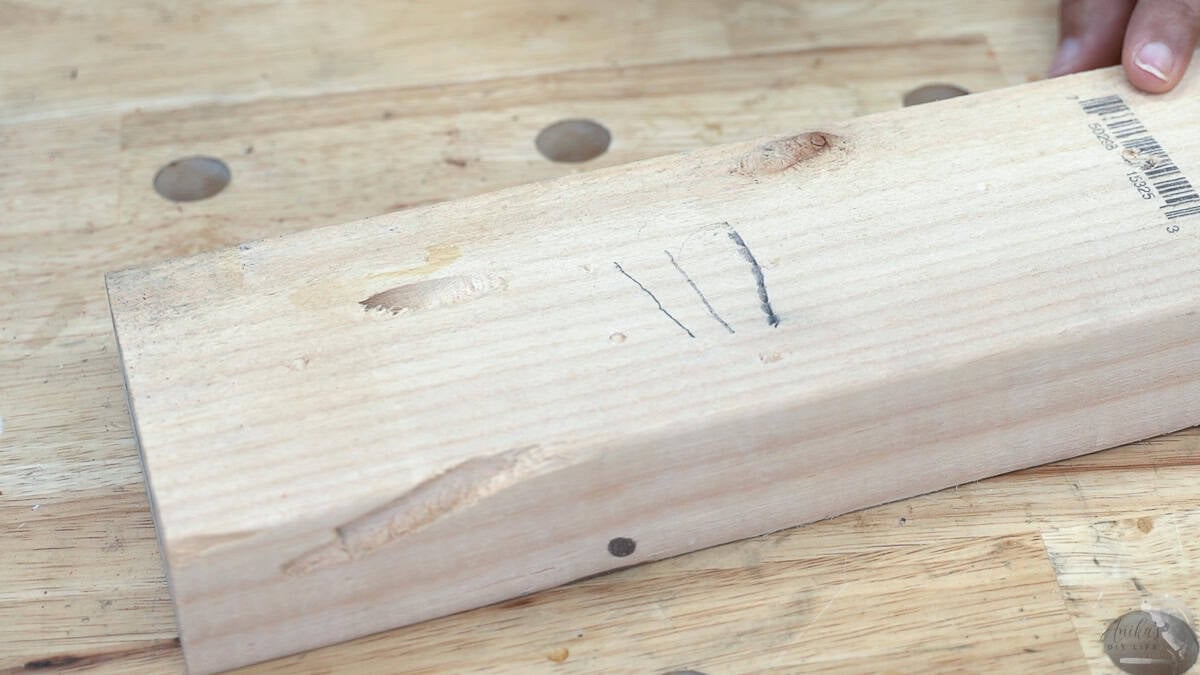
What to do: Switch to a 0.5mm mechanical pencil. It gives you one thin, completely exact line. Or, if you want to use a regular pencil, make sure it is super sharp. I have been really digging this cabinetmaker’s pencil right now.
3. Account for the “Kerf” (The Ultimate Secret)
If you only take one concept away from this article, make it this one. Once this clicks, you will be accurate with a miter saw, a circular saw, a table saw, literally any saw.
The kerf is the width of your saw blade. It represents the physical strip of wood that disappears into sawdust when you make a cut.
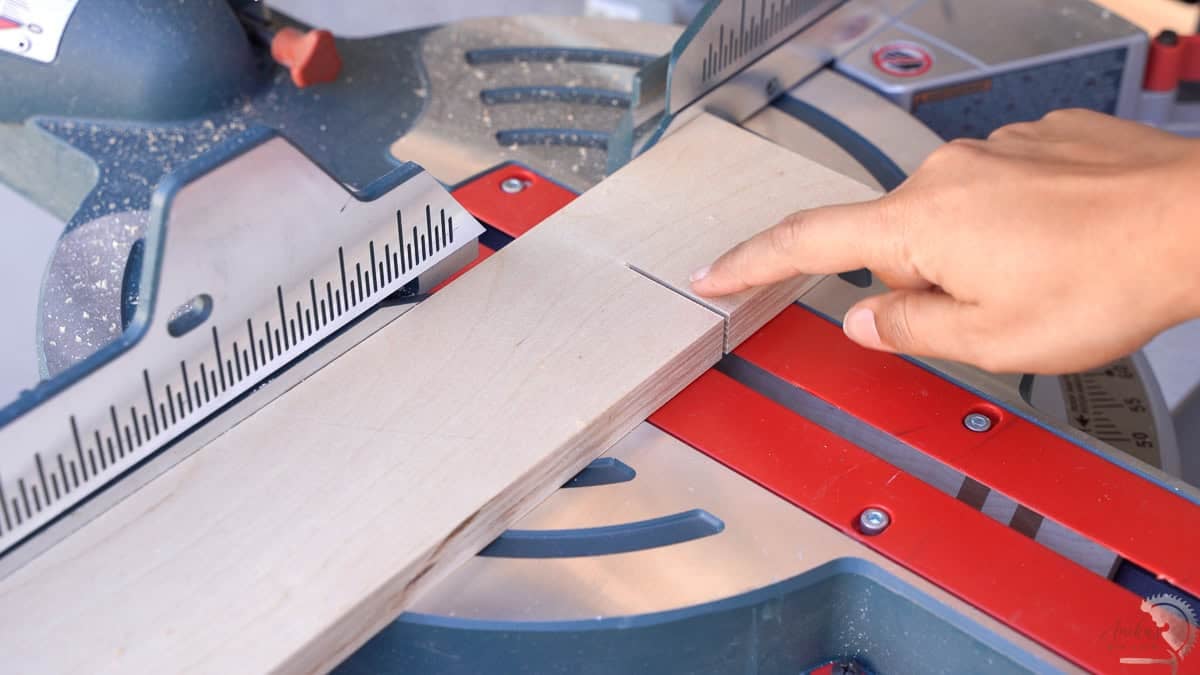
If you place your blade directly centered on top of your pencil line and cut, you will lose about 1/8″ of your good piece to the blade’s thickness. That is exactly why your boards keep coming out short!
How to cut the kerf perfectly:
- With the saw completely turned off, lower the blade down to the board.
- “Sneak up” on the line so that the teeth land just to the waste side of your pencil mark (the part of the wood you are throwing away).
- Lift the blade back up, start the saw, and make your cut.
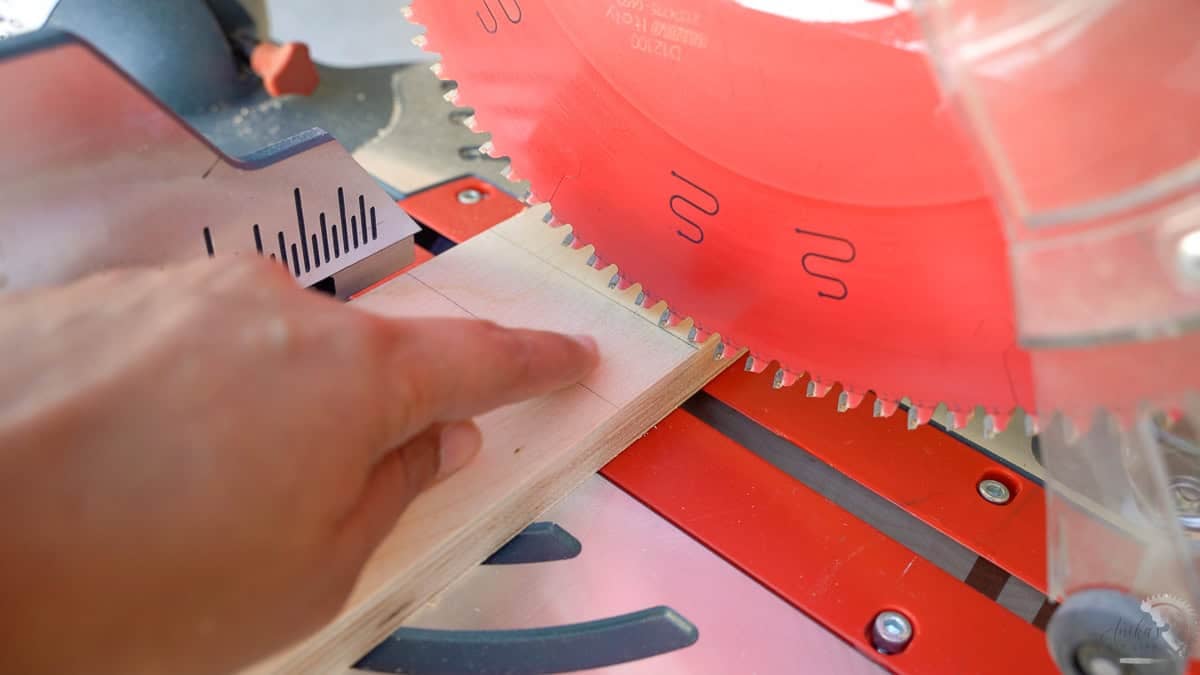
See more about Kerf and how to account for it here.
4. Use a Stop Block for Multiple cuts of same size
This is my absolute favorite workshop secret for building anything that requires matching pieces. If your pieces are supposed to match, even being off by a tiny hair will cause massive gaps in your joints, or give you a finished table that wobbles.
When beginners need to cut four identical pieces, they usually fall into one of two traps:
- Re-measuring every piece: Pulling out your tape measure for every single cut invites human error. A slight shift in your viewing angle or a pencil mark placed just a hair off-target means your boards won’t match.
- Tracing the previous cut: Tracing your first board onto the next creates a “stacking error.” Your pencil lead adds a fraction of thickness with every single trace. By the time you cut piece number four, it will be a completely different length than piece number one.
The solution is setting up a stop block.
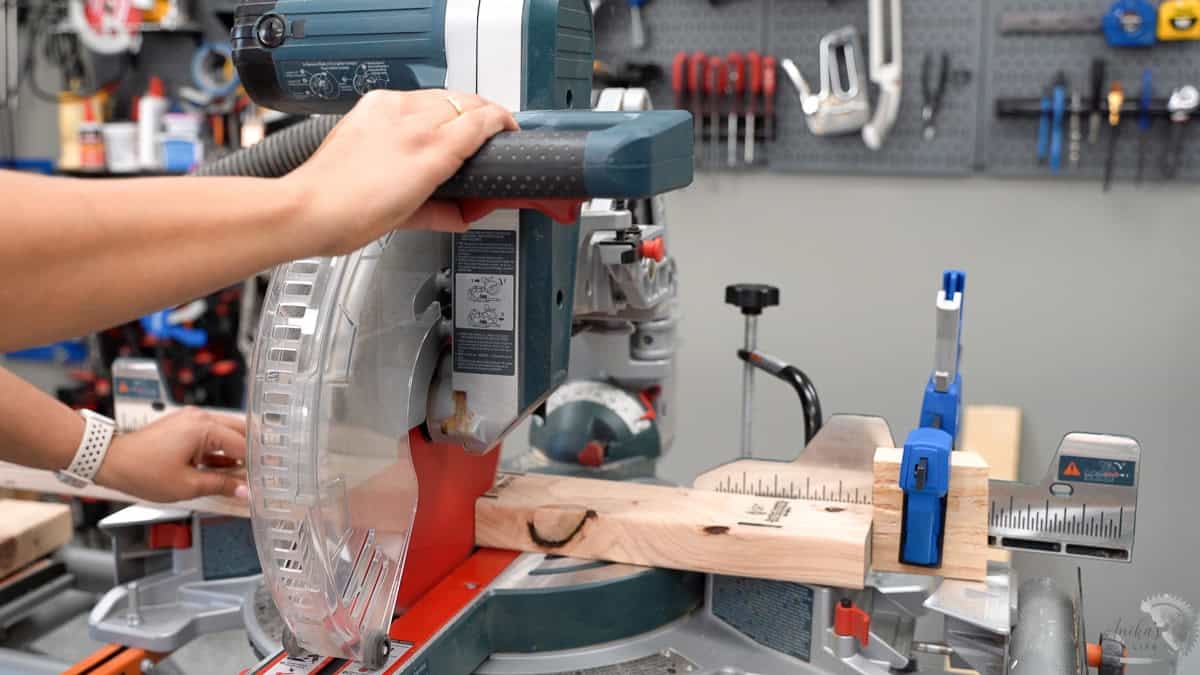
Align the length and clamp a stop block to the fence of the miter saw. If your fence is shorter than the length you need, you can attach a straight board to the fence to extend it.
Now you can cut a hundred pieces this way, and they will all turn out perfectly identical.
5. Support Your Long Boards
This is important for both accuracy and safety.
When you have a long 8-foot or 10-foot board hanging off the side of your saw table with nothing holding it up, gravity takes over and the board sags. If the board isn’t sitting completely flat and level against the metal bed of the saw, your finished cut will come out at a slight angle.
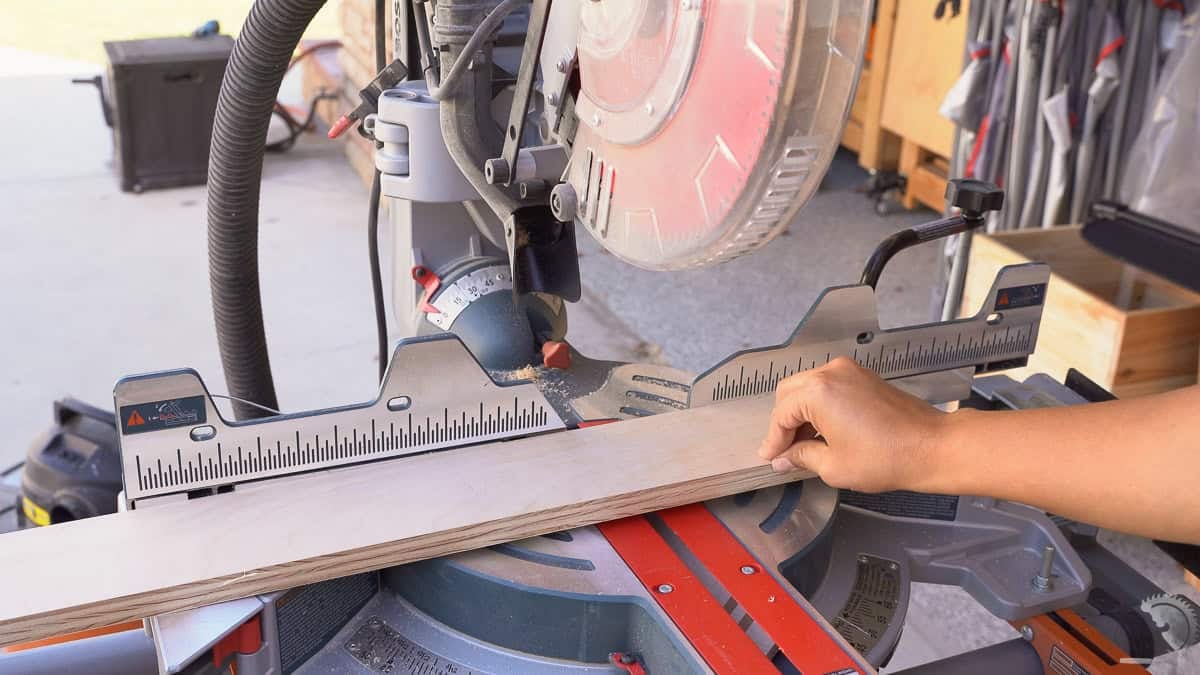
⚠️ Safety Warning: Beyond a bad cut, there’s a scarier reason to support your wood. As you finish your cut, that drooping far end can suddenly drop, causing the wood to pinch the spinning blade. The saw can instantly grab the wood and violently kick it back.
I always support the far end of my lumber so the board stays level with the saw table. My miter saw has wings that extend out and up as needed. A dedicated roller stand is great, but honestly, even a scrap piece of 2×4 stacked to the right height does the job perfectly.
6. Don’t Blindly Trust Your Miter Saw Laser
It is very tempting to just drop a board down, line it up with the built-in red laser line or shadow guide, and chop. Don’t do it!
Lasers and shadow lights can get bumped and knocked out of alignment really easily during transit or heavy use. Once it’s uncalibrated, it will confidently guide you to the completely wrong spot.
I actually don’t rely on the laser on my saw at all.
Instead I lower the unpowered blade directly onto the wood to see exactly where the actual steel teeth are going to hit.
The blade never lies. The laser can.
If you absolutely love using your laser, that’s totally fine! Just make a test cut on a scrap piece of wood first to calibrate the laser line against where the blade actually cuts, so you know you can trust it.
7. Check Your Saw Alignment Regularly
This is the absolute foundation for everything else, and it’s the number one thing nobody tells you when you about using a miter saw. Aligning your saw isn’t a one-time setup.
Shipping, moving the saw around your garage, or a little bit of wood binding can easily knock your saw out of alignment over time. I make it a habit to check my saw every time I set it up (because I use it in my driveway and have to pull it out and move it every time). If your saw is stationary, you can check every time you start a new project.
When doing a quick check for the alignment, use a combination square to check to see if the blade and table and perpendicular and the fence and blade and perpendicular.

Bonus Tip: Upgrade Your Stock Miter Saw Blade
This is the easiest win of all. Change out your miter saw blade.
Miter saws usually ship with cheap, low-tooth-count construction blades (typically 24 or 32 teeth). These are meant for framing houses quickly, not for clean, beautiful DIY projects, and they leave behind incredibly rough, splintery edges.
I recommend using at least a 60-tooth or 80-tooth fine-finish blade. I use a 100 tooth balde and the cut finish comes out like it was sanded with 220 grit sand paper. This saves me so much time!
Just remember to double-check your saw’s square after you swap the blades!
So, there you have it – everything you need to know to make accurate cuts on a miter saw!
I hope this helps you make beautiful furniture and projects because the most important starting point is getting accurate, reproducible cuts.
Let me know if you have any questions!
You might also find these helpful:



Anika's goal is to inspire and empower beginners with woodworking, DIY, home improvement, and home decor ideas.
She wants everyone to unlock their creative potential and experience the feeling that comes with making something. Nothing feels better better than seeing something and saying "I can make that!"