How to Build an Easy DIY Outdoor Dining Table
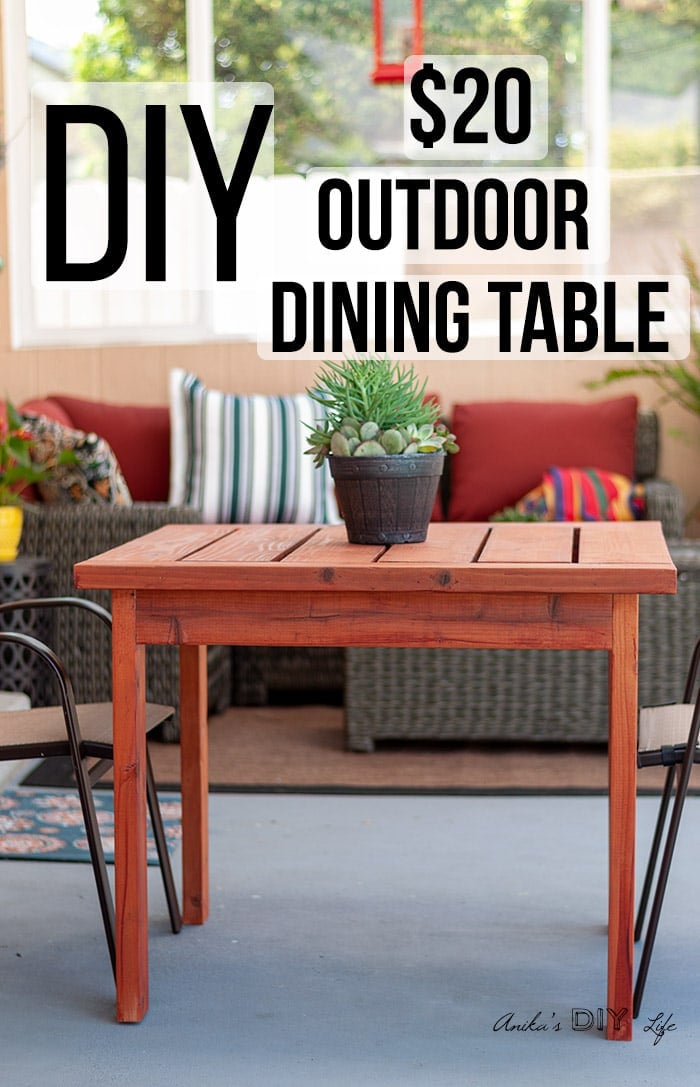
Learn how to make a simple DIY outdoor dining table with full plans, tutorial, and video. This DIY Outdoor table uses only structural 2×4 and 2×6 lumber and costs $20!
You will also like Easy 2×4 Project Ideas and DIY Outdoor Coffee Table
RELATED: See a matching DIY chair!
What’s your favorite thing about long summer nights? In this house, it is all about the excitement of being able to hang out outdoors.
The best part – eating dinner outside!
I am working hard on our backyard and patio this summer!
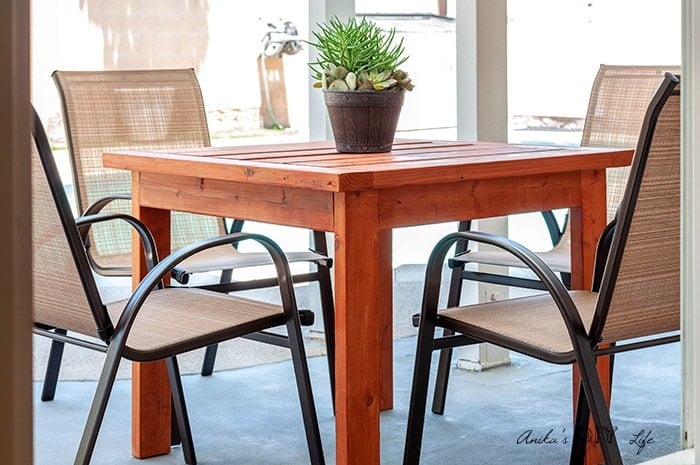
After a fun and colorful makeover of the sitting area, it was only natural, I built a simple dining table for the patio
Talking about outdoor projects, I am teaming up with 10 other talented bloggers to bring you even more DIY outdoor projects! Look for them at the bottom of the post!
RELATED: 25 Easy DIY Outdoor Projects for your Weekend
Simple DIY Outdoor Dining Table
Table of Contents
- Features of the outdoor dining table
- Materials needed
- Printable plans
- Video tutorial
- Step by step tutorial
- Pin this project to Pinterest
- More DIY outdoor projects
Our patio is pretty small and I had to keep the table simple and small to fit in the space and not overpower it.
Which is why I designed this super simple outdoor dining table.
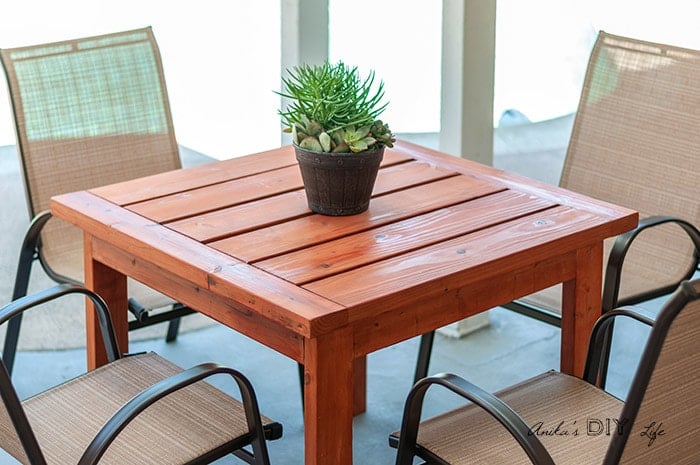
Features of This Outdoor Dining Table –
- Simple yet chunky design – keeps it from overpowering a small space.
- Sturdy and strong – built from structural lumber – 2×4 and 2×6.
- It’s a square 35″ x 35″ table which gives enough space for 4 chairs around it.
- It can be easily modified to make longer or wider.
- Easy and quick beginner build – can be built in a day.
- Lumber costs around $20 – if you use structural douglas fir.
- You can easily make a hole in the center to add a patio umbrella if you like!
***This post contains affiliate or referral links. It is a way for this site to earn advertising fees by advertising or linking to certain products and/or services. Please read my full disclosure here ***
Materials Needed –
- Lumber per the plans.
- Kreg Jig
- Exterior 2 ½” pocket hole screws
- Exterior Wood Glue
- Miter Saw
- Power Drill
- Paint or Stain of your choice. I used this one for my redwood table
DIY Outdoor Table Plans
I have you covered with printable plans to build your own outdoor dining table.
Hit the button below to get the pdf copy in your email.
How to Build an Outdoor Dining Table
Below is a full video tutorial showing how I made this easy outdoor table. Step by step instructions and details follow.
How to Make a Simple Outdoor Dining Table
I kept this table really easy and simple to build.
Once you cut the boards and make all the pocket holes, it really is only 5 steps!
It’s a project you can easily build in one day!
Step 1 – Make Cuts and Pocket Holes
- Make all the cuts per the cut list in the printable plans.
- Make pocket holes as shown in the schematics. The setting in the Kreg Jig is for 1½” thick stock.
Tip: This is a good time to sand all the boards.
RELATED: All the tricks you need to know about using a Kreg Jig
STEP 2: Build the Top
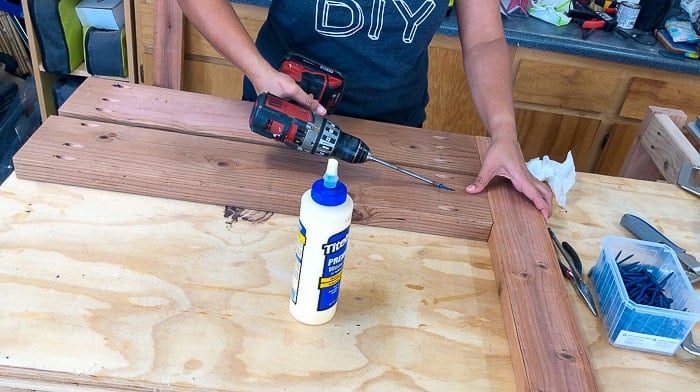
The top is built using 2×6 slats with 2x4s on both sides as breadboard ends. Here are a few tips to build it –
- Lay all boards on an even surface.
- The spacing between the boards is ½”. You can use a few scraps of ½” thick boards. I found that 3 paint sticks were exactly ½” thick!
- Use a face clamp to keep boards level as you join them with pocket hole screws.
Step 3: Build the Leg Frame
The entire leg frame is super easy and quick to build –
- Join the aprons and the legs to create the two sides of the leg frame.
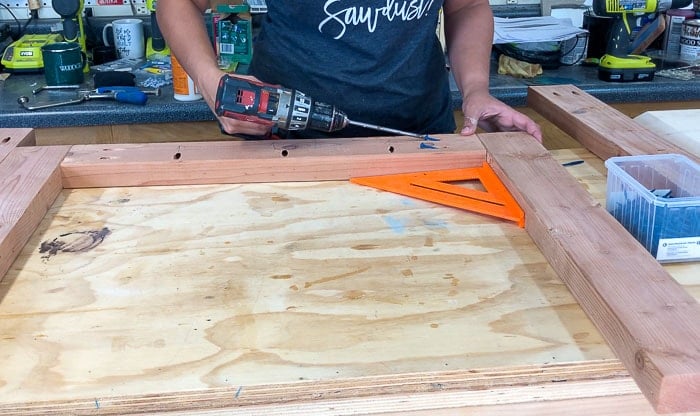
- Attach the other set of aprons to one of the leg frame sides
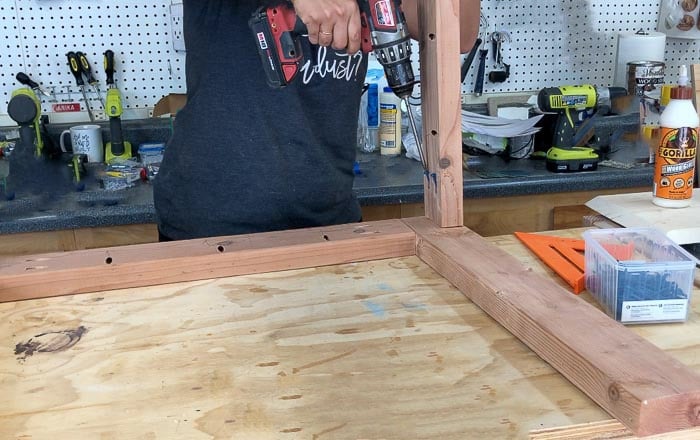
- Attach both the aprons to the other side of the legs.
Note: Pay close attention to the direction of the pocket holes on the aprons as you attach them. The pocket holes should always point upwards because they will help you attach the leg frame to the top.
Step 4: Attach Top to the Leg Frame
- Lay the top on a clean surface like cardboard or drop cloth to prevent any scratches.
- Align so there is a 2″ lip all around the table.
- Attach using wood glue and 2 ½” pocket hole screws all around.
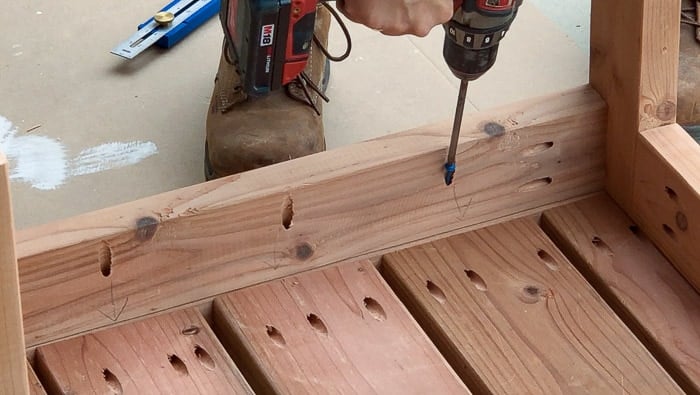
And it’s built!
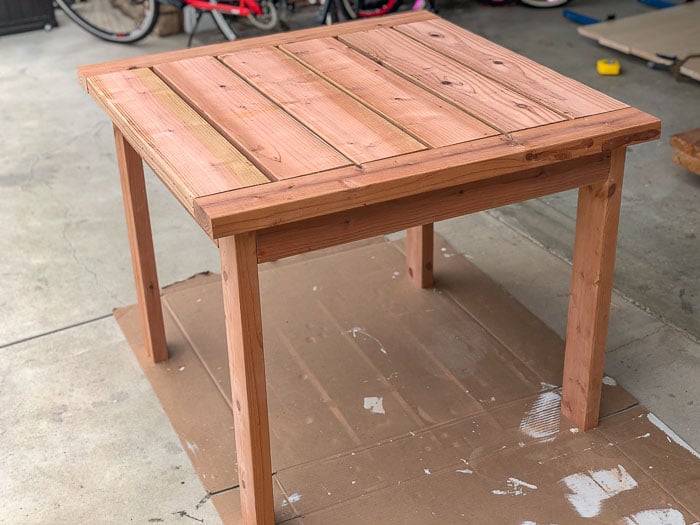
Step 5: Sanding and Finish
- Give the entire table a quick sanding using a fine-grit sanding block.
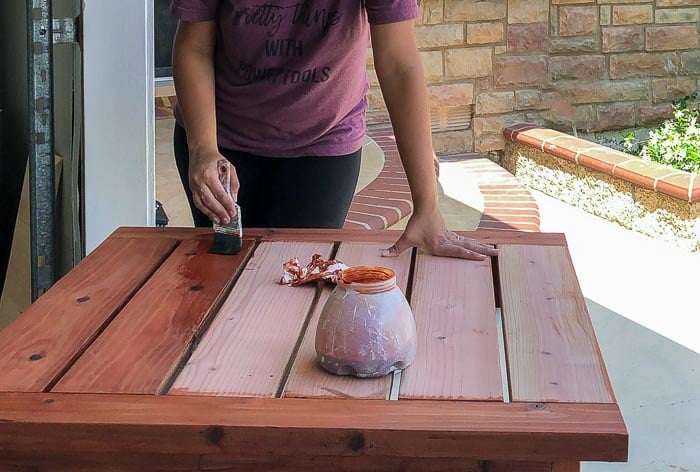
- Apply the finish of your choice. I used this one – the same as I used on my DIY hammock stand. I love that it is water-based plus it waterproofs the wood and I don’t need any additional protective coatings.
That is it!
I promised you it was going to be a simple and quick project to make your outdoor space more fun!
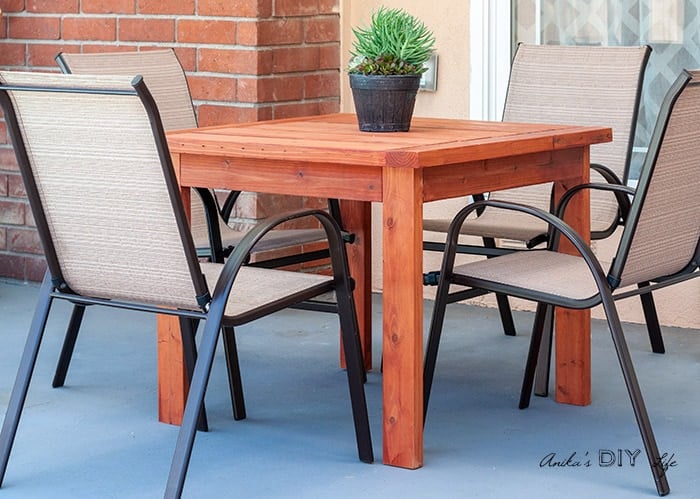
It is the perfect size to fit 4 chairs around and eat comfortably and fits perfectly in the small space we had on our patio.
These are the chairs I used.
Remember, you can download the plans for the table below-
Now, who is ready for a meal outside?!
Reader Projects
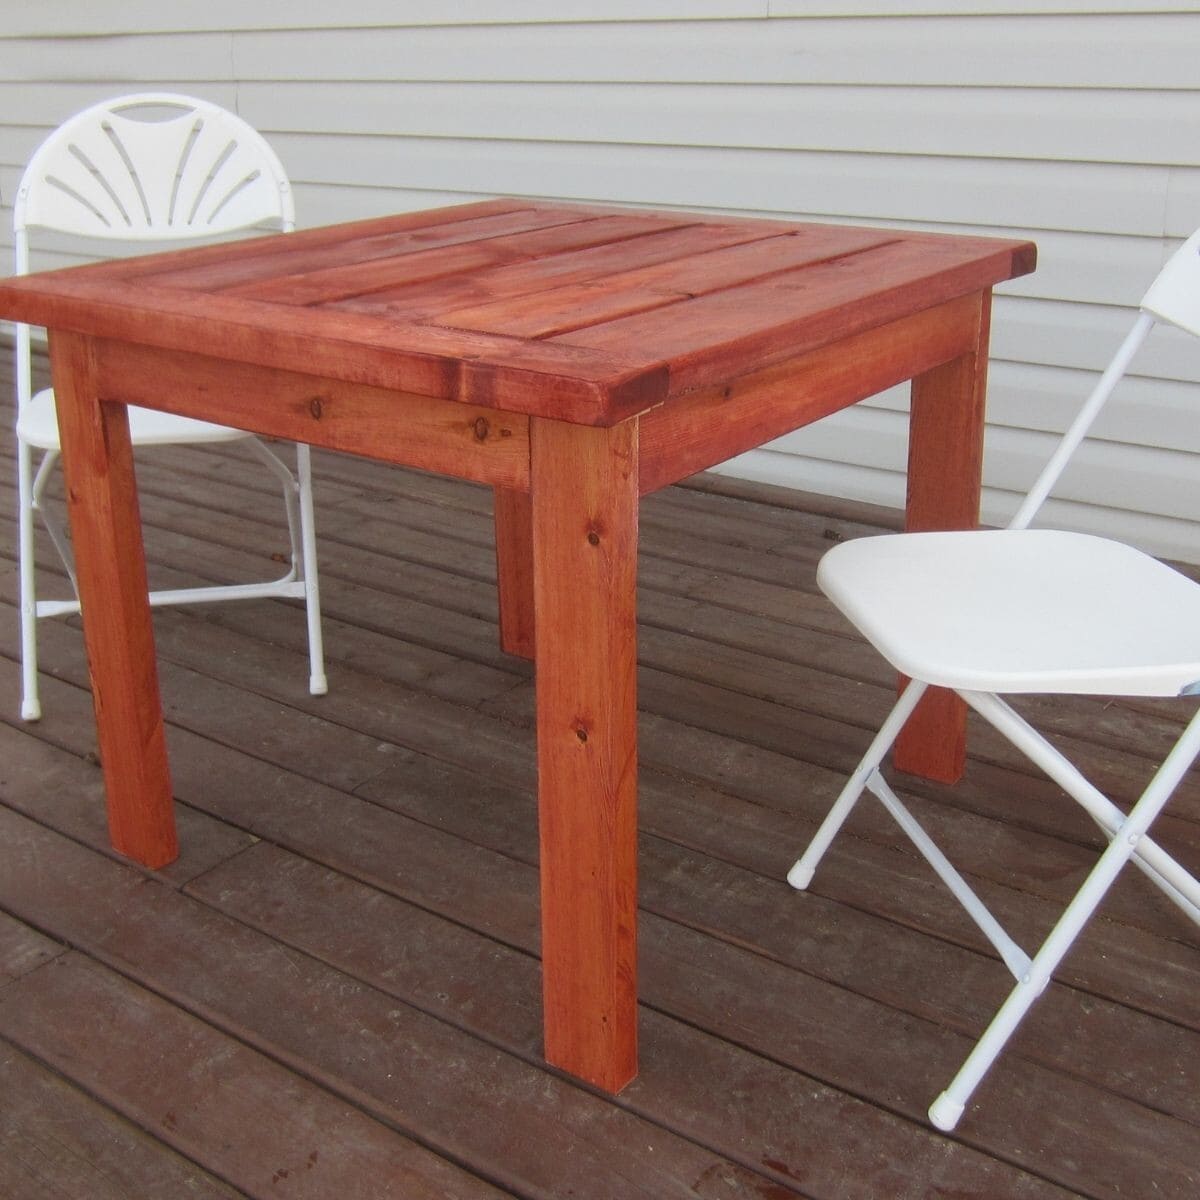


If you build it, I would love to see! Feel free to email photos to me at [email protected] or tag me on Instagram @anikasdiylife for a chance to be featured on social media! I can’t wait to see what you build!
More DIY Outdoor Projects
And now, as promised, here are a bunch of fun outdoor projects from some of my favorite bloggers –
- DIY Pool Towel Rack – Addicted 2 DIY
- DIY outdoor coffee table with planter – RemodelaCasa
- Brass and Wood Outdoor Planters – Jaime Costiglio
- DIY Outdoor Cooler Deck Box – The Awesome Orange
- DIY Modern Planter with Hose storage – DIY Huntress
- DIY Porch Planters – My Love 2 Create
- Gas Meter Cover – My Repurposed Life
- DIY Outdoor Corner Table – Ugly Duckling House
- DIY Chippendale planter – House Becoming Home
- DIY Cedar Window Boxes – Joyful Derivatives
[mv_create key=”12″ thumbnail=”https://www.anikasdiylife.com/wp-content/uploads/2019/05/DIY-outdoor-dining-table-Anikas-DIY-Life-6sq500.jpg” title=”$20 DIY Outdoor Dining Table” type=”diy”]
Anika's goal is to inspire and empower beginners with woodworking, DIY, home improvement, and home decor ideas.
She wants everyone to unlock their creative potential and experience the feeling that comes with making something. Nothing feels better better than seeing something and saying "I can make that!"


Anika,
Sooo sweet! I love simple and inexpensive projects like this outdoor table. I know this is going to be a very popular project for you. KISS 🙂
pinning!
gail
Your table looks beautiful, Anika! You definitely can’t help but love the price tag as well!
Aha. I started out needing 4 tables and have expanded to 13. I am in shock but by table 4 I should have it down pat and soldier on. I forgot my sisters and spouses! And 7 pairs of his Military friends. Ha ha ha! I need a double dose of depression pills. Isn’t this absolutely wonderful?
I am so blessed.
I hadn’t ever contemplated building a dining table for my deck, but now I think I really want to! Thanks for this simple tutorial, it’s so helpful and inspiring. 🙂