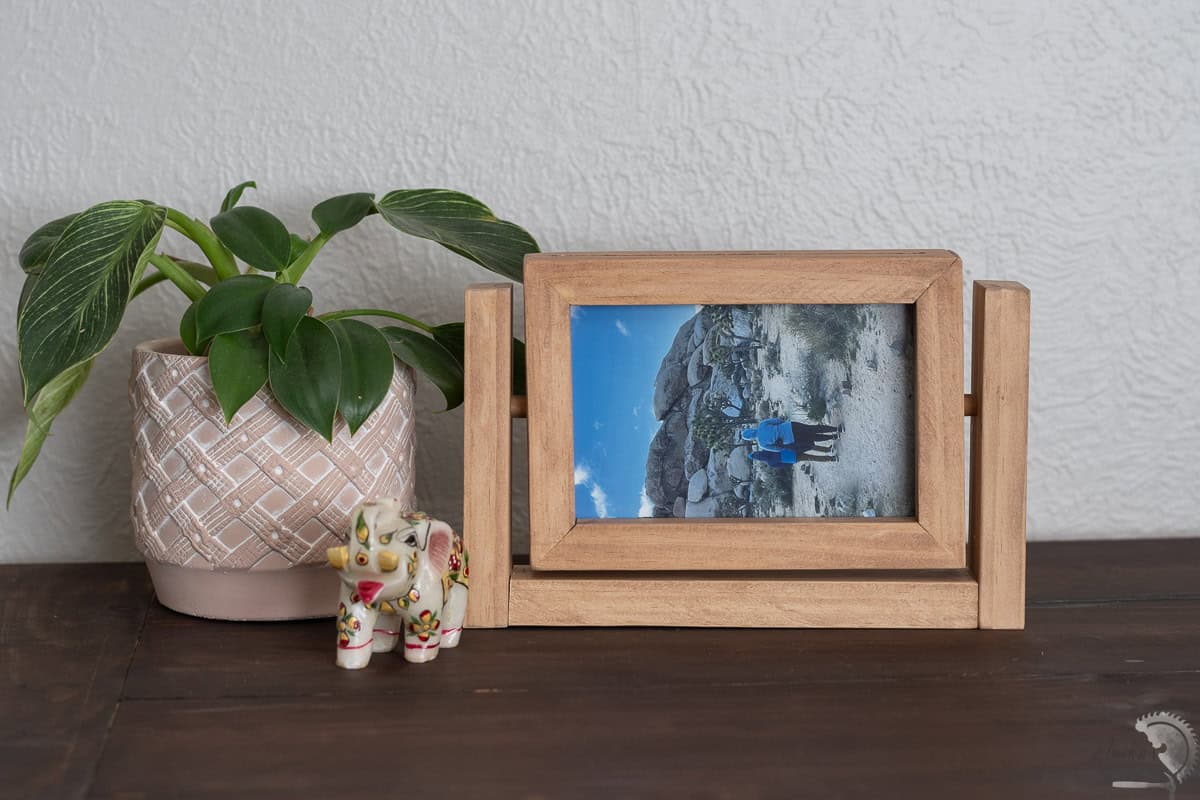
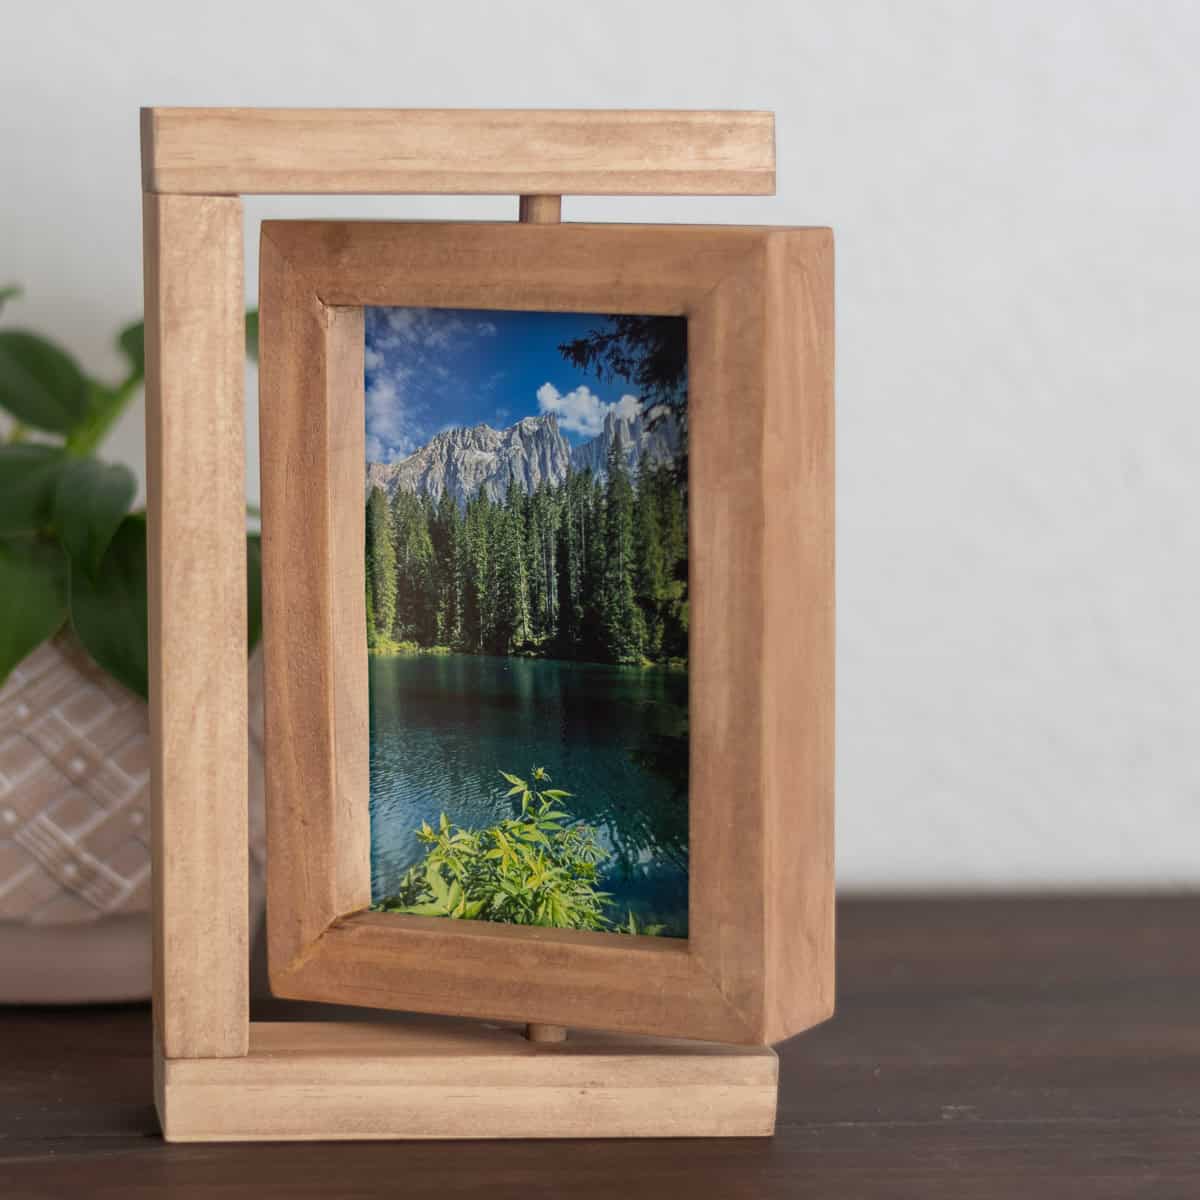
How to Make a DIY Rotating Picture Frame
Learn how to make a DIY rotating picture frame with this step-by-step tutorial. Create a double-sided frame that’s easy to customize and perfect for displaying your favorite photos!

Sometimes, you just have to dive into a challenge and see where it takes you—that’s how most of my DIY projects come to life! I came across a rotating picture frame online and thought, “Can I make a DIY version of this?” Well, here we are!
I won’t lie—it took some experimenting to get it just right. I knew the rotation part would be simple enough with dowels, but the tricky part was designing a double-sided frame where you could easily swap out the pictures.
It actually took me two attempts to get everything working perfectly. But now, I’ve got it all figured out and can walk you through the process step by step—no wasted time, effort, or materials on your end.
And honestly? Once I cracked the code, it turned out to be a pretty straightforward project! Let me show you how to make one for yourself.
***This post contains referral or affiliate links. It is a way for this site to earn advertising fees by advertising or linking to certain products and/or services. Please read my full disclosure here ***
Material Needed:
- Lumber per the plans
- Dowel Jig (or you can use a nail gun)
- Multi-mark tool
- Wood Glue
- Plexiglass
- 3/8″ dowel pins
- Stain and top coat of your choice
Tools Needed
Rotating Picture Frame Plans
You can get detailed printable plans with dimensions, cultist, and diagrams for this rotating picture frame by clicking the button below.
How to Make a Rotating Picture Frame
Step 1: Make the Grooves
We will make the grooves for the plexiglass to sit into all in one pass on the entire board before cutting it up to make the frame. This way you get identical grooves on all pieces and eliminate any variations.
- Set the table saw blade to a 1/4″ height.
- Set up the table saw fence to 5/8″.
- Pass the board over the blade, making a groove.

- Move the table saw by 1/4″ on the left of the half of the board width and make another pass over the blade. This should give a groove that is 1/4″ wide.
Test the set of 2 plexiglass sheets in the groove. They should not be tight and should freely slide inside the groove. If you have a thicker plexiglass, you may have to make a wider groove.
Step 2: Make Cuts for the Frame
Once the grooves are made, we can cut up the board into the parts of the frame. I am building a frame for a 4×6 picture, and the plans will show you the exact dimensions to cut.
I used a miter saw for this, but you can also make these cuts on a table saw using a cross-cut sled.
- Set the miter saw to a 45-degree bevel. Be sure to check the alignment of the
- Cut the 1×2 board down to the parts of the frame. Pay attention to the direction of the bevel cuts.

Important: Be sure to check the alignment of the saw blade before making the cuts. Properly aligned blades are crucial for a good fit of the miters of the frame. See how to align a miter saw.
Step 3: Make the Pass-Through Cut
This is essentially the cut on one of the sides that allows you to slide the pictures in and out.
- Measure the exact location of the groove on one side and mark it on the other side. The multi-mark tool is the best tool for doing this easily.
- Use a thin 1/8″ drill bit and drill holes along the marked slot. These holes should be very close together – the first few almost overlapping. You can also slant the drill bit gently after making the hole to widen the hole. You want the hole to be large enough to comfortably fit a jigsaw blade through.

When you make your first hole, you can double-check to make sure you have the correct location. The hole should go right through, be visible, and fit perfectly in the grooves on the other side.
- Clamp the board, and use a jigsaw to cut out the slot.

Make sure that the plexiglass passes through the slot.
Step 4: Build the Frame
- Lay all the sides on the painter’s tape. Make sure they are all aligned and tight next to each other.
- Apply wood glue at all the joints.
- Roll up the painter’s tape and tightly bind everything together to make a frame.

- Check for square and correct as needed using clamps. See how to check for square.
- Allow to dry overnight.
Step 5: Cut the Plexiglass and Dowels
- Cut the plexiglass using a jigsaw, or you can just scribe it with a sharp box cutter and break it off.

- Cut the 3/8″ dowels to 1″ long sizes. You can also use metal rods if you have them and have a way to cut them down.
Step 6: Prepare the Stand

- Cut up the boards for the stand. I went with an asymmetric design, with the top and bottom being shorter than the size of the frame so the frame sticks out.

- Make holes for dowels on the joints using the dowel jig. If you would like to use a nail gun instead of the dowels, you can do so. I decided to use the dowels so there are no nailheads or screws visible.

- Measure and mark the location on the frame and the base and top of the frame for the rotating dowel. Make sure that they are identically located.

Step 7: Apply the Finish
This is a good time to apply the finish because once the frame is assembled, it will be very hard to reach into all the tight spaces.
- I applied a pre-stain conditioner and stained everything a medium brown. Don’t forget to stain the rotating dowels.

- Also, apply a top coat, but be careful and avoid the areas that are going to join each other so the wood glue is able to absorb into the wood fibres.
Step 9: Assemble the Rotating Picture Frame
It is time to put it all together.
- Attach the side to the bottom using wood glue and dowel plugs.
- Add the rotating dowel in the hole and add the frame.

- Add the rotating dowel at the top of the picture frame and wood glue and dowel plugs at the top of the side support and attach the top.
- Clamp it all together and allow the wood glue to dry.
And the rotating picture frame is done!
You can now add the pictures sandwiched between the two plexiglass pieces to showcase them.

I am so excited with how it turned out. I can’t believe I made it work and it wasn’t that hard in the end after all!

And guess what?! It can also be used horizontally (Of course, you would need a horizontal picture for that).

I actually can’t believe I got this idea to work. And when you think back to it, it wasn’t that complicated. The key is to make sure that the dowel plugs and the rotating dowel holes are all well aligned.
There you have it. A simple DIY rotating picture frame that makes a stylish and unique DIY gift idea.
More DIY Gift Ideas:
This is Day 5 of the DIY Gifts Week! All this week, I teamed up with my friends Shara from Woodshop Diaries and Kati from Houseful of Handmade to bring you new DIY gift ideas every day.
Click on the project below to go check out all the projects for today.
See Day 1 Projects here.
See Day 2 Projects here.
See Day 3 Projects here.
See Day 4 Projects here.
Anika's goal is to inspire and empower beginners with woodworking, DIY, home improvement, and home decor ideas.
She wants everyone to unlock their creative potential and experience the feeling that comes with making something. Nothing feels better better than seeing something and saying "I can make that!"


