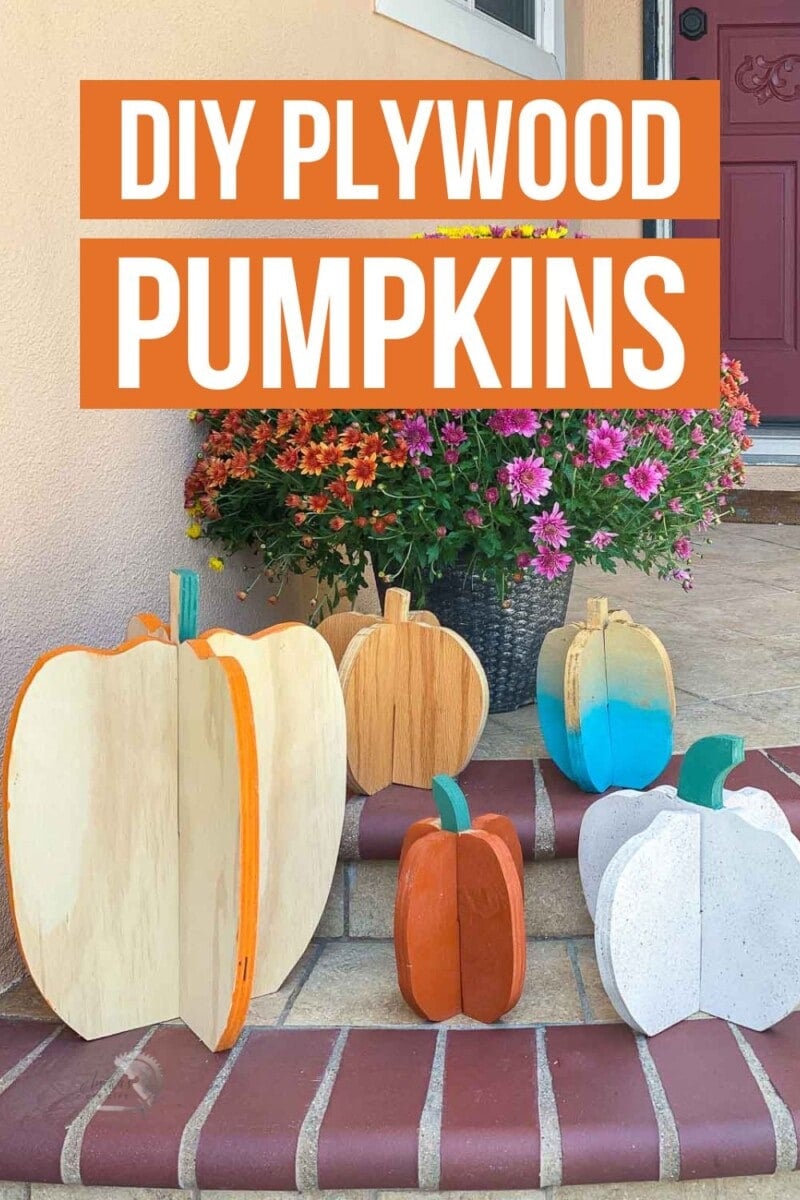
Easy DIY Plywood Pumpkins
Learn how to make simple 3D DIY pumpkins using plywood. They make the perfect indoor or outdoor fall decor and can be easily put away for storage.
Fall looks a little different where we live, but it doesn’t mean I don’t still like to decorate for the season.
Real pumpkins are great, but they don’t always last all season long. Especially after we carve them for Halloween.
There is nothing worse than carved pumpkins after they have been sitting for a couple of weeks. Yuck!
I decided I wanted to make 3D DIY wooden pumpkins and decided to make them out of plywood.
These simple plywood pumpkins are –
- easy to make in different sizes
- Can be dismantled and stored flat.
- budget-friendly – use scrap plywood or multiple pieces from one sheet.
What Type of Plywood to Use?
If you are making your DIY plywood pumpkins for outdoor use, where they will be seeing the elements directly, be sure to use pressure-treated plywood.
If they are going to be under a shade and protected, you can use regular plywood but be sure to seal them really well.
If you are making them to use indoors, use paint or stain-grade plywood.
Where to Use 3D Plywood Pumpkins?
You can use them on your front porch or in your yard. You can use smaller ones to decorate a fall mantle or use them as a centerpiece on your dining table.
Let’s make them!
***This post contains referral or affiliate links. It is a way for this site to earn advertising fees by advertising or linking to certain products and/or services. Please read my full disclosure here ***
Material Needed
- 3/4″ Plywood – the type of plywood will depend on where you plan to use the Plywood Pumpkins.
- Large paper for the template
- Paints in the color of your choice
Tools Needed
- Circular saw. See more about how to use a circular saw here.
- Jigsaw
- Rip-cut
- Clean cut jigsaw blade – top and bottom cut jigsaw blades have the best results. See more about how to use a Jigsaw here.
- Clamps
Tutorial
Step 1. Prepare Plywood
To make the wood pumpkins, you will need two pieces of plywood. You can use scrap plywood if you have pieces that are large enough.
I cut my plywood using a circular saw and a straight-cut guide. I find it easier to cut large pieces of plywood on the ground.
You could also have your local home improvement store cut your plywood for you if you don’t have a circular saw.
RELATED: How to Use a Circular Saw Without a Table

Step 2. Make a Pumpkin Template
The next step is to make the pumpkin template. I freehanded this but you can pull up images on the internet to use as reference. Remember, it doesn’t matter if it isn’t perfect. Natural pumpkins are never perfect 🙂
Here is how to make the template:
- Decide on the size of your pumpkin
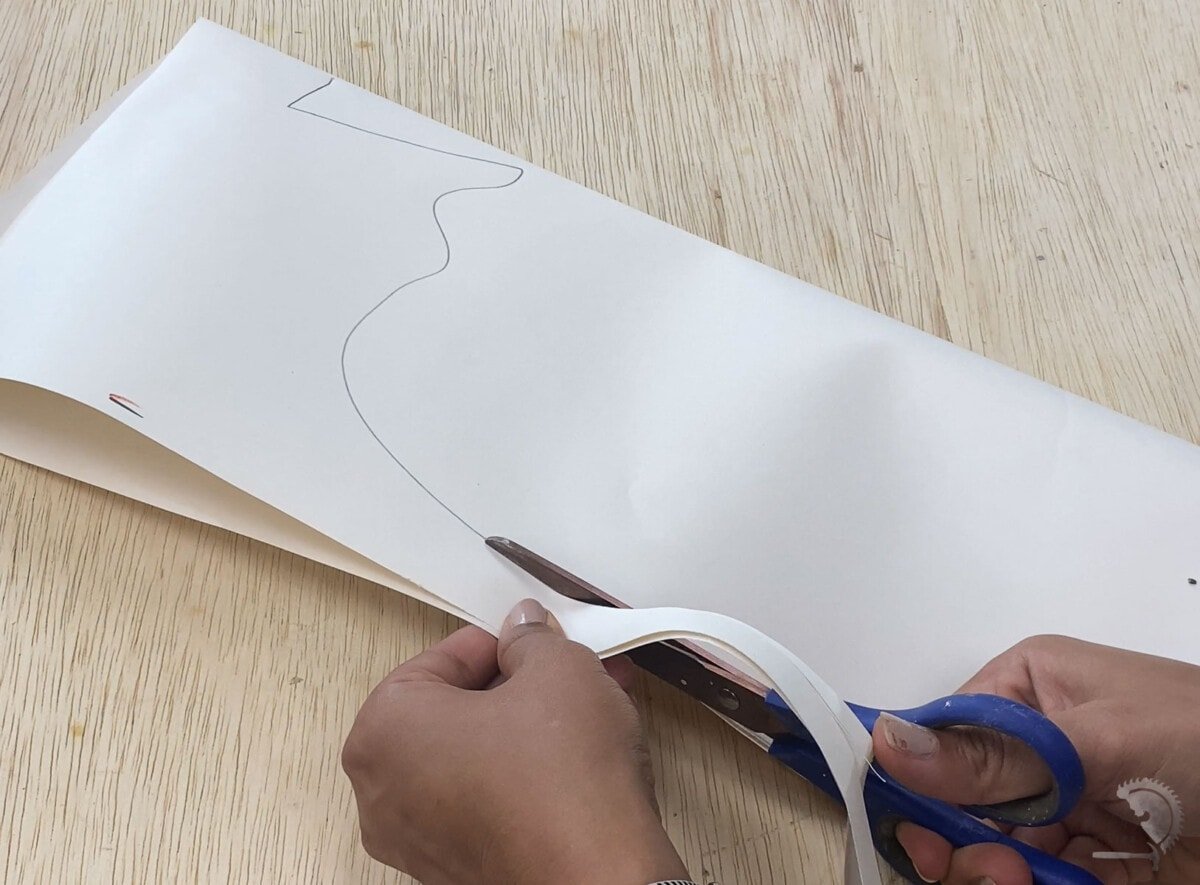
- Fold a sheet of paper in half
- Draw half the pumpkin on one side

Drawing the pumpkin shape on folded paper will ensure that it will be symmetrical. It is very important that the pumpkin shape be symmetrical.
Now you can go ahead and cut out the pumpkin shape keeping the paper folded for the symmetrical full pumpkin.
Now, you can trace it onto one of the pieces of plywood. This time, we are tracing the complete pumpkin.
Step 3. Cut Out the Pumpkin
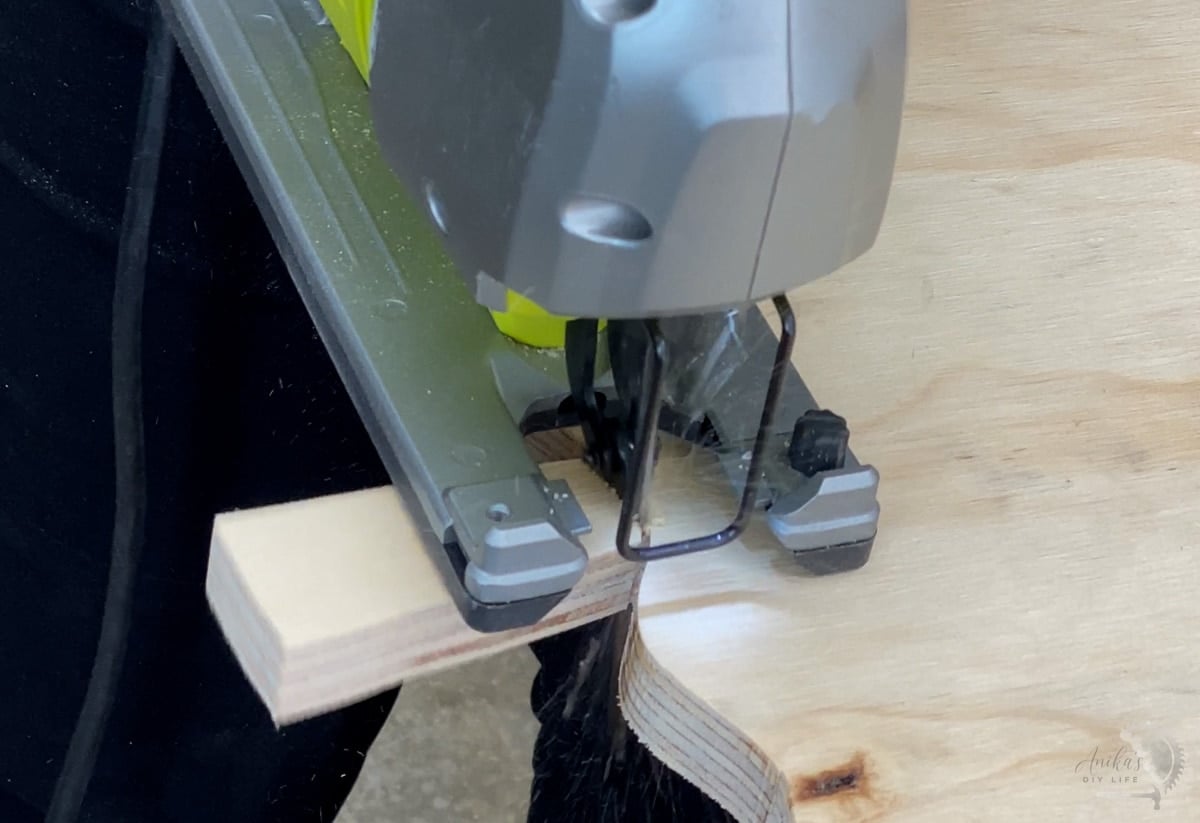
Now it is time to cut out the pumpkins from the plywood. We need two identical cutouts.
- Clamp your two pieces of plywood together so that they are exactly aligned.
- Cut out the pumpkin shape using a jigsaw.
Important: Clamping the two pieces of plywood together will create two identical cutouts.

Making sure the cutouts are identical, is crucial to putting your plywood pumpkins together later.
As you are cutting them out, don’t worry too much if you deviate from the drawn line a little bit. Remember, it is a natural pumpkin. The only thing to ensure is that both cut outs are the same.
- Cut the stem off one of the cutouts. This will be the bottom cut out for your pumpkin.
Step 4. Cut the Slots
This is the hardest part of this project only because it needs a little bit of measuring and math – but I’ve got you covered.
In order for the pumpkin cutouts to fit together, you have to calculate the center line and the height of the slot.
Here is how to do that:
- Measure the width of the bottom of the pumpkin.
- Divide that by 2. This is the midpoint of the pumpkin. You can draw a center line if you like.
- measure the thickness of the plywood.
- Divide that by 2 and mark that width on both sides of the center line.
- Measure the height of the pumpkin.
- Divide that by 2. This is the height of the slot.
Measure and mark the center of each cutout.
I used my template to draw the center line, but you could also use a straight-edge guide.

Draw lines for a 3/4″ slot on the bottom half of the cutout with the stem and on the top half of the cutout without a stem.
I used my combination square to draw the slots in the cutouts that will allow them to slide together.

Once the slots are measured and marked, cut them out using a jigsaw.

Step 5. Finish
Once the slots are cut, slide the two cutouts together for a perfect pumpkin. They should fit together snugly because we aren’t using wood glue.
You want to be able to pull them back apart to store them away when the season is over.
Sanding is optional. If they don’t quite fit together, you can lightly sand the slots to make it easier.
Depending on how smooth you want the painted finish to be you could sand each cut out before painting.

You can leave them natural or paint them any way you want. Be creative and have fun with it.
You could use spray paint, or paint them with a paintbrush. Add some raffia around the stems or distress them for a rustic look. The possibilities are endless!
When painting a solid color as I did with orange paint, be sure to use a base coat of primer first to ensure even coverage.

As you can see, you can make them in all shapes and sizes. That’s what makes this project so much fun!
Check out these 21 Creative DIY Wooden Pumpkin Ideas for more ways to make wooden pumpkins.
Anika's goal is to inspire and empower beginners with woodworking, DIY, home improvement, and home decor ideas.
She wants everyone to unlock their creative potential and experience the feeling that comes with making something. Nothing feels better better than seeing something and saying "I can make that!"


Wow, this is amazing designs, really i like so much your woodworking jobs, that why i have follwed you on fbook and youtube. I see your all videos and visit your site daily..
https://sawbank.com