Easy DIY Tool Box Organizer Using Wood
Want to build a wooden DIY tool box? With these beginner-friendly plans, tools, and supplies, you can build your first toolbox in under an hour!

A tool box is a great way to organize anything around the home, not just tools. Plus, it makes a great gift!!
It typically has a handle at the top for ease of carrying and one or more compartments to store and organize the items.
Some wooden toolboxes also have drawers which make them even more effective in the organization.
A tool box organizer can be used as –
- Tool storage (of course)
- A utensil caddy in the kitchen
- A shower caddy in the bathroom
- Office supply organizer.

A wooden toolbox has a very traditional design.
I decided it needed a little more versatility. So I added a little extension to help keep larger items like drills, etc easily.

As always, I made sure that this project is:
- Easy to build
- Needs basic tools
- Is super quick – can be done in about an hour
- Uses pretty small pieces of boards which you can potentially find in your scrap wood pile.
Let’s get building.
***This post contains referral or affiliate links. It is a way for this site to earn advertising fees by advertising or linking to certain products and/or services. Please read my full disclosure here ***
Material Needed
- Lumber per the plans. (1×8, 1×3, 1×3 boards or plywood)
- 3/4″ dowel
- 1 1/4″ brad nails or you can use trim head screws.
- Wood glue
Tools Needed
Follow me on Instagram @anikasdiylife to see all the behind the scenes and sneak peeks of my new projects
How to Build the Tool Box
Building this toolbox organizer is very straightforward. In fact, it makes a great project for kids to make as well.
You can make the cuts and have them add the glue and nails (with a hammer of course).
Step 1 – Make the Cuts
- Make the cuts per the plans.
- The two end pieces are cut using a jigsaw per the measurements in the plans.
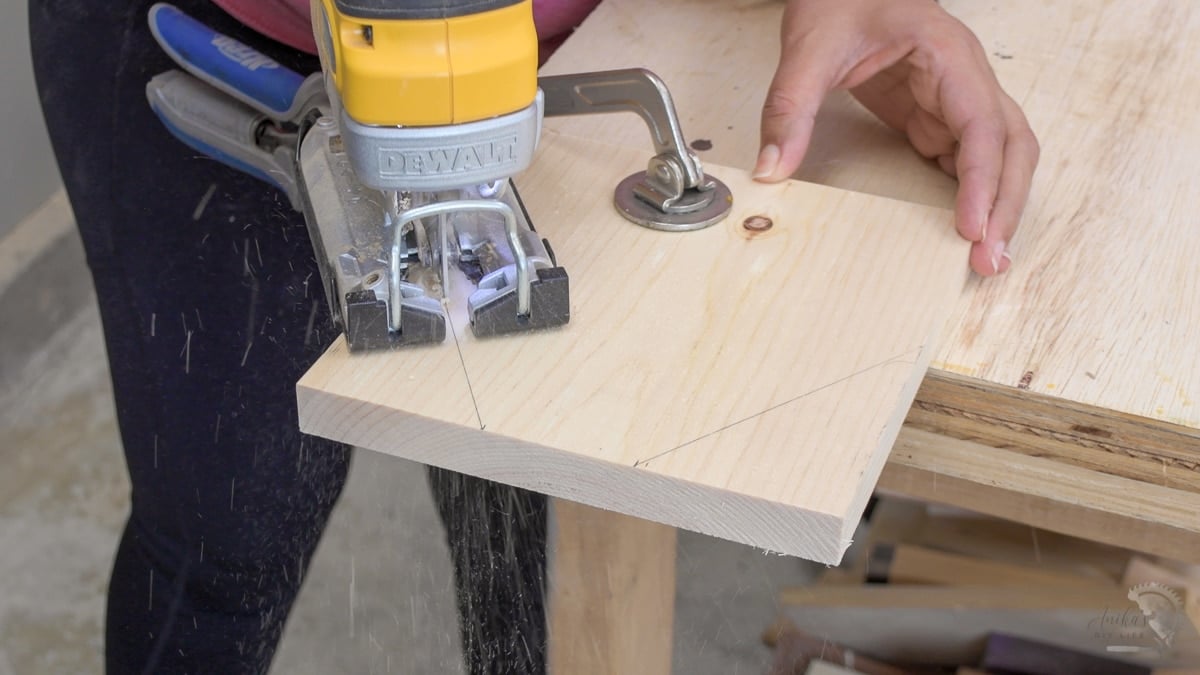
Note: Be sure to use a dual-direction jigsaw blade for a clean cut so you can minimize tear-out and sanding. See more details about the dual-direction blade in how to use a jigsaw guide
- Sand all the pieces down prior to assembly.
Step 2 – Build the Box
Build the box using wood glue and finish nails or trim head nails to attach the ends.
One end has an angled piece.
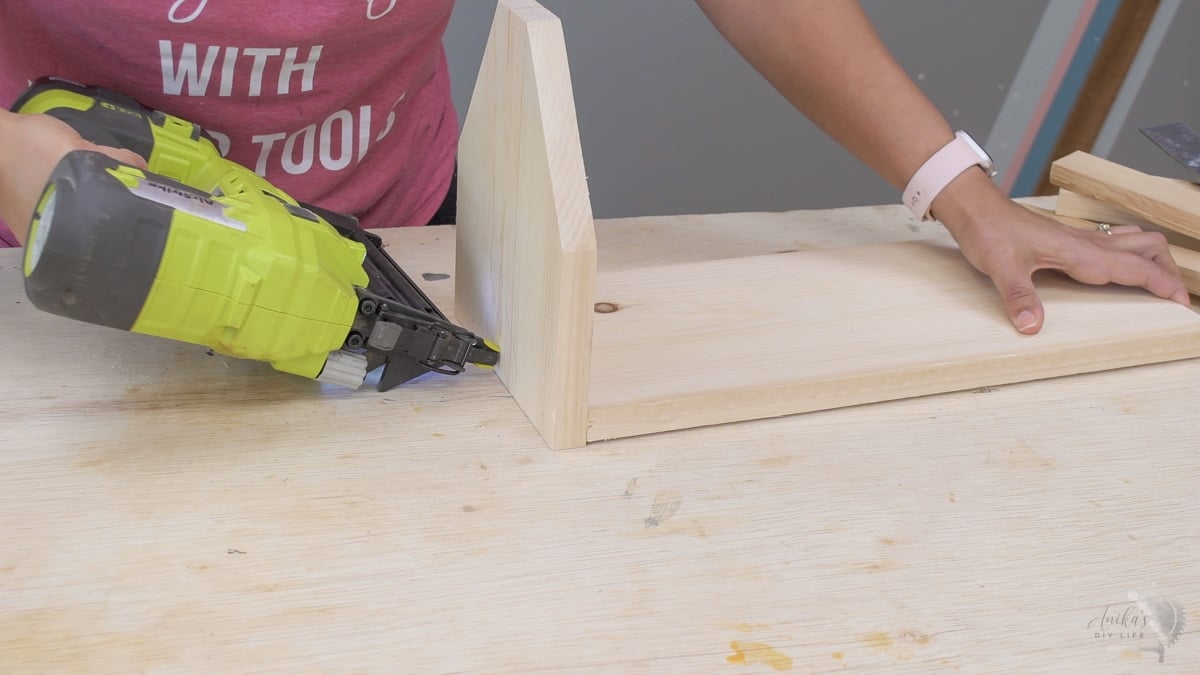
The other end is a simple piece of 1×8 board.
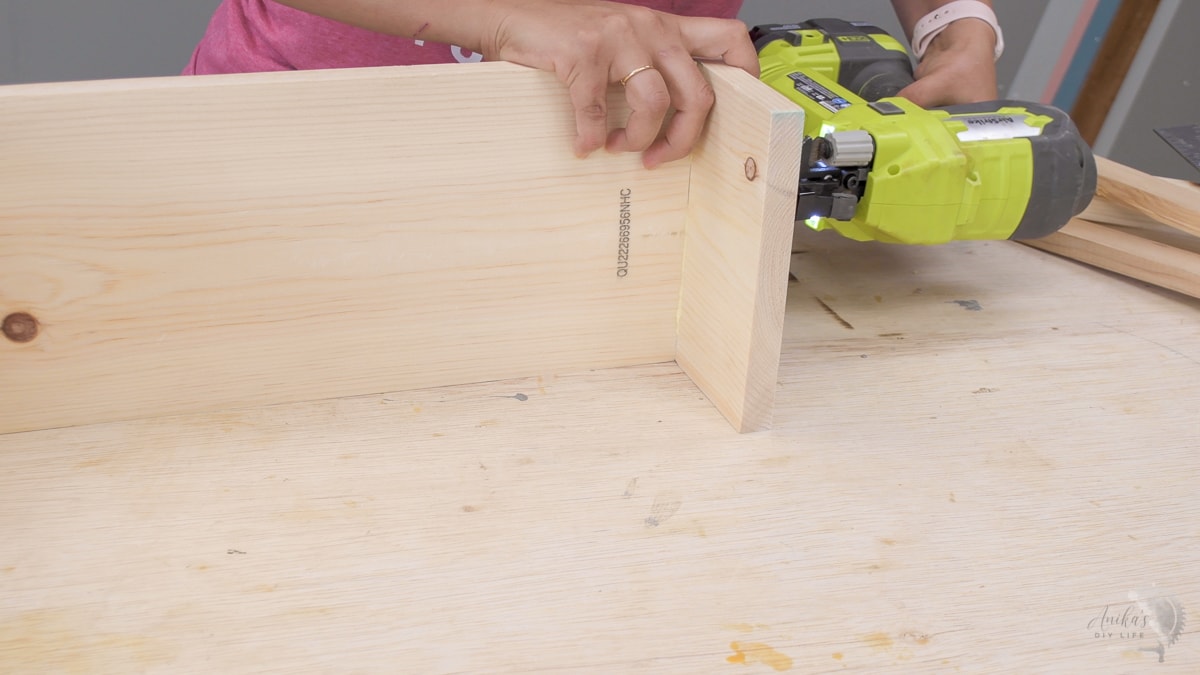
Attach the 1×3 and 1×2 side pieces using wood glue and finish nails/trim head screws.

The design is such that the 1×3 is aligned with the bottom and the 1×2 is aligned with the edge of the side piece where the angle starts.
Step 3 – Add the Dividers
The first divider is the angled board that will also be attached to the handle.
To attach this, measure and mark the location, apply glue and insert the board. Attach using finish nails from the outside.
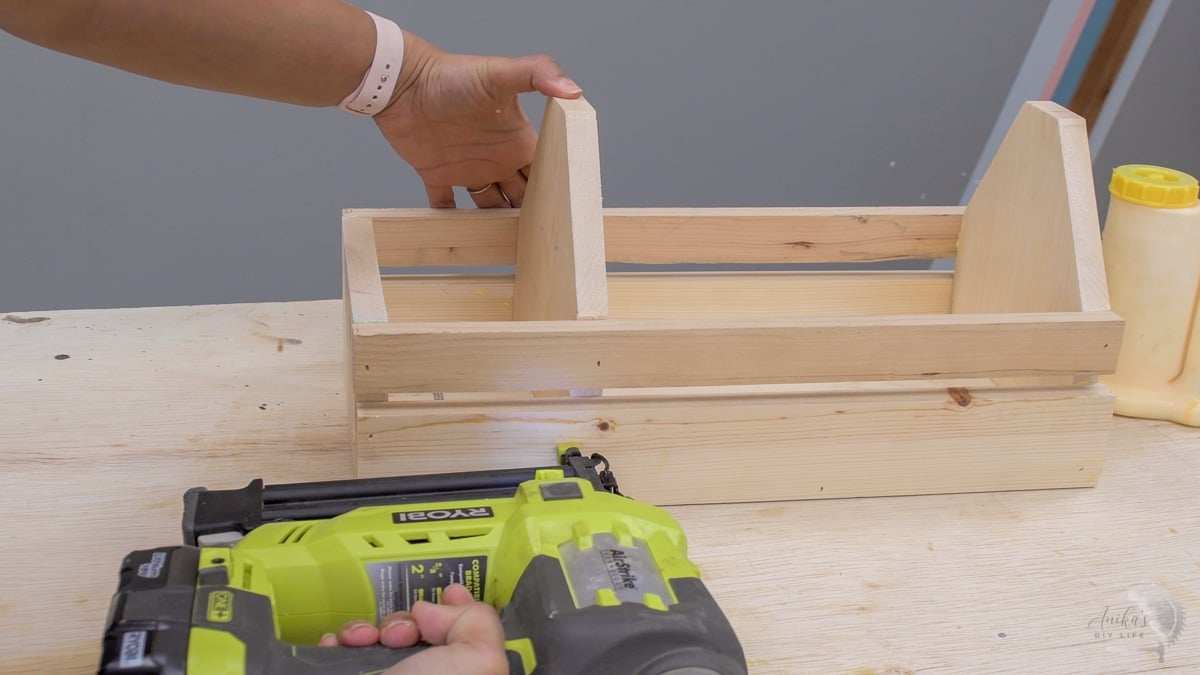
Attach the remaining dividers inside. The dividers are completely optional and flexible, you can also make a divider that runs parallel to the sides.

Step 4 – Add the Dowel Handle
Apply glue and add the dowel handle between the two angled ends. The dowel should be fairly tight fitting.
Secure it with finish nails. You can also use screws if you would like.

Step 5 – Finish
Stain and paint in the color of your choice.
I painted the handle and the bottom of the tool box white. Hence, I stained the tool box before attaching the handle.
That’s it! Here is the completed tool box organizer.
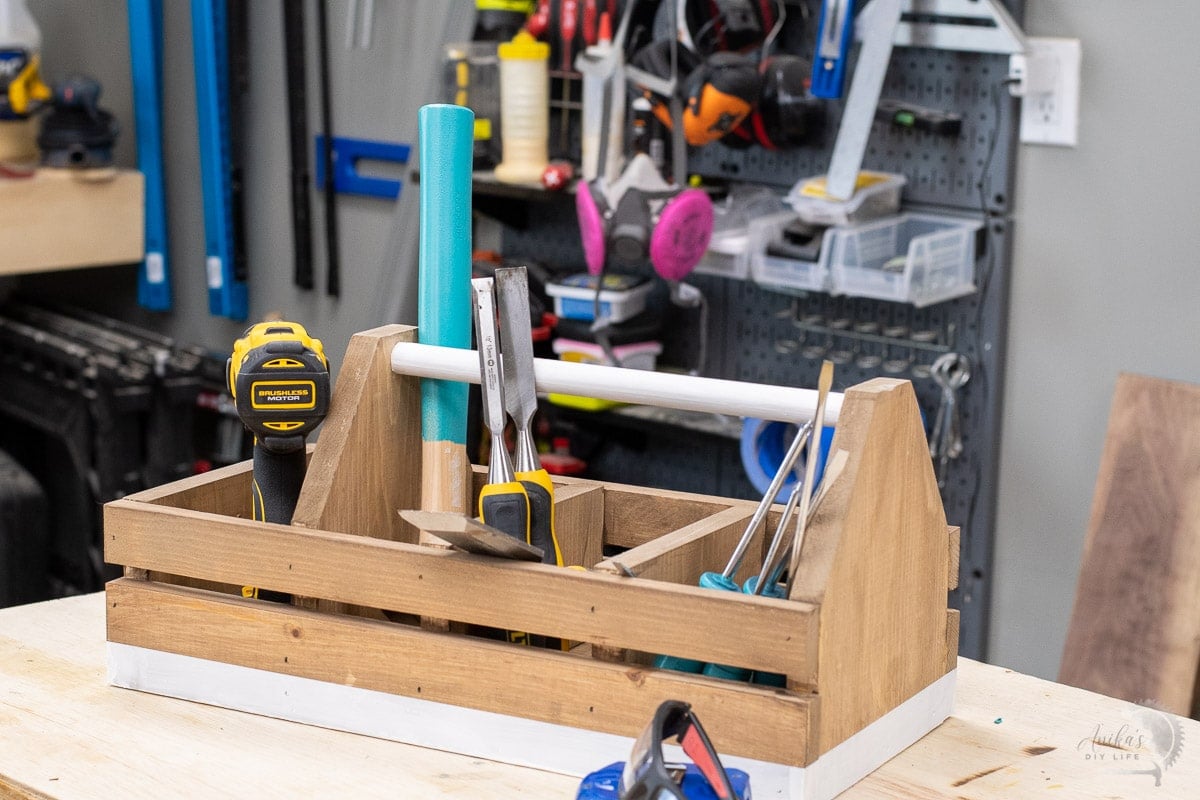
There are so many ways to use it.
I am actually going to be using it for my kids to hold all their art supplies. They can easily move it from one place to another and everything will be organized in one spot.
I might actually add a few more dividers to help organize better.
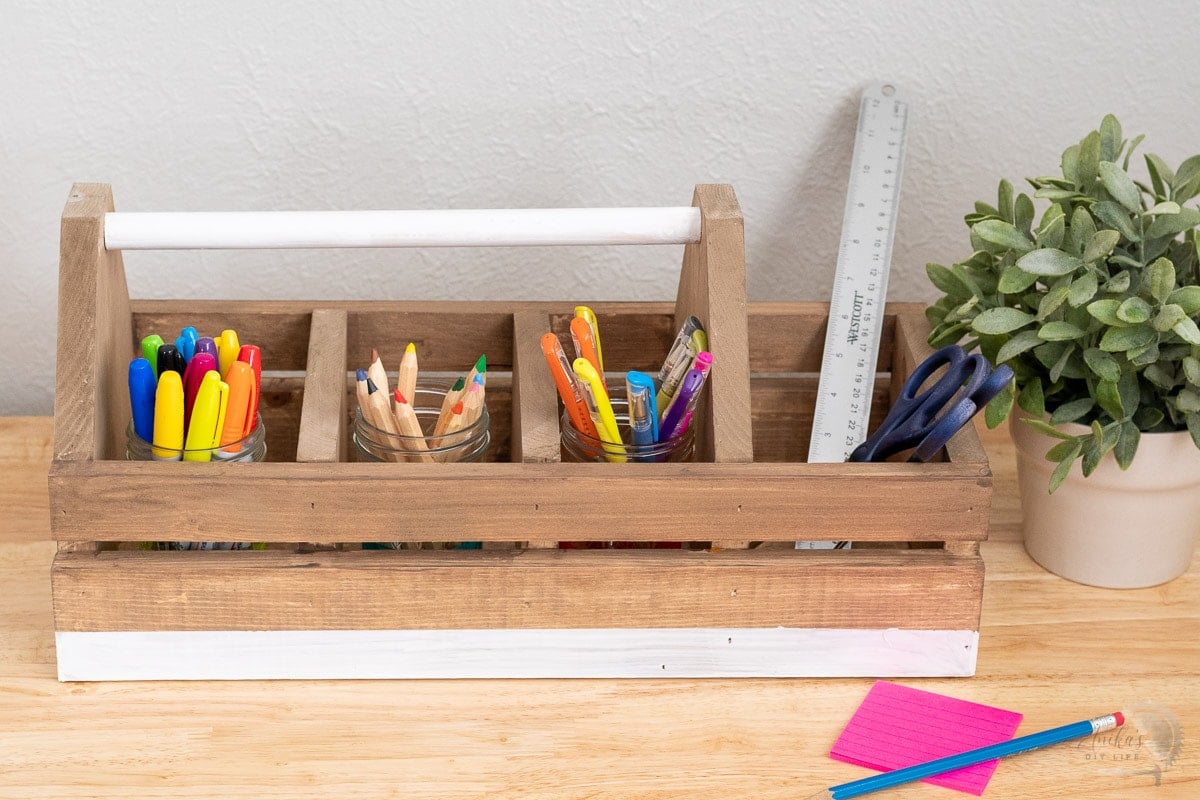
What will you use it for?
Printable Plans for the Toolbox
You can get step-by-step printable plans for this wooden tool box organizer by clicking the link below.
If you build it, I would love to see it! Feel free to email photos to me at [email protected] or tag me on Instagram @anikasdiylife for a chance to be featured on social media! I can’t wait to see what you build!
You May Also Like –
Anika's goal is to inspire and empower beginners with woodworking, DIY, home improvement, and home decor ideas.
She wants everyone to unlock their creative potential and experience the feeling that comes with making something. Nothing feels better better than seeing something and saying "I can make that!"


