How to Build a Wooden DIY Foot Rest
Learn how to build an easy wooden DIY foot rest for under your desk in under 30 minutes! This angled design is perfect for improving posture & ergonomics.

A few years ago, I built this simple wooden footrest for myself to go under my DIY desk, and honestly, it quickly became one of the most useful things in my office.

Now that my husband works from home, he finally needed one too, which meant it was time for an update! Plus, surprisingly, this has become one of the most popular DIY gift ideas from my site, so I thought it was a great time to redo it.
I built a new one, filmed a super detailed step-by-step video, and I’m sharing all the best tips below.
Ergonomic Benefits of a Footrest: Why You Need One
If your feet don’t comfortably touch the floor while sitting at your desk, you absolutely need a footrest to maintain an ergonomic position. Using a footrest offers several benefits for your health and posture:
- Footrests help elevate the legs slightly, improving blood flow and relieving pressure.
- They take pressure off the lower back, minimizing discomfort and muscle tension.
- Ensures your hips, knees, and ankles are positioned at the optimal 90-degree angle to improve your posture.
- Improved pressure distribution can help decrease swelling and varicose veins.
DIY Wooden Foot Rest Design

The market is flooded with plastic footrests, but a custom, angled wooden design is sturdier. Based on my research, here are the main design considerations for the perfect DIY footrest:
- The most important thing about a footrest is that it should be angled. Footrests available in the market generally have a variable angle between 10° and 20°.
- It should be large enough so that the whole foot rests on it.
- With your feet flat on the footrest, a minimum thigh clearance of 7 inches should remain between the top surface of the seat pan and the underside of the work surface.
Mine cannot be variable, so I settled on a 15° angle.
Tip: If you’re building this as a gift, ask the recipient (or measure their desk/chair setup) to make sure that the 15° angle and height will work for them!
***This post contains referral or affiliate links. It is a way for this site to earn advertising fees by advertising or linking to certain products and/or services. Please read my full disclosure here ***
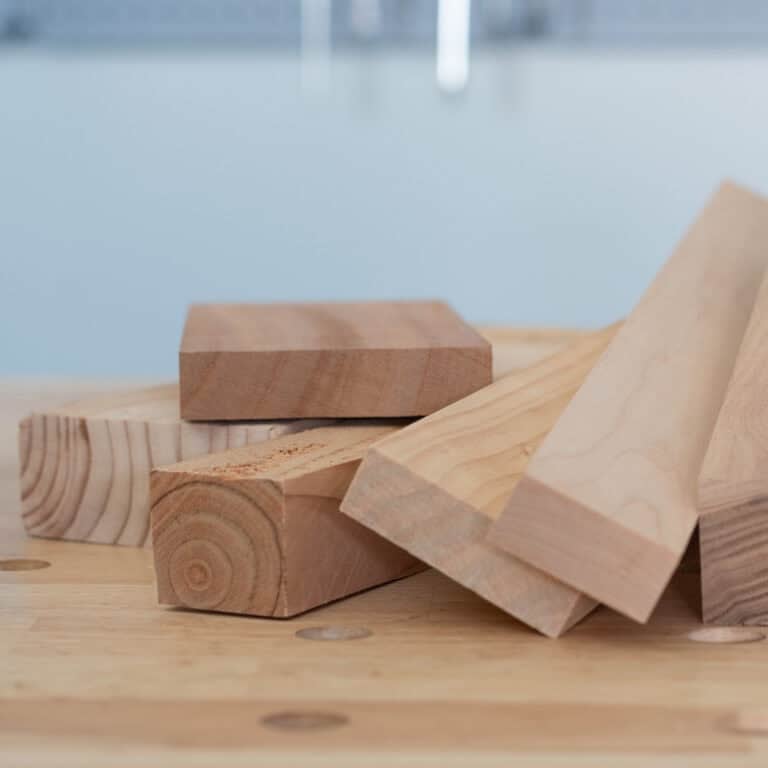
Supplies Needed
- Lumber per the plans
- 1¼” finish nails
- Clamps. I like these.
- Wood Glue
- Paint/stain of your choice
- Clear Coat. I used this one.
Tools Needed
I have slowly upgraded my tools over the years, and below I have added both the tools I use in my shop and beginner-friendly options so you can pick what fits your budget.
- Miter Saw – What I use | Beginner Option
- Jigsaw – What I use | Beginner Option
- Sander – What I use – I have had this since 2015 and still going strong!
- Brad nailer – What I use | Beginner Option
It’s a quick and easy project, made mostly from scrap wood, and you can build it in under 30 minutes!
Grab the Plans
Want to build your own version? I’ve created detailed step-by-step plans and a complete supply list to help you make this project. Click on the button below to get the plans.
Watch the Video: How to Build This Easy DIY Footrest
Watch the video below for a visual guide to the entire process. You can see exactly how I measure, cut the tricky angles, and assemble the slats.
How to Build a wooden foot rest
Honestly, you’ll be surprised how incredibly easy this project is. Aside from the angled side panel cuts, it’s extremely straightforward and can be completed in about 30 minutes or less.
Step 1: Cut and Prepare the Boards
- Using a miter saw, or circular saw, make the cuts per the cut list.

Tip: All the cuts are at 12″, so if you are using a miter saw, it is easiest to set up a stop block to help make the cuts quickly and uniformly.
See how to use a miter saw.
See how to use a circular saw.
- Mark the cut for the 1×8 board. This can be a little tricky but it is designed to be just one cut through the whole board.

- Use a jigsaw to make that angled cut.
Tip: It is best to set up a guide for the jigsaw to make a straight cut through the board. I highly recommend watching the video to see how to do that.

- This is a good time to sand down all the boards. Learn how to sand wood the right way.
Step 2: Attach Slats
- Use wood glue and finish nails to attach the first 1″ x 3″ slat at the very top of the side supports. Then, attach a second 1″ x 3″ slat at the very bottom.

Attaching in this sequence helps make sure that the alignment is right, as well as gives us a sturdy structure to attach the rest of the slats to.
- Attach the remaining slats with a gap of ¾”. I used a scrap board for the spacing.

Step 3: Finish and Seal as Desired
- Paint or Stain: Finish the footrest in the color or stain of your choice. My original was whitewashed, but my husband opted for a stain, so it disguises itself as the floor.
- Seal It: This is the most important step for durability! Since this footrest will get scuffed by shoes, you absolutely need to seal the wood well with a clear top coat (like polyurethane) so it’s easy to wipe clean.
That is it!

That’s a durable, custom wooden footstool for under the desk!
Whether you keep it for yourself or wrap it up for a friend, this is one project that will definitely be used daily.

I have actually been using mine for over 7 years now, and having it under my desk has been really great!
Having an ergonomic computer footrest makes sitting at the computer for long periods of time so much more comfortable.

Don’t forget! You can get this entire project in a printable format in your email by clicking the button below.
Trust me, everyone should have one of these!
It is a quick and easy project that you can make today and you might already have the wood cut offs in your pile to make it!
See more scrap wood project ideas.
More DIY Gift Ideas:
This is Day 1 of the DIY Gifts Week! All this week, I teamed up with my friends Shara from Woodshop Diaries and Kati from Houseful of Handmade to bring you new DIY gift ideas every day.
Click on the project below to go check out all the projects for today.
Art Easel for Kids by Woodshop Diaries
DIY Playing Card Holder by Houseful of Handmade
More Workspace project ideas


Anika's goal is to inspire and empower beginners with woodworking, DIY, home improvement, and home decor ideas.
She wants everyone to unlock their creative potential and experience the feeling that comes with making something. Nothing feels better better than seeing something and saying "I can make that!"


Interesting Piece of work. Thanks!
What a clever idea! The stool I have now is just not working out. I’ll have to try this one. 🙂