How to Make a French Cleat – 2 Easy Ways
French cleats are very popular because they are easy to make and help hang heavy objects securely. Learn how to make French cleats using a table saw or a circular saw.

A French cleat system is a simple and easy way to hang heavy items on the wall. It is commonly seen in workshops as tool storage, but French cleats go beyond the workshop. They can be used to mount cabinets, heavy artwork, and even mirrors.
Table of Contents
Video Tutorial
What Is a French Cleat?
A French cleat system is a type of bracket that uses two pieces of wood cut at complementary angles, typically 45 degrees, that interlock.
One piece of the cleat is mounted to the wall (into the studs), with the angled edge facing upwards and inwards. The other piece is attached to the object to be hung, with its angled edge facing downwards and inwards.

When the object is placed against the wall, the two angled pieces slide together, creating a secure and sturdy mount.
The French Cleat is usually pretty long, which helps evenly distribute the weight and support heavy objects.
Advantages of French Cleats
- French cleats can be used to hang almost anything, from heavy cabinets to small tools, making them incredibly versatile.
- By simply adjusting the size and spacing of the cleats, they can be customized to fit any space and accommodate a wide range of items.
- The interlocking nature of the cleats distributes weight evenly, allowing them to support a significant amount of weight securely.
- French cleats are a great alternative when you have a limited number of studs and want to hang something between them. All you need are two studs to attach the cleat to and you can hang heavy items anywhere on the cleat.
What Do You Need to Make French Cleats
French cleats can be easily made using scrap wood like 1×4, 1×6, 2×4, 2×6, or plywood. I prefer using plywood because it is strong and stable. French cleats are a great way to use up scrap plywood strips. 3/4″ plywood is very commonly used for heavy-duty French cleats. You can make French cleats out of ½” plywood as well if needed. Construction lumber (or 2×4, 2×6) can also be used.
Making accurate cuts is important to make reliable French cleats. A table saw is the easiest way to make an accurate cut and a French cleat. However, a circular saw can be used as well. Ideally, you can also use a jigsaw. However, a jigsaw isn’t great for long cuts and can cause inaccuracies.
In this tutorial, I will show you how to use a table saw and a circular to make the French cleats. The process of using a jigsaw will be the same as with the circular saw. However, I would only recommend a jigsaw if you do not have access to a table saw or jigsaw.
Angle on a French Cleat
Typically, French cleats are cut at 45-degree angles. However, the angle doesn’t necessarily need to be exactly 45 degrees. It can be a little off if you use both sides of the cut in your bracket. If you end up cutting at 48 degrees, the other side will be 42 degrees and will still fit together.
However, I highly recommend trying to get it as accurate as possible to future-proof the French cleat. If you need to hang something else on the same French cleat, all you need to do is cut the new board at 45 degrees. This is especially helpful if you are making a French cleat wall.
Uses of French Cleats
Since they are so versatile, French cleats can be used in many applications. Here are a few examples:
- Tool walls for workshops
- Wall organizers
- Hanging cabinets
- Hanging headboards
- Hanging heavy art
***This post contains referral or affiliate links. It is a way for this site to earn advertising fees by advertising or linking to certain products and/or services. Please read my full disclosure here ***
Tools Needed
- Table saw or circular saw
- Circular saw guide (if using a circular saw). The Straight Edge Guide is a great option.
- Measuring tape
- Kreg Multi-mark
- Speed Square
- Digital angle finder (optional but highly recommended)
- Screws to mount french cleat to wall
- Screws to attach french cleat to object
- Power Drill/ Driver
- Push block
How to Make a French Cleat Using a Table Saw
The table saw is the easiest, quickest, and precise way to make French cleats.
Step 1: Prepare the Boards
You can start with any width of board. I am starting with a 5″ wide piece of 3/4” plywood. This way, once it is ripped, it will give me enough space to add the screws to attach it to the wall or the product.
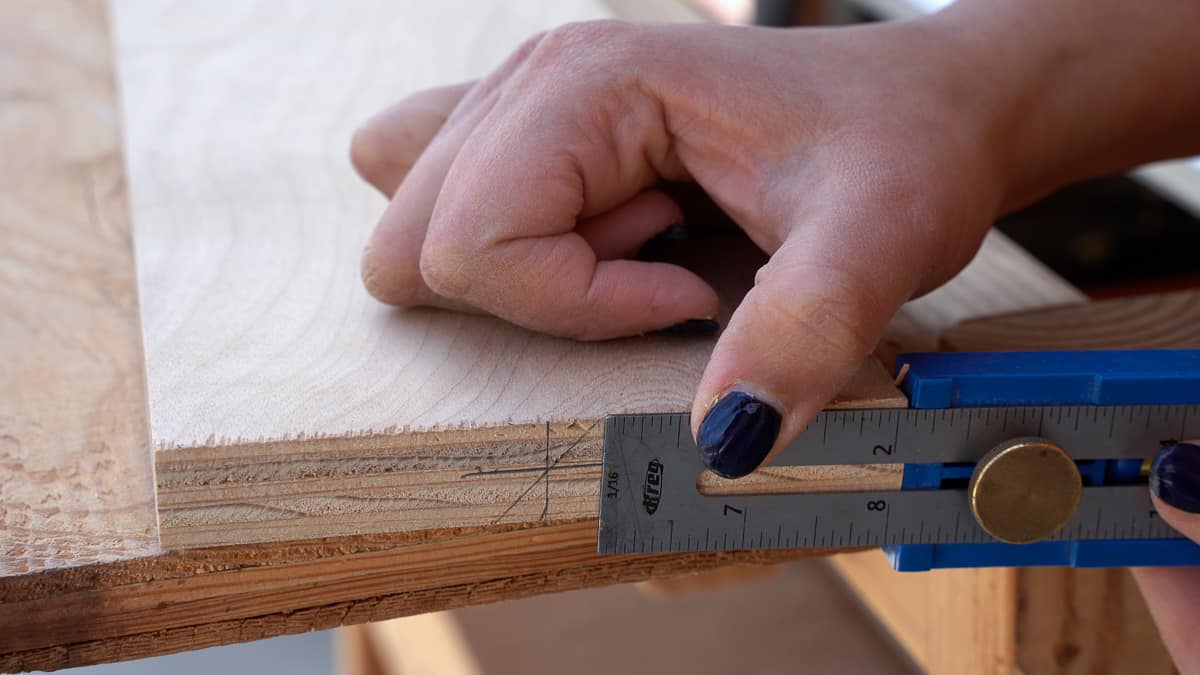
- Measure and mark the center of the board. In my case, it is 2.5″ width-wise and 3/8” along the height.

- Mark the 45-degree angle to cut the board. You can do this using a speed square. Make sure to align the lip to the bottom of the board and the 45-degree angle to the center you marked and draw a line.

Step 2: Set up the Saw
- Set up the saw blade to 45 degrees.
Tip: Use a digital angle gauge to make sure you get an accurate angle.
- Measure the distance between the edge and the tip of the 45-degree mark. Use this measurement to set up the distance of the table saw fence from the blade.
Note: In this case, we want to try our best to align the cut with the middle of the saw blade. We are not going to be aligning for kerf. We want the blade to cut through the exact middle of the board for two identical pieces.
It is a great idea to run some test pieces before running the actual boards.
Step 3: Make the Cut
- Run the board through the table saw to make the cut. Be sure to use the safety equipment like a stop block.

AND you have your French cleat!
How to Make a French Cleat Using a Circular Saw
When using a circular saw to make the cut, you will start with a sheet of plywood instead of a ripped piece like with the table saw. You will need to make two cuts – one beveled and one straight.
See how to use a circular saw.
Step 1: Set up the Circular Saw Guide
- Measure and mark 2″ from the edge of the plywood.
- Set up the saw guide for a cut at 2″ from the edge. I am using a homemade guide but a Straight Edge Guide works great.
Anytime you cut with a circular saw, you want to use a guide to get accurate cuts and prevent blade pinching and kickback. The guide can be a Straight Edge Guide or a homemade guide.

Step 2: Make the First Cut
- Set the circular saw blade to 45 degrees.
- Make the cut by keeping the saw’s baseplate against the guide for the entire cut.

This gives you the first piece of the French cleat.
Step 3: Make the Second Cut
- Set the circular saw back to 0 degrees.
- Set the straight edge guide to make a cut at 2 3/4“.

- Glide the circular saw base against the straight edge and make the cut.

This gives you the second part of the French cleat.
How to Install French Cleats
A French cleat is made of two parts – one that goes on the wall and one that goes on the item you want to hang.
The two pieces are interchangeable but you want to pay attention to the direction in which you attach the cleats.
Step 1: Attach the Cleat to the Wall.
- Find studs in the wall. I like using this simple stud finder for this.
Note: You should try your best to attach the cleats to the studs. If there are not studs available, you can use toggle bolts to attach the cleats as well. However, the screws need to countersink into the wood.
- Measure and mark the exact location to hang the object. I like to mark the top of the object and then measure down 5″. This is going to be the bottom of the cleat.
- Make a straight line at that location using a level.
- Attach the cleat with the short side facing the wall. Use 3″ long screws into the studs. Ensure that the screws are countersunk.

Step 2: Attach the Cleat to the Object
- Align the straight edge of the cleat to the top of the object, or close to the top. With the short side facing inwards, attach using countersunk wood screws.

Step 3: Add the Spacer
Since the cleat is behind the object, it will be offset the object away from the wall. To keep the object straight, we need to add a spacer.
- Attach a piece of wood to the bottom of the project that is the same thickness as that of the cleat. I like to use a scrap leftover from the cuts.

Note: If you do not want to have the offset, you can inset the back of the project and add the cleat such that it is level with the outside frame eliminating the need for the spacer and keeping the object flush to wall.
Step 4: Hang It Up!
Lift the object and hook the two cleats together. The opposing 45-degree bevels lock together, making a very stable bracket.

The only way to remove the object is to lift it up and away. You cannot pull it off of the wall anymore.
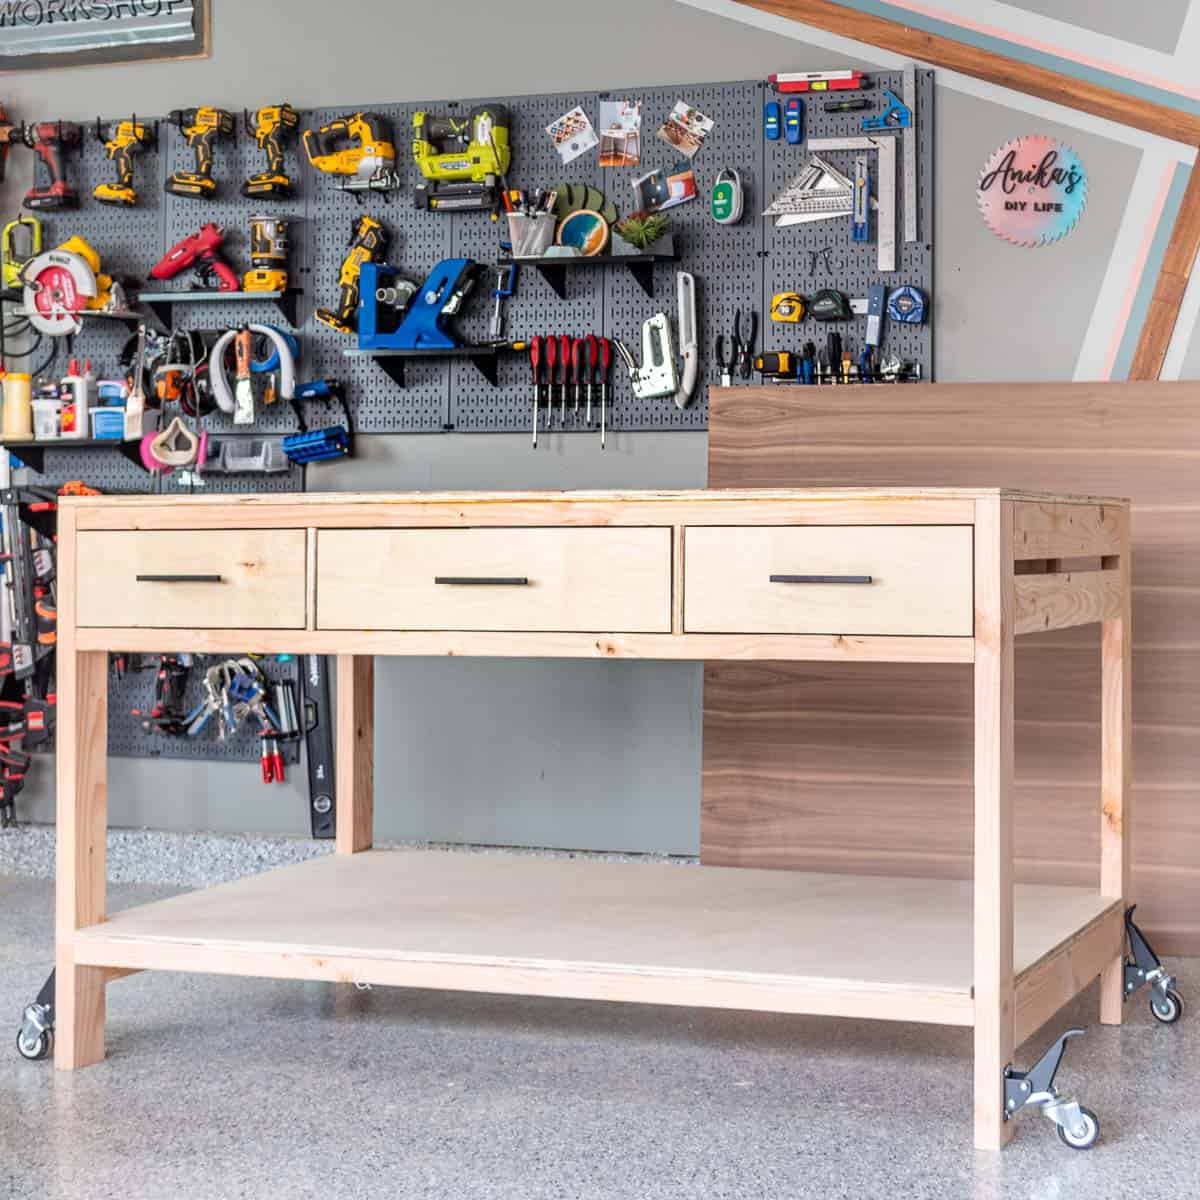
I built this French cleat system to hang the tool battery charger and the sandpaper organizer on the wall.
French cleats are an easy project and you can quickly make a bunch of them to hang up all types of projects. Once you make a few, you will be obsessed.
You might also like:


Anika's goal is to inspire and empower beginners with woodworking, DIY, home improvement, and home decor ideas.
She wants everyone to unlock their creative potential and experience the feeling that comes with making something. Nothing feels better better than seeing something and saying "I can make that!"


Great job, a very useful project ……………….Lewis