How to Use a Circular Saw Without a Table
You don’t need a workbench or large workshop! Learn how to use a circular saw without a table and make good-quality cuts easily.

A circular saw is a great woodworking saw to get started with. It is portable. It can cut large sheets of plywood, dimensional material, and even metals. It can make rip cuts, cross cuts, and bevel cuts.
I recently shared a detailed article about how to use a circular saw.
We often see woodworkers using a saw on a table and conclude that we need a table or a workbench to be able to use it. If you are just starting, chances are you don’t have a large workshop with a worktable.
Guess what? You don’t need a table to use a circular saw. You can set it up on your garage or driveway floor or even your balcony and use it. In fact, I still use my circular saw on the floor when I am cutting plywood.
Let’s dive into exactly how to use a circular saw without a table. To do that, first, let’s discuss a few things you need to keep in mind when using a circular saw.
Considerations When Setting up a Circular Saw
No matter where you set up your material to cut with a circular saw, here are a few things you should keep in mind not just for getting a good quality of cut but also to ensure safety.
Supporting the Material
When you are cutting a sheet of plywood or dimensional lumber, it is crucial to have the material supported and stable as you cut – on both sides of the cut line.

You don’t want the material vibrating or shifting as you cut. This can not only lead to your cuts getting messed up, but it is also very unsafe.
When using plywood, always support the sheet or if using dimensional lumber, clamp it, so it doesn’t move.
Support the Cut Line
The most important part of cutting with a circular saw is to make sure the material across the cut line is supported – especially at the end of the cut. If not, it can cause blade binding and kickback.

Blade binding happens when a spinning blade gets trapped in the wood you are cutting. As you cut the board, you will see the kerf. This is the part of the board that turns into sawdust. As long as the blade is spinning within the kerf, it is safe. If there is any amount of twisting, the blade gets stuck and can lead to kickback.
Another important reason to keep the cut line supported is to keep the two sides of the cut from collapsing into the cut as you get to the end of the cut. This can cause the blade to bind and cause the ends of the cuts to splinter and rip apart, leading to an undesirable quality.
Space for the Sawblade
When setting up the circular saw to cut, the saw’s blade is set up such that it is 1/4″ below the bottom of the surface being cut. This means that whatever you use to prop up your board, you will be cutting into it. In fact, you should be able to cut into it.
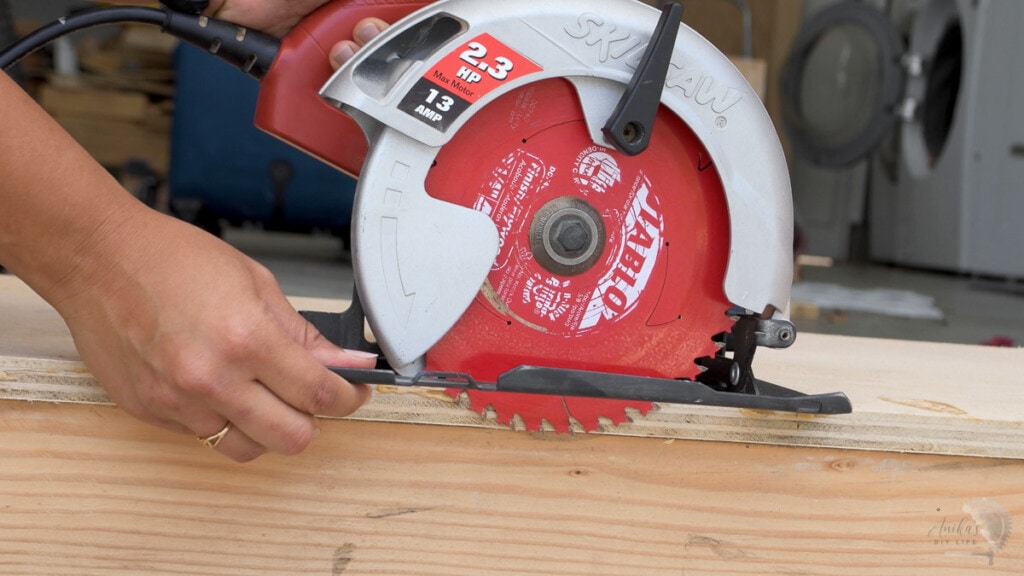
Therefore, you want to choose your supporting material wisely to ensure that the blade can cut into it. For example – you don’t want to set up your wood board on metal supports because you will be using a wood cutting blade.

***This post contains referral or affiliate links. It is a way for this site to earn advertising fees by advertising or linking to certain products and/or services. Please read my full disclosure here ***
Options for Using a Circular Saw Without a Table
As discussed above, you need to have the right support to use a circular saw safely and effectively. The good news is that you don’t need a table. In fact, I still use my circular saw on the floor because my workbench is only 2′ x 4′.
There are a few options for supporting the board or sheet you cut with a circular saw on the floor.
Sheet of Foam Insulation
This is fairly commonly used, and you may have seen it in many videos and tutorials. A sheet of foam insulation is very inexpensive and usually comes in 4′ x 8′ size.
One of the main advantages of using the foam sheet is that it can support an entire sheet of plywood, and you don’t have to worry about supporting near a cut line.
Also, since it is foam, you don’t have to worry about the blade you are using. Any blade that works with your material will work.
However, one of the main disadvantages is that the sheet is huge and can be a hassle to store. This is the main reason I do not use one.
Another disadvantage is if you are using a straight edge to clamp and cut, you won’t be able to clamp it since there is no space for a clamp under the foam.
Structural Lumber
Another option is to use 4×4 or stacked 2×4 boards to prop up the plywood. These can be easily stored away. In fact, I use a 4′ 4×4 piece and a bunch of other 4×4 blocks in varying lengths to support my workpiece in various places.

The long 4′ board supports the end of the cut line to keep the boards from collapsing in, and the other blocks support the material near the cut line and various places to keep it level and sturdy.
Using boards to have the plywood at least 3″ above ground is also helpful in being able to clamp a straight edge if needed.
These can also be used when cutting dimensional lumber with a circular saw.
Sawhorses
If you would like to get off the floor, a set of foldable sawhorses is an option. I would recommend laying a couple of 2×4 boards across the sawhorses to support the material, similar to using them on the floor.
I hope this alleviated some of your concerns with working with a circular saw and not having a proper worktable or workshop to use.
Making a Straight Cut
Once you have the material set up to cut, be sure to use a straight edge guide to help keep the saw straight while cutting and prevent blade binding and kickback.

You can use a homemade circular saw guide or a Kreg Rip-Cut or straight cut guide. They all work well and are easy to use, install, and store.
No matter how you set up your material to cut with a circular saw, always pay attention to safety. Wear eye, ear, and breathing protection, and make sure that your hands stay away from the cut.
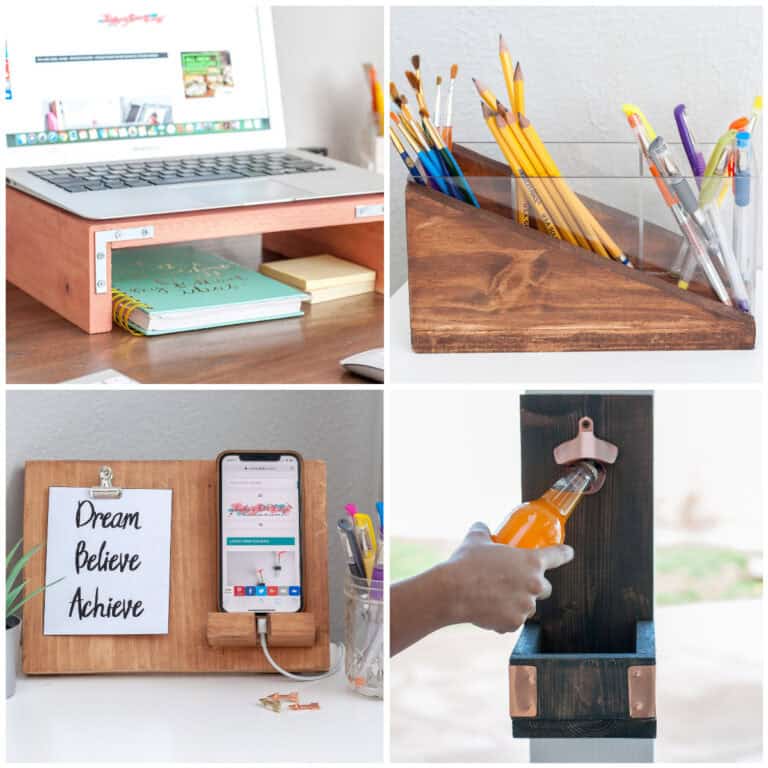
You are now ready to build lots of projects with a circular saw. Check out some of them here.
Further Reading
See all the woodworking 101 articles
Anika's goal is to inspire and empower beginners with woodworking, DIY, home improvement, and home decor ideas.
She wants everyone to unlock their creative potential and experience the feeling that comes with making something. Nothing feels better better than seeing something and saying "I can make that!"