How to Build a Battery Charging Station for Power Tools
Learn how to build a DIY battery charging station to charge all types of batteries in your workshop, including power tool batteries, camera batteries, and phone chargers.

Let me show you an embarrassing part of my workshop… the battery charging corner.
It started off pretty neat with two chargers and a few batteries but over the last years, it has exploded. I think “exploded” is putting it nicely.
This corner has been screaming for me to do something about it for a LONG time. There is the perfect amount of wall space above it, too. And I have planned to put the batteries up on the wall for almost TWO years.

Finally, it is time to do something about it.
I built a battery charging station that not only holds all my power tool battery chargers and extra batteries but also has space to charge my camera batteries and even my phone!
DIY Battery Charging Station Design
When I started thinking about the battery charging station, I knew it needed to have the following features:
- Space to attach the battery chargers (of course!)
- A shelf to store the extra batteries
- A spot to charge batteries with smaller chargers. These cannot be mounted and need to sit on a shelf.
- Charging capability for my camera and monitor batteries.
- BONUS: charging for phone and other equipment like my IsoTunes.
Given all of these requirements, I came up with a simple design.
Here are the main features:
- The top part of the charging station is like a cabinet with heavy-duty hinges and a magnetic latch.
- The inside of the charging cabinet is open on the top and bottom, allowing air to flow.
- A good-quality heavy-duty power strip with enough plugs and USB points to accommodate all the chargers.
***This post contains referral or affiliate links. It is a way for this site to earn advertising fees by advertising or linking to certain products and/or services. Please read my full disclosure here ***
Material Required
- 3/4” plywood. (I had enough scrap leftover pieces, but the plans tell you exactly how much to buy.)
- 1 1/4” pocket hole screws
- 1 1/2” Forstener bit
- Heavy-duty power strip
- Wire straps
- Hinges
- Magnetic Latch
- Wood Glue
- Multi-charging cable
Tools Required
- Circular saw (or a table saw). See how to use a circular saw here.
- Kreg Jig. I used the Kreg 720. See which pocket hole jig is right for you.
- Kreg Rip Cut or Straight Edge Guide (optional but highly recommended)
- Kreg Hinge Jig (optional)
- Power drill/driver. See how to use a drill here.
How to Build
As always, I have a video showing you how to build the battery charging station. A detailed step by step tutorial follows below.

I have plans available for you to build your own battery charging station at the bottom of the tutorial.
I designed it to hold the battery chargers that I have, but you can easily change it to suit your needs. If you want to add more chargers, you can make the top taller or the entire unit wider.
Step 1: Prepare the Boards
- Make the cuts as shown in the plans.
I made the cuts using a circular saw with a homemade temporary guide and the Kreg Rip-Cut. You can also use a table saw.

- Make pocket holes in the back and the two shelves using the Kreg 720.

The pocket holes are made with the pocket hole jig and the stop collar at the 3/4” setting. See more about how to make pocket holes.
Step 2: Build the Cabinet
- Start by attaching the side to the back using wood glue and 1 1/4” pocket hole screws.

- Attach the two shelves to the side, ensuring that the spacing between the shelves is accurate.

- Attach the other side to the back and the shelves.
Step 3: Attach the Door
- Attach the hinges to the door using the Kreg hinge jig.
- Attach the door to the cabinet aligning the top of the door to the top of the cabinet.

Note: I made the door this specific size based on the battery chargers I was going to install. If you have more or fewer chargers, you can modify them accordingly.
- Add a closing mechanism. I added a heavy-duty magnetic latch that has a very strong hold and works well.

Step 4: Attach the Chargers
I highly recommend playing around with the configuration and spacing of the battery chargers to get the most optimum layout.
- Once the layout is final, draw an outline of the charger with a pencil.
- Use a masking tape at the back of the charger to transfer the location of the screws to the door.

- Add the screws and test if the charger fits well.
- Make a hole using the 1 1/2” Forstener bit for the wires to pass through.

My plugs are about 1″ wide, and the 1 1/2″ Forstener bit worked well, but you may have to check for your charger plugs. I made the holes as close to the chargers as possible and used the same hole for multiple wires whenever possible. In fact, the Ryobi charger was so close to the top that I just sent the wire in over the top.
- Make a hole in the side of the cabinet. This is where the power strip plug will exit to be plugged into the wall.

Step 5: Mount on the Wall
There are multiple ways you can mount the charging station to the wall:
- Use a screw through the back into a stud.
- Using a French cleat.

I decided to use a French cleat because I didn’t have two studs accessible in the space where I needed to add the cabinet.
RELATED: How to Make a French Cleat – 2 Easy Ways
Step 6: Load It Up!
- Add the power strip inside the cabinet and route the wire out through the side hole.
- Add each of the chargers to the door and route the wires inside.

- Plug in each of the wires into the power strip and tie up any extra wire using velcro cord organizers.

- For the smaller chargers that have a large plug, I placed them on the top shelf and plugged them into the power strip.
- Since my power strip also has USB ports, I plugged in a multi-charger cord with C-type, lightning, and mico-USB to help me charge my camera batteries, IsoTunes hearing protection, phone, and more.

This battery charging station has worked out perfectly for all the chargers that I have (currently). It is open on the top and bottom to allow for airflow to dissipate any heat that is generated.
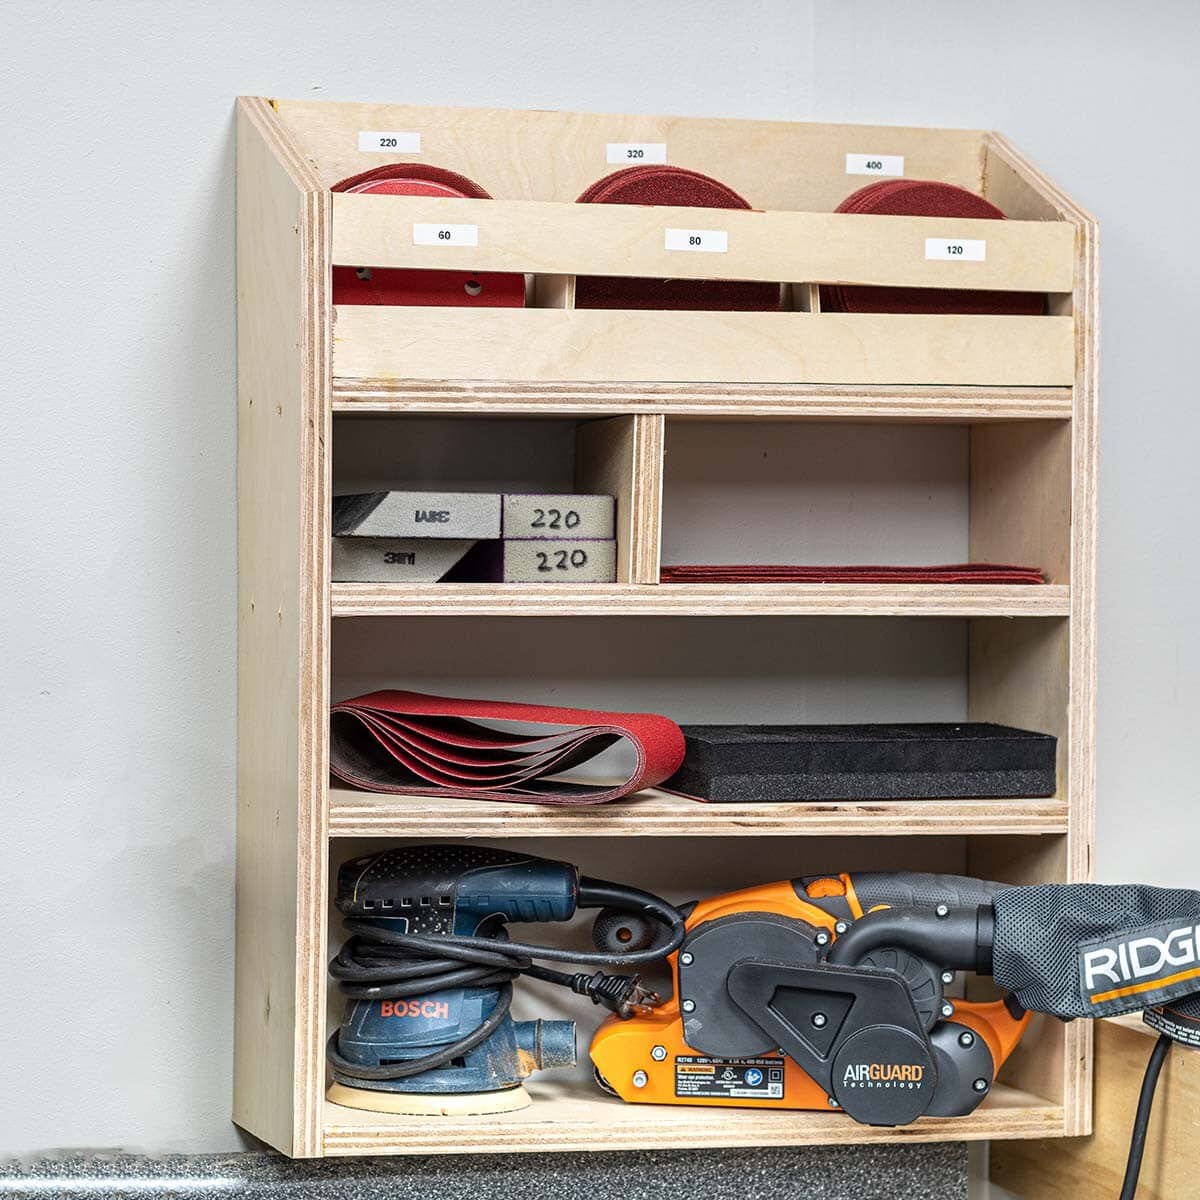
Since I was installing a French cleat, I also added the French cleat to the sandpaper organizer.
Now, a large part of the counter is empty, and I have to find a purpose for it, or it will soon become the catchall.
Battery Charging Station Plans
Click on the button below to get the detailed step-by-step schematic plans and cut list.
If you build this plan, please send me an email or tag me on social media. I can’t wait to see what you build!
You might also like:
Anika's goal is to inspire and empower beginners with woodworking, DIY, home improvement, and home decor ideas.
She wants everyone to unlock their creative potential and experience the feeling that comes with making something. Nothing feels better better than seeing something and saying "I can make that!"


Anika,
I appreciate all your project plans that you offer. Most of all, thank you for posting not only videos of the projects, but also written tutorials for those of us who prefer to read.
You are so welcome Kathy! Thank you for being here!