3 Quick Cricut Projects for Indian Inspired Living Rooms
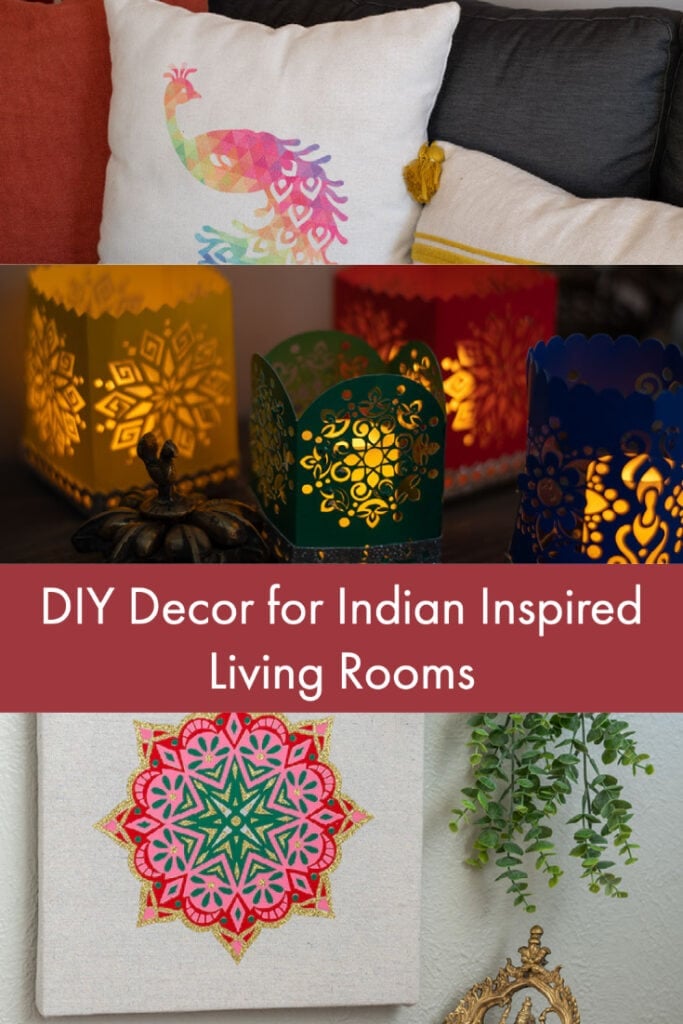
Make beautiful Indian-inspired living room decor with these simple DIY projects using a Cricut machine – a pillow, wall art, and lamp! Bring the rich Indian textures and colors into your living room!
If you have been around my website, you know I always seem to gravitate towards deep rich hues. As an Indian, I tend to always decorate with color and textures.
My living room is full of deep tones – burgundy curtains, green, yellow and red pillows, lots of brass collectibles. It even spills over to my back patio. Plus, currently I am working on remodeling the kitchen which is getting its dose of green and gold.
If I were to narrow down the key characteristics in Indian decor, they would be –
- Lots of color
- Lots of texture
- Intricate patterns
- Metallics (predominantly gold)
Today, I am showing you 3 quick and easy projects you can make on your Cricut machine to bring a touch of Indian decor to your living rooms.
***This post is sponsored by Cricut. Thank you for supporting the brands that make it possible to bring you new projects***
Material Needed –
- Cricut Maker or other cutting machine
- StandardGrip Mat
- EasyPress 2
- EasyPress Mat
- Cricut Weeding tools
- Access to Cricut Design Space.
DIY Pillow Cover
DIY Paper Luminaries
- LightGrip Mat
- Cardstock
- Hot glue
DIY Mandala Wall Art
- Drop cloth (or canvas)
- Everyday Iron-on in various colors. I used red, green, pink and gold glitter.
- 1×2 and brad nailer for frame
- Staple gun
DIY Pillow Cover
Living rooms always have pillows and you can easily add any pattern/color you like with the Cricut. Animals like the peacock (which is the Indian national bird), elephants and cows are often used in decor.
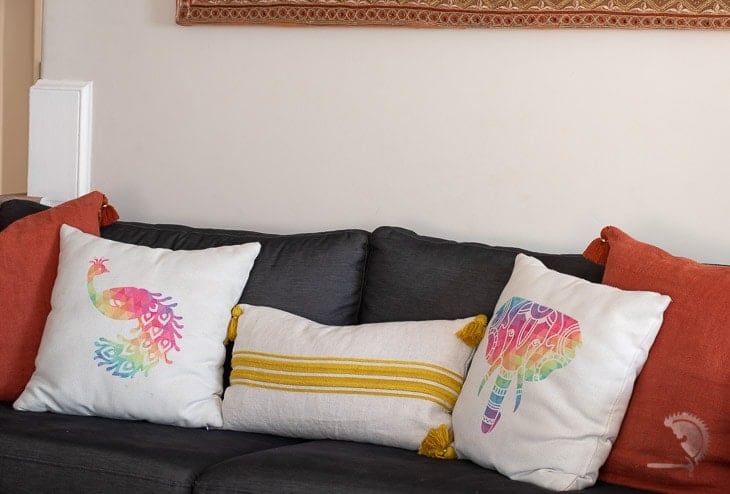
For an Indian inspired pillow cover, look for intricate designs that can be made with colorful patterned vinyl. I am especially digging the Infusible Ink sheets for this.
How to Make –
Step 1 – Pick your design in Cricut Design Space. I typed animals and found a few very pretty images with intricate designs. I picked an elephant and the peacock.
Step 2 – Place the Infusible Ink Transfer Sheets on the StandardGrip Mat with the pretty side facing up.
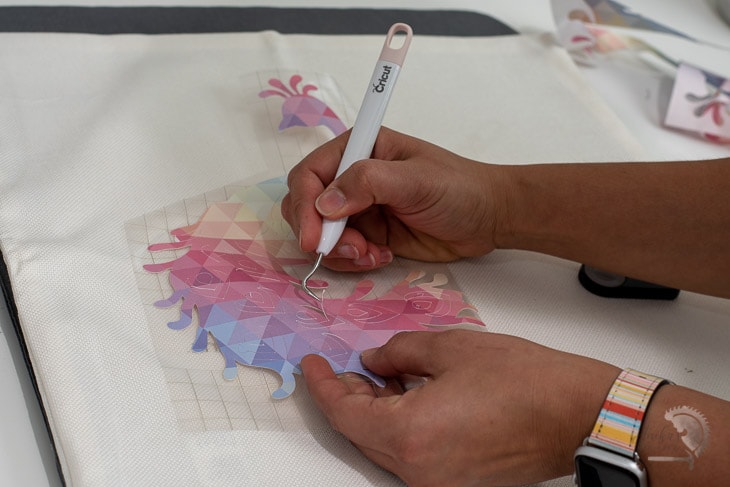
Step 3 – Cut design on the Cricut and weed out the design.
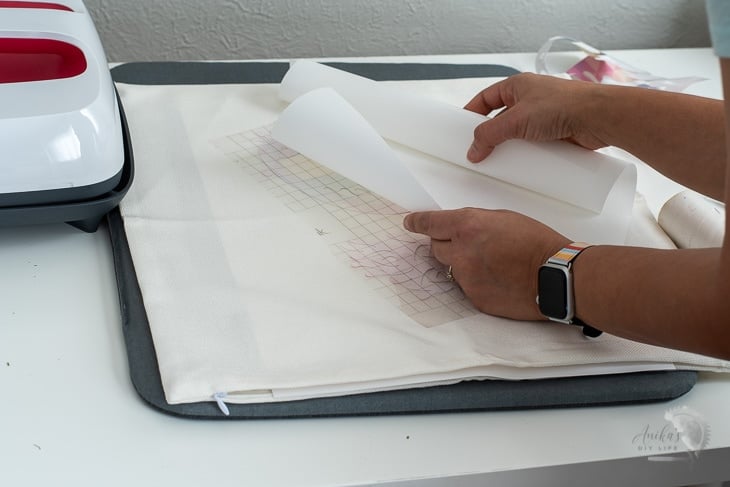
Step 4 – Open the Infusible Ink Pillow Cover and place it on your EasyPress Mat. Use a lint roller to clean the pillow. Follow the instructions on the Heat Guide to know what settings to use.
The Heat Guide also shows you the layers you need – card stock inside the pillow cover and freezer paper on top of the transfer sheet. Apply heat when it’s all ready.
Step 6 – Apply heat. Be sure not to move the HeatPress during the transfer. Once complete, let the sheet cool down touch, and peel back to reveal the vibrant designs.

Note – Be sure to mirror your image if applicable. With both my designs this did not matter.
DIY Paper Luminary
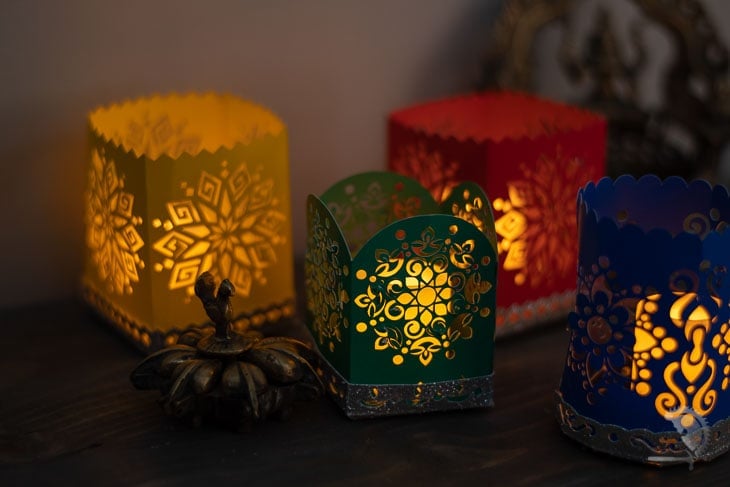
Candles are always the perfect addition to a living room to set the mood but luminaries with intricate patterns not just shine, they also look gorgeous.
Making luminaries doesn’t have to be complicated. They can be made using craft board.
Cricut has some great lamp projects in their library!
This is one of my favorite. It’s a great beginner project too!
To make this –
- Load the cardstock on LightGrip Mat and cut using the fine point blade.
- Once weeded, you can attach it together using hot glue.
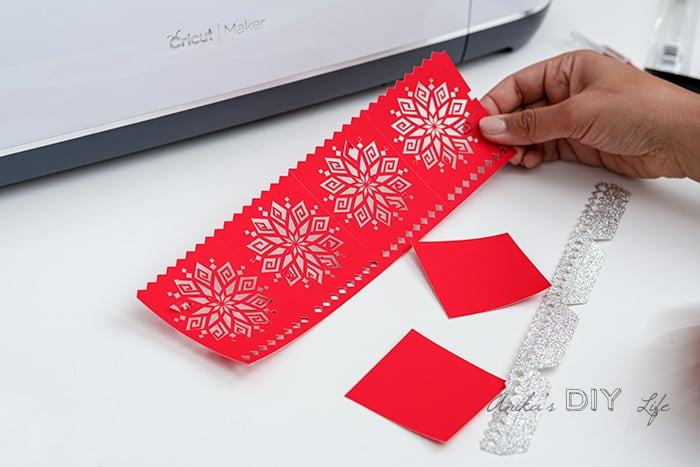
Make it using deep rich colors and is the perfect Indian decor.
DIY Wall Art
Us Indians love to fill our walls with colors and patterns too. Tapestry full of intricate mandala designs incorporating mirrors and lots of colorful thread is very popular.
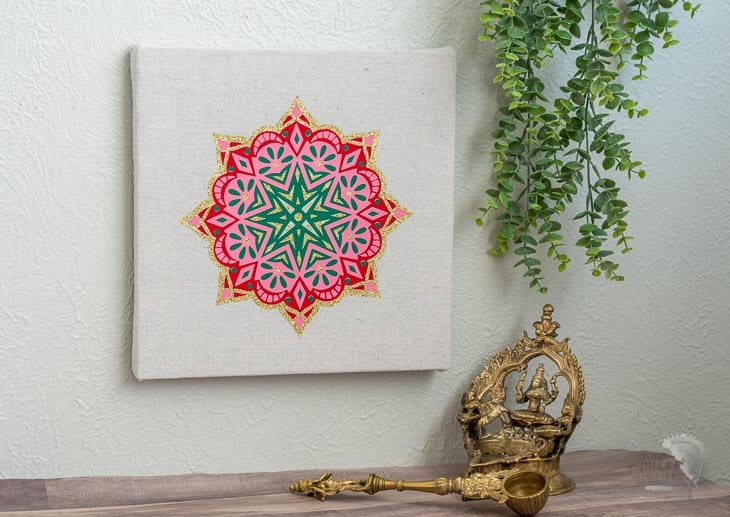
Cricut makes it easy to create some of those patterns and designs. I used Iron-on vinyl on a drop cloth to make my own little framed tapestry.
How to Make –
Step 1 – Pick the pattern you like in Cricut Design Space. I searched for mandalas and found one that was colorful yet simple. Since these will be layered, I made sure to slice each layer accordingly so that there were no overlapping layers. Be sure to resize the entire image as needed.
Step 2 – Load the StandardGrip Mat with Iron-on vinyl (glossy side down) and cut using the Cricut machine. Be sure to mirror the images.
Step 3 – Weed each pattern using weeding tools.
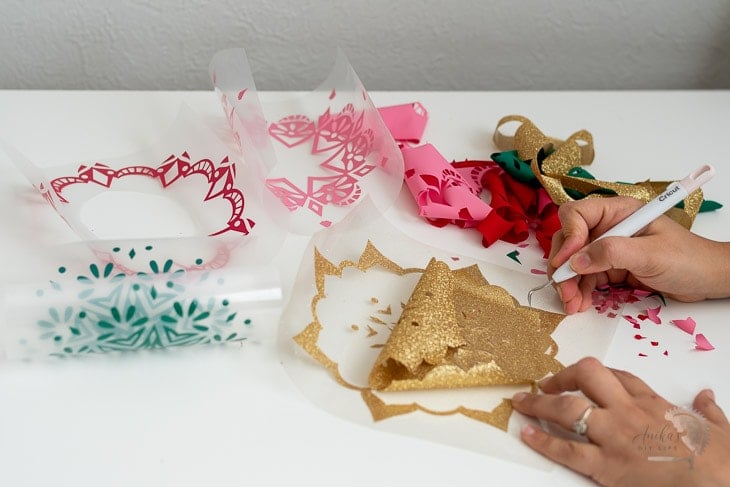
Step 4 – Heat EasyPress2 to the desired settings and prepare the drop cloth or canvas by pre-heating it.
Step 5 – Center and apply the first layer and apply heat to transfer the Iron-on onto the fabric. I used 15 seconds of heat instead of 30 seconds because we will be applying more heat during the consecutive layers.
Step 6 – Align and apply the second layer, cover any exposed design from the first layer with freezer paper, and apply heat.
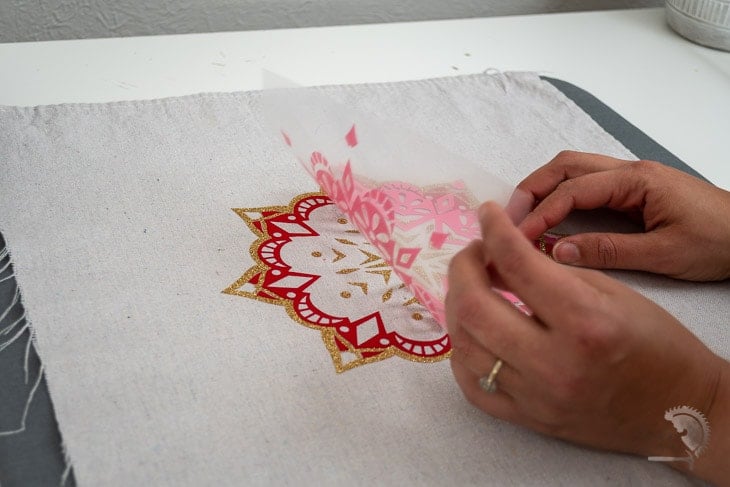
Step 7 – Continue until all the layers are transferred.
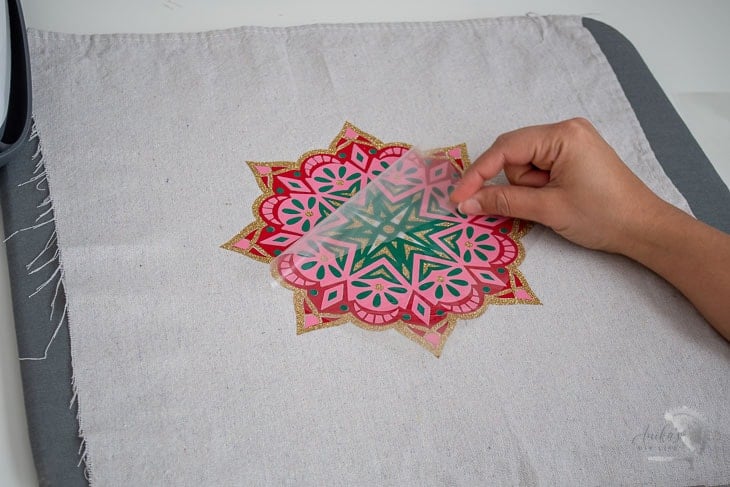
And that is a gorgeous “tapestry” design!
I built a frame using 1×2 boards and attached the fabric to it so I can put it up on the wall.

The possibilities for color and designs are endless. The size of the mat and EasyPress2 restrict how large it can be BUT, you can always make a combination of these across a larger piece of fabric.

That is it! It is really easy and quick to add color and richness to your space with these projects and turn it into an inspiring living room with a touch of India.
Which ones are is your favorite? What colors will you use?
Be sure to check out my latest project – How to Make DIY Diwali Lanterns Using Glass Jars
More Beginner-Friendly Cricut Projects –
Anika's goal is to inspire and empower beginners with woodworking, DIY, home improvement, and home decor ideas.
She wants everyone to unlock their creative potential and experience the feeling that comes with making something. Nothing feels better better than seeing something and saying "I can make that!"


