How To Make Personalized Cork Coasters – DIY Gift Idea
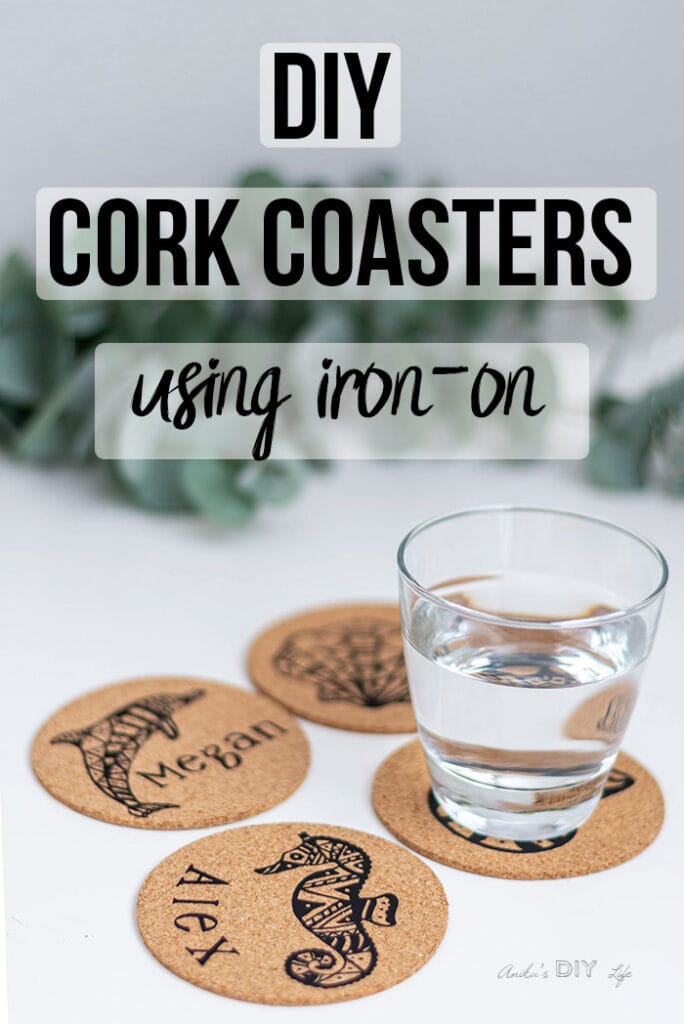
Learn how to make personalized cork coasters using iron-on or heat transfer vinyl. This is a quick and easy DIY hostess gift idea using a Cricut machine.
We think you will also like this Easy DIY cake stand using Iron-on Vinyl or How to Make Infusible Ink Coasters with Cricut or 21 beginner-friendly woodworking gift ideas.

There is no gift like a personalized gift and it is even better if it is handmade!
Over Thanksgiving weekend, we went to visit a few of our favorite family friends and I whipped up this easy personalized gift.
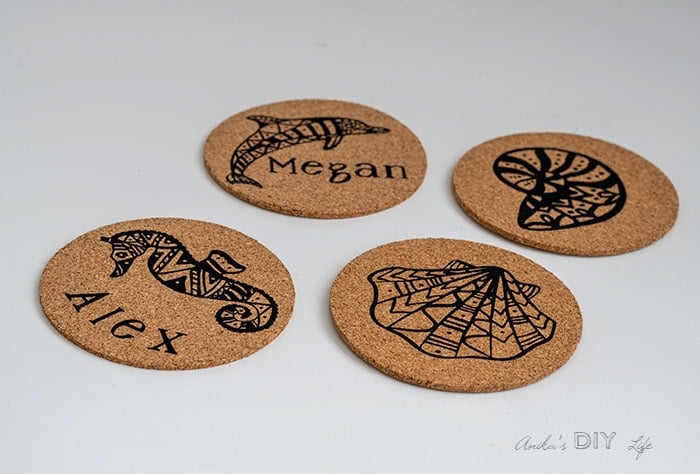
These personalized cork coasters were super easy to make with my new Cricut machine.
I mean can you ever have enough coasters around the house?
RELATED – DIY hexagonal marble and gold coasters
To make these coasters, I decided to use Iron-on vinyl.
I did some research and found that it was possible to apply heat transfer vinyl to cork and that it almost melts into the cork.
A few quick trials and I was able to confirm it works amazingly well!
And with the Cricut, the possibilities are just about endless!

RELATED: Cricut Maker set up for beginners.
My friends love the beach so I decided to search for beach themed images and I was instantly drawn to this pretty set of images in the Cricut Design Space.
You could easily make these using any graphics of your choice in Design Space.
I walk you through step by step how to create your own design and then make the coasters too!
Don’t have a Cricut? I have the basic versions available in my Etsy store. Contact me for more customization options and pricing!
Materials needed to make DIY cork coasters
- Cricut cutting machine. I used my Cricut Maker.
- EasyPress 2
- EasyPress mat
- StandardGrip Machine Mat
- Cork coasters
- Iron-on vinyl in the color of your choice. I used matte black
- Weeding tools
How to design coasters in Design Space
Step 1: Make the template
The first step is to give yourself a coaster template to use. The coasters I was using were 4″ circles so that is what I drew in the design space.
Step 2: Add your design
- Click images, search for your favorite one and add it to the Design Space.
- Resize and rotate as needed and place it on the “coaster”
Step 3: Add Text
- Add names or other text as desired.
- You can use the curve option to make the text fit around the perimeter of the coaster.
- Move things around on the “coaster” to get the final placement.

Step 4: Get ready to cut
Once you are satisfied with the design, it is time to prepare it to cut.
- Delete the circle you made in Step 1.
- Choose the image and text that goes on a coaster – right-click and select weld. This will keep all the text and images belonging to a coaster together when you cut it.
- That’s it! It is ready to cut.

How to make personalized cork coasters with Iron-on Vinyl
Step 1: Cut the Iron-on Vinyl
Place the iron-on vinyl, shiny side down on the cutting mat and cut it in your Cricut machine.
Step 2: Weed the design
Weed the design using the weeding tools.

This step can take a lot of time or little time depending on the complexity of the design. I chose a pretty complex one and it took some patience but I think it was well worth it!
Step 3: Make coasters
- Once the EasyPress 2 has reached its temperature, place the cork coaster blanks on the EasyPress mat and preheat them for 5 seconds.
- Place the vinyl on the cork coasters and position it as desired.

- Apply heat on the designs and coasters using the EasyPress 2.

You can find the settings for the EasyPress 2 here.
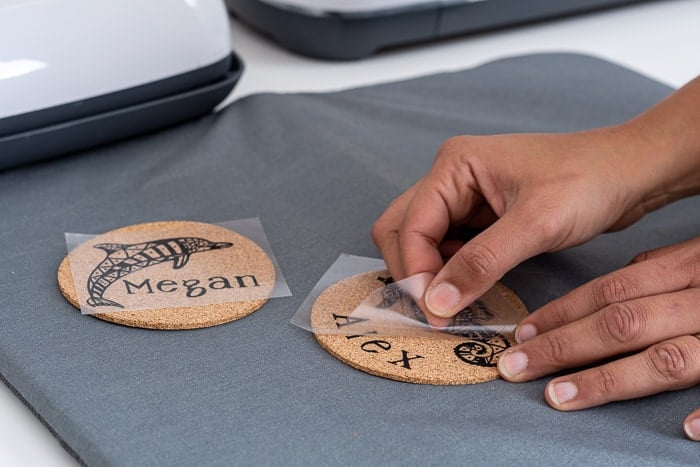
The Iron-on vinyl is a warm peel and as soon as you can touch with your fingers, it can be peeled off.

Peeling off the design is the most satisfying part of the project! Anyone else feel the same way?
I was really happy with the way the Iron-on Vinyl bonded with the cork.

The vinyl looks like it is almost a part of the cork. you can’t feel the edges except for the difference in textures between the cork and vinyl.
That is it!
An easy and pretty personalized gift idea.

Remember, if you really want these and don’t have a Cricut – I have the basic versions available in my Etsy store. Contact me for more customization options and pricing!
There are literally a million ways you can make these the way you like!
What will you make?
Anika's goal is to inspire and empower beginners with woodworking, DIY, home improvement, and home decor ideas.
She wants everyone to unlock their creative potential and experience the feeling that comes with making something. Nothing feels better better than seeing something and saying "I can make that!"


