DIY Modern Mail Organizer
This DIY Modern mail organizer is built using wood and acrylic. Learn how to bend acrylic easily with a heat torch in this quick beginner-friendly project.
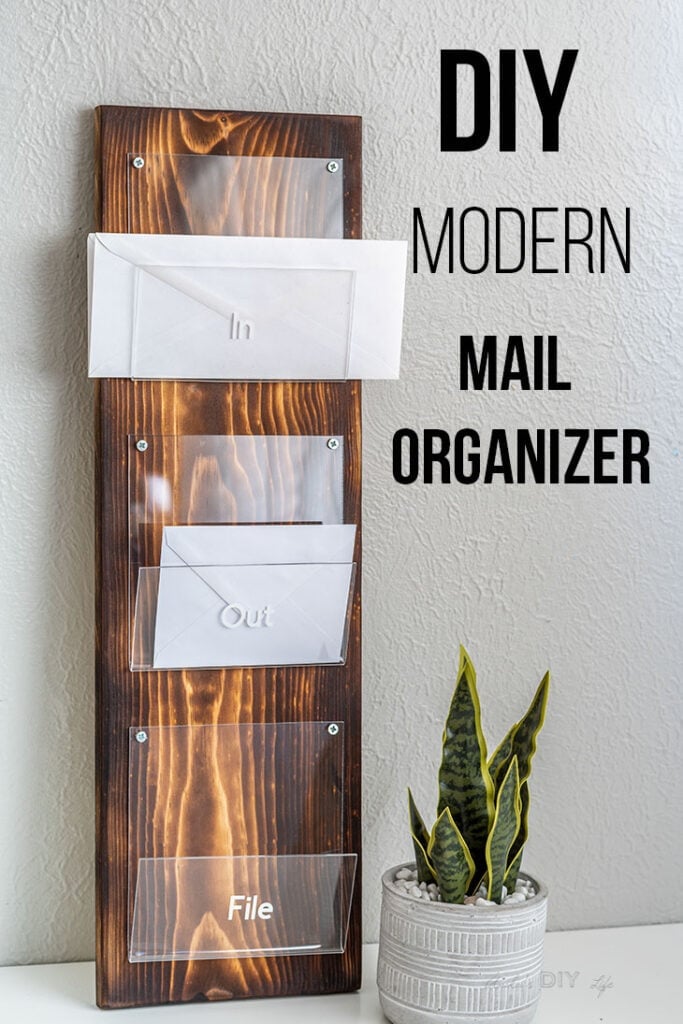
One of my goals for this year is to step outside my comfort zone and try new techniques and incorporate new materials.
I have worked with acrylic before – cutting and gluing it.
But I had never bent it before!
It was time to give it a try!
** This post is sponsored by Bernzomatic. All opinions are my own. Thank you for supporting the brands that make it possible for me to bring you all the projects.**
***This post contains referral or affiliate links. It is a way for this site to earn advertising fees by advertising or linking to certain products and/or services. Please read my full disclosure here ***
Materials Needed for Acrylic and Wood Mail Organizer
- Wooden board – I used a 26″ long 1×8 board
- Acrylic sheet – I used 1/8″ thick sheet – cut into 6″ x 12″ pieces
- Bernzomatic ST2200 Detail Torch
- Bernzomatic Butane Cylinder
- Bernzomatic BZ4500 Torch
- Bernzomatic Propane Cylinder
- 3/4″ wood screws
- Jigsaw or BladeRunner X2
- Power Drill
- Masking Tape
- Clear Spray Paint in matte
How to Bend Acrylic With a Heat Torch
Since this was the first time, I tried bending acrylic, I was ready for a few trial runs.
To my surprise, the first time worked like a charm!

And was so quick!
With the trial out of the way, I was ready to start building!
How to Make the Acrylic and Wood Mail Organizer
Here is a full video for you to see it in action. You can read the step by step instructions and a few tips for making it below.
Click here to subscribe to my YouTube Channel for more great videos!
Step 1 – Cut Acrylic
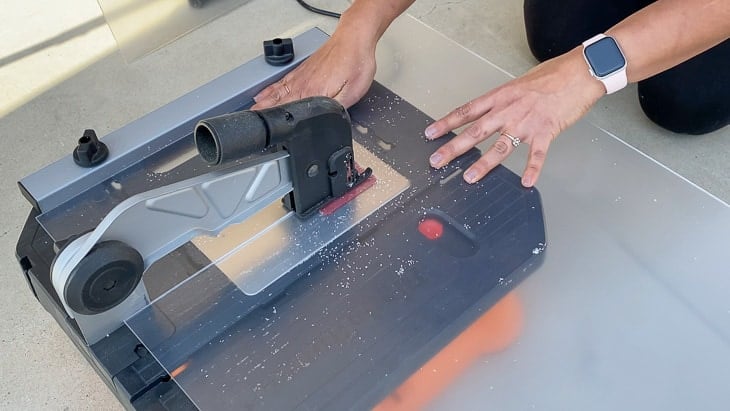
Cut the acrylic sheet using a Jigsaw with a straight line guide or a BladeRunner X2.
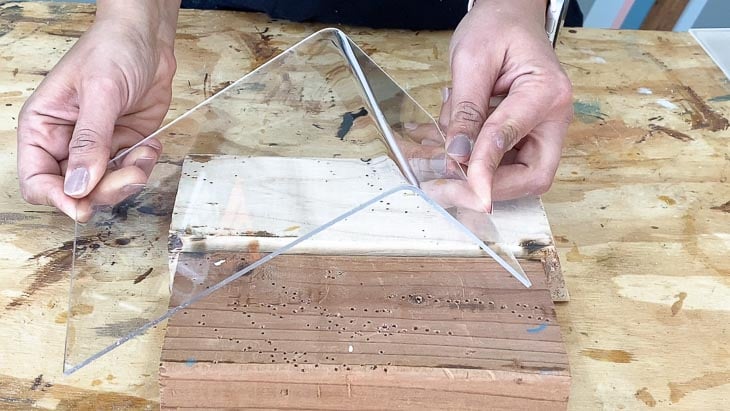
Step 2 – Bend acrylic
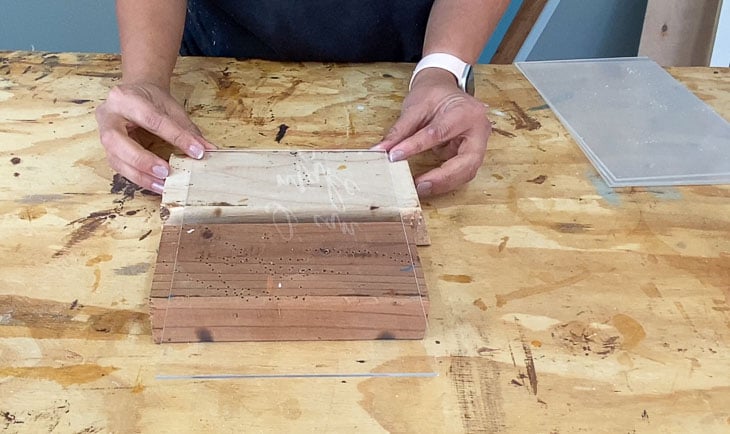
- Use a few scrap pieces of 2x4s as support.
- Remove protective film from the acrylic sheet
- Align the bottom edge of the acrylic with the bottom edge of the 2×4. Then use the space between the two pieces as a guide for the torch.
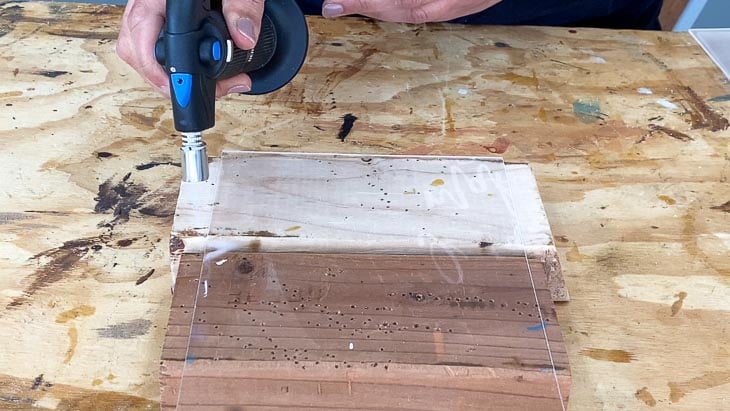
- Prepare the ST2200 Detail Torch by filling it with the Bernzomatic Butane. This is done by just holding inserting the butane cylinder mouth at the bottom of the torch and holding it until it starts to overflow. Be sure to read all the instructions that come with the torch.
- Pass the ST2200 Detail Torch over the acrylic a few times. Once you start to see the acrylic buckle, add a couple more passes.
- Slowly pick it up and bend to the desired extent.
- Hold the piece for half a minute until it cools down and retains form.
Step 3 – Prepare 1×8 board
- Torch the 1×8 board with the Bernzomatic BZ4500 Torch using Bernzomatic Propane.
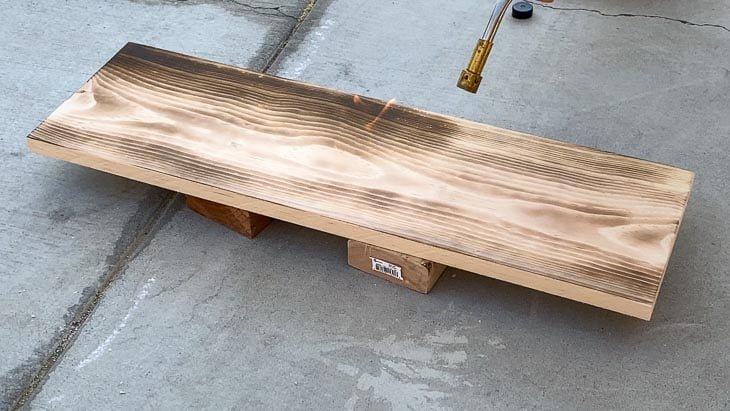
A couple passes with the Bernzomatic BZ4500 Torch with sanding in between gave me the effect I was looking for.
Once satisfied with the color, wipe down the board with a tack cloth and add a couple of coats of a matte spray sealer.
Step 4 – Attach acrylic to wood
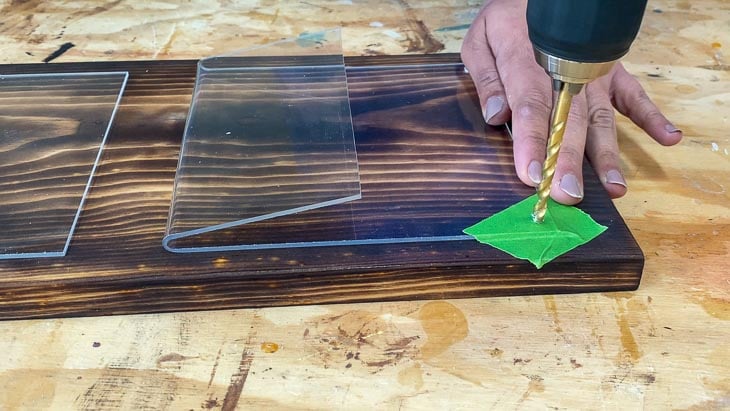
- Space out the mail holders evenly on the board.
- Apply masking tape to the locations where you want to add screws.
- Slowly drill through the acrylic and stop when you touch the wood. The slow speed is essential to keep the acrylic from cracking.
- Using a screwdriver, add the screw. Don’t overtighten or the acrylic can crack easily!
That is it!
The mail holder if done!

Here are a few tips on bending acrylic I learned along the way.
Tips for Bending Acrylic With a Heat Torch
- Keep flame at least 2″ away from the acrylic. During the trial, I saw bubbles in the acrylic and found that it was because I had the torch too close. Keeping the torch 2″ away worked perfectly and the final bends were clear of bubbles!
- Hold in place to let it cool and retain shape.
- One bent, don’t re-torch. This makes the acrylic weaker.
I am so stoked with how it turned out! I was nervous about bending acrylic would work out! But it worked so well!
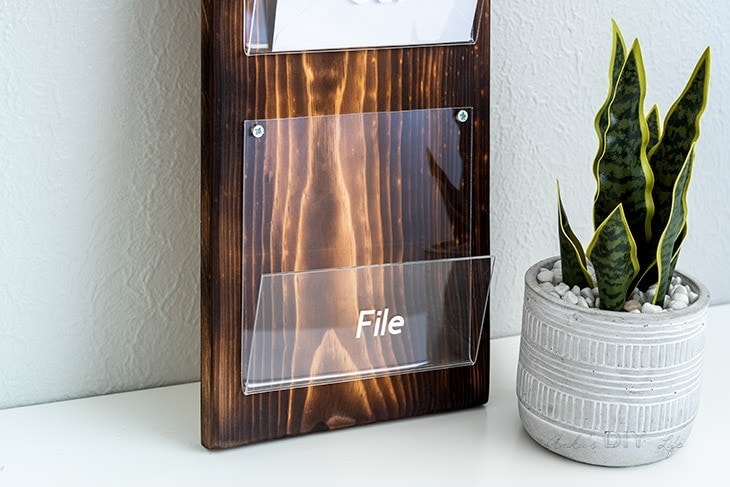
My head is now exploding with ALL THE IDEAS!
Can’t wait to play with it some more!
More Acrylic Sheet Projects –
Anika's goal is to inspire and empower beginners with woodworking, DIY, home improvement, and home decor ideas.
She wants everyone to unlock their creative potential and experience the feeling that comes with making something. Nothing feels better better than seeing something and saying "I can make that!"


Hi Anika;
I love this idea; my husband probably wouldn’t let me play with fire, though. Wonder if my heat gun would work?
Thank you!
Hi Linda, this will work with a heat gun but the heat gun has a very wide mouth and it might not be easy to get clean bends. This torch is super safe to use. It is basically like a larger lighter.
Amazing work!! Looking for more from you.