Easy DIY Upholstered Headboard With Nailhead Trim (Under $60!)
Build your dream DIY upholstered headboard for under $60! This step-by-step tutorial shows you how to get a high-end look with nailhead trim on a budget.

I had dreamed about having a DIY upholstered headboard with a nailhead trim for a very long time. Finally, after almost 4 years of dreaming, I made it, and I instantly fell in love!
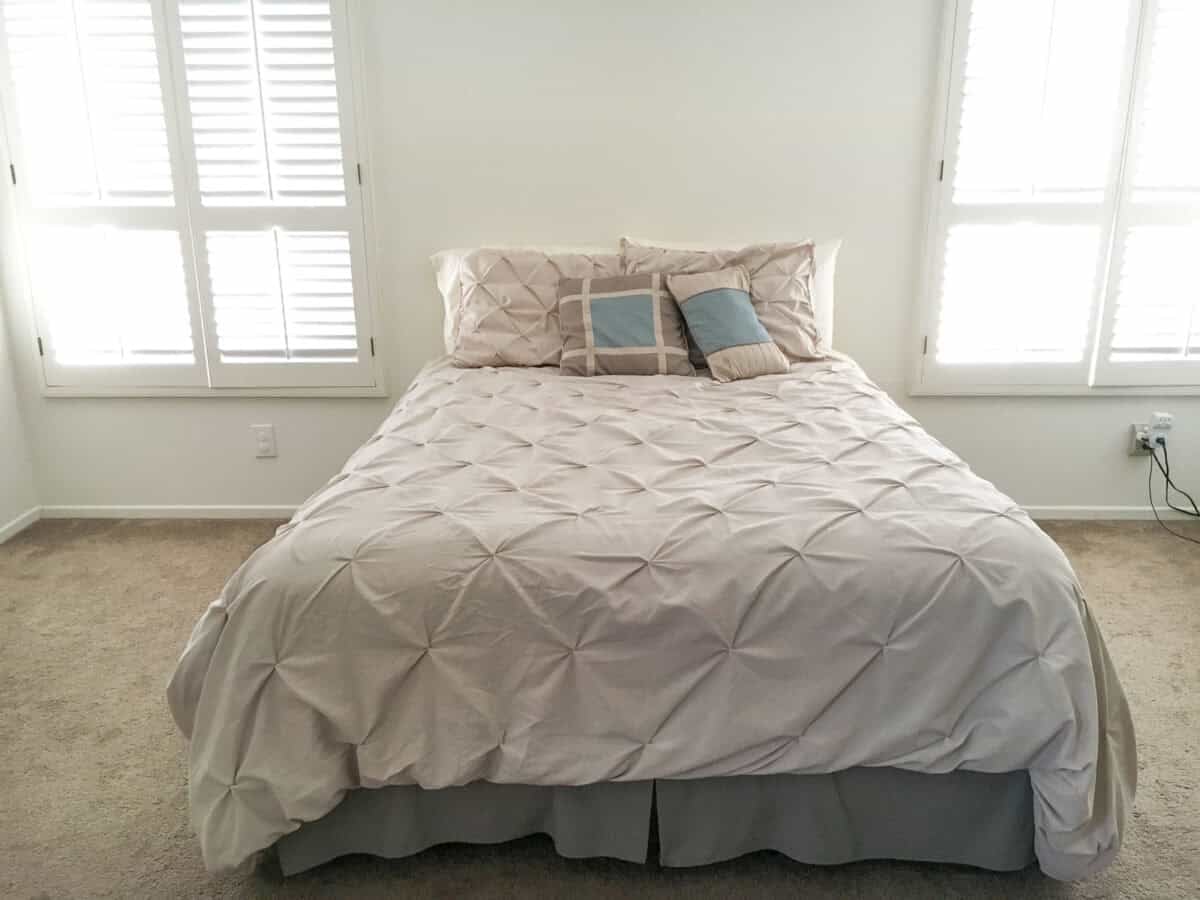
But first, the before. This is what we have had for about 2 years since we moved and sold our large matchy-matchy furniture…There are a lot of things missing and the to do list is pretty long, including throw pillows, nightstands etc… but first things first – the headboard!
There are a bazillion tutorials on creating an upholstered headboard on the internet. I am happy to add one more to the list because this version is a “best-of” mix of all the tutorials I’ve seen on Pinterest.
Whether you’re a beginner or looking for a budget-friendly bedroom makeover, this project is for you. It’s a total game-changer for the cozy feeling of the room, and I did it in one afternoon for about $60!
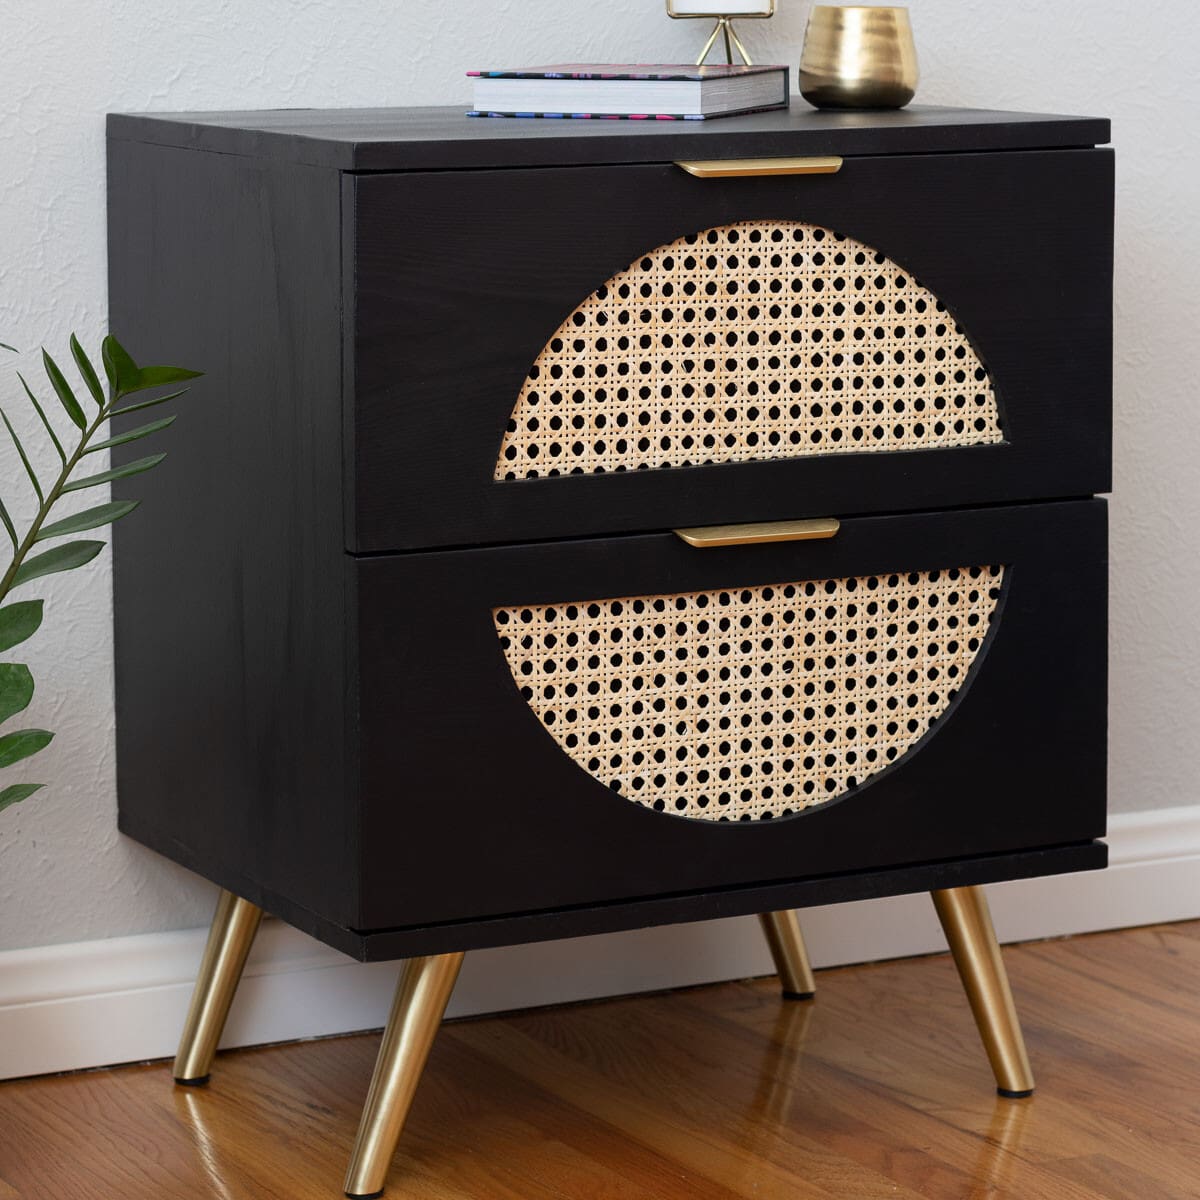
Pssst: See the DIY X-leg nightstand I made for the room.
Headboard Size Guide
Before you head to the home improvement store, you’ll need to know your dimensions. Here are the standard widths for DIY headboards:
- Twin: 38″ wide
- Full: 54″ wide
- Queen: 60″ wide (This is what I built!)
- King: 76″ wide
For the height, I wanted mine to be 34″ from the top of the box spring and 54″ from the floor.
***This post contains referral or affiliate links. It is a way for this site to earn advertising fees by advertising or linking to certain products and/or services. Please read my full disclosure here ***
Material Needed
- 1/2″ Plywood I used OSB– cut to 60″ X 34″, plus some more scraps – $10.05. I still have enough left for another twin headboard or another project.
- 2″ x 4″ x 8′ – total 3 – Cut to 2 @ 54″, 2 @ 57″ – $7.59
- Wood Glue
- 1 1/4″ wood screws
- 1″ wood screws
- 2 1/2″ pocket hole screws
- Clamps. I use the Kreg face clamp and right angle clamp. They are the best!
- Fabric of choice. I recommend getting an upholstery fabric.
- nailhead trim
- Foam Mattress Topper
- spray adhesive
- batting
- 3/8″ staples
Tools Needed
- Miter saw or circular saw
- Jig Saw
- Pocket hole jig. See how to pick the right pocket hole jig.
- Drill
- Staple gun
- mallet
The grand total is $57.07! With enough material leftover for another project!
Step-By-Step Tutorial: How to Build and Upholster a Headboard
Step 1: Create Your Shape
- Cut out the corner shape for your headboard.
I wanted some visual interest on the top edge so, I drew a curve free hand. When I was happy with the shape, I cut it with the jigsaw.
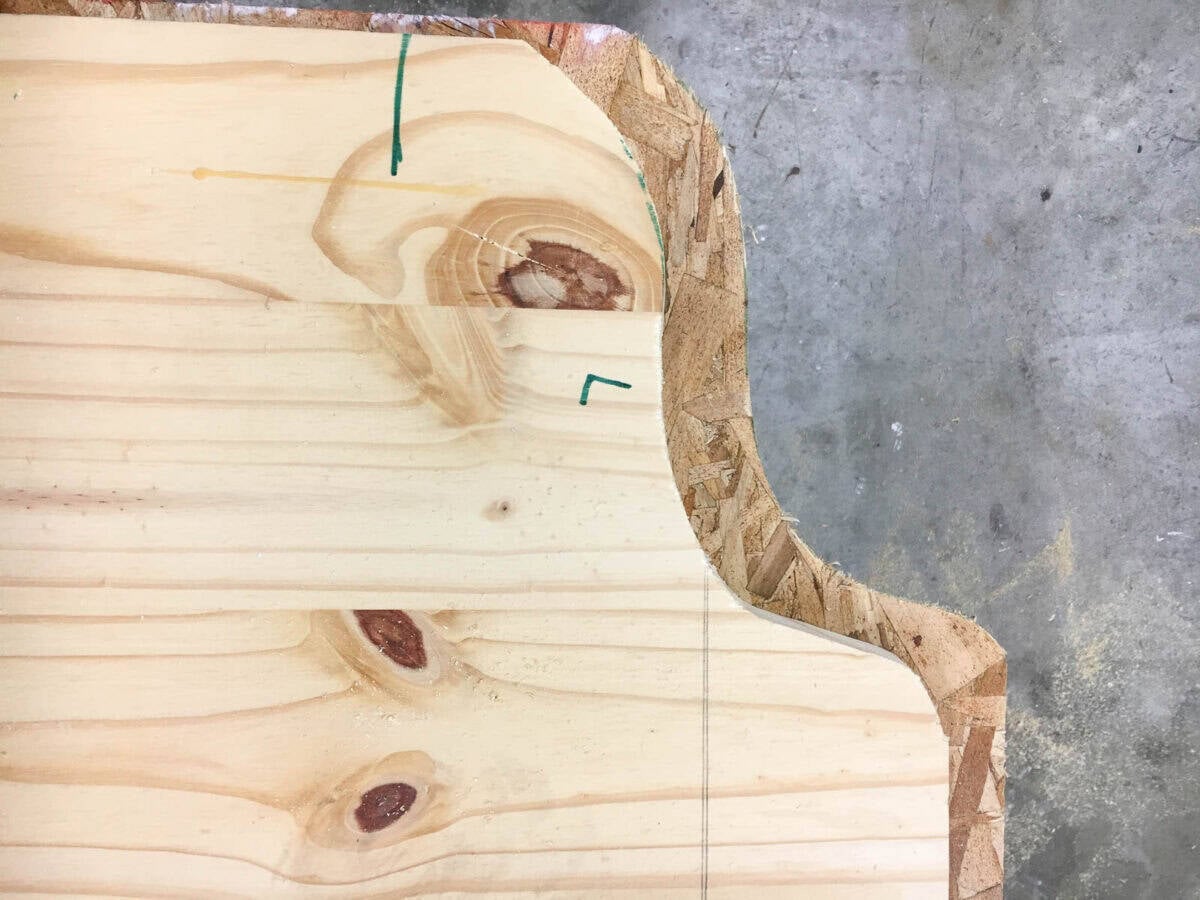
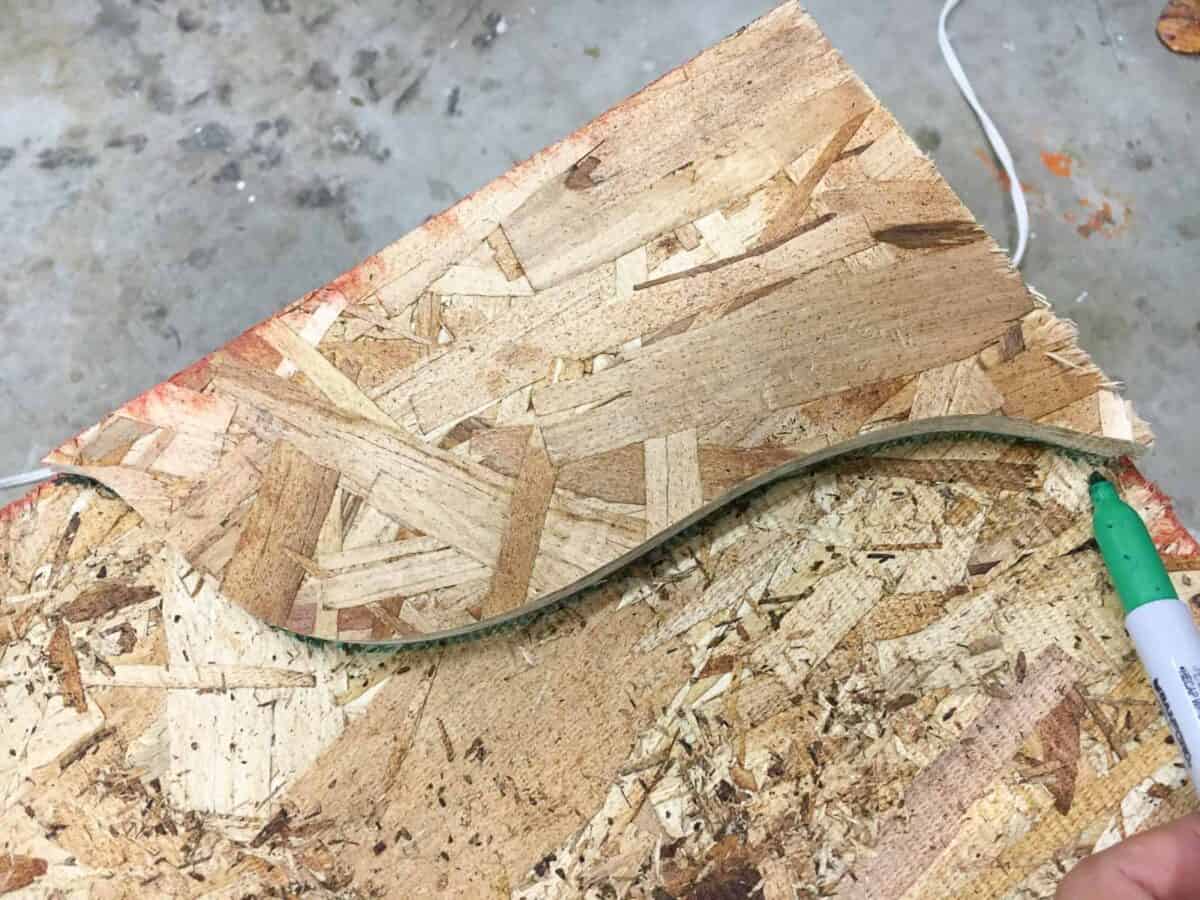
Pro Tip: To get a perfectly symmetrical design, cut out one corner shape first. Use that scrap piece to trace the curve onto the other side before cutting!
Step 2: Build the Chunky Frame
- Cut a few other scrap boards in the shape and glue them together to make the edges thicker.
This give that high-end “thick” look, without using too much plywood/boards. I added layers of scrap boards to the back edges, gluing them into a “sandwich” to match the 1.5″ thickness of the 2x4s. I also put some 1 1/4″screws in for good measure.

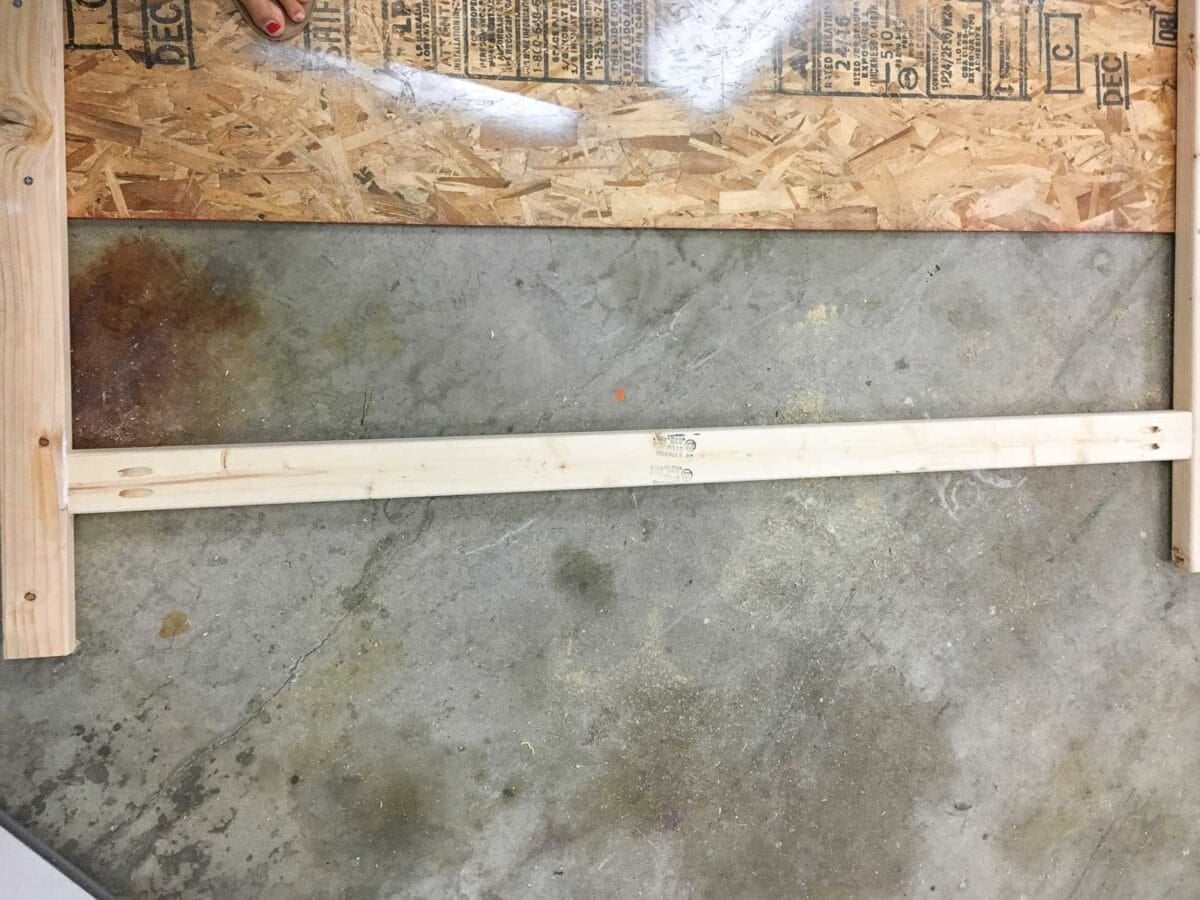
Step 3: Attach the legs and supports
- Attach the 2x4s using wood glue and screws.
The overall frame looks like this. There are only boars around the edges. This keeps it chunky without the added weight and price.
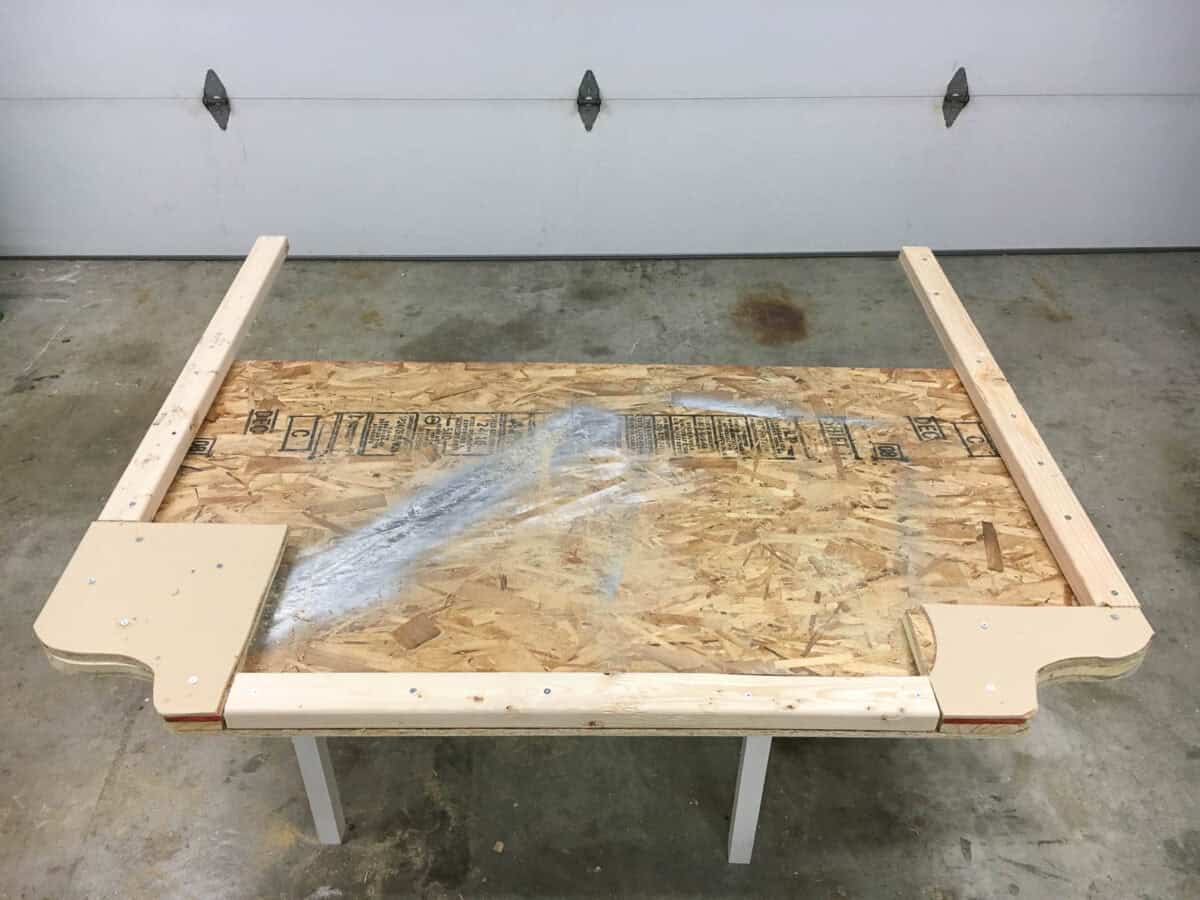
- For extra support, add a 2×4 cross-support about 6″ from the bottom of the plywood. I used my Kreg Jig to make pocket holes and secured them with pocket hole screws. This makes the frame incredibly sturdy.
Here is the final headboard ready to be upholstered!

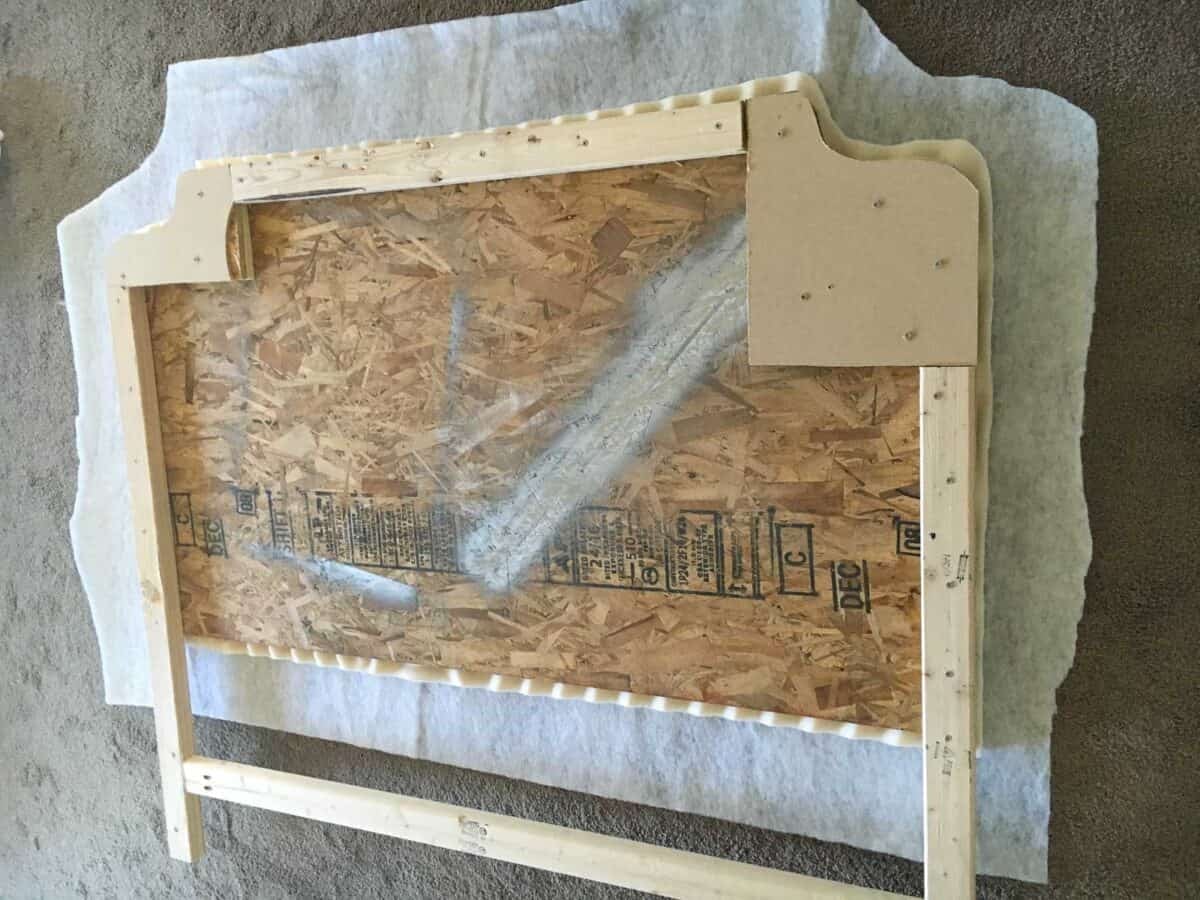
Step 4: Add foam and batting
Time for the “soft” part! Cut your foam mattress topper to shape, keeping about 1″ extra all around.
- The Secret: Use spray adhesive to attach the foam to the wood, keeping the “wavy” side of the foam facing inside.
- Lay the headboard face down on your batting and staple it around the back.
Step 5: Upholstering the Fabric
- Lay your fabric flat and place the headboard on top. Start attaching the fabric using staples.
Caution: Don’t be stingy with the staples! Use plenty to hold the fabric tight. If you don’t, the finish on the sides will look sloppy. Trust me, you need all the stapled you see in my picture. If not, the finish on the sides of the headboard looks very sloppy.
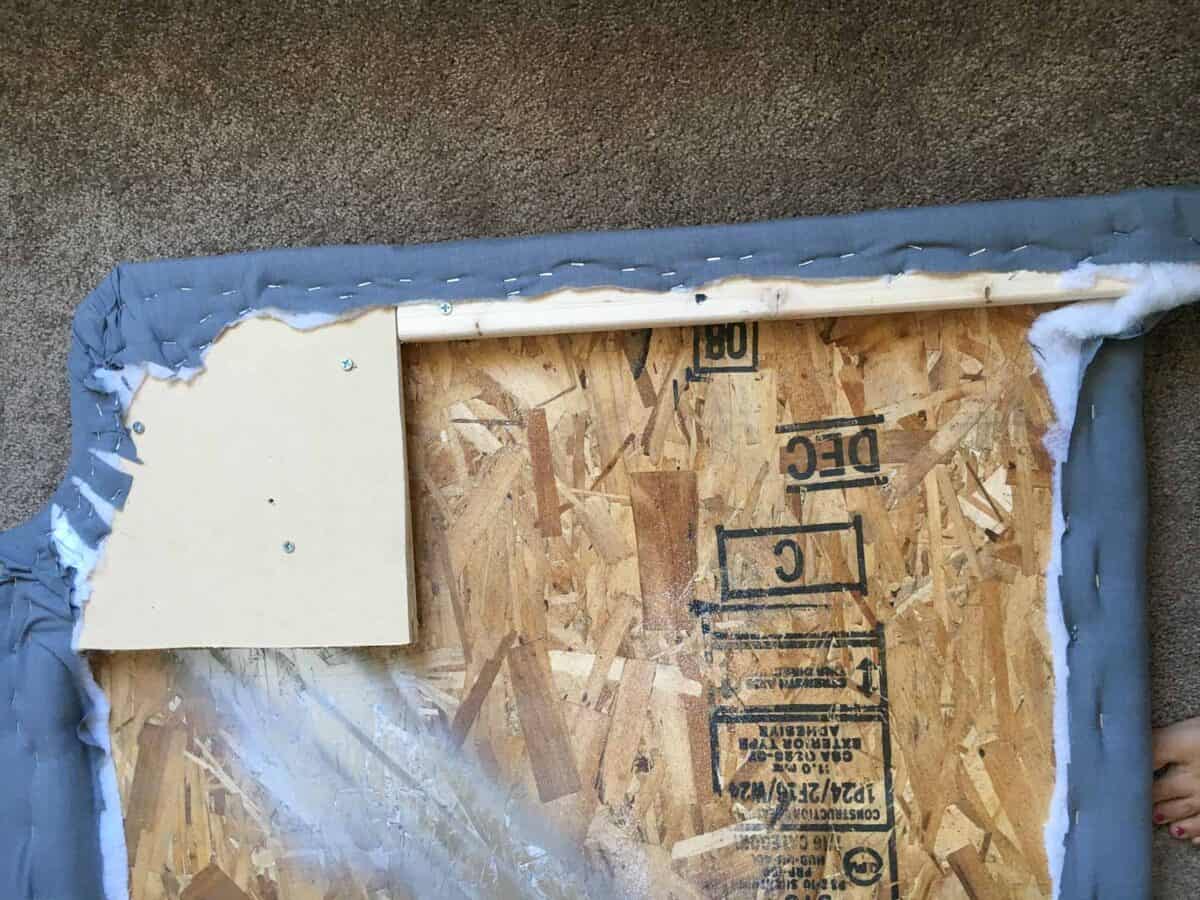
Handling Curves: The round corners can be tough! Cut small slits in the fabric at the curves to help get a smooth, professional finish.
Here is the headboard all upholstered and ready for nailheads.

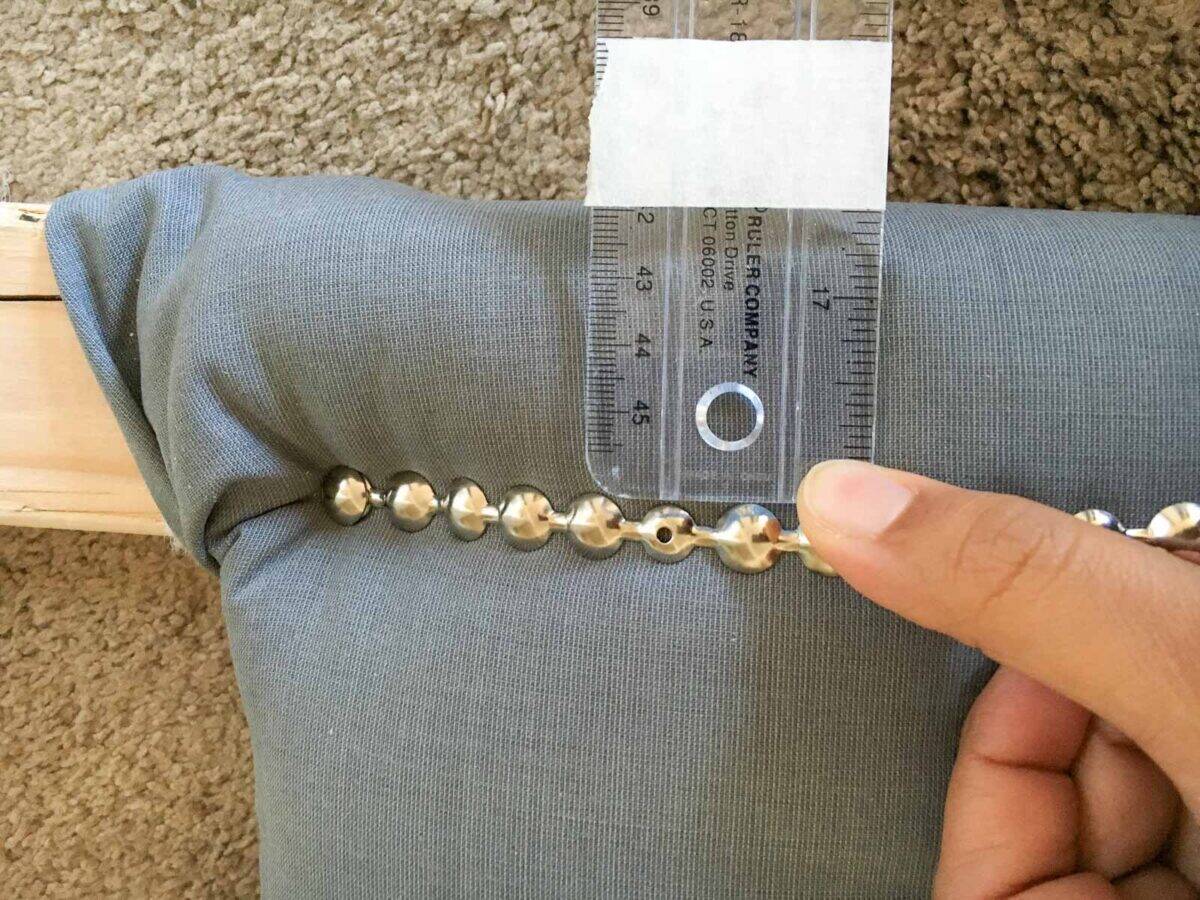
Step 6: Adding the Nailhead Trim
- Start adding the trim about 1.5″ from the edge.
Easy Spacing Hack: I made a quick spacing tool by putting masking tape on a ruler at the 1.5″ mark. It only took about 30 minutes to go all the way around! At the curves, bend the trim slightly in advance so it flows smoothly.
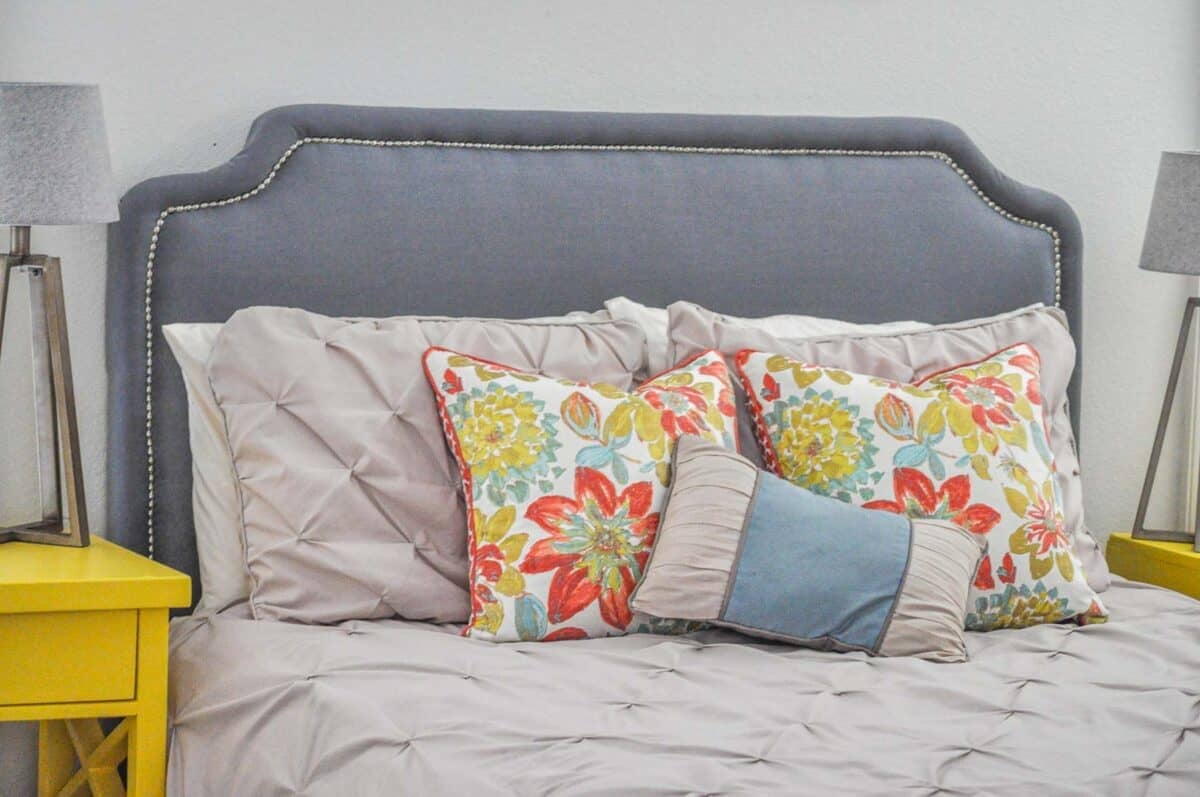
Here is the final headboard –

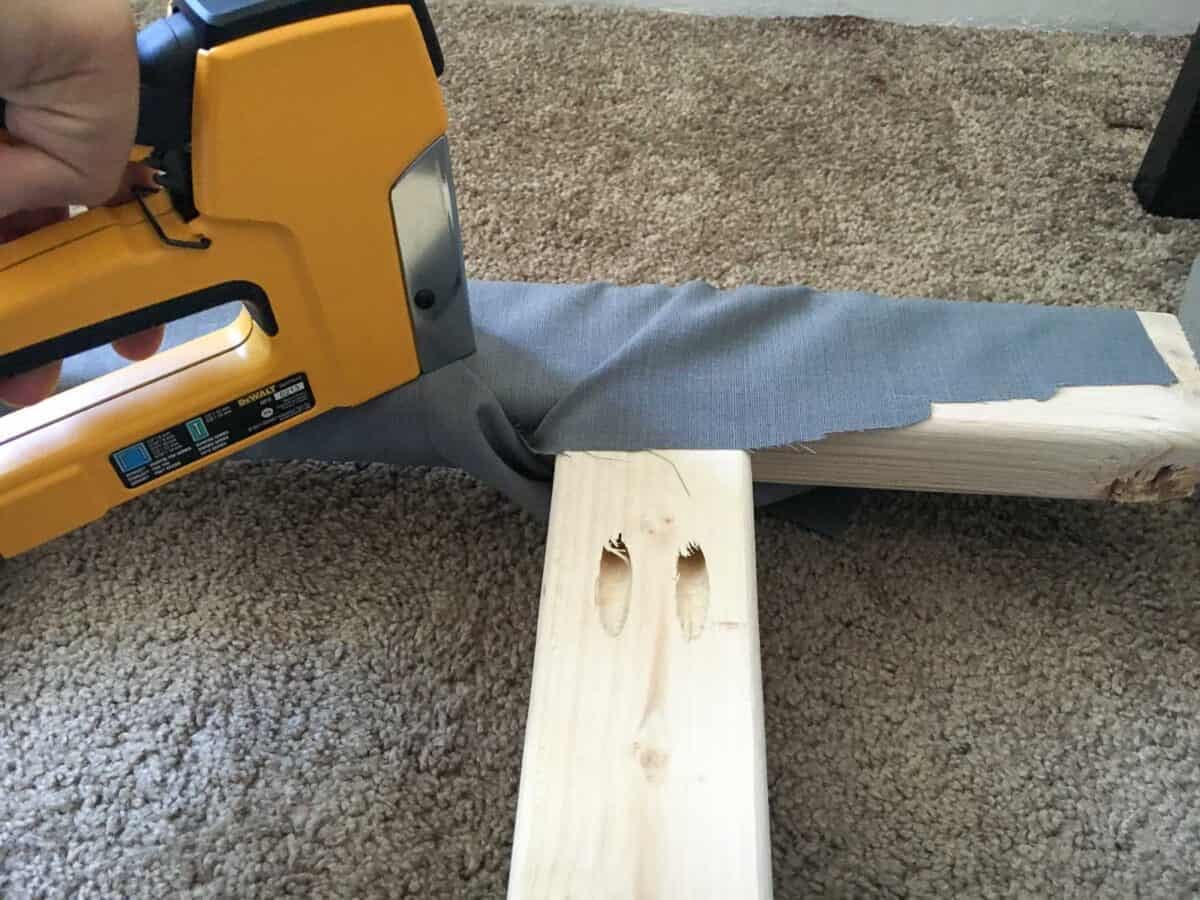
Step 7: The Finishing Touch
Wrap the 2×4 legs in some of your leftover fabric. This makes sure that if the legs peek out next to the mattress, you see beautiful fabric instead of raw wood.
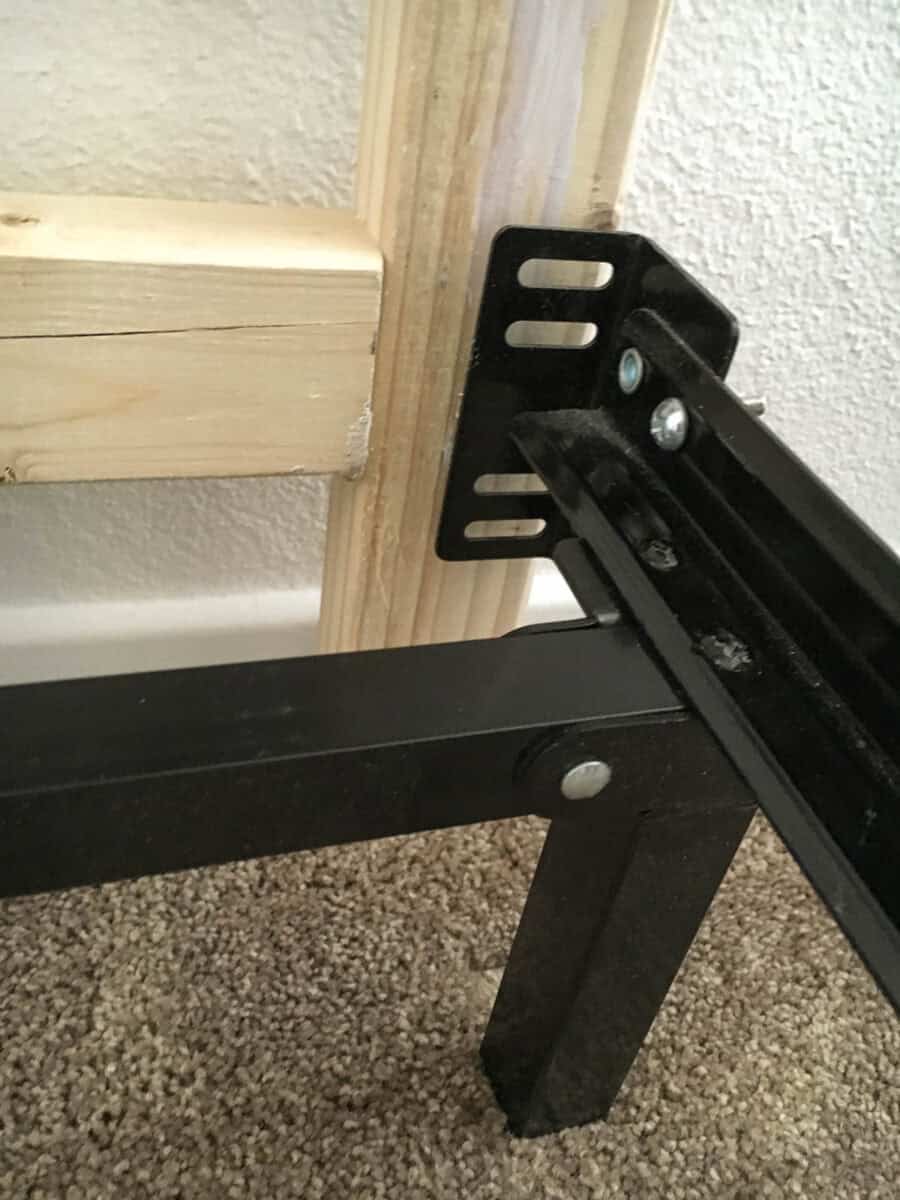
- Attach the bedframe to the headboard using screws and washers. (not shown below).
I already love the cozy feeling with the addition of the headboard.
Not bad for one afternoon and $60!
It’s so easy, I don’t know why it took me so long to do it!
You might also like:


Anika's goal is to inspire and empower beginners with woodworking, DIY, home improvement, and home decor ideas.
She wants everyone to unlock their creative potential and experience the feeling that comes with making something. Nothing feels better better than seeing something and saying "I can make that!"


You are amazing! I love that you’re building your own furniture that you love. Pinned.
Hi Michelle, Thank you so much for the feature. I am so glad you enjoyed it.