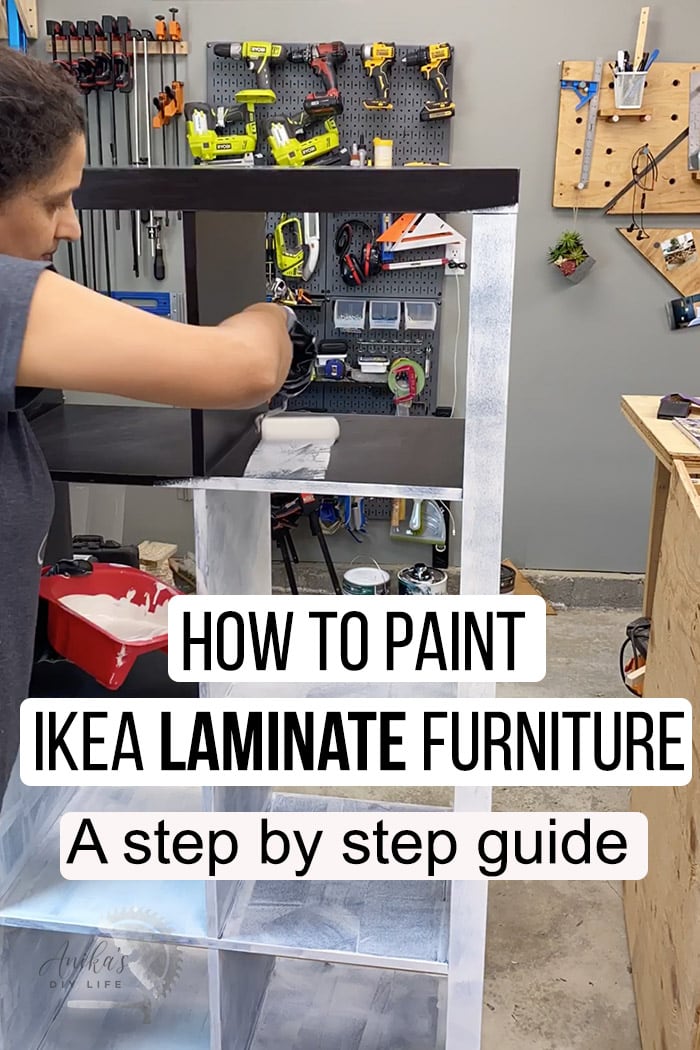
How to Paint IKEA Laminate Furniture (No Sanding)
Your complete step-by-step guide with a full video tutorial on how to paint Ikea laminate furniture with NO sanding for a long-lasting professional finish.
The best thing about Ikea furniture is the fact that it is like a blank canvas.
Plus, it is also budget-friendly enough to be able to go ahead and give it your own spinning without the fear of messing up and wasting a whole ton of money.
There are three basic types of Ikea furniture:
- Laminate (particle board)
- Unfinished wood (usually pine)
- Metal (painted)
You can easily figure out what your piece of furniture is made of by looking at the materials section for your product on the Ikea website.
If you have wood furniture, take a look at my complete tutorial on how to paint Ikea wood furniture here.
Laminate furniture is another one of the most commonly available Ikea materials and makes up the popular Kallax, Besta, Malm, Billy bookcase, Pax, and more!
Painting laminate furniture can be a bit tricky because laminate is known for its “durability” or how easy it is to clean aka its non-adhesive nature to most paints.
Can Laminate IKEA Furniture Be Painted?
YES! It is possible to paint it!
I have done so in the past with great success.
It is very similar to painting any other type of furniture EXCEPT for one special ingredient and we will talk all about it below.
Let’s get ready to paint.
***This post contains referral or affiliate links. It is a way for this site to earn advertising fees by advertising or linking to certain products and/or services. Please read my full disclosure here ***
Can You Paint Over IKEA Furniture Without Sanding?
On laminate furniture, yes you can!
But remember, when I say no sanding – it means you don’t have to use a lot of strength or an electric sander to get the “finish” completely off.
We do need very light scuffing on the entire piece to roughen up the surface. It isn’t much – just a simple wipe down of the surface to be painted using a sanding sponge.

It is just a little time and effort but will give you durable results.
Many DIYers end up skipping this step because – “no sanding” but it is very important for long-term durability.
We will be using a special primer to make sure it holds but the added roughness of the surface is a definite advantage.
I will talk about it in more detail below.
Do You Have to Prime Before Painting?
If you are painting laminate Ikea furniture, then you definitely need to use a primer. Not just any primer, you need to use a shellac-based primer.
The Zinsser BIN Primer is the ultimate tool you can have in your paint arsenal.
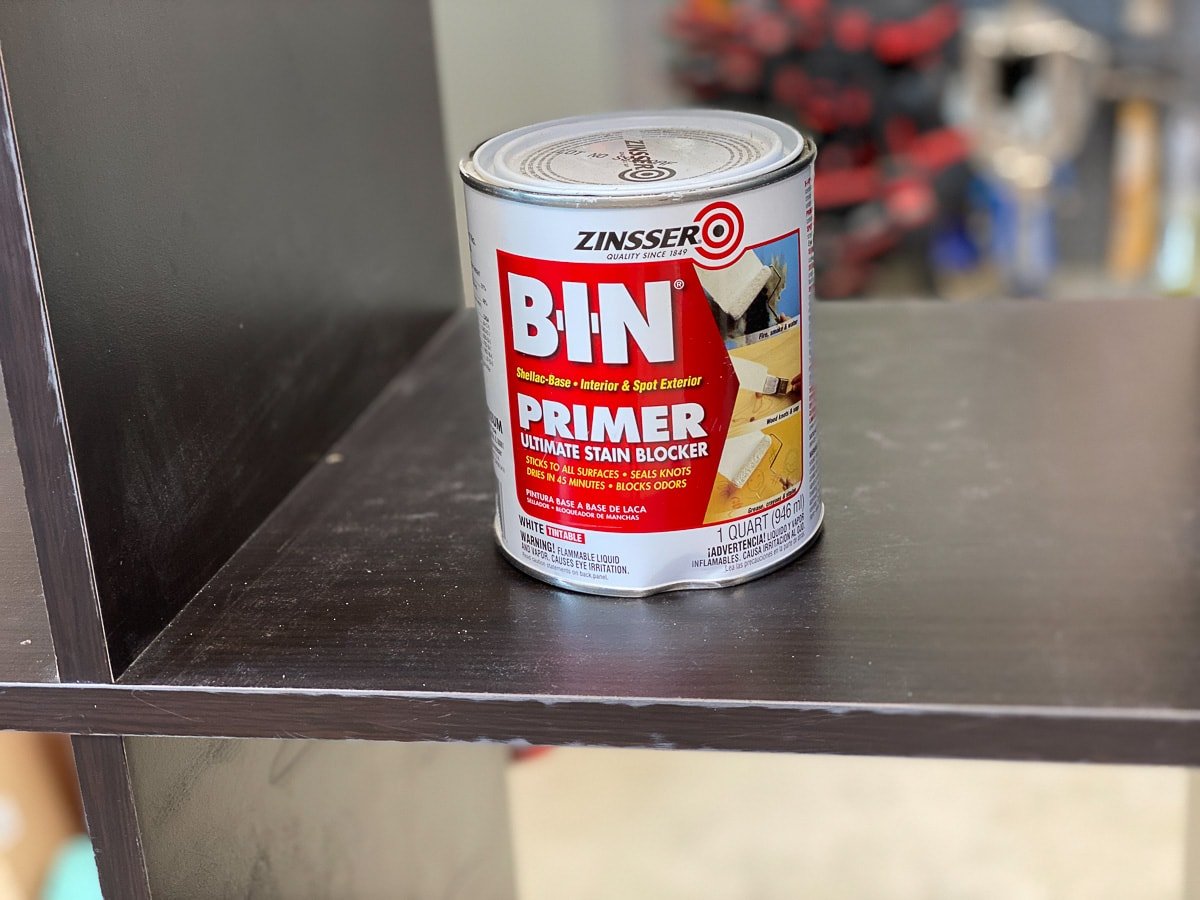
The great thing about this primer is that:
- it sticks to ALL surfaces WITHOUT SANDING
- works with laminate, metal, and wood (I use it to keep the knots from bleeding through in solid wood).
- dries really quickly.
- seals stains and knots
- it works with ANY top coat.
The drawbacks of this primer are that:
- it is expensive
- cannot be used in a paint sprayer. You could do it and I may or may not have but then you need to use denatured alcohol to clean everything out and was so not worth it.
These drawbacks are nothing compared to having the convenience of NOT sanding.
In almost all of my projects, I use the shellac-based primer for the first coat of primer. Then I use a water-based primer for the second coat so I can use a paint sprayer to spray it and save the precious BIN primer for future projects.
What Is the Best Paint For IKEA Furniture?
There is no hard and fast rule for the type of paint.
Any good quality paint will work:
- indoor latex paint
- chalk paint
- acrylic paint
The key to making any paint last long and durable is to let it completely cure – usually almost a week before using the furniture.
I have used the following paints with great, long-lasting results:
- Behr Marquee semi-gloss latex paint
- Behr’s cabinet paint (this is semigloss as well.)
- Behr Latex paint in satin finish with polyurethane
- Sherwin Williams Emerald paint – I used this on my laminate kitchen cabinets, and they have held up beautifully for over a year.
My only concern with The Sherwin-Williams paint is that it outgases a lot and took almost a week to be tolerable. If you are painting a piece of furniture that you can allow to cure outside the house for a while, then it is a great choice.
Should You Paint IKEA Furniture Before Assembly?
It is not necessary to paint Ikea furniture before assembling but it definitely makes the entire process a lot easier.
- You won’t have any tight spaces to reach
- You can be sure you will get the best finish possible if you lay all the pieces flat because that gives the paint the best chance of leveling.
- You will also prevent drips.
What if your piece of furniture is already assembled? Should you take it apart?
If you want to, you can for all the above advantages but in my opinion, no.
I have never been a fan of assembling and disassembling compressed wood furniture multiple times. The more you take it apart and put it back together, the more the wear and tear on the compressed wood inside, the more the chances of stripping the screws and loose joints.
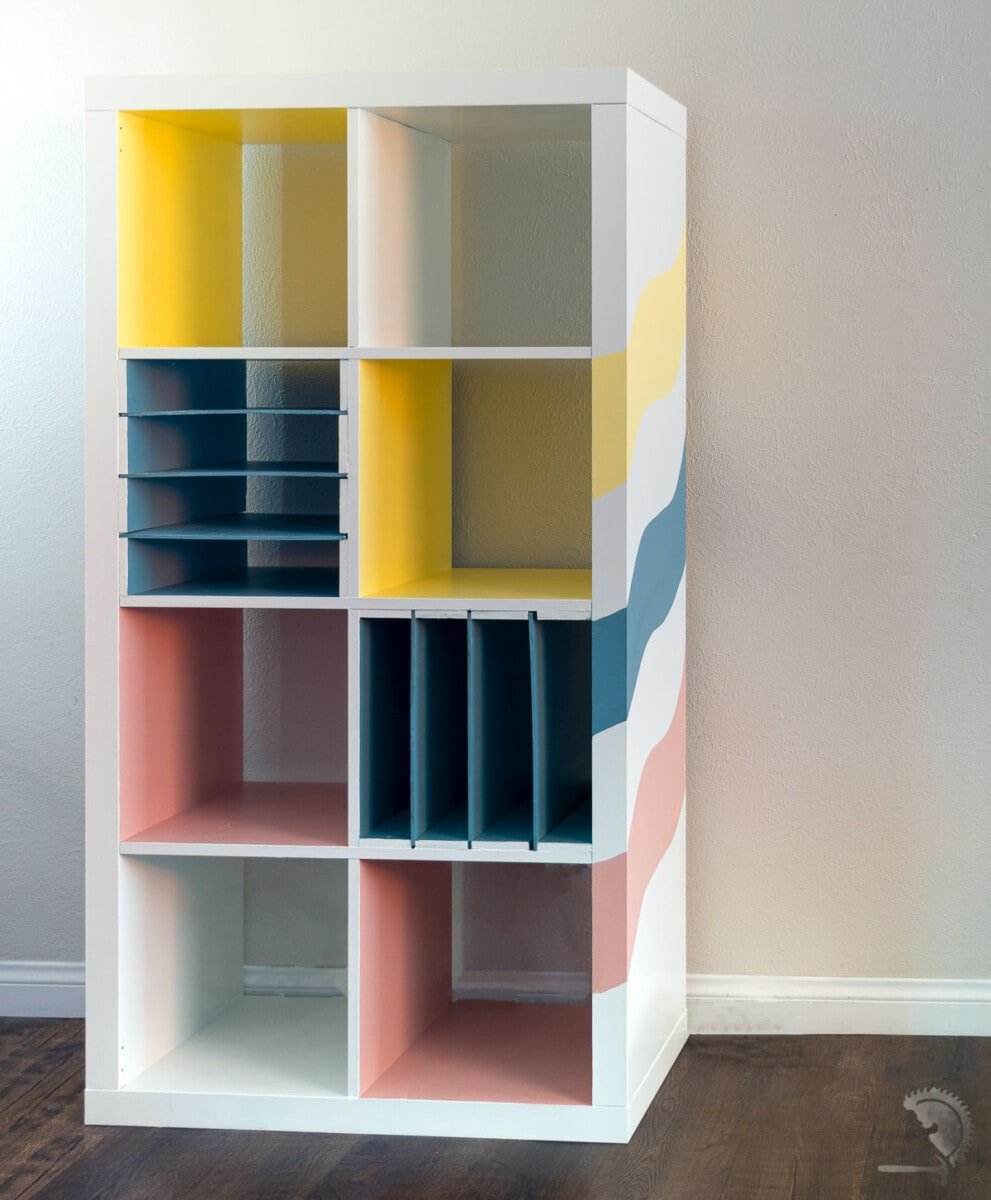
In my case with this bookshelf, I wanted to build the dividers before painting, so taking it apart wouldn’t have helped.
Instead, you can remove any possible hardware or mask it using painter’s tape and get to painting.
How to Paint Laminate Furniture Without Sanding
The best way to paint laminate furniture without a ton of sanding is to lightly scuff the surface with medium-grit sandpaper followed by a shellac-based primer. It can then be painted with the paint and top coat of your choice.
***This post contains referral or affiliate links. It is a way for this site to earn advertising fees by advertising or linking to certain products and/or services. Please read my full disclosure here ***
Material Needed
- Shellac-based primer – this is KEY!
- Water-based primer – This is kind of optional and I will explain why.
- Good quality paint of your choice. Latex, acrylic, chalk paint – they all work.
- Topcoat of your choice (depending on the type of paint)
- Medium-grit sanding block (I know I said no sanding but stick with me for a bit)
- Tack cloth
- Paint brushes
- Foam roller
- Paint sprayer (optional)
- Drop cloths
- Paint tray
- Paint pail
Be sure to download the printable instructions below –
Step-By-Step Tutorial
It is a very simple process and almost like painting any other furniture – it needs the same number of coats but with a very small difference.
Step 1 – Prep
The first step is to decide if you want to paint it assembled or disassembled.
If you are painting while assembled, be sure to remove any knobs, pulls or hardware or apply masking tape if it is not possible to remove.
Clean up the piece you are painting.
- If it is new, a simple wipe down with a damp cloth will do.
- If it is an older piece, you want to make sure to remove all the dirt and grime with a cleaner and wipe it down with a damp cloth.
Step 2 – “Sand”
- Using the medium-grit sanding block, scuff up the surface of the furniture a little bit.
- Wipe off all the dust with a tack cloth.
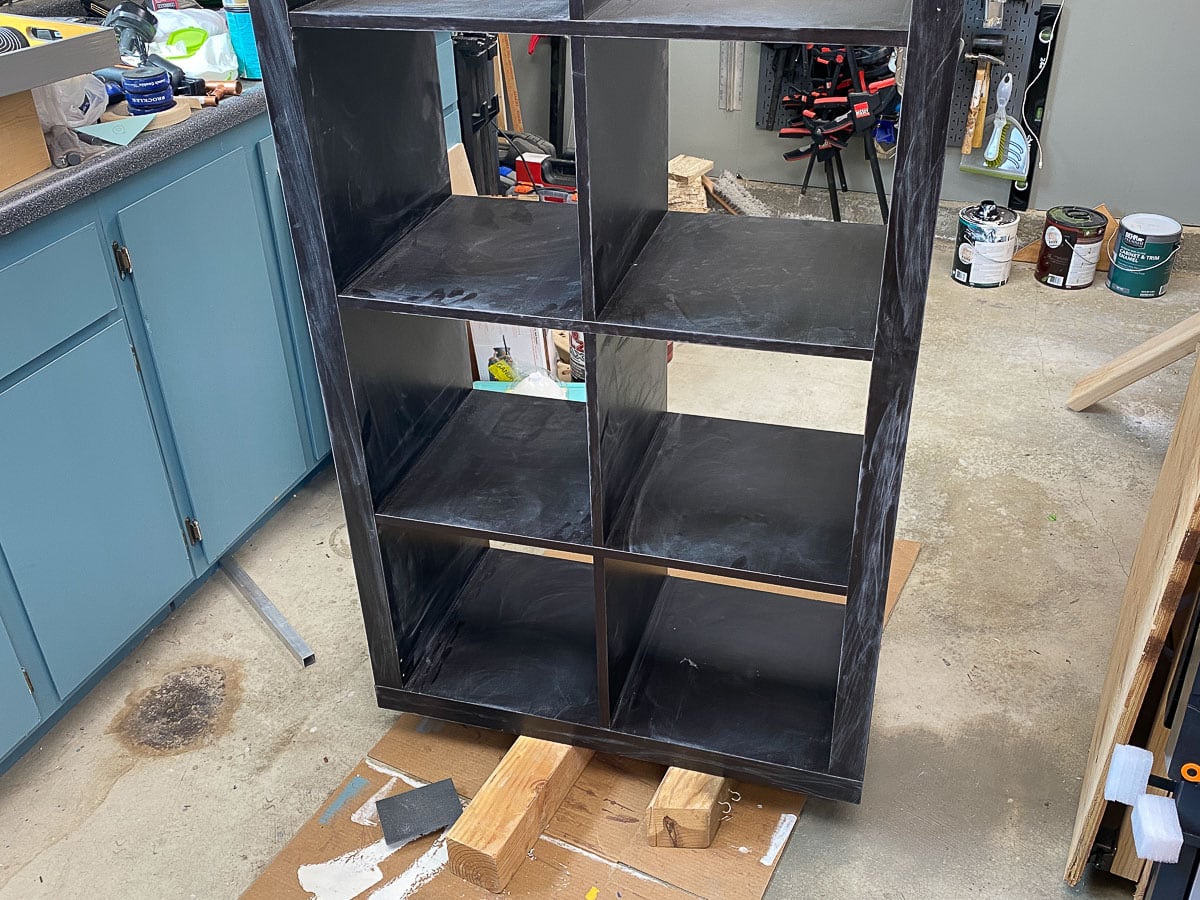
This is not sanding. We are simply “wiping down” the entire piece of furniture with the sanding block followed by the tack cloth to remove the dust.
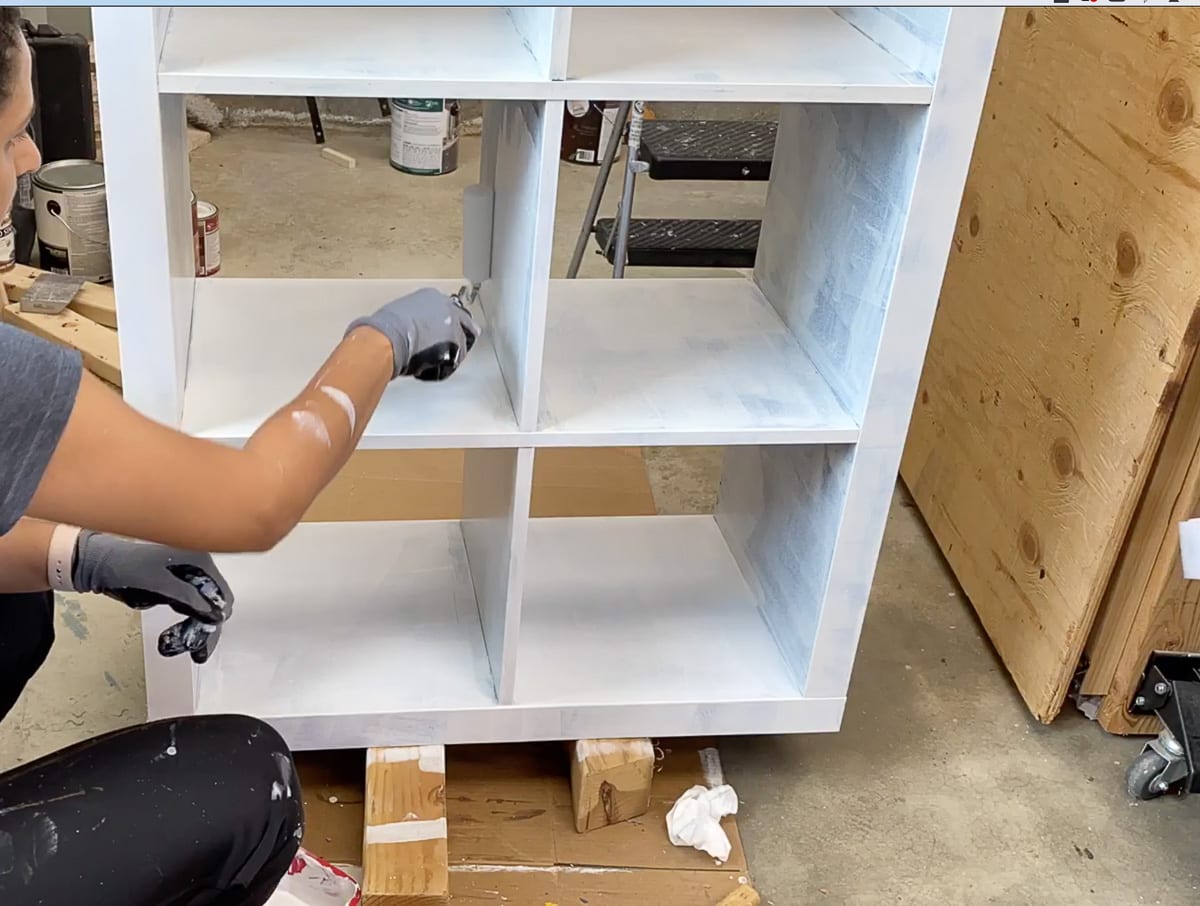
Step 2 – Apply Primer
- Using a foam roller, apply a coat of the shellac-based primer.
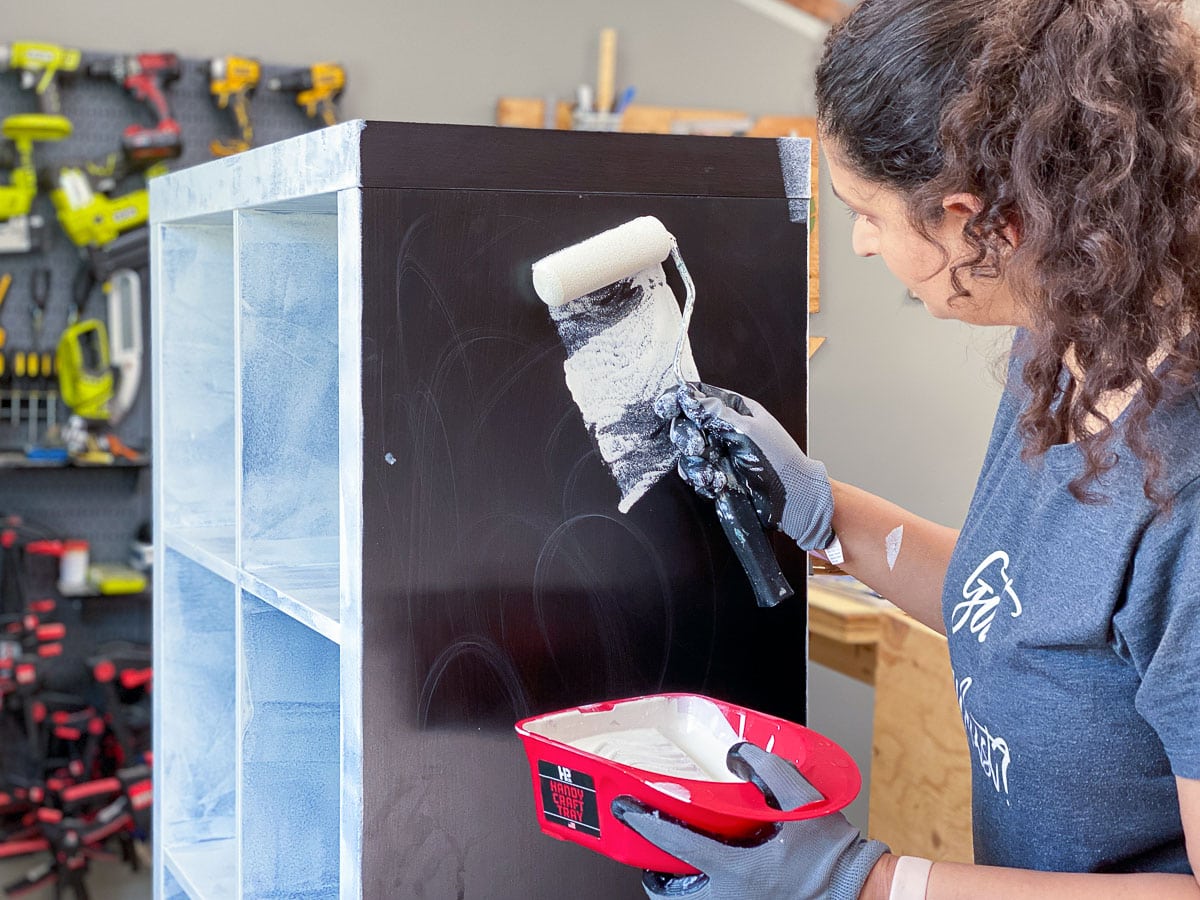
- Once the shellac-based primer is dry to touch, apply another coat of primer
Now here, you have a choice – you can use the shellac-based primer OR you can use a good quality water-based primer.
I typically opt for a water-based primer for a couple of reasons
- Shellac-based primer is more expensive so I try to use less of it.
- I can’t use the shellac-based primer in my paint sprayer. I love using my paint sprayer for larger projects as it cuts down on time significantly.
Whichever primer you choose, apply a second coat and allow it to dry.
Step 4 – Apply Paint
- Apply 2 coats of paint to the project using a paint sprayer or a foam roller allowing the paint to dry between coats.
Use a paintbrush to get into the tight spaces if you need to.

What type of paint to use on laminate furniture?
As long as you prepare your furniture properly with the correct primer, you can use any type of good quality paint – latex, acrylic or chalk.
Step 5 – Seal and Finish
Based on the type of paint you use, apply a topcoat.
I like using this topcoat. But if I use semi-gloss paint, I usually leave the project alone with no topcoat.
Once cured properly, good-quality latex paint is pretty resilient.
Important Tips
- Use Shellac-based primer for the first coat of primer
- Use a foam roller or a paint sprayer for the paint and topcoat
- Allow each layer to completely dry before proceeding to the next layer.
- Allow the paint and topcoat to cure at least 48 hours or more before using the furniture.
That is it!
Enjoy your newly painted Ikea furniture.
Be sure to download the printable instructions below –
It does take a bit of patience and one extra step but it is so worth it!
Update 1 Year Later:
I get a lot of questions about the longevity of the process.
The bookshelf still looks great almost 15 months later. Although it looks a lot messier than it looks in the picture above.
The kids are constantly pushing in and removing books and there are barely any scuff marks.

CHECK OUT THE FULL THE IKEA KALLAX HACK WITH DIVIDERS.
More How-to Paint Tutorials
More Fun IKEA Hacks
Anika's goal is to inspire and empower beginners with woodworking, DIY, home improvement, and home decor ideas.
She wants everyone to unlock their creative potential and experience the feeling that comes with making something. Nothing feels better better than seeing something and saying "I can make that!"


Hi Anika!
A very good example of upgrading an old Ikea closet. Made a PIN on my board!
Thank you.