How to Paint Unfinished Pine Furniture
Here’s how to paint unfinished pine furniture to get the best results and make it last for a long time. I am sharing all the tips and tricks you need to know including what kind of paint to use on pine wood.

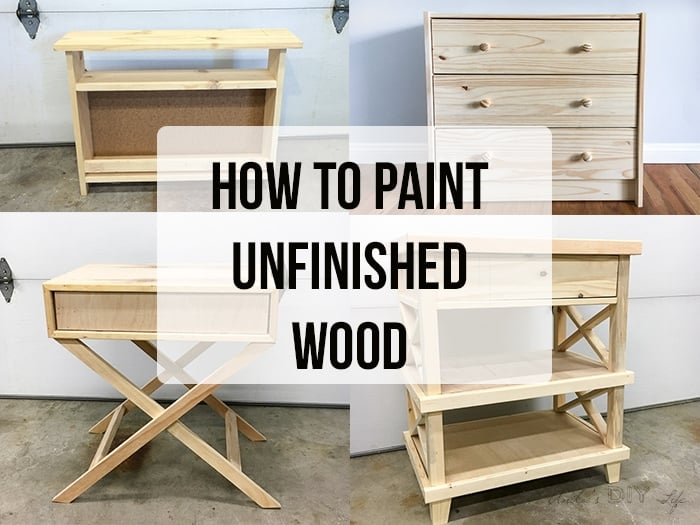
Maybe you just finished building an awesome piece… or bought an unfinished pine furniture from Ikea.
You can’t wait to paint it your favorite color!
But if you are not careful, you might end up with a piece you are not too proud of (trust me, I have been there…)
Or your painted furniture piece may look amazing for a few weeks but then slowly, you start to see knots bleed through…. no one wants that!
After years of research, trial, and error, and painting a LOT of bare wood furniture, I have come up with a way to paint bare wood furniture that has been holding up really well.
Furniture painted with the below process is still going strong almost 8 years later.
Let’s get into it!
***This post contains referral or affiliate links. It is a way for this site to earn advertising fees by advertising or linking to certain products and/or services. Please read my full disclosure here ***
What you need for painting pine wood
- Wood Putty
- Sanding sponge or Random orbital sander
- Sandpaper in various grits – I use 80, 150 and 220 grit.
- Tack cloth
- BIN Primer
- Disposable chip brush
- Primer
- Paint of your choice
- Paint sprayer or good quality paint brush and Floetrol
- Polyurethane
- Drop cloth
- Spray shelter (Optional but recommended)
Be sure to download the printable instructions below:
RELATED: The 7 essential supplies needed to paint furniture
How to paint unfinished wood
Here are the basic steps. I break down the reason for each step, how to do it, and what you need in detail later in the text.
- Fill imperfections and holes with wood putty
- Sand down the piece with 220 grit sandpaper and wipe.
- Seal knots
- Primer – 2 coats
- Paint – 3 coats
- Polyurethane – 3 coats
Painting Unfinished wood
Let’s break down each of the above steps in detail.
Before you start out on a painting journey, make sure you have filled any pocket holes and imperfections with wood putty and sanded your unfinished wood furniture smooth. Sanding is my least favorite part of building furniture but unfortunately, it is also the most important!
Oh and don’t forget to wipe down the entire piece. My favorite way to do this is using a tack cloth.
How to seal knots in unfinished wood furniture
The main problem with unfinished wood furniture is the knots. If you build your own furniture, you know that you need to find lumber with the least knots. Unfortunately, you can never completely eliminate them… not if you want to stay on a budget anyway.
Why are these knots so bad?
Because they end up looking like this after a while (anywhere from a few weeks to years)…

That is the very first table I built and painted before I knew about any of this!
Nope. You really don’t want those knots showing through!

The best way to seal knots in wood
Start by covering up the knots with wood putty. This will force all the little cracks and crevices to fill up with wood putty.

Once dry, sand away the extra wood putty. Try to leave a thin layer of wood putty over the knot. It can be a very fine balance between removing the putty completely and leaving a little bump of putty. Make sure the surface is smooth and flat.

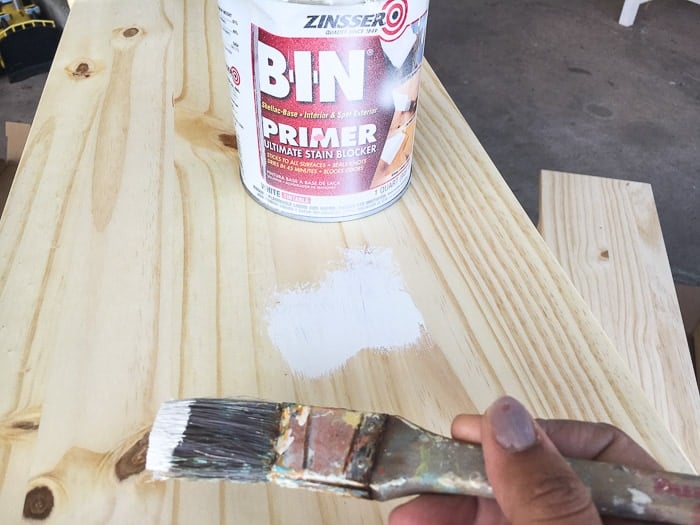
Next, cover the knots with a Shellac based primer using a disposable chip brush. You will need at least 2 coats. I like to cover only the knots and have found it to be sufficient.

Once the Shellac base primer is dried up, make sure the areas are smooth. If the grain has raised you will have to sand it smooth with a sanding sponge and apply one more coat of the Shellac based primer.
Primer for wood furniture
Time to prime. I love using this primer for all my projects. I love that it is water based and you don’t have to worry about cleaning and disposal.

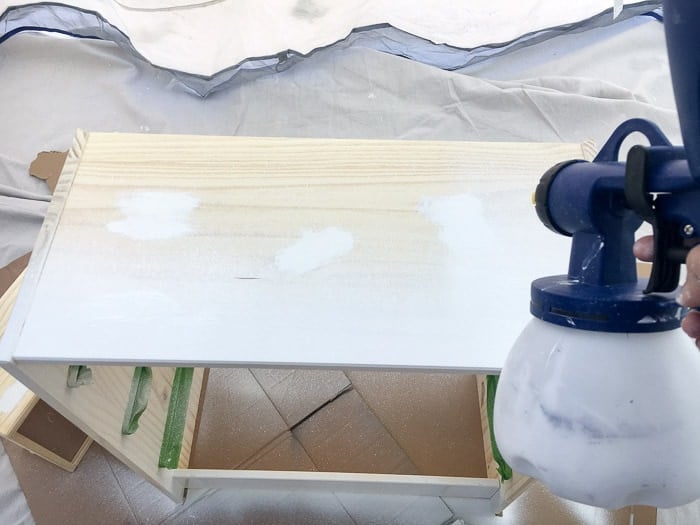
My favorite way to apply primer is to use my paint sprayer but you can absolutely apply it using a good quality paintbrush or paint roller too.

Bare wood is very thirsty! It soaks up primer! So don’t be surprised to see your coat looking splotchy after it has dried. I normally need at least 3 coats to get an even finish.
Don’t skimp on this step because you really don’t want the wood soaking up your paint.
At the end of the 3 coats of primer, I normally get a pretty smooth finish and rarely need to sand. But if you feel like the wood has any roughness at all rough, give it a light sand using a sanding sponge and wipe off all the dust with a tack cloth.
Painting raw wood furniture you just built
If you built this furniture and you have pocket holes and joints, now is the perfect time to look for all the imperfections. Once covered in primer, any holes and cracks that need to be filled are a lot more visible.

Fill them up with wood putty or the cracks with caulking and sand them smooth with a sanding sponge. When you sand, make sure not to sand away the primer. Again, be sure to clean all the dust with that tack cloth!
What paint to use on wood furniture
Now comes the fun part! Adding paint! It is my favorite because I love using colors and the personality of the furniture piece truly comes through with it!
What kind of paint to use on pine wood
Honestly, there is no special paint for pine wood. You could use any kind of paint especially since it is primed already. I have used oil based, chalk type paint and latex paint with equal success. They each have their advantages but I primary use latex paint for my furniture.
I love using water-based latex paints because they are so easy to handle and clean up and I can use my paint sprayer to paint very quickly. Most of my projects use only 1 sample pot of paint and it is great to keep costs down.

I love using my paint sprayer, but if you would rather brush or roll it on, be sure to use Floetrol to help achieve a smooth uniform coat.
You will need a minimum of 2 coats of paint to get full coverage and uniform and true color.
Sealing painted wood furniture
The last step to making your furniture last is to seal the paint with polyacrylic.
It is best to use water-based polyacrylic to preserve the color of your furniture. My love using the satin sheen. Oil-based polyacrylic can start to yellow over time so you may not want to use those on your pretty colors.
Apply a couple of coats of poly. Between each coat, make sure to sand with 300 grit sanding paper or sanding sponge and wipe away all the sanding dust.
RELATED: How to paint veneer cabinets
Painted Wood Furniture
You should end up with the PERFECT smooth and durable piece of painted wood furniture.
I have used this process for the last 2 years and all the furniture painted this way has held up perfectly! There have been no knots bleeding through!
How do you paint unfinished wood furniture? Do you have any other tips and tricks we could add here?
Be sure to download the printable instructions below –
Some of my favorite painted pine furniture pieces –
- DIY Clara lattice bedside table
- Ikea Ivar cabinet makeover
- Fabric paneled Ikea Tarva makeover
- Simple Ikea Rast makeover
- DIY X-base accent table
- Colorful kids table and chair set
- Colorful Kids’ Ikea Tarva makeover
Need more information? Here are a few more articles on the topic –
- How do you paint pine furniture
- All about the types of paint and finish
- Best type of paint for furniture
- How to Sand Wood: A Beginner’s Guide
Anika's goal is to inspire and empower beginners with woodworking, DIY, home improvement, and home decor ideas.
She wants everyone to unlock their creative potential and experience the feeling that comes with making something. Nothing feels better better than seeing something and saying "I can make that!"


Great tip to seal the wood knots. If you have already painted the wood and later sand it down and seal the knots would the finish look smooth? I need to do this. Thanks for sharing at Home Sweet Home!
Hi Sherry, yes, you can sand it down and re-seal and repaint. You will just have to make sure to sand the whole piece and treat it like you are painting it for the first time!
Thank you!
Why don’t you just say the product name? And give a link? Primer link is bad.
Hi Mike, I just checked all the links to primer and they are working. Let me know which link didn’t work for you.
I just started painting my in finished ikea dresser- no primer. Any chance I can salvage it?
Hi Liza,
It should be ok. You add a coat of primer over a coat of paint and start over.
Good solid information!
This is so helpful! Thank you! I’m following it step by step as I paint my IKEA Ivar cabinets. When you say to sand the knots and reprime if the grain is roughed up, what do you consider roughed up? I’ve got a little roughness around the edges of the primed spots from the thickness of the primer…wondering if I need to do that step or if the BIN primer will cover. Thanks!
Hi Darcie, I am glad you found this article helpful. I would suggest, lightly sanding it till it is smooth and you don’t feel the step when you move your finger over it. If you leave it as is, it will show up much more significantly after it is painted.