Easy Modern DIY Potting Bench
Learn how to build this simple and modern DIY potting bench with a step-by-step tutorial and plans. It can also double as a plant display or console table. Great beginner woodworking project.
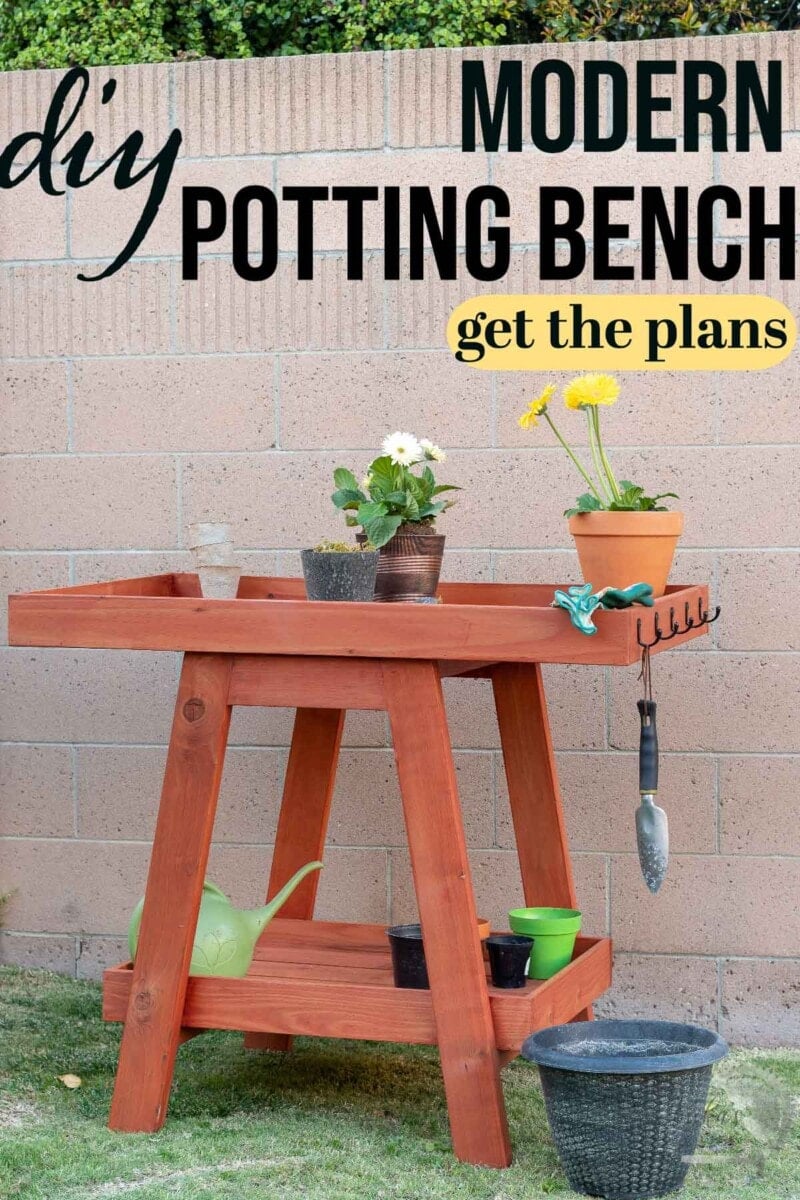
As the weather is getting warmer, we are dusting off the gardening tools and deciding on what to plant in our gardens.
***This project is sponsored by Mendocino Redwood. All opinions are my own. Thank you for supporting the brands that make it possible to bring you new projects***
If you garden at all, you definitely need a potting bench.
I have wanted one for a while. We start seeds on the patio table, repot plants on the patio floor (nice leg workout). Then we have dirt everywhere :).
For this potting bench, I didn’t want to build a large traditional design. I decided to make a simpler modern version of the potting bench.
I wanted the potting bench to be:
- Simple and easy to build (as always)
- Small enough for small yards and spaces
- But plenty of room for storing pots and tools
- Multi-functional – so you can use it when you are not “potting”
- Easy to move around if needed.
What Kind of Wood Should You Use?
Potting benches see a fair share of water and dirt and if you have it out in an open area, the elements as well.
When picking wood for the potting bench, you want to pick a species that is weather resistant.
I picked redwood for this potting table because it is not just naturally weather-resistant, but also super lightweight and beautiful.
You can read more about redwood here.
Mendocino Redwood is environmentally sourced, reasonably priced, and readily available at The Home Depot on the west coast.
If you do not have redwood available, cedar is a great choice as well.
How Big Should a Potting Bench Be?
The main consideration for the size of a potting bench is that the work surface height should be at waist level – around 36″ – similar to kitchen counters.
The width and depth can vary depending on space availability and storage requirements.
Typical dimensions are –
- 18 to 20 inches deep
- 32 to 40 inches wide
As always, I have made sure to keep the entire project easy and approachable for anyone irrespective of their experience with woodworking.
***This post contains referral or affiliate links. It is a way for this site to earn advertising fees by advertising or linking to certain products and/or services. Please read my full disclosure here ***
Material Needed
- Redwood lumber per the plans.
- Exterior wood glue
- 2 1/2″ outdoor pocket hole screws
- 1 1/4″ pocket hole screws
- 1 1/4″ finish nails
- tape measure
- speed square
- Sanding sheets in various grits. These are my new favorites.
- Weatherproofing stain. I used a weatherproofing transparent stain in the color “redwood.”.
Tools Needed
- Miter saw
- Table Saw (optional)
- Planer (optional)
- Kreg Jig. I used the Kreg 720 but any model will work.
- Drill/Driver
- Random orbital sander.
- Nail gun. I use this one.
- Kreg Quick Flip or a countersinking drill bit.
Video Tutorial
I have a full step-by-step video showing you exactly how to build this potting bench. Watch it below. The full written tutorial follows as well.
Click here to subscribe to my YouTube Channel for more great videos!
Step-By-Step Tutorial
Step 1: Prepare the Boards
- Make the cuts per the cut list in the plan.
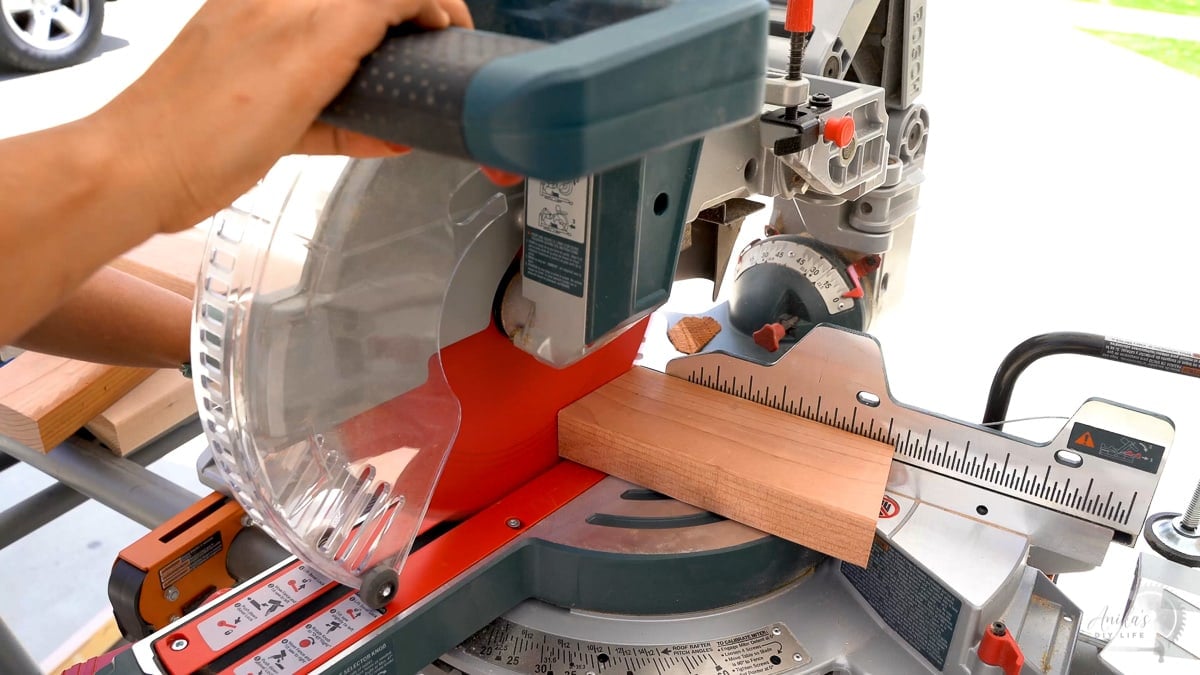
For the angled cuts, I like to set my miter saw at the angle and make all the cuts at once to get a consistent angle.
- Sand the boards smooth starting with 80- grit to 220-grit.
I sent them through the planer to get the top surfaces smooth but this is totally optional. Up until a few months ago, when I did not own a planer, I would have simply plugged in my favorite tunes and spent time sanding.
The advantage of using redwood is that if you pick the boards carefully, they are already pretty smooth and good to go.
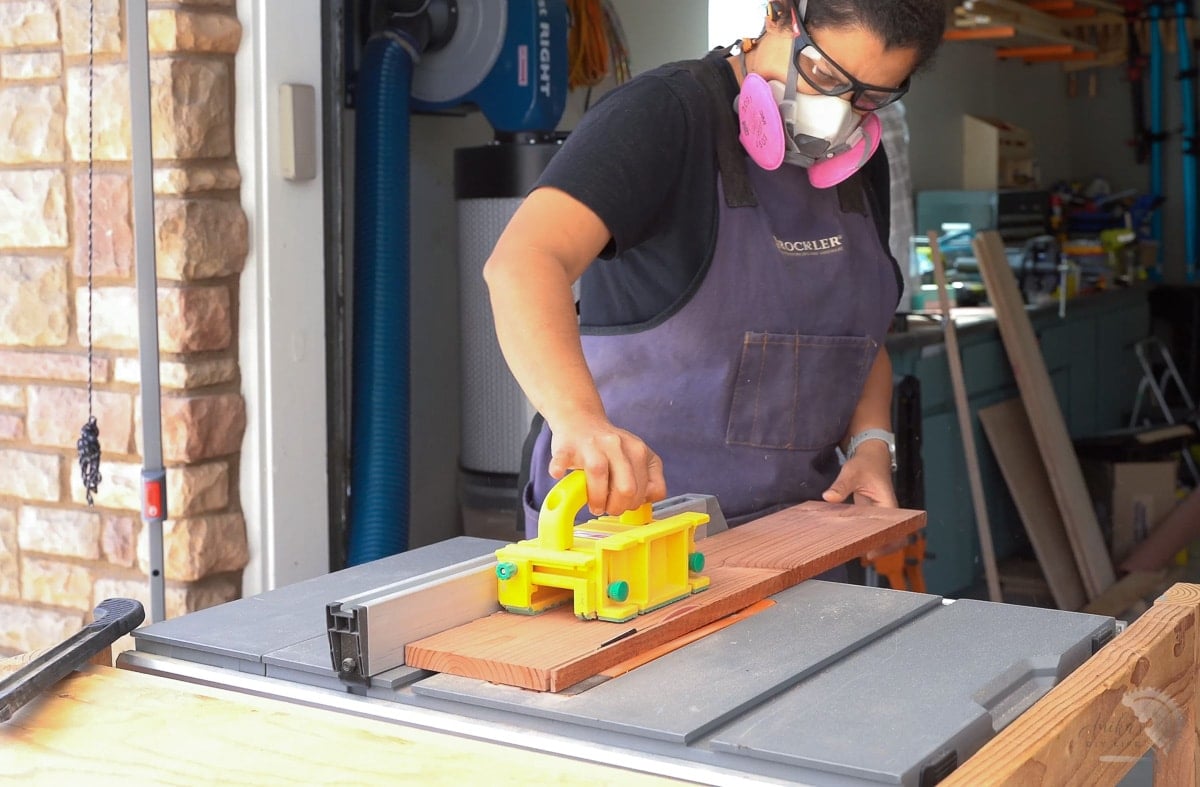
On the fence pickets, the edges were pretty jagged and I could have sanded them down but I decided to take a quicker route and trim off the edges on the table saw – again totally optional.
- Make pocket holes in boards for the leg frame.
The setting on the pocket hole jig is for 1 1/2″ material and the Drillbit is set at a 1 1/2″ setting as well.
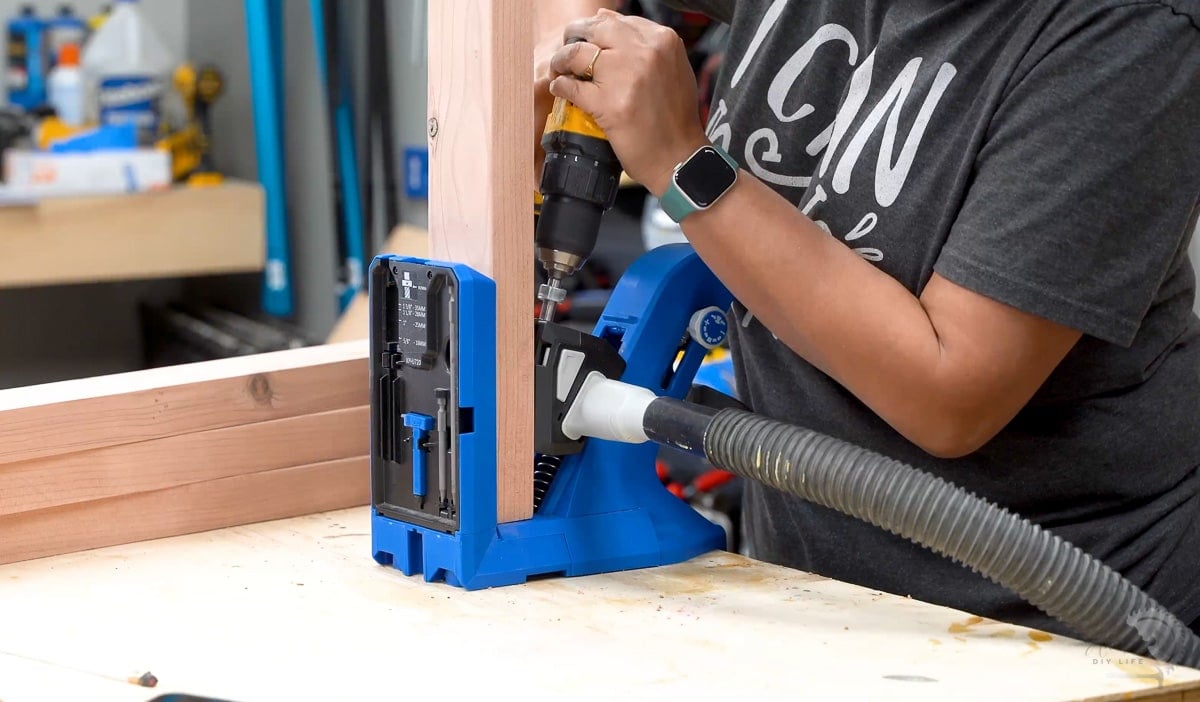
I used the Kreg 720 to make the pocket holes but any pocket hole jig works. See here if you need help picking a pocket hole jig.
Step 2: Build the Legs
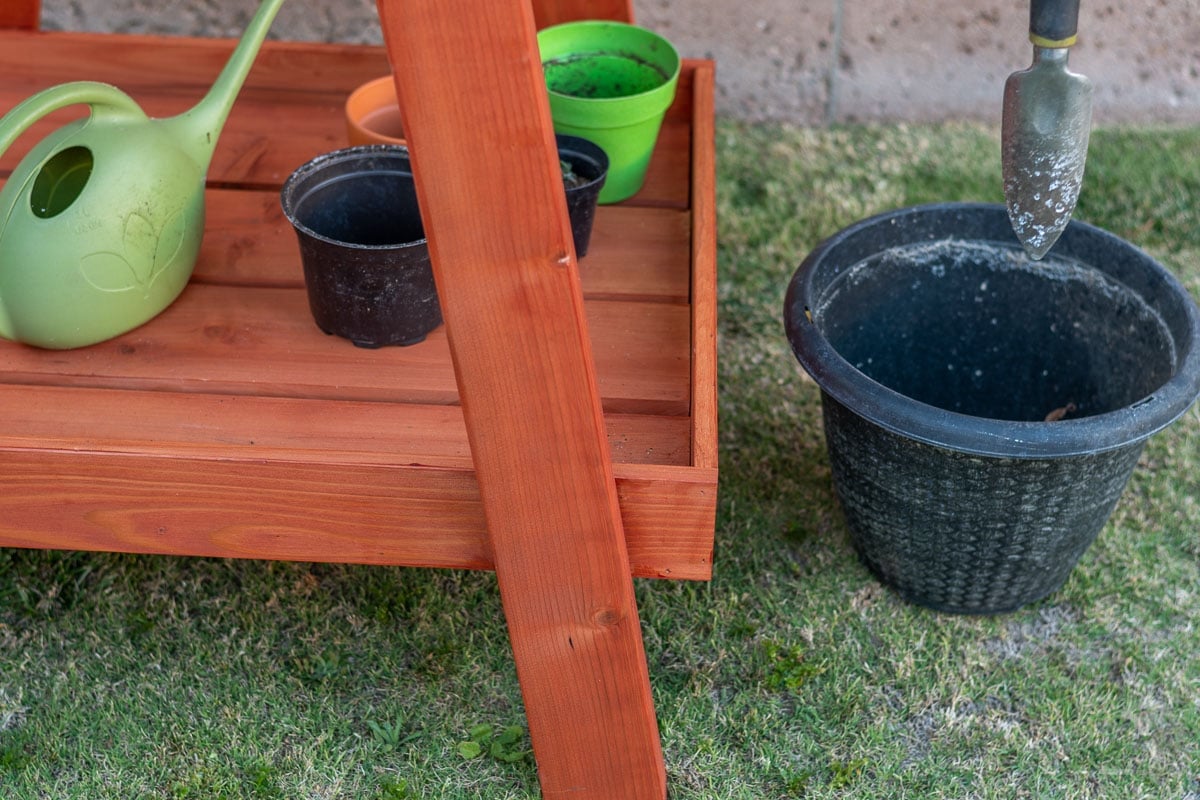
- Build the front and back legs by attaching with wood glue and 2 1/2″ outdoor pocket hole screws.

- Attach the top aprons with the pocket holes facing up. This is fairly straightforward.
- Attach the bottom supports.
This can be a little bit tricky because the legs are at an angle. For the supports to be perfectly straight and parallel to the ground, you need to mark the 10-degree angle rotation. See how to do it here.

- Attach to the other set of legs to complete the leg frame.

Step 3: Build the Shelf/Top
- Build the bottom and top shelf frames by joining the 1×4 boards using wood glue and finish nails.
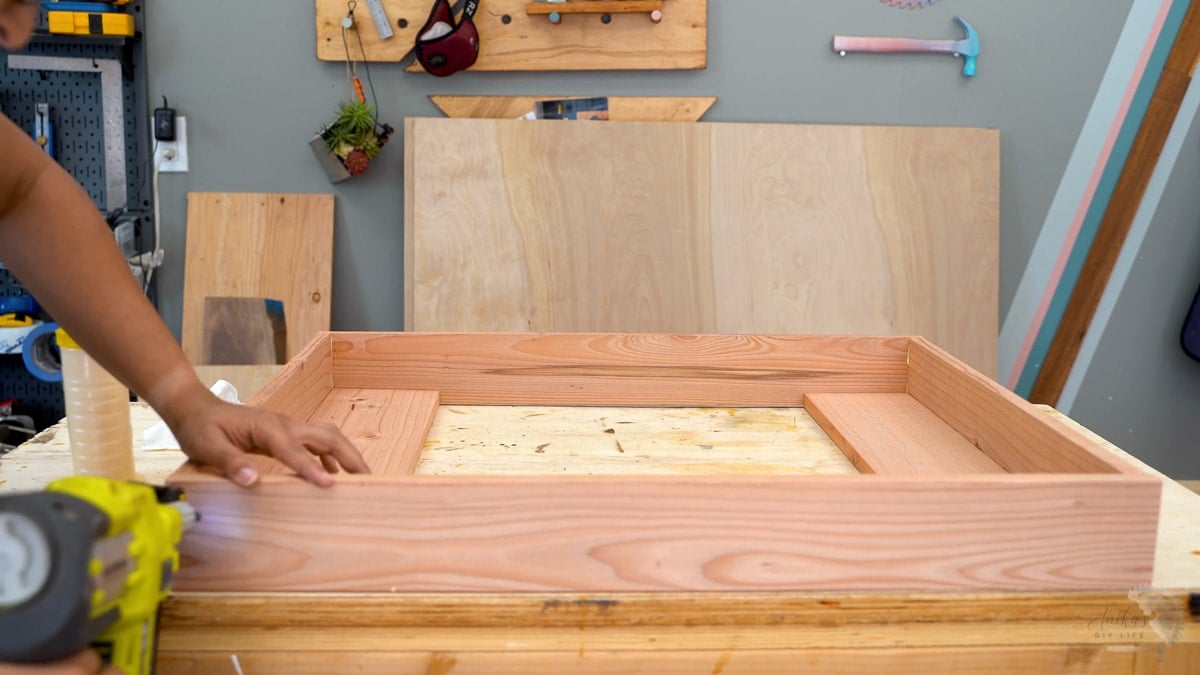
The top had extra supports in the middle which should be aligned such that they sit on the top supports on the legs.
Step 4: Attach the Shelf and Top
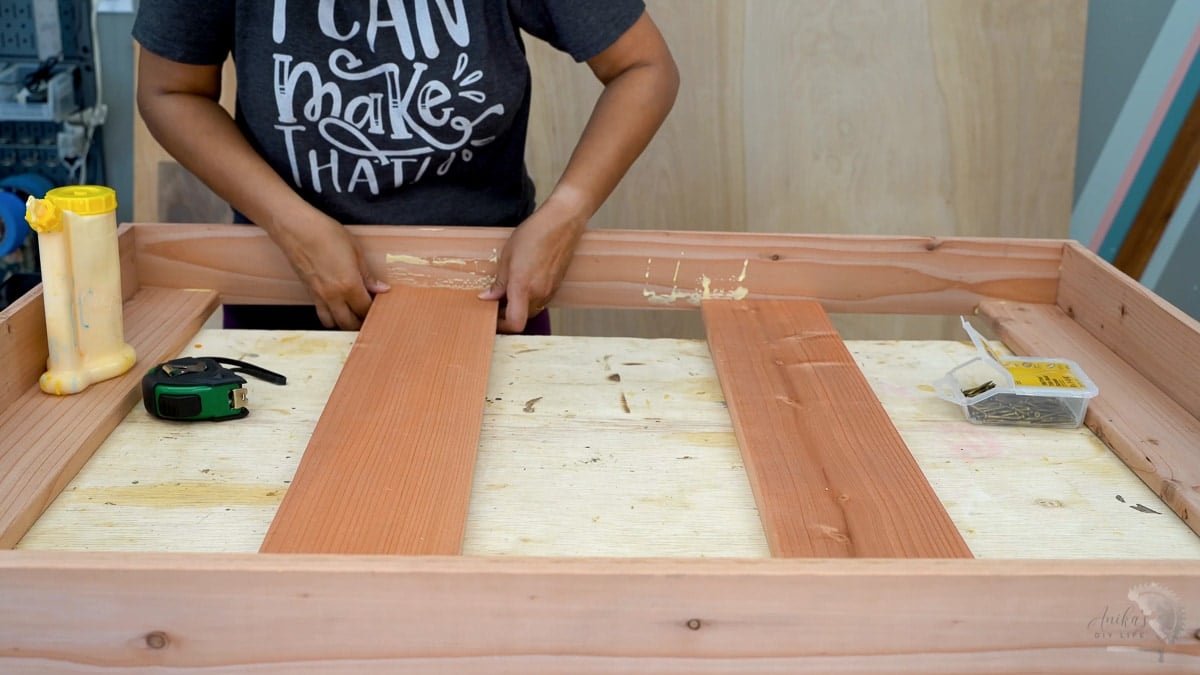
- Place the lower shelf and top on the leg frame. Align them so they are centered.
- Attach using countersunk screws to the supports on the leg frame.
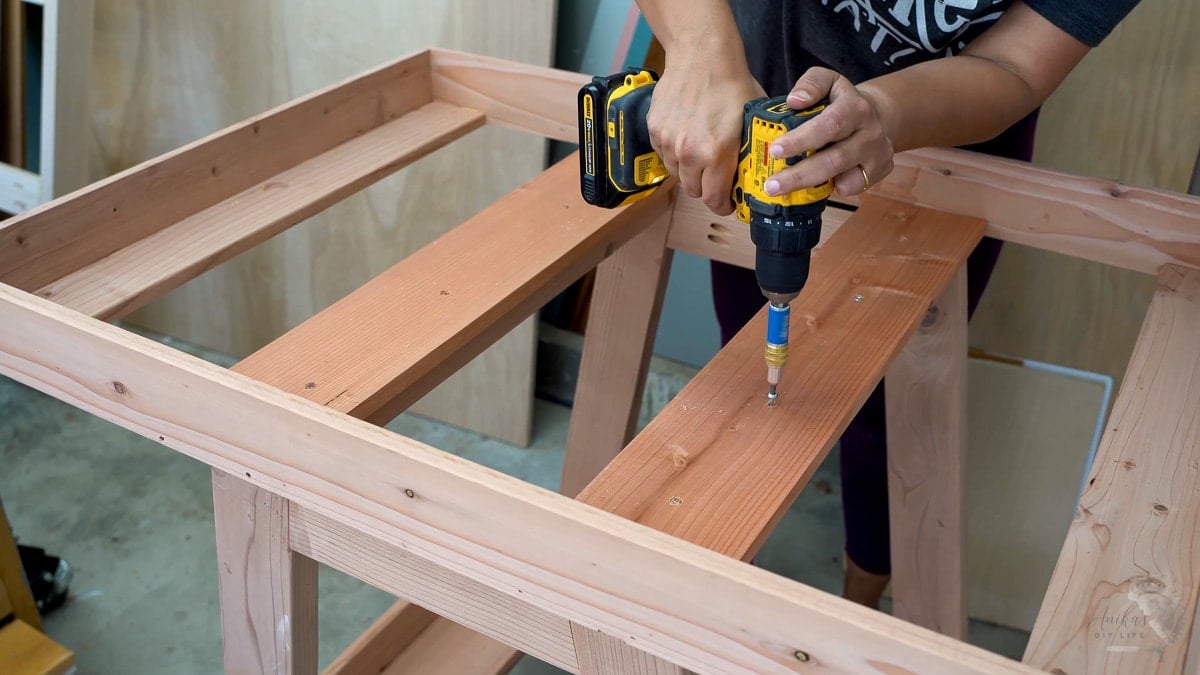
I used the Kreg Quick Flip for this and it was quick and easy to attach all the screws.
A note about the screws: Be sure to add the screws into spots that will be covered by the slats in the later steps. I didn’t think of it and found one of the screws showing between the slats.
Step 5: Stain/Paint/Finish
This is a great time to stain or paint the entire project. I stained the slats and the frame separately.

To stain, I used this weatherproofing deck stain in redwood. I love how it enhances the beauty and color of the redwood and also makes it waterproof.
I have used it on the hammock stand, the outdoor box, and the dining table and they have been doing wonderfully for a few years.
Step 6: Attach the Slats.
Once the stain is dry, attach. the slats to the shelves or boxes using finish nails.
I debated about attaching the slats or leaving them loose to make it easy to pick them and clean so that is an option as well.
Step 7: Add Accessories
I added hooks to the side to hang gardening tools.

Other options –
- Attach a hose hook like this one to store a garden hose on the side.
- Add a small tub to use as a “sink”.
That’s it!
The potting bench is done.
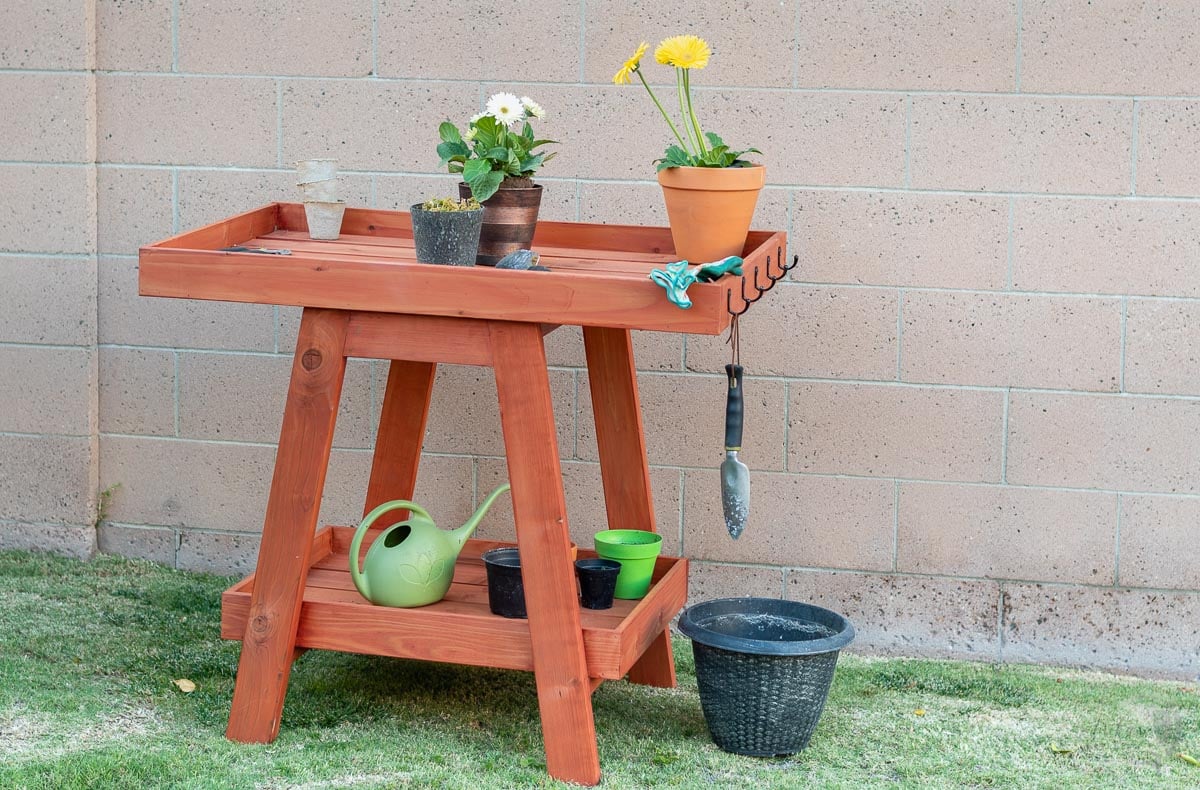
It is not just a potting bench though. You can also use it while you are not “potting” as a:
- plant display
- buffet table
- bar table.
It’s definitely a multi-functional piece.
Since it is built using redwood it is also lightweight. I am able to lift the entire bench all by myself.
This makes it easy to move around if needed, making it perfect for small yards or a porch.
Potting Bench Plans
Click the link below to get the woodworking plans for the potting bench. The plans have all the dimensions plus step-by-step instructions with illustrations to help you build.
Related Projects
You may also like: How To Make the Easiest DIY Wood Vase
Anika's goal is to inspire and empower beginners with woodworking, DIY, home improvement, and home decor ideas.
She wants everyone to unlock their creative potential and experience the feeling that comes with making something. Nothing feels better better than seeing something and saying "I can make that!"

