Distressed Puzzle Wall Art – Love is all you need!
When I saw A Wandaful Thing’s monthly challenge to use puzzle pieces for a craft, I knew I wanted to take part in it! We love puzzles around here and this would be fun project! I obviously could not invade Mi’s stash of puzzles so I headed to the dollar store to pick up some puzzle pieces. It was meant to be when I found the heart shaped puzzle! I was obviously meant to make a love puzzle wall art for Valentine’s Day. Two birds- one stone! I was obviously meant to make it! 
One of my favorite songs is the Beetles song – All you need is love…. love is all you need… I was going for what you need to fix a broken heart… so “Love is all you need…”
***This post contains affiliate or referral links. It is a way for this site to earn advertising fees by advertising or linking to certain products and/or services. Please read my full disclosure here ***
Materials needed for the puzzle wall art –
- Heart shaped puzzle
- Mod podge
- 1/4″ birch plywood
- Red stain (I used Minwax tintable stain in spice)
- Blue paint (I used Seaside Manor by Clark+Kensington)
- White paint (I used Polar White by Valspar)
- Sander. This corner sander is my favorite
- Red metallic acrylic paint
- Silver acrylic paint
How to make the puzzle wall art –
Step 1 – Assemble the puzzle and give it a coat of mod podge on top to hold the puzzle together.
Step 2 – Paint the back of the puzzle with red acrylic paint. Once dry, trace the puzzle edges with silver craft paint.
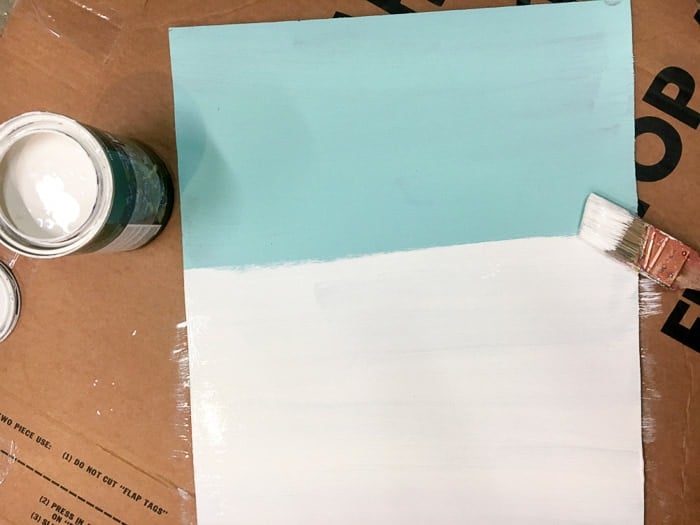
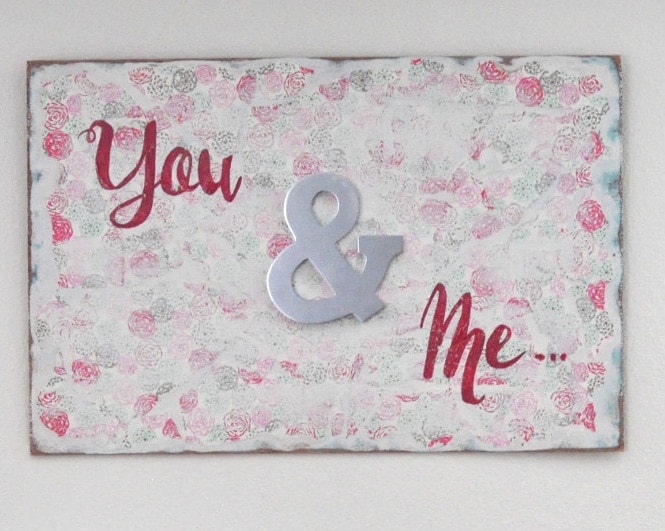
Step 3 – On the 1/4″ plywood – add multiple layers of stain and paint. I started with the stain, followed by blue paint which was followed by white paint.
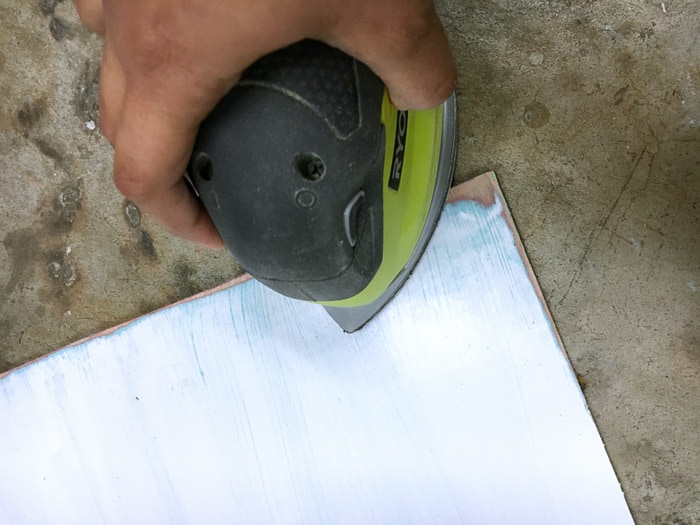
Step 4 – Give the edges a light sanding all around to reveal all the various layers of paint. I loved how it turned out… The white and blue and a hint of red on the edges.
Step 5 – Print out the lettering and finalize the placement. I used LaserMetal Font (available free) in 400pt in outline mode.
Step 6 – Trace the letters onto the board. Usually, I just go over the letters with a ball point pen, it works like a charm on softer wood like pine etc, but it was not working here because of the hard plywood. Here is the trick I used –
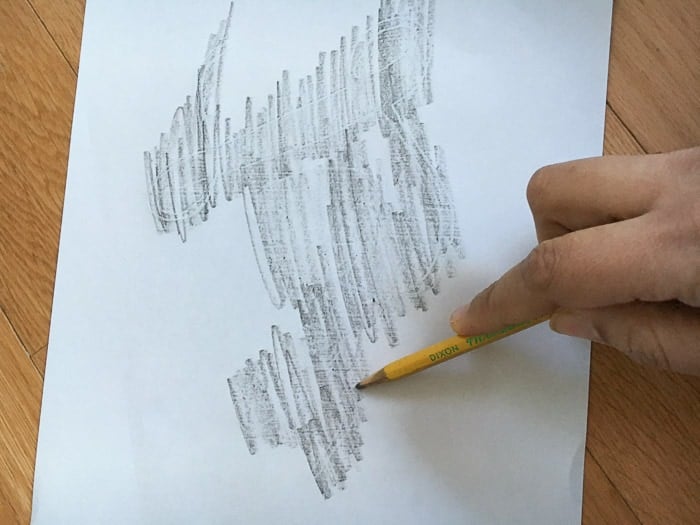
How to trace onto hardboard –
Rub a pencil on the backside of the page. Use a pencil to trace over the front. The pencil on the back leaves an imprint on the hardboard! That’s it!
Step 7 – Fill in the traced letters with metallic red craft paint and give it a pass with the sander to create a worn look.
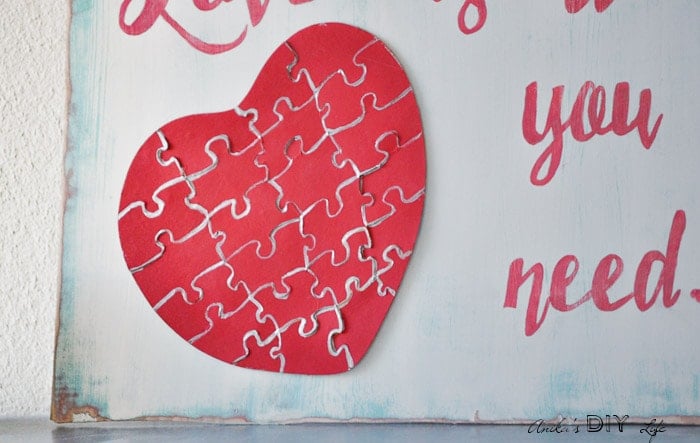
Step 8 – Glue the heart puzzle to the board using hot glue and our love puzzle sign is ready!
I love how the puzzle gives it a 3- dimensional look with the distressed sign in the background. It is the perfect sign to go over a mantle or in a master bedroom!
 How do you like my love puzzle wall art?
I made another fun distressed wall art for my master bedroom recently too.
Anika's goal is to inspire and empower beginners with woodworking, DIY, home improvement, and home decor ideas.
She wants everyone to unlock their creative potential and experience the feeling that comes with making something. Nothing feels better better than seeing something and saying "I can make that!"






 How do you like my love puzzle wall art?


Very cute! Fantastic tip on transferring the letters to the board, btw. I’m awful at hand lettering, and this will really come in handy
Thanks Leslie! I am awful at hand lettering too! This is a huge time saver!
Very cute idea! I love anytime something can be repurposed and this is an easy way to do it <3.
Thanks Trudy!! repurposing is so much fun!