DIY Distressed Wall Art With Paper and Paint
If you have been around for a while you know I have been slowly updating our master bedroom one DIY project at a time. It has come a really long way from where it started – just a mattress and box spring on a bed frame. Check out the Pottery Barn Knock-off and X-base nightstand, Ikea dresser hack and headboard tutorials.
The space above the bed was too blank and it was time for some bedroom wall art. We live in earthquake country so a mirror or anything heavy was out. I wanted art with meaning without being too soppy. One day while driving, I heard the Lifehouse song “you and me” and it got stuck in my head – I knew we had a winner!! Here is the final distressed wall art. I love how it adds a pop of color and a feminine touch to the entire decor!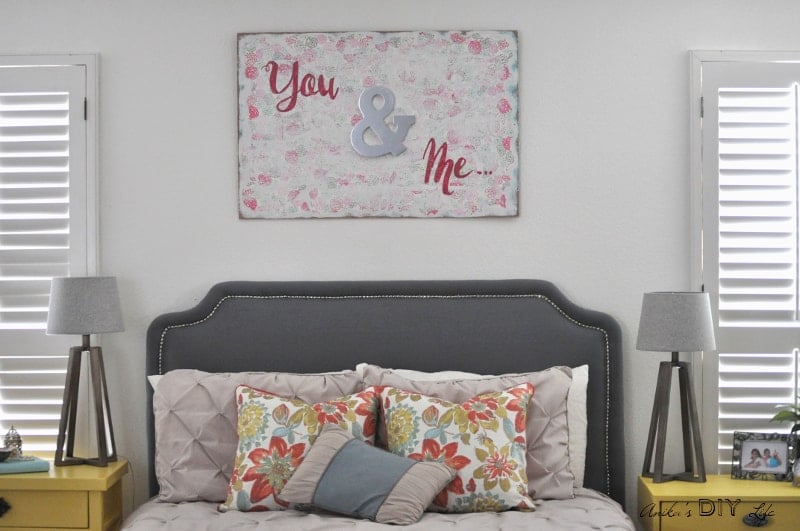
***This post contains affiliate or referral links. It is a way for this site to earn advertising fees by advertising or linking to certain products and/or services. Please read my full disclosure here ***
Materials for DIY Distressed Wall Art –
- 1/4″ plywood of desired size. I used a 24″ x 36″ size to fit above my headboard
- Three color paints of choice. (I used red stain, blue and white paint)
- Pretty Wrapping paper (I got mine from TJMaxx, but here are a few nice choices)
- Mod podge
- Wood Ampersand cut out
- Silver spray paint
- Paint for painted letters (I used a metallic red craft paint)
- Finish sander
How to Make DIY Distressed Wall Art –
I have detailed instructions for you down below but if you want to catch a quick tutorial, take a look at this short 30-second video!
Step 1 – Start by painting the board in various colors. I started with the red stain followed by blue paint. Last was white paint. It is not necessary for the coverage to be perfect.
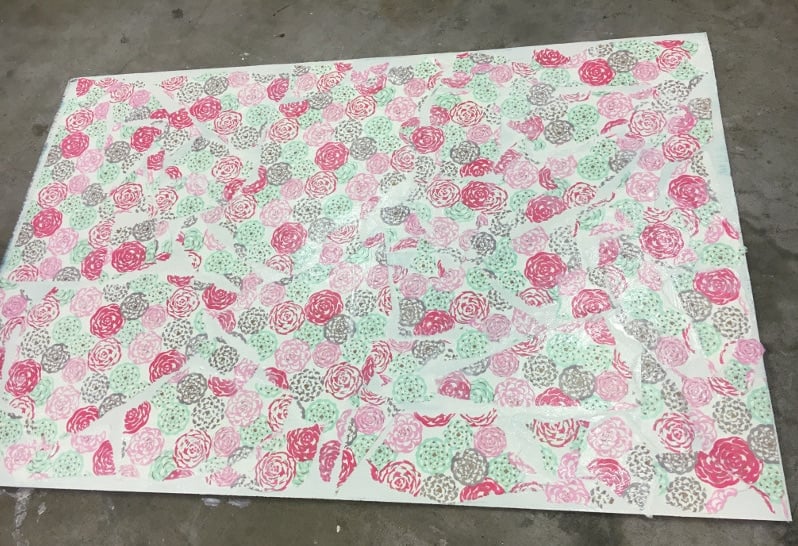
Step 2 – Now bring in the pretty wrapping paper,destroy it by ripping it into pieces and decoupage it to the board using mod podge.
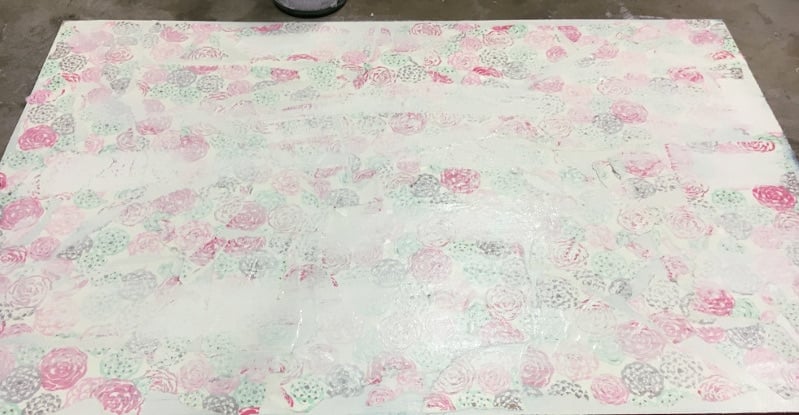
Step 3 – Add another thin layer of white paint on top of the decoupaged paper. This layer is very light with a few thicker spots.
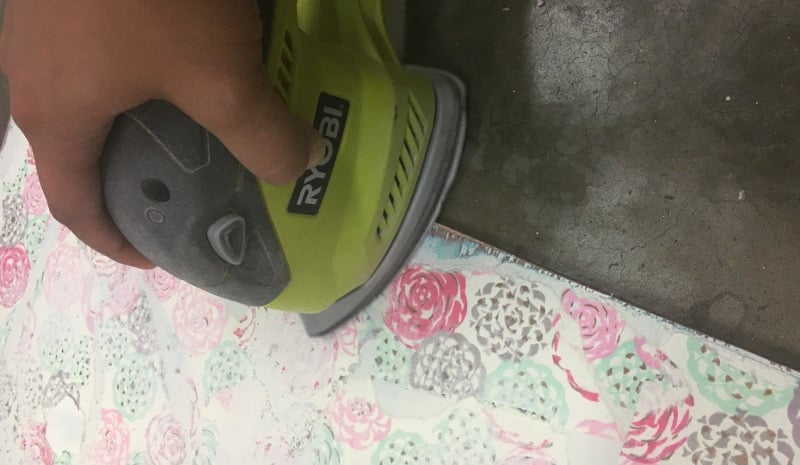
Step 4 – Go to town distressing the edges. Make sure it is uneven so that all the layers are visible in various areas.
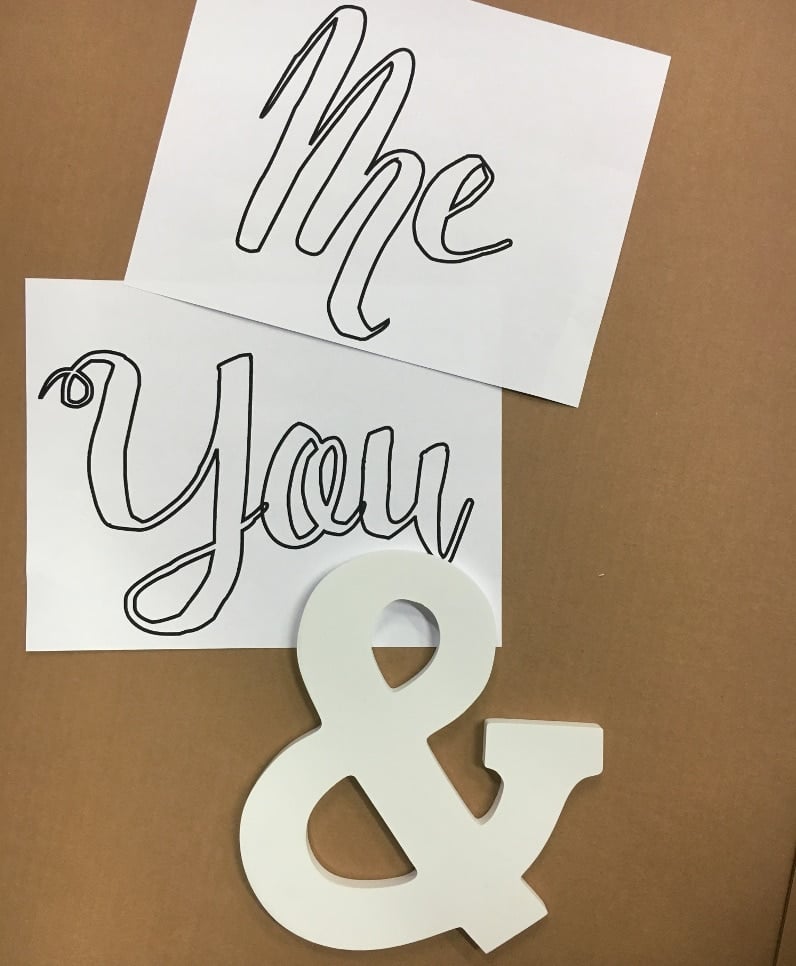
Step 5 -Now it is time for the lettering. I printed out the words “You” and “Me” in Laser cut font at 300 pt.
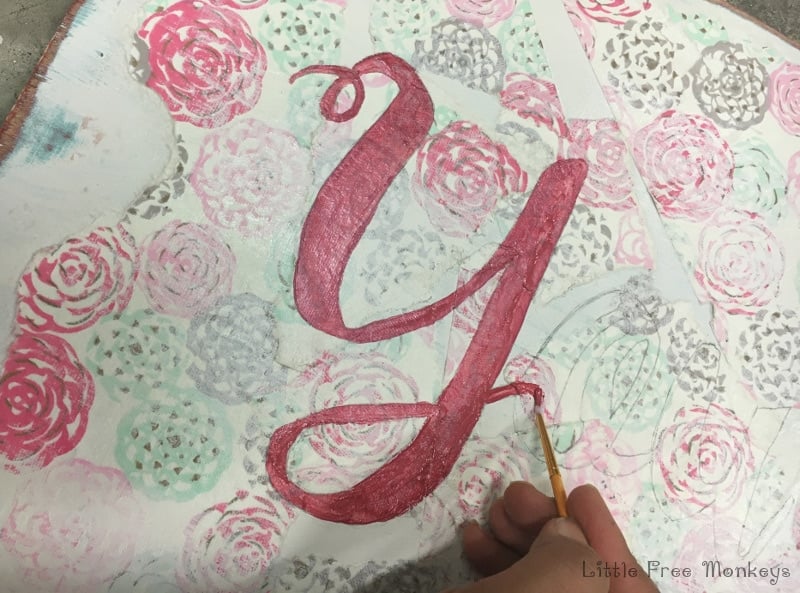
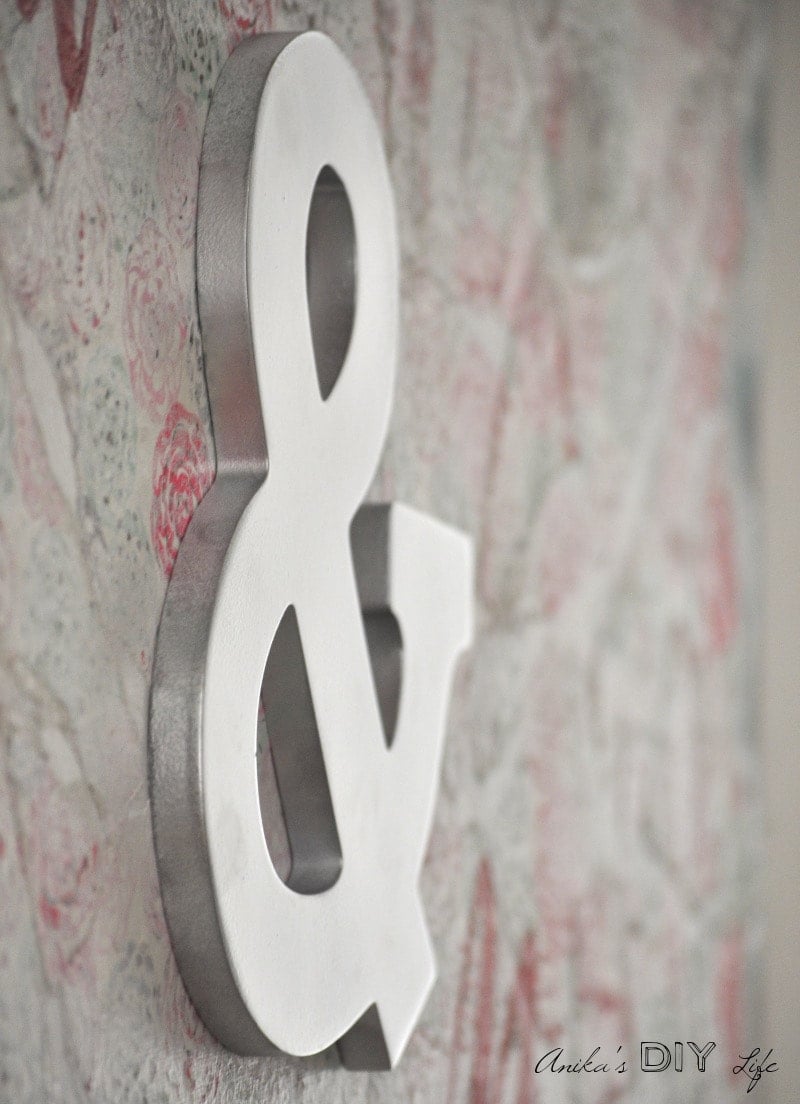
Step 6 – Transfer the words onto the board. I used the same technique like in this “love” sign. Fill in the letters with metallic red paint. Also, on the side, I spray painted the wood ampersand cut out in silver.
Step 7 – Give the painted letters a light pass with the sandpaper to “blend” it into the background. Glue the ampersand on.
That’s it!! The sign is ready! I used little hooks and picture wire to hang it up.
Here is a close up look at the distressed edge. I love all those layers showing through!

But my favorite part is that flower pattern peeking through! What is your favorite part of this sign!
If you enjoyed this DIY bedroom wall art, you might also like –
The DIY magnetic chalkboard for the kitchen. It is super fun to doodle on it and add reminders too!
Anika's goal is to inspire and empower beginners with woodworking, DIY, home improvement, and home decor ideas.
She wants everyone to unlock their creative potential and experience the feeling that comes with making something. Nothing feels better better than seeing something and saying "I can make that!"








Anika this is super cute!!! Another beautiful project!! Thank you for sharing at TaDa Thursday!!!
Thanks Susanne!
You have such great vision and imagination. What I love most about your home…even more than the beauty…is that you make it with such love! As always your tutorial is extremely detailed and the result is so cute!!!
Thank you for your kind words Debbie 🙂