The Complete Guide to a DIY Board and Batten Wall
A step by step guide to making your DIY board and batten wall – from measuring, cutting, attaching and finishing – ALL the tips and tricks you need to know!
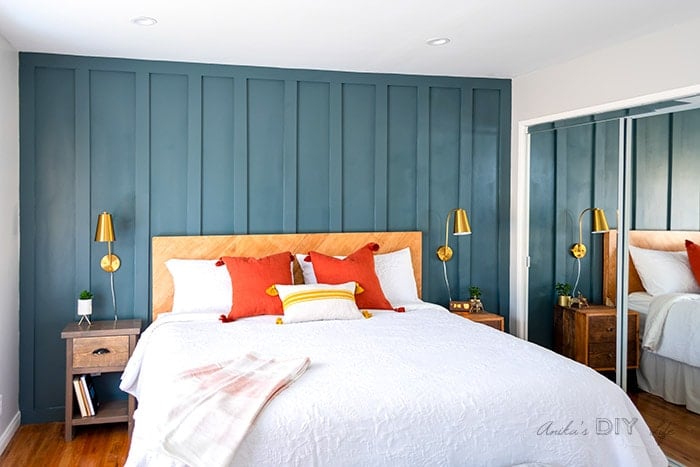
I recently finished a board and batten wall in the master bedroom.
It is right now my favorite wall in the house!
It is a surprisingly easy and quick project that adds a ton of personality to a room.
Plus the best part is that it doesn’t cost too much at all!
My 12′ x 8′ wall cost me about $70 in lumber! Isn’t that awesome!
Here is everything you need to know to pick a pattern, measure, build and finish your own board and batten wall.
Picking the Pattern
There are a ton of choices here.
You can make a half wall or go with a full board and batten wall like me.
It ultimately comes down what type of room it is, it’s size and personal choice.
Originally, I wanted to make a wood patterned wall but the more I thought about it, I felt it would make the already tiny room look busy.
I decided to do with the full wall of simple vertical board and batten to help make the room look taller by drawing your eye up.
Board and Batten vs. Wainscoting
When I started looking into it, I wondered the same thing. What exactly is the difference between the two!
And this is what I have found – Wainscoting is a broad term that refers to decorative detail on walls and board and batten is a type of wainscoting.
This article by Apartment Therapy on Beadboard vs Wainscoting is a great explanation.
What Do You Use for Board and Batten
Here is a list of materials you need to make a board and batten wall. You may or may not need all the things listed below depending on your room and wall. I explain in detail later in the tutorial
As you will see, I didn’t need some of these items.
- Hardboard panel (if textured walls)
- Construction adhesive (if needed)
- Paint roller (if textured walls)
- 1″ staples and staple gun (if textured walls)
- Stud finder
- Box Beam Level (at least 24″)
- Miter Saw or hand saw and miter box
- Brad nailer or nail gun
- 2″ brad nails
- Boards – I used pre-primed 1×4.
- Paintable Caulk
- Caulk gun
- wood filler
- Fine sanding sponge
Before we get started making the board and batten wall, there are a few decisions and preparation to be made.
Things to Consider Before Board and Batten
I know you are probably ready to dive right into making that cool wall, but there are a few decisions to be made before working on your wall.
Baseboard or No Baseboard
The first decision is if you need to keep or remove the old baseboard.
You can definitely build the board and batten wall and keep your baseboards.
This will be great if you are doing this in a space like an entryway that flows into adjoining rooms and you want continuity of the baseboard.
If you are making this wall in a room, then it is your choice.

I decided to remove the baseboard to make the entire wall using the 1×4’s to give it a uniform look.
Plus, I still have a couple of rooms in my house that has the old baseboard and I could just reuse this baseboard.
If you do decide to remove the baseboards, you will have to also remove baseboards temporarily from the adjoining walls to make space for your new boards.

Once the wall is installed, you can trim off the excess from the baseboards and install them back.
Dealing With Wall Texture
Board and batten doesn’t look great on textured walls. You really do need smooth walls for it. Here are 2 ways you can achieve that (one easy and one NOT so easy) –
1. Skim coat the walls
The not so easy and very messy way!
We were fortunate enough for not having to worry about this as we had the walls skim coated before we moved in. If you would like to do this on your own, look up a few tutorials on how to do this.
2. Use hardboard panels
This is super quick and simple! I recently did this in my garage where I had to cover up old paneling to get a smooth finish.
- Use construction adhesive and glue the panels to the wall.
- Use a paint roller and roll over the “walls” as you press down. This helps make sure the hardboard is smoothly attached.
- Attach using 1″ staples and a staple gun.
Make sure the staples are all around the edges that will be hidden by batten.
Measuring to Install Board and Batten
This is probably the most critical part and it varies depending on the wall and construction. But here are the basic steps –
- Make sure to check and mark where all the studs are.
- Pick the width of board you are using.
- Measure the width of the wall.
- Subtract to find the exact spacing you can have between your boards.
- Try your best to get the boards to line up with the studs. However, it’s not necessary.
- If you hardboard covering your textured walls, also ensure the boards cover up the seams.
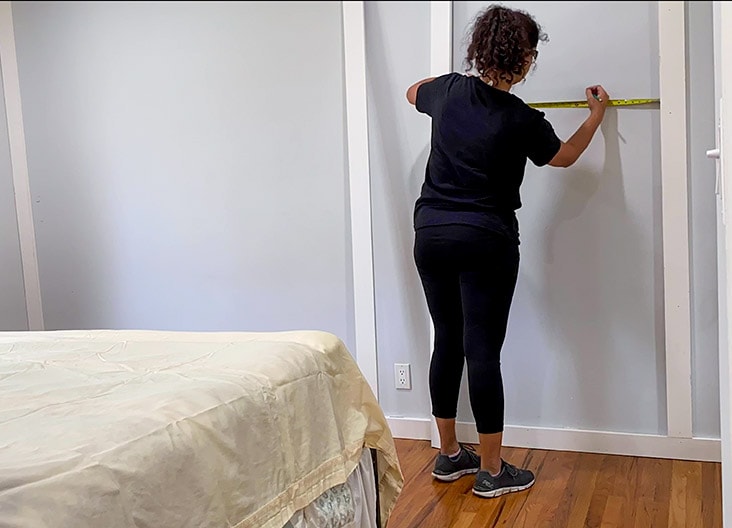
Drawing out the wall on a paper or using software like SketchUp helps a lot to get a visual idea.
How Far Apart Should Board and Batten Be?
Honestly, it really depends on the look you are going for.
- If you are looking for a more traditional or farmhouse feel, you can have them wider apart.
- For a modern feel, you can have them closer together.
Like I mentioned above, you can try hitting the studs to make it easier to attach the boards. However, that is absolutely not necessary.

How do you attach board and batten to wall?
This is a simple answer – it depends on the studs.
If you hit a stud with your boards, use just 2″ nails and a nail gun.
If you do not hit a stud, you will want to use construction adhesive along with the nails to make sure the boards are well attached to the wall.
The only con of using construction adhesive to attach the boards is that if you want to remove the wall in the future, you will have to deal with drywall repair, whereas if it was just the nails, you will have a few little holes to patch.
How to Install the Board and Batten Wall
Now comes the fun part!
The Video Tutorial
Here is a complete video where I show you how I installed this board and batten wall. Be sure to watch it to see all the details!
Step 1 – Install the horizontal pieces
Start by installing the horizontal pieces that – the top and the “baseboard”.

They are simply attached to the studs using 2″ nails and a nail gun.
Step 2 – Attach the outermost vertical pieces
Measure the exact height of the vertical pieces on the two ends on the wall and attach using 2″ nails and nail gun.
Step 3 – Attach the remaining vertical boards.
Measure and mark the spacing – center to center for each board, check for level using a torpedo level and attach using 2″ finish nails and a nail gun.

In my case, the studs were 16″ apart and the board spacing edge to edge was 10-1/2″ so I used that.
Even though I was hitting studs, I made sure to double-check before I installed.
How to Get the Perfect Fit for the Battens
No walls are perfectly square.
In order to get the perfect fit, cut the boards slightly larger than you need.
Then mark the exact location of the cut and make the cut.

This does mean a few extra trips to the saw but makes for a perfect fit of battens!
What if Boards Aren’t Long Enough
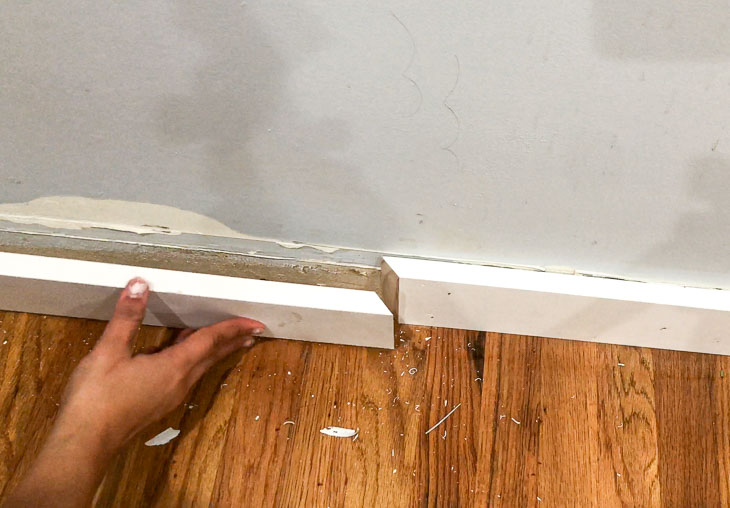
If you have to make a joint between two boards, do so with the boards cut at a 45-degree bevel.
This helps make a nice tight joint that can be easily filled and finished using wood putty and caulk later and if barely even visible!
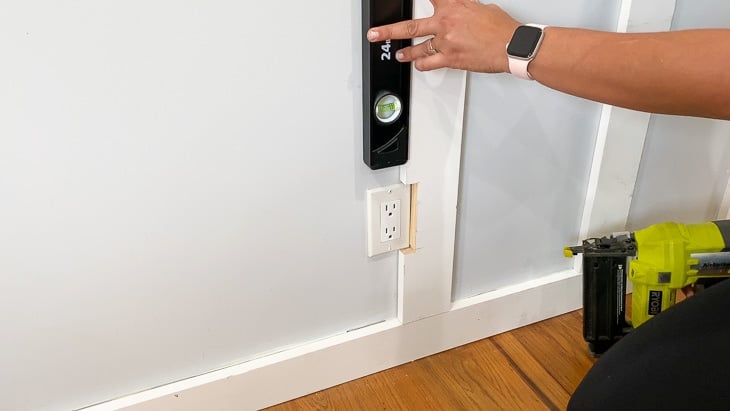
How Do You Go Around Outlets or Windows
If you hit an outlet, window, or vent cover –
- Hold the board up like you would attach it – making sure it is straight using a level.
- Measure and mark the exact space you need to cut out keeping in mind to leave extra space for the cover to be removed if needed.
- Cut out the space using a jigsaw. I show you in more detail in my video.
Finishing Board and Batten to Make It Look Perfect
This step makes all the difference!
No wants a wall with gaps and nail holes! Don’t skip this step!
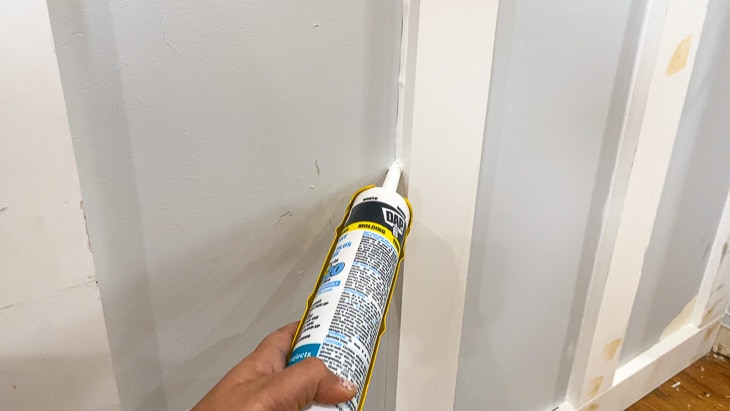
- Fill all nail holes with wood filler.
- Caulk all the edges and seams.
- Once the wood filler has dried, sand smooth using the fine sanding sponge.
- Also sand all the boards to get a nice smooth finish.
- Wipe all the dust with a clean rag.
Painting the Board and Batten Wall
If you use pre-primed boards like me, all you have to do is paint.
However, if you used hardboard for the textured wall and/or pine boards, you will need to use a primer before painting.
Read more about exactly how I prepped and painted my board and batten wall.
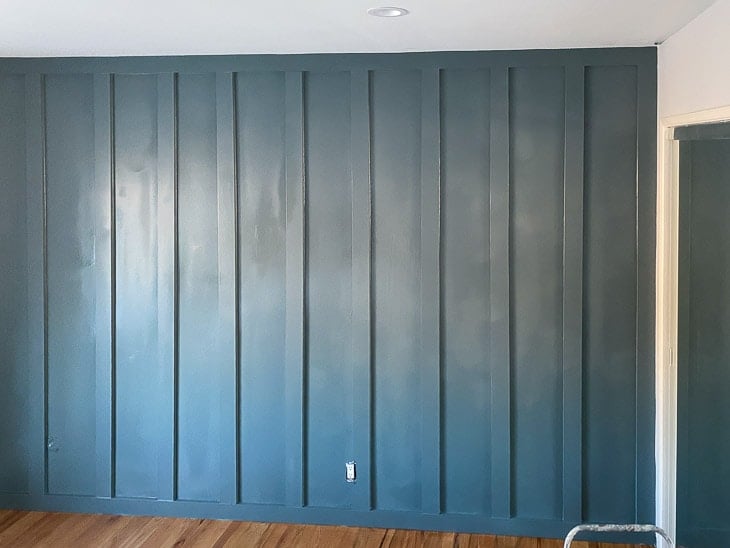
That’s it!
This is a simple and quick weekend project! And SO totally worth it!
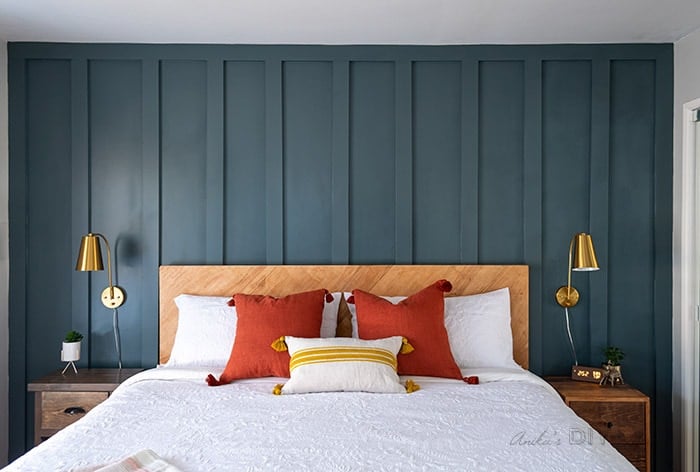
And because we all love a good before and after, here it is!
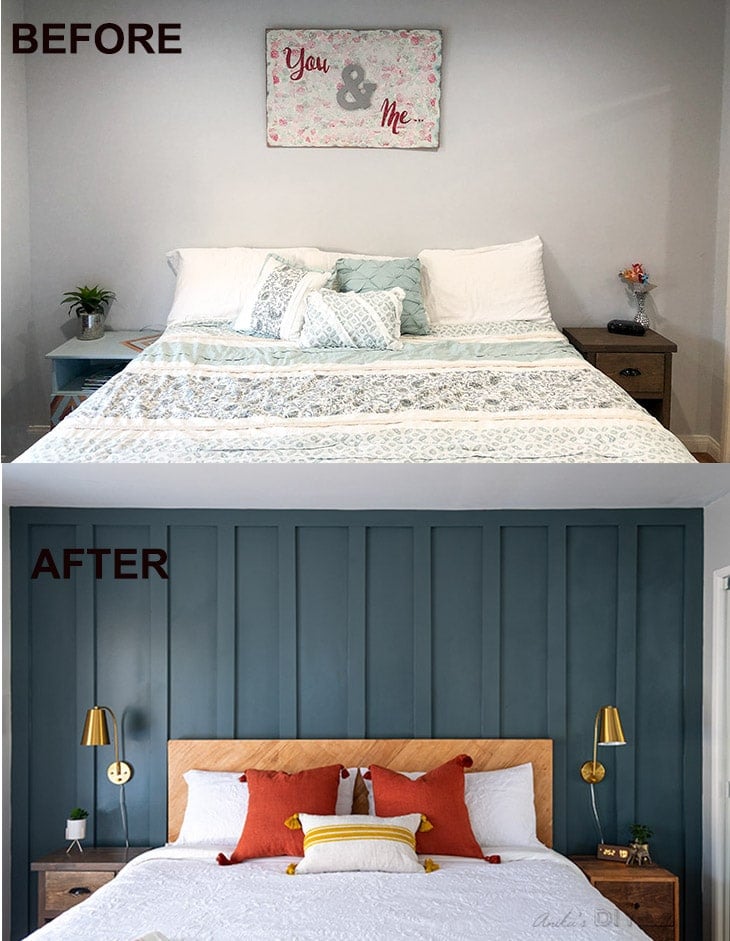
Sources –
- DIY plywood headboard – Tutorial coming soon
- DIY nightstand with hidden storage
- DIY simple 2-drawer nightstand
- Plug-in wall sconce
- Wooden digital clock.
- Brass planter on nightstand
- Comforter set
- Terracotta Tassel Pillow Cover
- Yellow Stripe Tassel Pillow Cover
- Pillow inserts
Anika's goal is to inspire and empower beginners with woodworking, DIY, home improvement, and home decor ideas.
She wants everyone to unlock their creative potential and experience the feeling that comes with making something. Nothing feels better better than seeing something and saying "I can make that!"


Thanks for the print out. Really love your articles, especially the DIY wood projects. We have a lot of scrap wood all the time and often get into the the conversation of what wood is best. in my opinion as long as you have it does not matter.