DIY Corner Vegetable Storage Bin
Step by step plans, tutorial and video showing you how to build a DIY corner vegetable storage bin perfect for root vegetables or fruits or really any organization!

Table of Contents
- Material needed
- DIY Corner vegetable bin video
- DIY corner vegetable bin tutorial
- Get the plans
- Pin this to Pinterest
Ever since we moved to this home, I have been planning to build a corner vegetable bin for all my root vegetable and fruits.
I built a divided produce bin a couple of years ago and it worked well till we had counter space or shelf space.
In the new home, we had neither.
But we did have floor space! So that’s where it ended up…

It’s time for better organization in this corner of the kitchen.
Enter the DIY vertical storage bin.
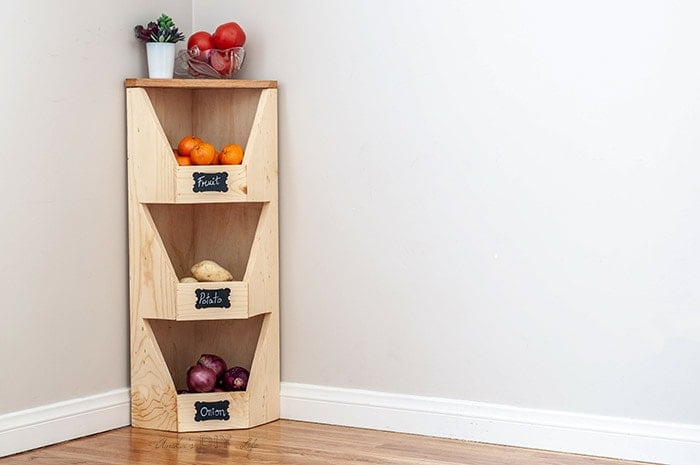
This isn’t good just for potato and onion storage, it also has space for fruits and tomatoes… all of which were taking up precious counter space!
Now that is an organization win!
Speaking of organizing, I am partnering with 17 other talented bloggers to bring you smart organization ideas! Be sure to take a look at them all at the end of the post. There are some amazing ideas!
DIY Corner Vegetable Bin
***This post contains affiliate or referral links. It is a way for this site to earn advertising fees by advertising or linking to certain products and/or services. Please read my full disclosure here ***
Material Needed –
- Lumber per the plans (plywood and 1×6 boards)
- Table saw (optional)
- Circular saw
- Kreg Jig
- Miter Saw
- Jig Saw
- Wood Glue
- Brad nailer
- 1¼” brad nails
- Stain or finish of your choice.
- Chalkboard labels (optional)
RELATED: 7 basic woodworking tools for beginners
How to Build the Corner Vegetable Bin –
Below is a full video tutorial showing how I built this easy DIY corner vegetable bin. Step by step instructions and details follow.
Step by Step Tutorial –
Be sure to download the printable plans for this bin to follow along.
Step 1 – Make Cuts
There are three major cuts that need to be made.
- Plywood for the sides
- Plywood for the bin bottoms
- 1 x 6 boards for the sides
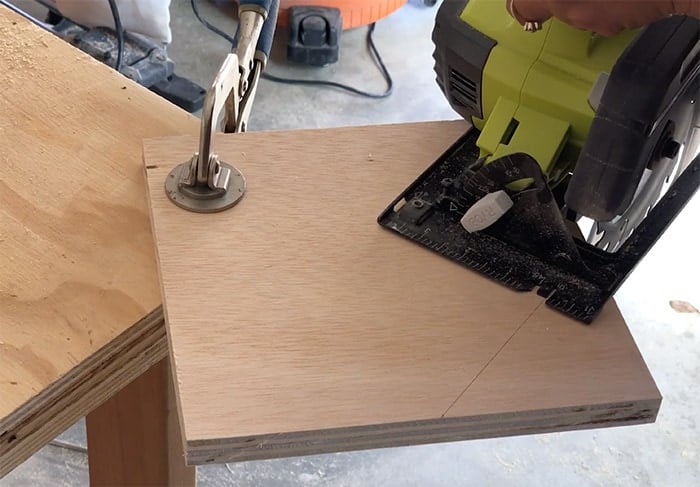
The plywood can be cut using a circular saw.
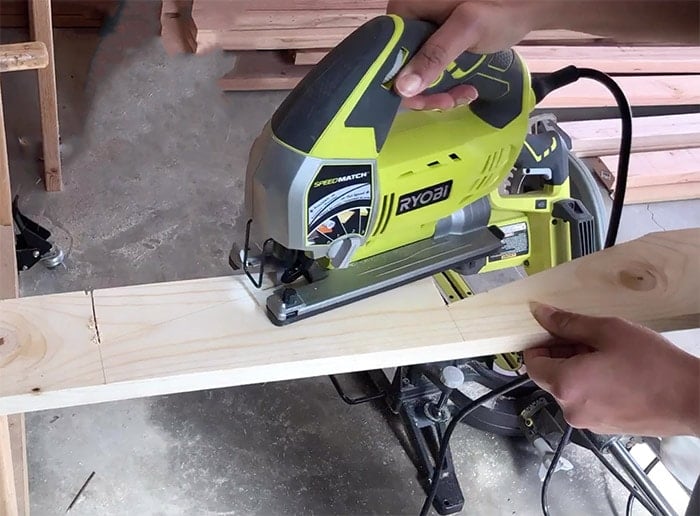
The cut on the 1×6 is a little more complicated and needs a jigsaw. The exact dimensions and how to cut out the shapes are in the printable plans.
Step 2 – Attach Sides
- Use wood glue and finish nails to attach the two plywood sides at 90°.
These will make the corner. Unfortunately I lost a picture of this step but it is pretty straight forward.
If you like, you can also use a Kreg Jig and join the two plywood pieces using pocket holes.
Step 3 – Attach Bin Bottoms
- Mark the location of the bin bottoms on the plywood sides.
- Align the bin bottoms and attach using wood glue and finish nails from the outside.
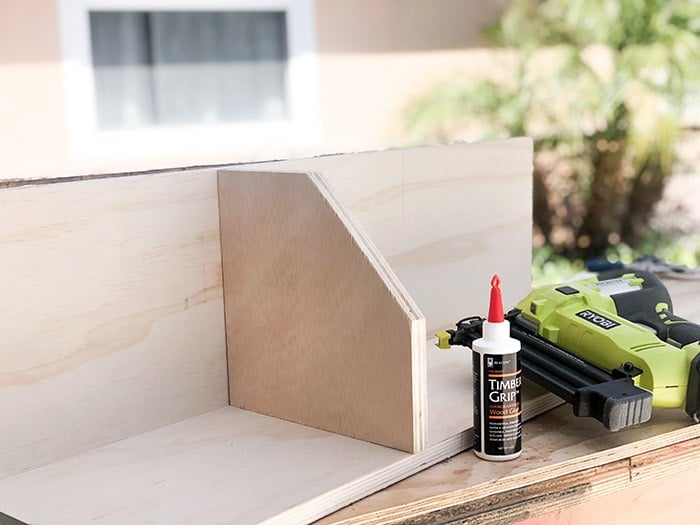
Tip – To make sure you know exactly where to add the nails, measure and draw a line on the outsides of the plywood.
Step 4 – Attach Bin Sides
- Attach the 1×6 bin sides using wood glue and finish nails on both sides of the storage bin.

The basic skeleton of the corner bins is now ready.
The next step is to attach the front slats which is probably the trickiest part of this project.
Step 5 – Attach Front Slats
This one is slightly complicated.
It is an iterative process and subjective depending on the natural variation between wood thicknesses and human error.
Below is a broad framework of how I measured and cut out the front slats.
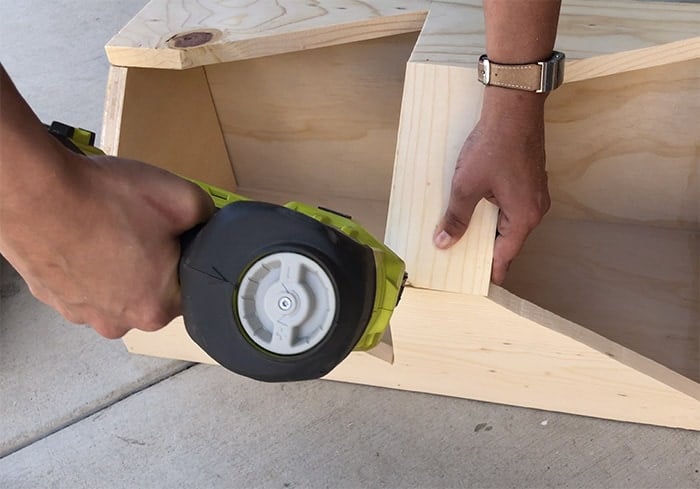
- Measure the exact distance between the edges of the 1×6 bin sides and cut a bevel on a 1 x 4 board accordingly.
- You need to then chop off about 1/4″ from the sharp end of the bevel to line up the slat.
- Align the slat to the front of the bin and attach using wood glue and finish nails.
That’s it! The corner storage bin is ready for a finish!
Step 6 – Finish the Vegetable Bin
You can paint or stain the vegetable bin in the color of your choice.
I also added vinyl chalkboard labels to the front of the bins because let’s face it… what is organization without labels?
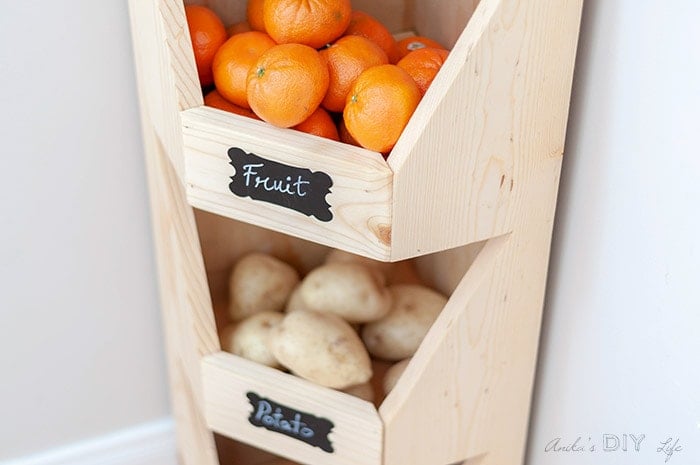
I cannot be happier with this solution!
- It is absolutely perfect for all that we need to store.
- I have so much more counter space!
- Plus, I was able to use up a bunch of scrap plywood and other boards!
WIN! WIN! WIN!
DIY Vegetable Bin Plans
Grab a copy of printable plans to build this corner vegetable bin by clicking the button below.
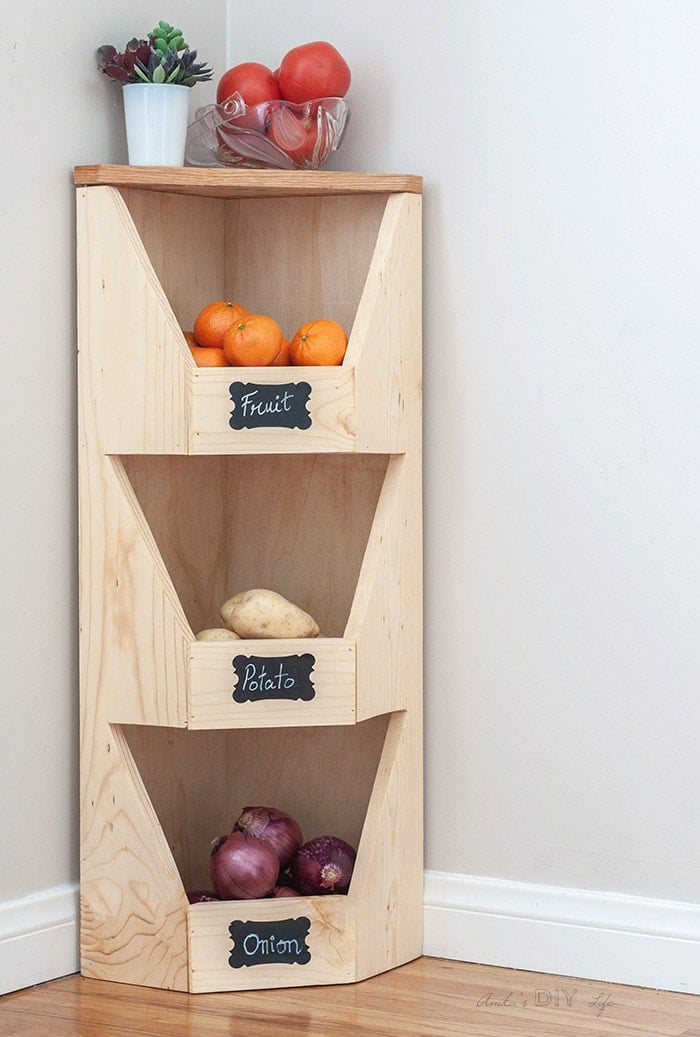
Now, here are more smart organization solutions by 17 other talented bloggers to give lots of inspiration –
- DIY Shoe Organizer – Jen Woodhouse
- Simple DIY Closet Organizer – House Becoming Home
- Small Parts Bin – 100 Things To Do
- French Cleat Wall Organizer – Addicted to DIY
- Office Organizer Drawers – RemodelaCasa
- Easy Closet Shelves – Jaime Costiglio
- Shoe Storage Cabinet with Tray – The Created Home
- DIY Closet Cabinets – Woodshop Diaries
- DIY Ziploc Bags Storage Container – The Inspired Workshop
- Backpack Storage Bench – Her Toolbelt
- Cleaning Closet Organization – Reality Daydream
- Between Studs Workshop Organization – My Love 2 Create
- Between Studs Broom Closet – My Repurposed Life
- DIY Jewelry Organizer – Ugly Duckling House
- DIY Bathroom Drawer Organizer – Hazel and Gold Designs
- Easy DIY Wine Rack – Place of my Taste
- DIY Spice Rack – Joyful Derivatives
More Like DIY Corner Vegetable Storage Bin –
[mv_create key=”19″ thumbnail=”https://www.anikasdiylife.com/wp-content/uploads/2019/03/DIY-corner-vegetable-bin-Anikas-DIY-Life-1sq500.jpg” title=”DIY Corner Vegetable Storage Bin” type=”diy”]
Reader Projects
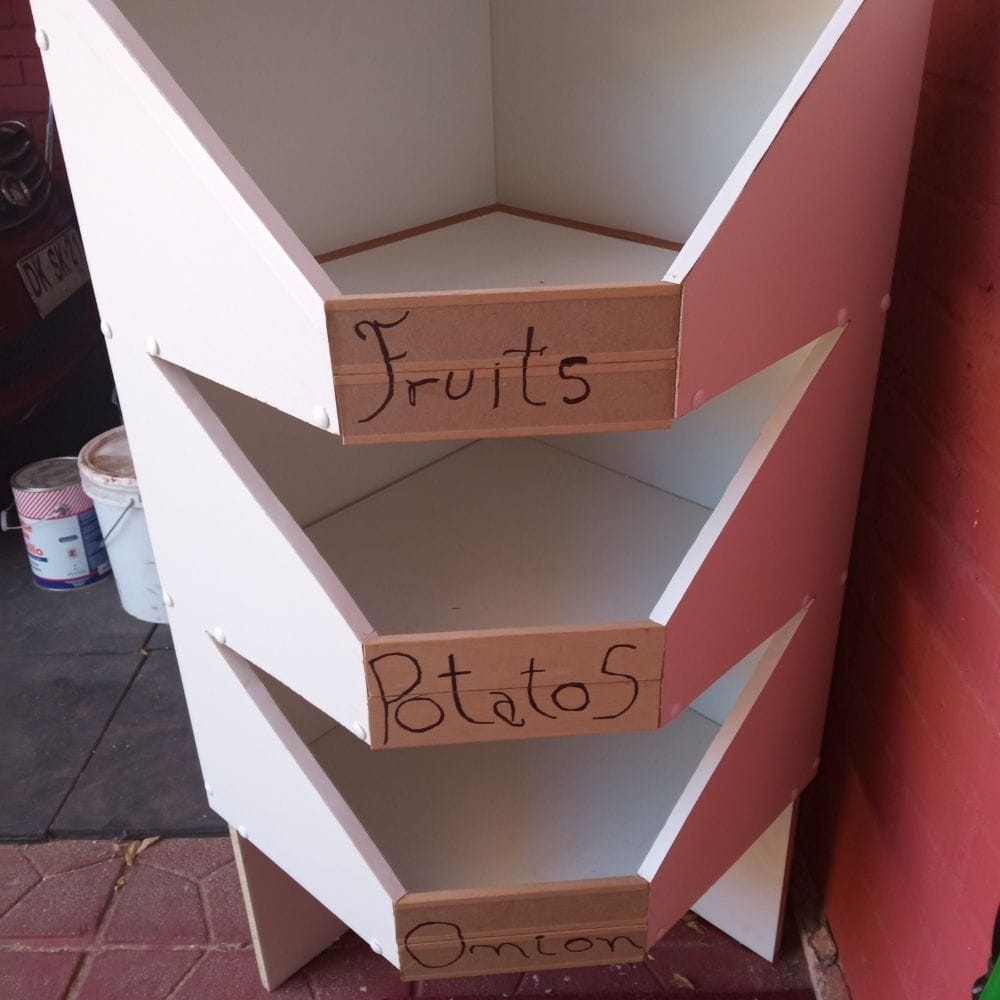


Anika's goal is to inspire and empower beginners with woodworking, DIY, home improvement, and home decor ideas.
She wants everyone to unlock their creative potential and experience the feeling that comes with making something. Nothing feels better better than seeing something and saying "I can make that!"


Love this, Anika!!! So many finishes you could do on this too! Hope you’ll come by and share at Homestyle Gathering!
I love it!! I may have to give that a try. I did obediently follow you on Instagram so I can see what you make next!!
I read a lot of blog posts!! This is great content work.