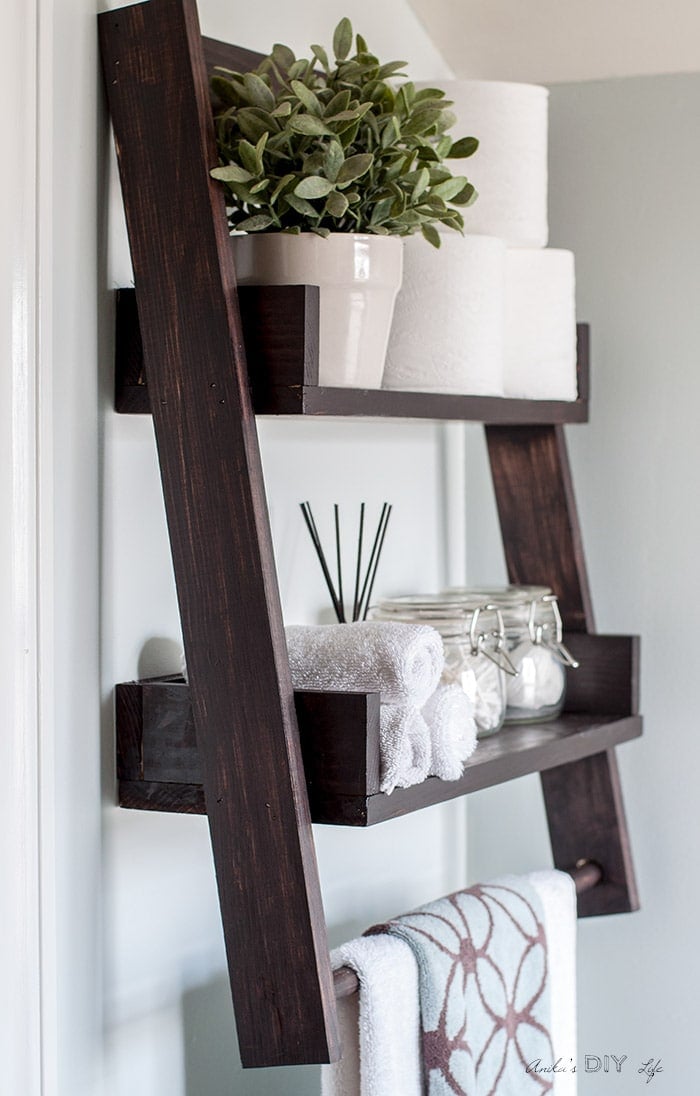
DIY Floating Ladder Shelf – With Plans
This DIY floating ladder shelf is an easy beginner-friendly project that can be used in any room! Learn how to build this with step by step tutorial, video, and plans.
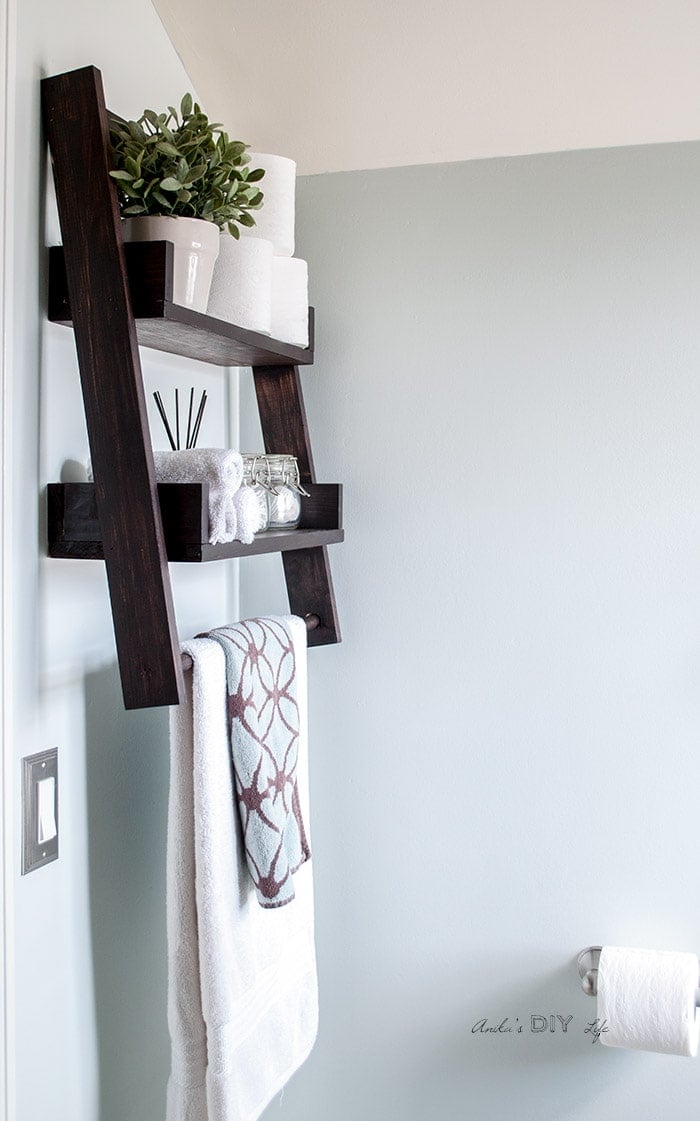
This DIY floating ladder shelf is my take on the ubiquitous ever so popular floating shelves and ladder shelves.
I have been working on refreshing the guest bathroom on a budget.
I removed the old cabinets, refinished the vanity and mirror, trimmed out the window, cleaned up the grout, and also made little test tube vases for the wall.
I debated about adding regular floating shelves but wanted to add a little more excitement than the usual simple floating shelf.

RELATED: Easy Modern DIY Wall Shelf
Also, I had taken off the towel bar from its original spot – above the toilet.
It wasn’t exactly a place I wanted to hang towels on. Adding a towel bar under the shelf just made sense.
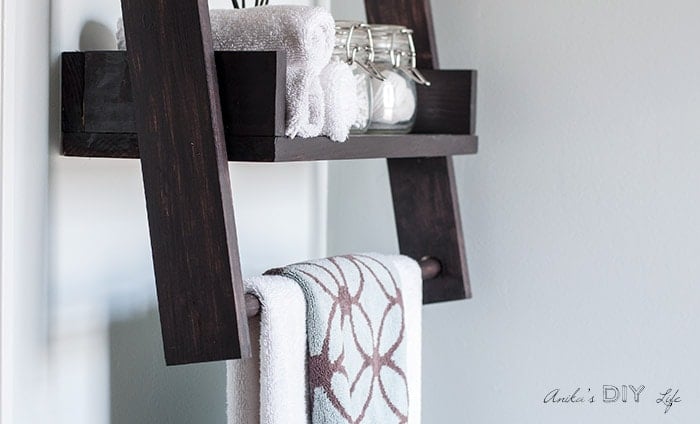
So we have a DIY floating ladder shelf with a towel bar – all in one!
RELATED: See how I converted an existing towel bar into a floating shelf without removing it for our rental!
***This post contains affiliate or referral links. It is a way for this site to earn advertising fees by advertising or linking to certain products and/or services. Please read my full disclosure here ***
Material Needed
- Lumber per the plans
- Miter saw
- Orbital sander
- brad nailer
- wood glue
- 1¼” finish nails
- Paint or Wood stain in the color of your choice – I use Java Gel Stain to match the refinished vanity.
RELATED: See the list of my favorite must-have tools here
How to Build a DIY Floating Ladder Shelf –
I have a video tutorial for you if you would like to see it in action. As usual, the written step by step tutorial follows.
DIY Floating Ladder Shelf Tutorial
Step 1 – Prep Lumber
- Start by making all the cuts in the lumber per the plans
- Sand each of the boards smooth.
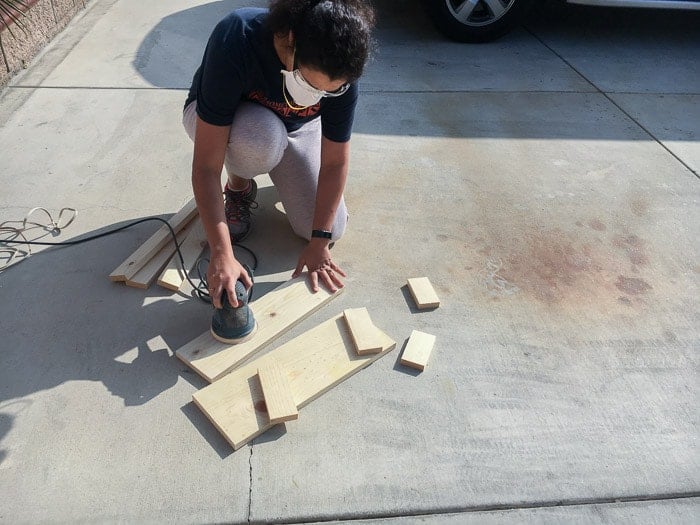
Tip – It is easiest to sand all the boards before putting them together. Learn more simple tips and tricks to make your woodworking life easier
Step 2 – Make Holes for Towel Bars
- Stack up and clamp two 1×3 boards
- Drill holes using a 3/4″ spade bit for the towel rod.

Stacking and clamping them together ensures that the holes well aligned.
Step 3 – Assemble Shelves
- Assemble the individual shelves using wood glue and finish nails.

At this point they are simple shelves with sides.
This is also a good time to paint or stain the shelves in the color of your choice.
Step 4 – Final Assembly
If you have space on either side of the shelf to attach the sides, you can do the next steps directly on the wall.
- If like me, you have a tight space and can’t reach the shelf from one side, create a template on the floor using painters tape – like below.

We will be assembling the shelf before mounting on the wall.
Again, you could directly attach this to the wall (following the instructions in Step 5) and add the sides if you have the space around it.
- Once the shelves are in place (on the wall or the floor), attach the first side per the plans using wood glue and finish nails. The exact locations to attach are in the plans.
- Attach the wood dowel to the first side using wood glue and hold it in place by attaching the second side to the shelves.

Step 5 – Mount on Wall
- Once, the shelf is built, if you haven’t already, attach it to the wall using anchors or 3″ screws directly into the studs.
To cover up the screws, I dabbed it with a little bit of the gel stain. It blends in well and hides between the stuff on the shelf anyway!
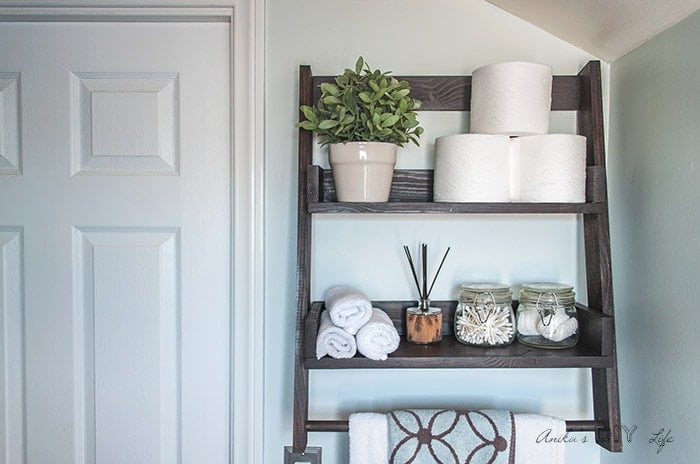
That’s it!
It is such a simple shelf to build and adds the perfect twist to the usual ladder shelf.
DIY Floating Ladder Shelf Plans
Get the step by step plans for the floating shelf by clicking below and build one this weekend!
It added the perfect amount of storage for a guest bathroom too!
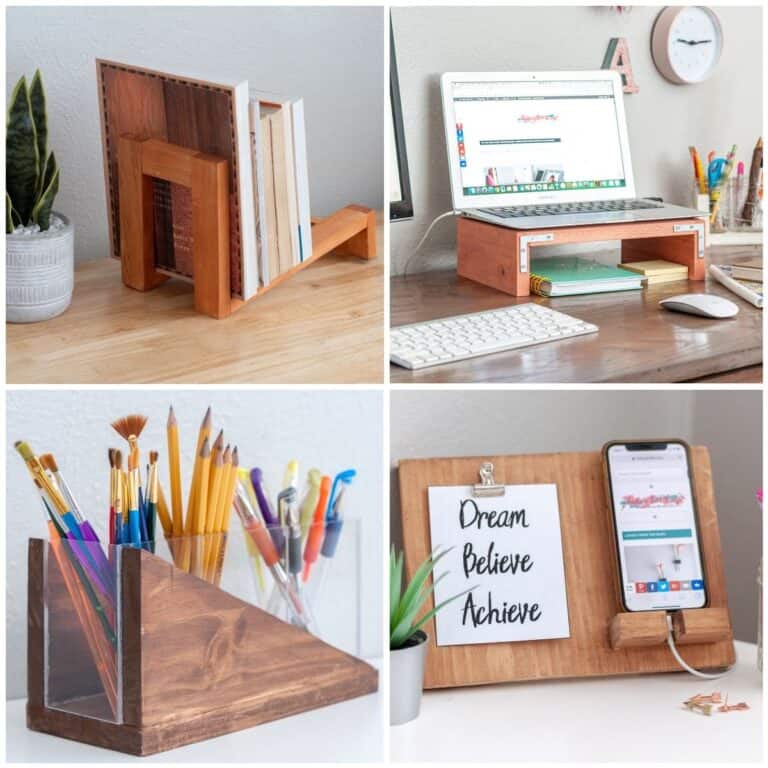
You Will Also Love –
- Ballard Designs inspired console table
- DIY hexagon end table using one board
- DIY spice rack using scrap wood
- 25 Easy DIY Shelf Ideas for Your Walls
[mv_create key=”8″ thumbnail=”https://www.anikasdiylife.com/wp-content/uploads/2018/02/DIY-sloating-ladder-shelf-Anikas-DIY-Life-14-sq500.jpg” title=”DIY Floating Ladder Shelf ” type=”diy”]
Reader Projects
-

By Yogesh W. -
By Kathleen L -
By Hester K.


Anika's goal is to inspire and empower beginners with woodworking, DIY, home improvement, and home decor ideas.
She wants everyone to unlock their creative potential and experience the feeling that comes with making something. Nothing feels better better than seeing something and saying "I can make that!"


Best
I won’t need a set of plans but I would like to thank you for the project concept. I will be making one that’s very similar for one of our bathrooms.
Evrythings were amazing. I am not coumunt.
What color is your bathroom?
It is Sherwin Williams Sea Salt at 50% strength. My bathroom is small with little light so the regular strength color was making it too dark. But at 50% strength, the color is just right!
What are the dimensions of the wood you used? I’m trying to ask my Fiancé to make me one but he can’t because we can’t find dimensions of the boards.
Hi Kiersten, All the dimensions and instructions are in the printable pdf plans which you can purchase using the blue button.