How to Make DIY Pull out Shelves for Cabinets
Upgrade your kitchen storage with DIY pull-out shelves. Learn how to maximize space, improve accessibility, and make deep cabinets more functional with this easy step-by-step guide.

The thing about lower cabinets in the kitchen is that they get really hard to reach in, especially when they’re deep and narrow.
You know the kind I’m talking about — the ones that make you feel like you need a flashlight, a map, and maybe even a search-and-rescue team to find that one missing lid or jar.
Yup, I had that one cabinet in my kitchen.

We were lucky enough to have inherited most of the old cabinets with retrofitted slide-out shelves. But there was that one cabinet that was narrow and missing its shelf. It was pretty much useless. I had a plastic bin with a few water bottles in there. Honestly, the cabinet was just wasted precious storage space.
It was time to finally do something about that!
Making and installing shelves in this cabinet was pretty challenging because of multiple reasons-
- It was narrow – like 14″ wide.
- The face frame was retrofitted around the original cabinet (before we bought the house). This made it have a large overlap on one side and a smaller overlap on the other.
- The hinges were on the face frame and added to the overlap.
Given these constraints, if I could install two very functional pull-out shelves in the cabinet, you can install it in any cabinet.
***This post contains referral or affiliate links. It is a way for this site to earn advertising fees by advertising or linking to certain products and/or services. Please read my full disclosure here ***
Material Needed
- Wood for the shelves and mounting boards
- I used ½” and ¼” plywood for the shelves.
- I ended up using 2×4 boards and ½” for the mounting boards.
- Wood glue
- 1 ¼” Finish nails
- Wood screws – this depends on the thickness of wood you end up using. I used 2″ and 1½” wood screws.
- Drawer slides. I used 18″ drawer slides.
Tools Needed:
How to Build the Pull-Out Shelves
The pull-out shelves are essentially very shallow drawers. They are built and installed exactly like drawers.
Step 1: Evaluate the Layout
Every kitchen cabinet is different, and your cabinet may be built differently than mine. Take a look to see if you need any spacers to account for overlay.
In my case, the cabinets are old cabinets that had been refinished with a new face frame – which I then painted during the kitchen makeover.
One side had a larger overlay than the other. Plus, I had a hinge that needed to be taken into account as well. After a little bit of iteration, I figured out that I needed a total of 2″ offset from the cabinet walls – this meant a 2×4 board and a ½” board.

On the other side of the cabinet, the overlay was very small, and ½” board was enough.

Step 2: Calculate the Size of the Drawer.
- Once you have the offset figured out, measure the exact space you have to add the pull-out shelf or drawer. This will help you calculate the exact width of the shelf/drawer.
- Subtract 1″ from the measurement (to account for the drawer slides), which is the total width of the drawer. Then, you subtract twice the thickness of the boards you are using to get the width of the board in the front.
The long sides of the drawer will depend on the depth of the cabinet. I built mine at 18″.
See how to build a drawer for beginners for more details.
Step 3: Build the Drawer
This is straightforward. These shelves are pretty small, and I don’t expect them to hold very heavy weights. I used the simplest method to build these shelves or drawers – wood glue and finish nails.
- Attach the sides to the front using wood glue and finish nails.

Since I am using prefinished plywood, wood glue cannot penetrate the wood fibers to make a strong joint. Instead, I used this glue.
- Check if the box is square. See how to check for square.
- Attach the bottom using wood glue and finish nails. I used ¼” plywood for this.

Step 4: Install the Shelves
This is probably the most tricky part of the project.
- Install any boards you need to install for the offset. In my case, it was 2×4 boards on one side that I attached using 2″ wood screws.

- For the second level, if you have a situation like mine, you can use two pieces of the board as a spacer to support the boards and attach them. Make sure it is level.
To install the drawer slides, I knew it was going to be a challenge to attach the slides inside that tiny cabinet. So, I attached them to the mounting board and the drawers outside.
- Use two identical-sized mounting boards for each side of the drawer. In my case, I used 4″ wide and 20″ long pieces of ½” plywood.
- Measure and mark where you want to attach the drawer slides on both mounting boards. I measured them to 1¼” from the bottom edge.

- Align the drawer slide to the markings and attach.

- Repeat the step for the other part of the drawer slide on the drawer. I measured ¾” from the bottom of the drawer.

- Attach the mounting boards inside the cabinet. Be sure to start the screws outside so it is easy to attach in the tight space. It is very important to make sure they are attached level. User spacer blocks for the top set of boards.

The drawers should now slide into place easily. If they don’t, double check if all the mounting boards and slides are attached level and aligned and make any adjustments as needed.

Step 5: Finish
I used prefinished plywood (which I highly recommend using), so I didn’t have to worry about adding a top coat. However, if you are using regular plywood, you can seal it with a top coat.
The ¼” plywood was not prefinished, so I added liners inside to make it not only easy to keep clean but also make sure things don’t slide around and clatter as the shelves are pulled out.

You can even build and add dividers and organizers like the simple DIY drawer organizers.

No more stretching, squatting, or blindly fishing around in the depths of your lower cabinets. These pull-out shelves make every inch of storage actually usable!

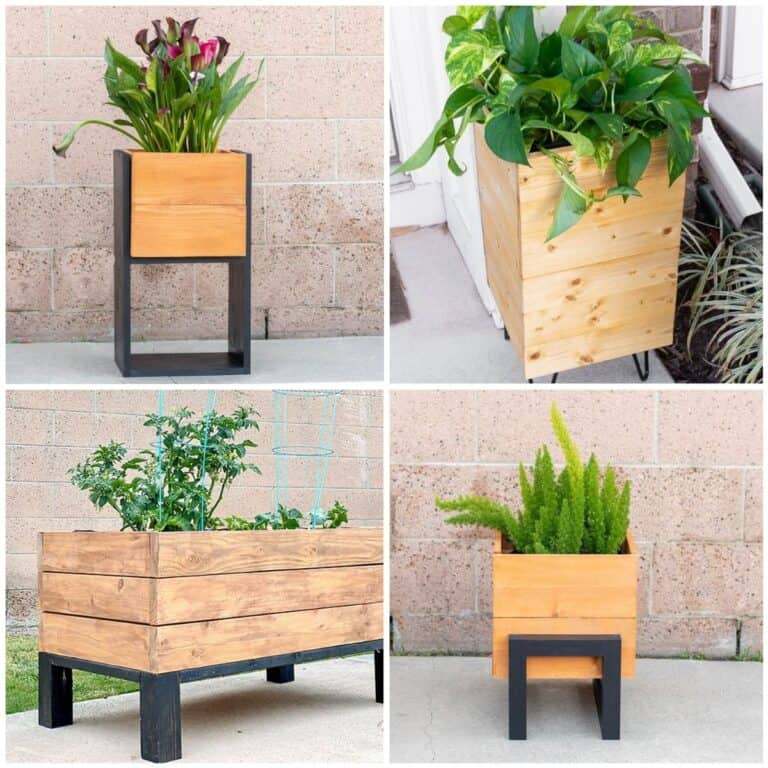
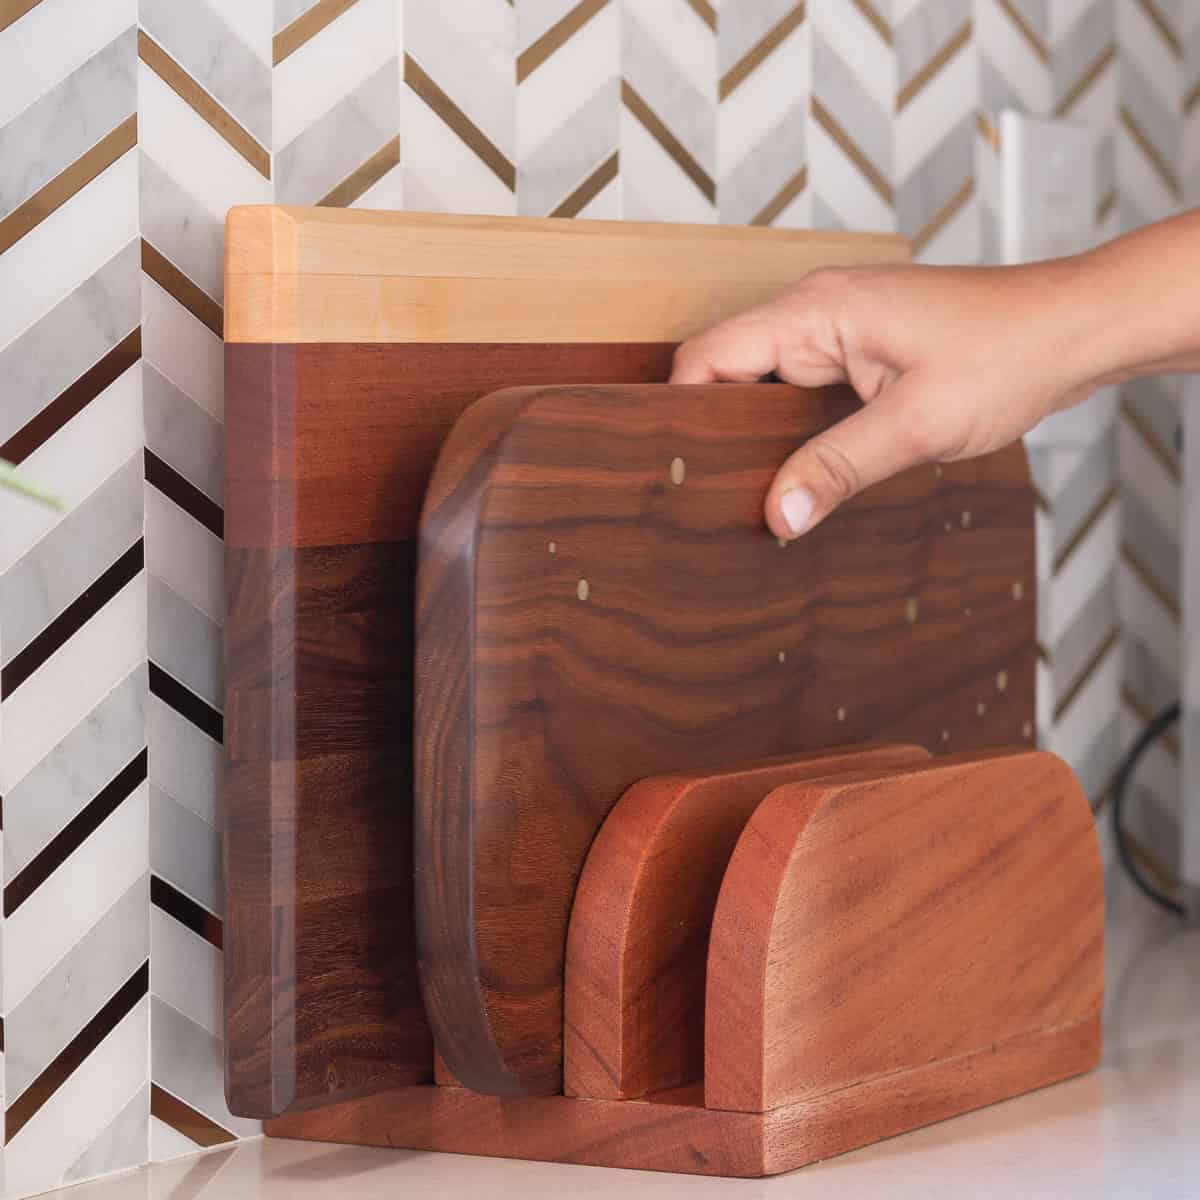
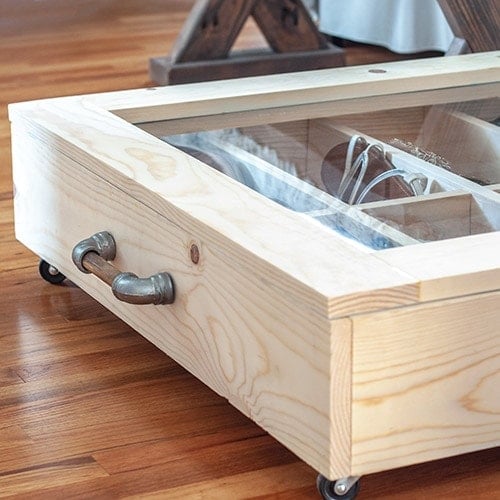
You might also like:


Anika's goal is to inspire and empower beginners with woodworking, DIY, home improvement, and home decor ideas.
She wants everyone to unlock their creative potential and experience the feeling that comes with making something. Nothing feels better better than seeing something and saying "I can make that!"