DIY Little Girls Accessory Organizer
A couple months ago, I shared my DIY Jewelry organizer. Recently I made my daughter a hair bow holder too… but my little girl also wanted something that looked like mommy’s jewelry holder for all her accessories. So, I came up with this version of DIY little girls accessory organizer that is pretty and holds everything little (or teen) girls love!
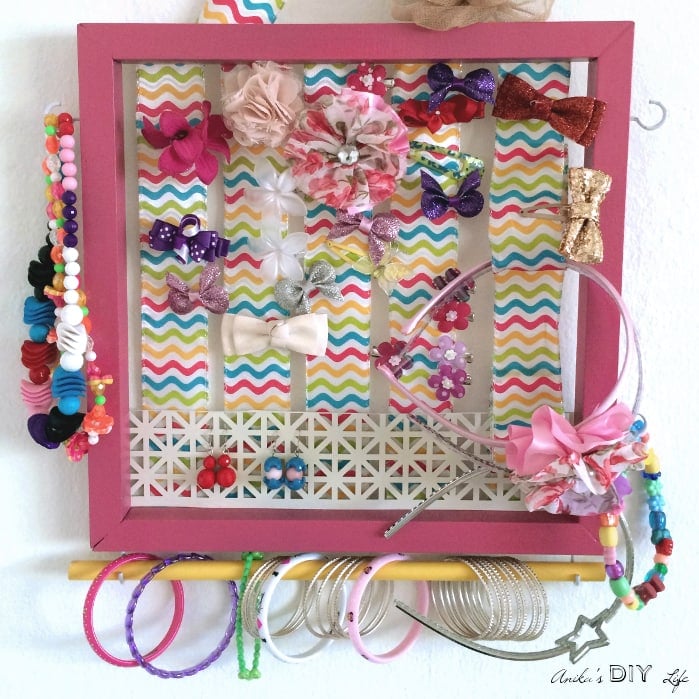
It is perfect for holding all her hair bows, hairbands, bracelets, necklaces and even earrings. Best of all I could make it for only around $8!
I made mine 12″ x 12″ because I already had the material for it, but it can be made to any size you like. Here is the tutorial –
***This post contains affiliate or referral links. It is a way for this site to earn advertising fees by advertising or linking to certain products and/or services. Please read my full disclosure here ***
Materials needed for DIY Little Girls Accessory organizer
- 3/4″ Square Dowel cut to your required dimensions. I used 12″ pieces mitered at 45 degrees at ends.
- Ribbon – of your choice. I used a wired ribbon and that holds the loops for the hairbands better
- Paint of your choice. I used Berry pink, Sun yellow and Heirloom White by Rustoleum.
- 1/2″ round dowel – I cut mine at 15″.
- 7/8″ cup hooks
- Metal grill. I had this leftover from my Jewelry holder project.
- Wood glue
- Finish nails
How to make a Little Girls accessory holder –
I apologize, I do not have step by step pictures of the process due to a mishap with my storage drive (and I tried so hard to revive it!!! ugghh… ). Its a simple tutorial, so hopefully I am able to give you an idea of what each step looks like using the finished pictures.
Step 1 – Start by making a square frame with your 3/4″ square dowel using wood glue and finish nails. I cut the ends of the square dowels at a 45° angles to create a batter finished look.
Step 2 – Paint your frame and round dowel any color you like. I used Rustoleum’s Berry pink for the frame and Sun yellow for the dowel rod.
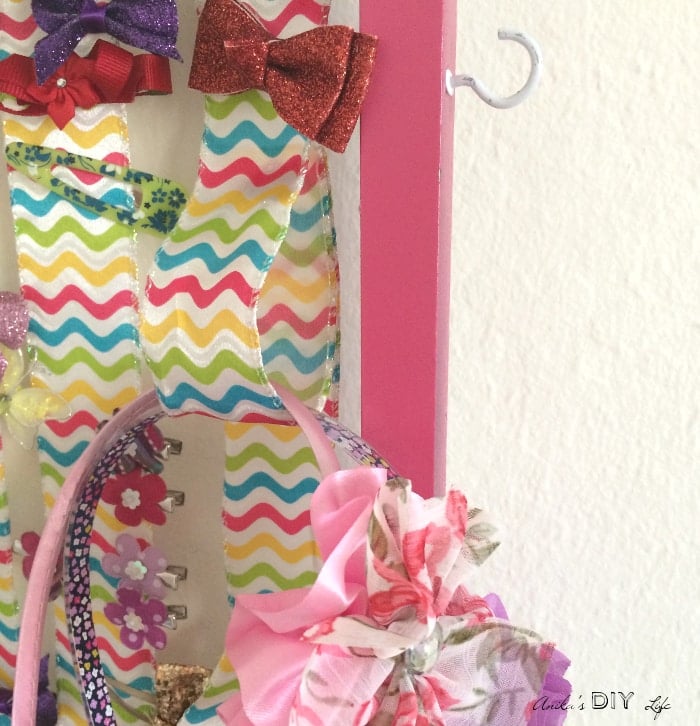
Step 3 – Attach strips of ribbon across the frame using hot glue to create the bow holders. On the last ribbon, I also created a loop in the ribbon to hold the hairbands.
Step 4 – Add ribbon on the top to create a bow. This is optional. You could also add D-rings or sawtooth hangers on the back of the frame.
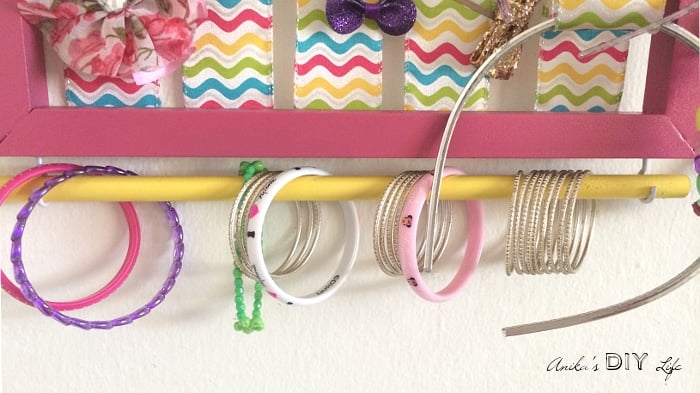
Step 4 – Pre-drill holes and attach the cup hooks in various spots. I attached 2 on each side for necklaces and bracelets and 2 on the bottom to hold the dowel rod for bracelets and bangles.
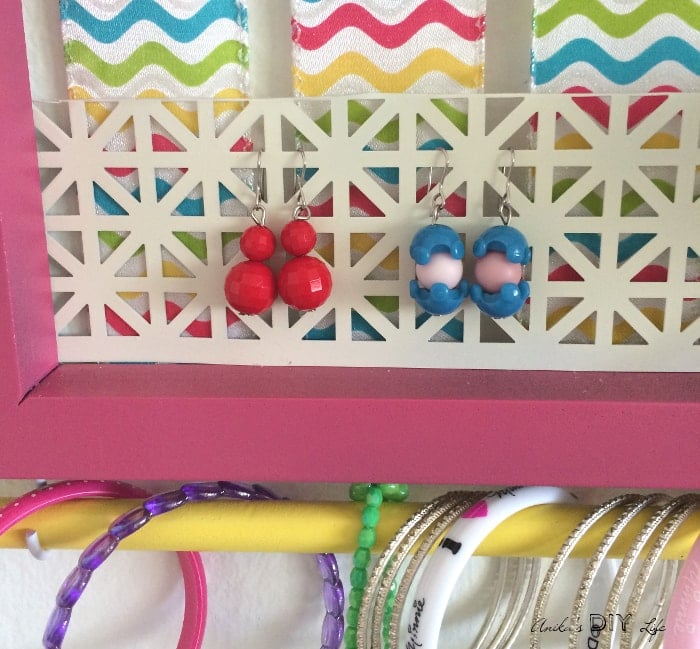
Step 5 – If you need a spot for earrings, attach the metal grill to the frame – I used a few dabs of hot glue. You could also use a staple gun if you want. I also painted mine using Rustoleum’s Heirloom White.
Thats’s it! The finished product has a place for everything – hairbows, hairbands, necklaces, bracelets and even earrings! My little girl is in love with it! Can you believe, it only cost me about $8 (most of which was the ribbon). If you have to buy all the of the material, it will probably be around $15. Not bad for something that looks so pretty!

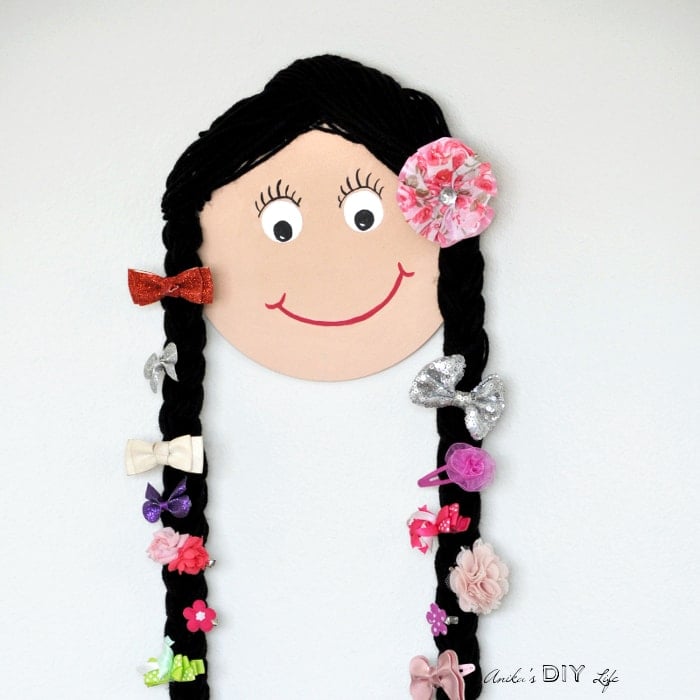
Looking for more ideas? Here is another way to organize all those hair bows and hairbands –
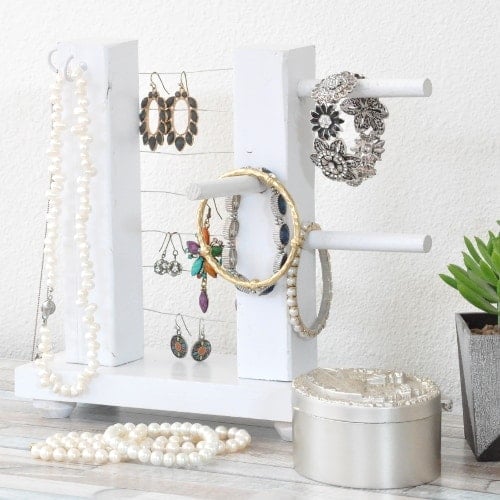
I love jewelry and have experimented with a bunch of different organizers. This one is cute and makes a great table top jewelry display –
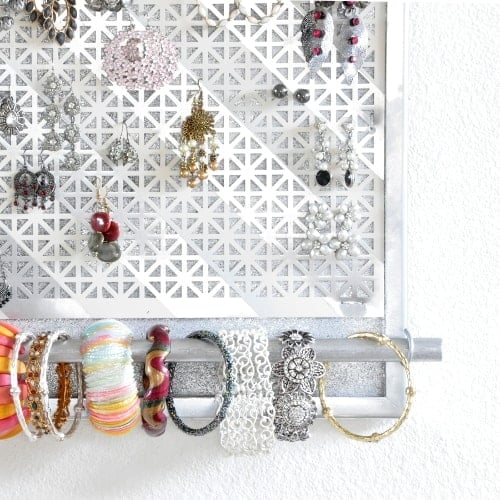
And finally, this DIY Jewelry Organizer is my favorite. It organizes all your jewelry and makes it look like wall art!
Anika's goal is to inspire and empower beginners with woodworking, DIY, home improvement, and home decor ideas.
She wants everyone to unlock their creative potential and experience the feeling that comes with making something. Nothing feels better better than seeing something and saying "I can make that!"




Pinning this! I think I will try to find an old frame at a yard sale to do this! I was thinking just the other day I needed something better for my girls’ hair bows! Thanks for sharing at the Family Joy Linky Party!
Thanks Rachel!! Let me know how it turns out!
This is so cute!! My sister makes DIY bow’s so my daughter has a MILLION cute little bows for her hair. I need this for her.
Thanks for linking up at #everythingkids
Thanks Hil! It has made our life so much easier with all the bows 🙂
This is so cute! We would love for you to come link up for Wall to Wall DIY Wednesday over at R&R at home!
Super cute idea! My daughter has tons of bows, headbands and hair accessories and this would be so cute. I will be featuring this at Merry Monday in my Get Crafty post. See you at the party.
This is so cute! What did you use to hold the loops for the headband holders? I love it!
Thank you! I just folded them on themselves and hot glued them.