DIY Christmas Wall Decor Idea – Light Up Led Tree
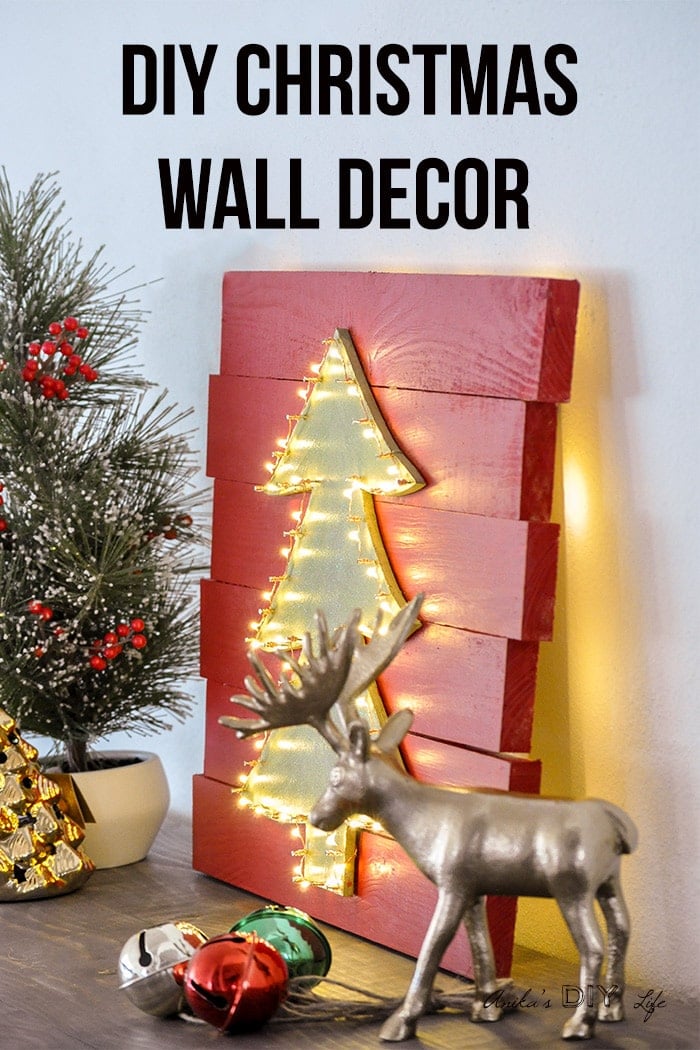
Learn how to make DIY Christmas wall decor. It is so easy to make and will add the perfect touch of sparkle to your Christmas decor!
You will also love the DIY Woodblock snowman and the colorful wood slice Christmas Tree!
Are you ready to decorate for Christmas?
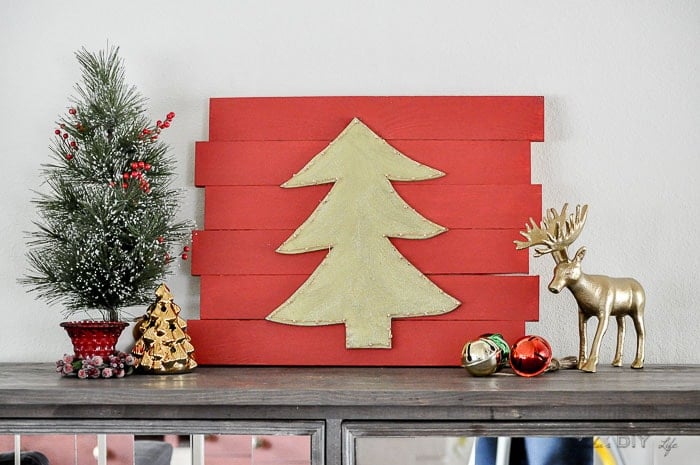
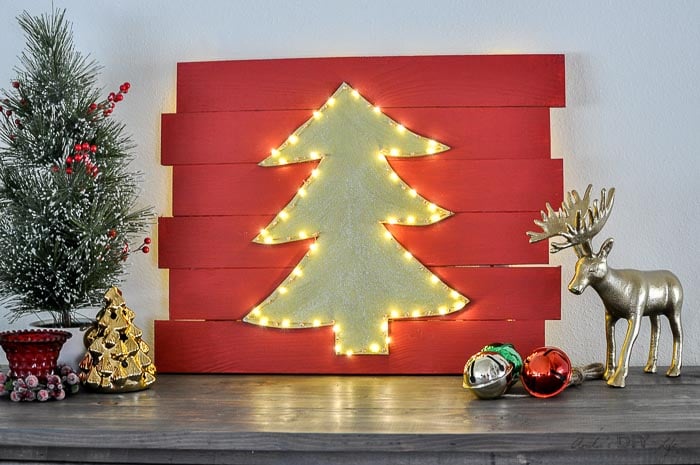
This easy DIY Christmas wall decor idea is perfect to kick off the season of decorating and sparkle!
And how perfect does it look?!
The LED lights are easy to turn on and off and even in the day, if you turn them off, the tree still looks perfectly festive with all the sparkle on it!! 🙂
I built this using mostly scrap wood I had but if you had to buy all the lumber, it would still cost you under $20!
Of course, I had to buy the LED string lights but those are pretty cheap too!
When I put it up, it totally got me in the mood for Christmas and made me want to pull out the Christmas tree!
I got a “wow!” out of both my kids when they walked in. It totally made my day!!
Plus, it was seriously so easy to make!
***This post contains affiliate or referral links. It is a way for this site to earn advertising fees by advertising or linking to certain products and/or services. Please read my full disclosure here ***
Materials to Make DIY Led Christmas Tree Wall Decor –
- 1/4″ MDF
- 1″ x 3″ board – length depends on the size you want to make!
- 1″ x 2″ board – length depends on the size you want to make!
- Jig saw
- Gorilla Glue
- 1 1/4″ Spax screws
- 5/8″ wire nails
- LED Fairy lights
- Hammer
- Paint – metallic green craft paint and red paint
- Sparkle mod podge
How to Make to Make Your Own Led Christmas Wall Decor –
Step 1 – Cut out the Christmas tree
Draw a Christmas tree shape on 1/4″ MDF and cut it out using a jigsaw.
Step 2 – Prepare the 1″ x 3″ boards
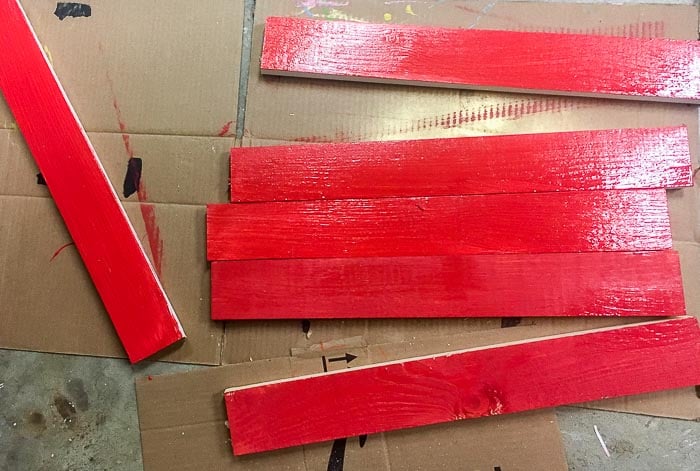
Cut the 1 x 3 boards to the size you need. I used the Christmas tree cut out to eyeball the sizes of boards I needed. I didn’t really worry about them being the same size either because they were going to be staggered anyway.
Then, I sanded and painted them red. I used red paint leftover from my Ikea Ivar makeover.
Step 3 – Attach Boards.
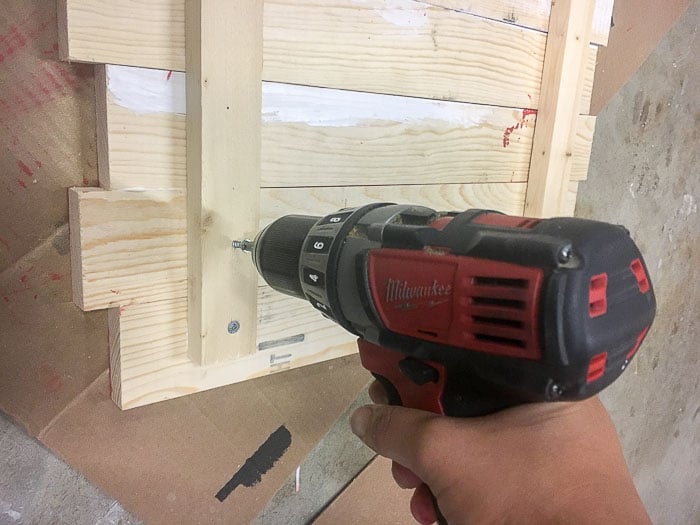
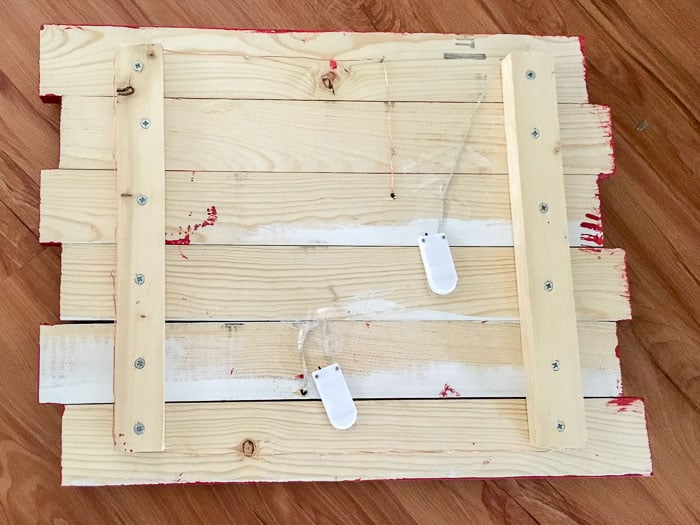
Attach the 1×3 boards together by screwing in two 1 x2 boards from the back using the 1 1/4″ spax screws.
I love these screws because they don’t need any pre-drilled holes.
Step 5 – Paint Christmas tree.
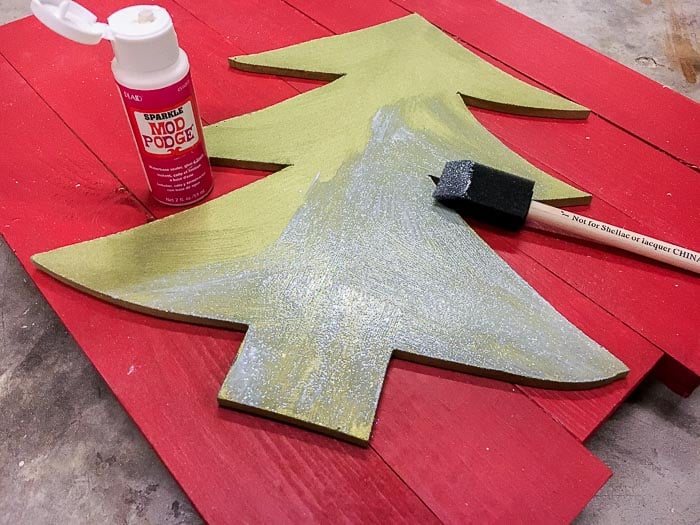
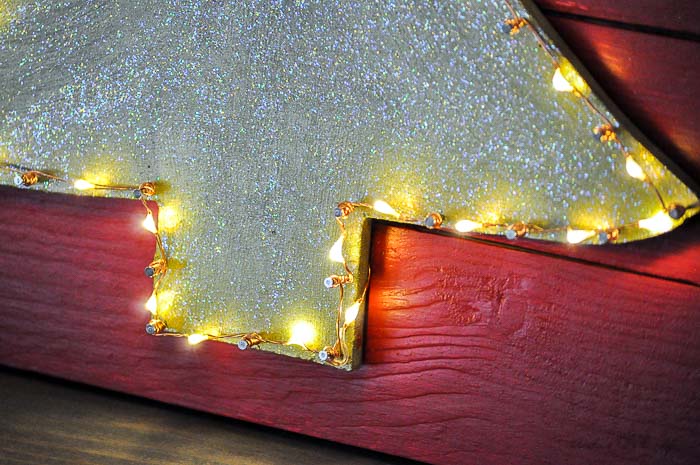
I used a metallic green craft paint. To give the Christmas tree a sparkle, I gave it a quick coat of sparkle mod podge. This way, even in the day when it is not lit, it will shine.
Step 6 – Add wire nails.
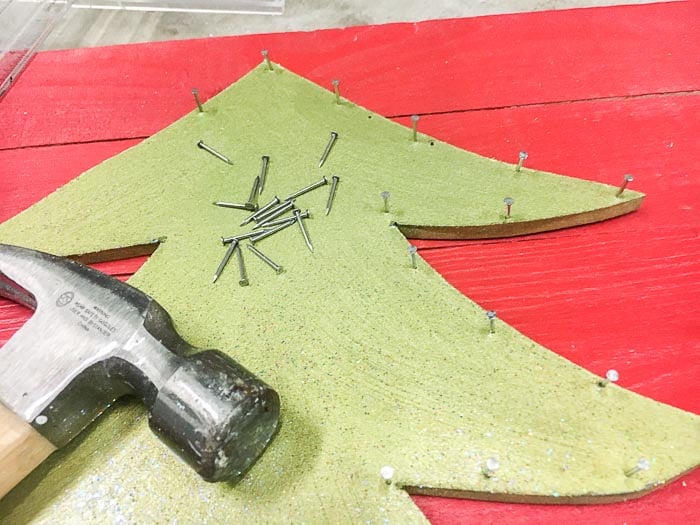
Start by adding wire nails about 1 inch apart all around the edges of the tree.
Step 7 – Add Led Lights
The LEDs come in from the back.
To do this – decide the placement of the tree on the red plaque and mark it.
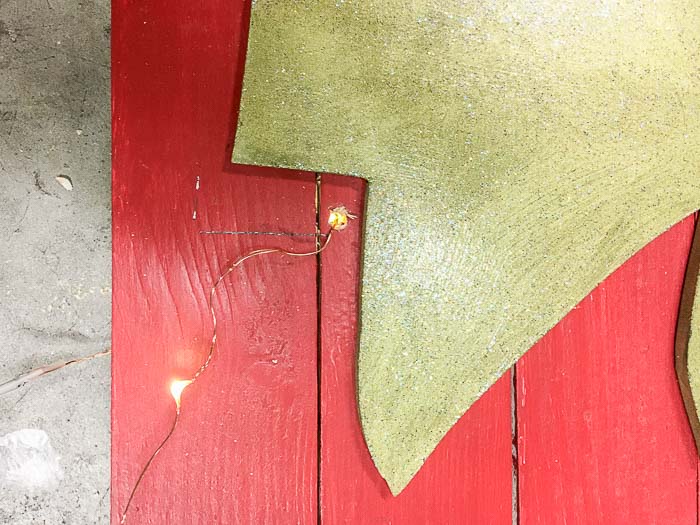
Drill a hole big enough for the LEDs to pass through on the inside of the mark so it is under the tree when attached.
Pull the LED out through the hole and start wrapping the wire around the wire nails.
The LED should be in the middle of the nails.
I needed 2 strings of LED lights to complete the tree (it is a good thing the LEDs came in a set of 2).
At the point where the first one ended, I made another little hole and used the same process of pulling the lights out and winding them.
Step 8 – Attach Tree
Once all the lights were in place, I glued the tree to the plaque using Gorilla glue.
Step 9 – Finish up!
I wrapped the leftover fairy lights around the back of the plaque and taped the switches down so they don’t move.
You can add hanging hardware to put it up on the wall or just have it stand on a table or mantle. I have mine on the entryway console table.
I wasn’t planning on having it wrap around the back, but I love how it ended up. Now it has a backlight too!
That’s it! Easy and quick! The longest part was waiting for paint to dry!
You should see this at night!! Here is a close-up!
There is something about all the lights and the sparkles that make everything feel so festive!!
Products used for light up tree wall decor-
- lumber – 1/4″ MDF, 1″ x 3″ board, 1″ x 2″ board
- Jig saw
- Gorilla glue
- 1 1/4″ Spax screws
- 5/8″ wire nails
- LED Fairy lights
- Hammer
- Paint – metallic green craft paint and red paint
- Sparkle mod podge
Need More Christmas Decor Ideas –
Check out my collection of 20 unique DIY Christmas Ornaments! You won’t find a single globe ornament in there!
Christmas gift giving doesn’t have to be hard! Check out my gifts guides – there is something unique for everyone!
Anika's goal is to inspire and empower beginners with woodworking, DIY, home improvement, and home decor ideas.
She wants everyone to unlock their creative potential and experience the feeling that comes with making something. Nothing feels better better than seeing something and saying "I can make that!"








Your Christmas tree project is adorable! I’ll be sharing it tonight at Merry Monday. I hope to see you at the party!