Quick DIY Christmas Tree Shelf
Learn how to build an easy DIY Christmas tree shelf in a couple of hours with this simple step-by-step tutorial.
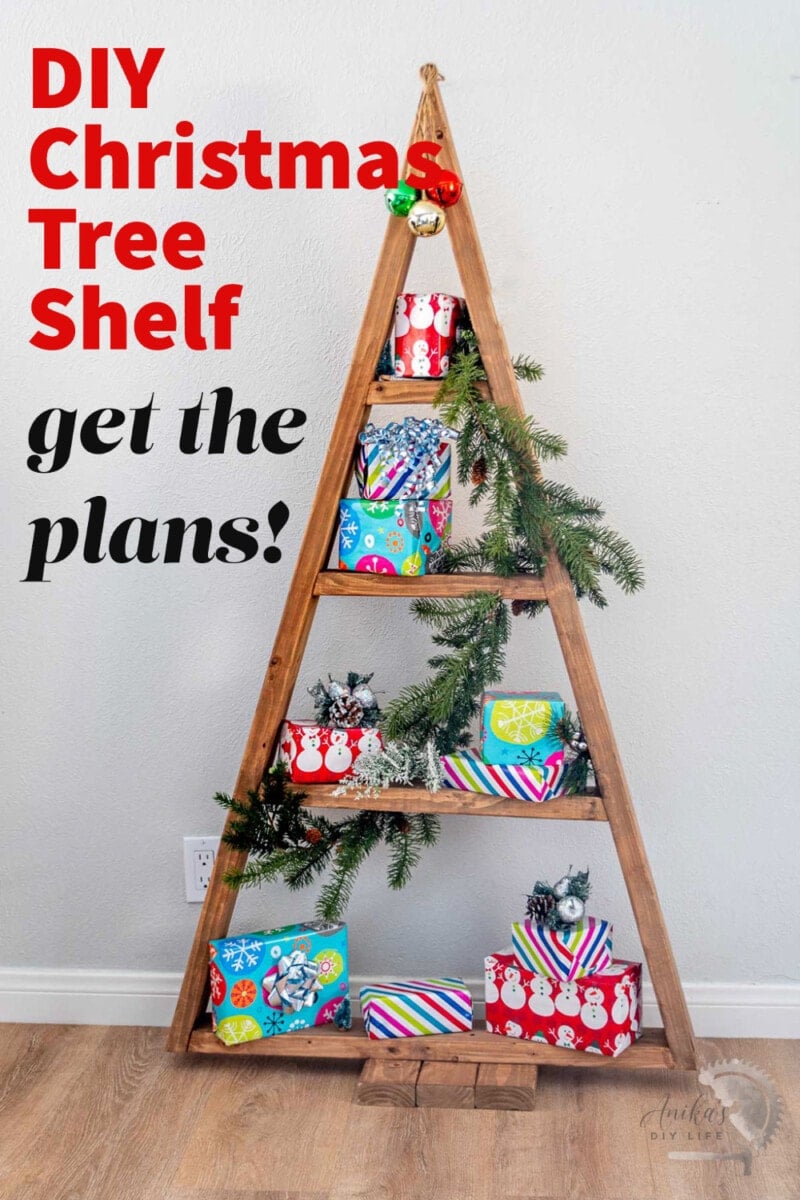
I built this shelf for a project on TikTok a few weeks ago and it was so popular, I had to put together the plans and this article to help you all make it.
The great thing about this tree shelf is that it can be used for so many things –
- advent calendar
- display cards
- display gifts
- a Christmas village
- All the holiday decor!
It can also act as a substitute for a real tree (if that is the way you want to roll) – it makes a great minimalist reusable tree – Just add a little faux-greenery to it if you like.
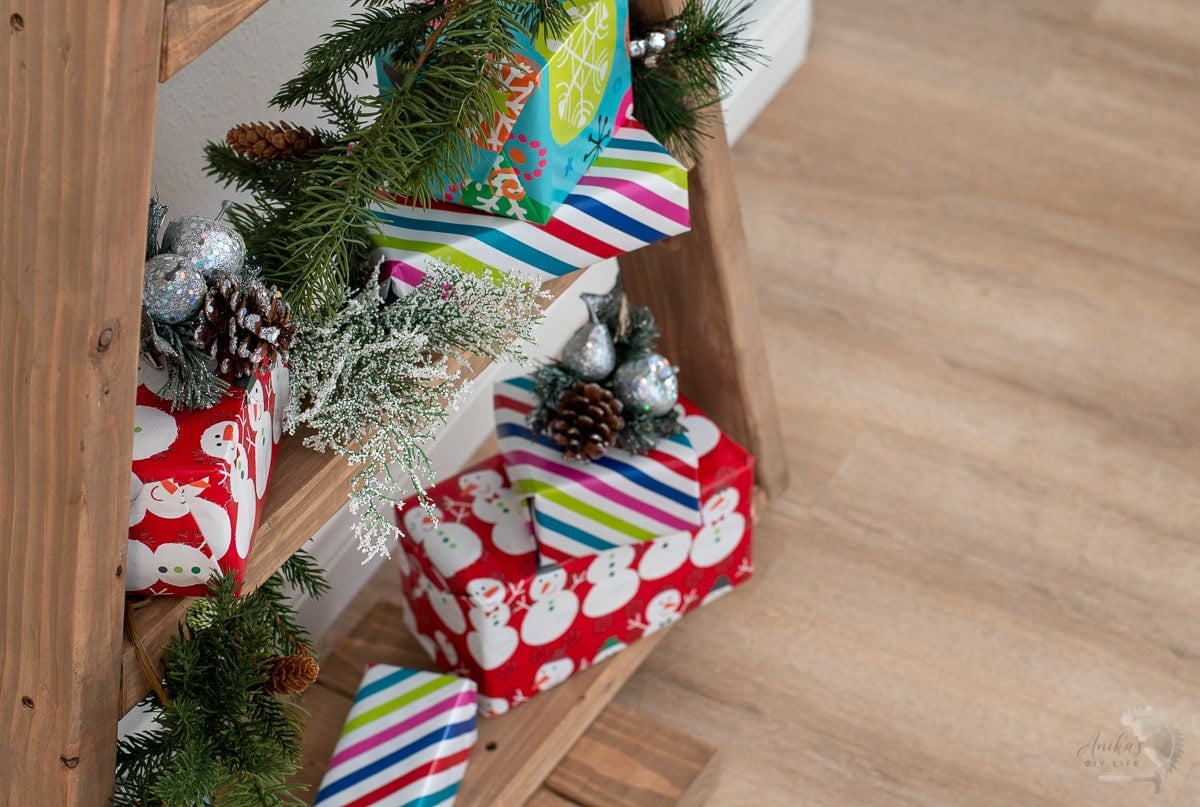
The best part is that once the holiday season is done, you can use it for plants the rest of the year!
***This post contains referral or affiliate links. It is a way for this site to earn advertising fees by advertising or linking to certain products and/or services. Please read my full disclosure here ***
Materials Needed –
- lumber per the plans
- Wood Glue
- 2 1/2″Trim head wood screws
- paint or stain of your choice
Tools Needed –
- Miter saw
- Drill/driver
How to Make
Building this Christmas tree shelf is super easy!
- I took me only about 2 hours to build (and I was filming the whole process which makes everything take 10x longer).
- It uses only three 2×4 boards.
- Currently the price of a 2×4 is about $5 so this cost about $15
Step 1 – Make the Cuts
- Make the cuts per the cut list in the plans.
Making the angle cuts is probably the hardest part of this project.
The cuts required for the sides of the shelf are at 60 degrees bevel. Depending on the miter saw you have, making these cuts are not always easy.
Check out this video and post where I show you how you can make miter cuts larger than that allowed by your saw.
If you aren’t able to make the cuts on a miter saw, you can use a circular saw or jigsaw, although the cuts and angles may not be as accurate as with a miter saw.
Step 2 – Assemble the Triangle
- Line up the sides with the 60-degree ends.

- Attach the two ends using wood glue and screws. Use at least two screws.
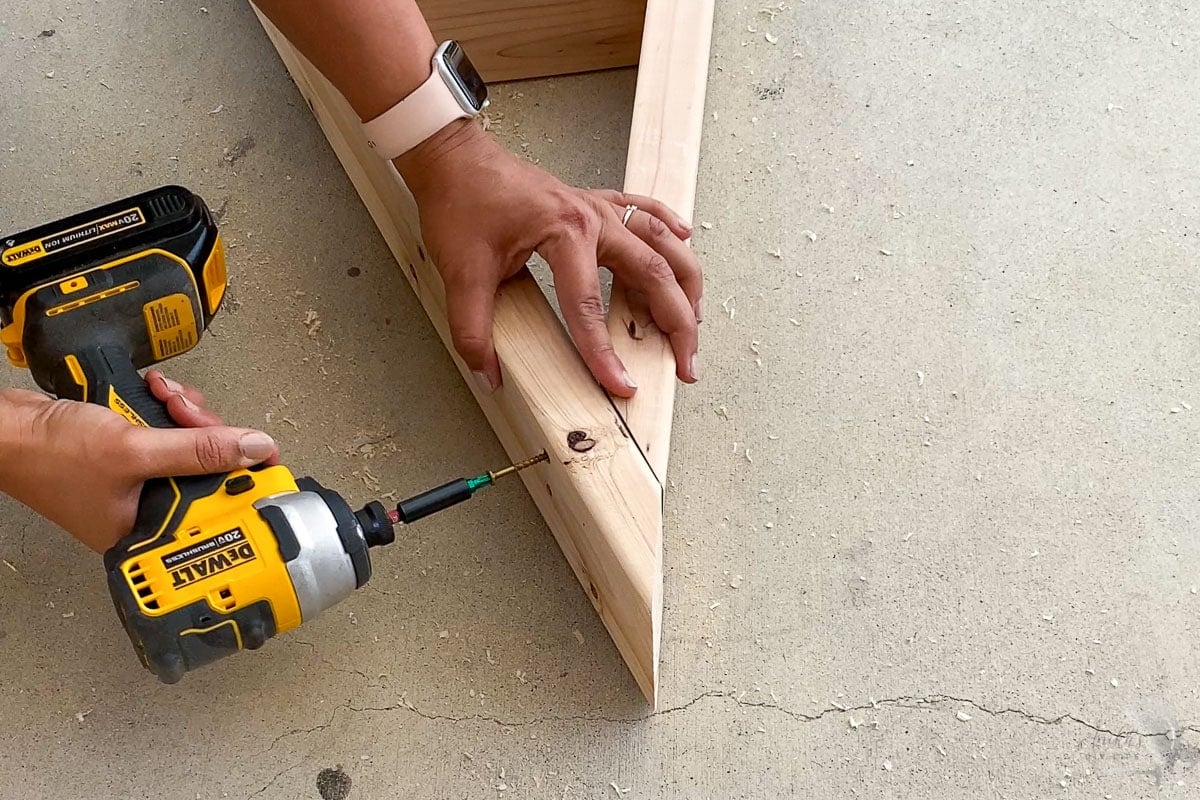
- Next attach the bottom by lining up the 15- degree ends of the boards. Again, attach using wood glue and screws.
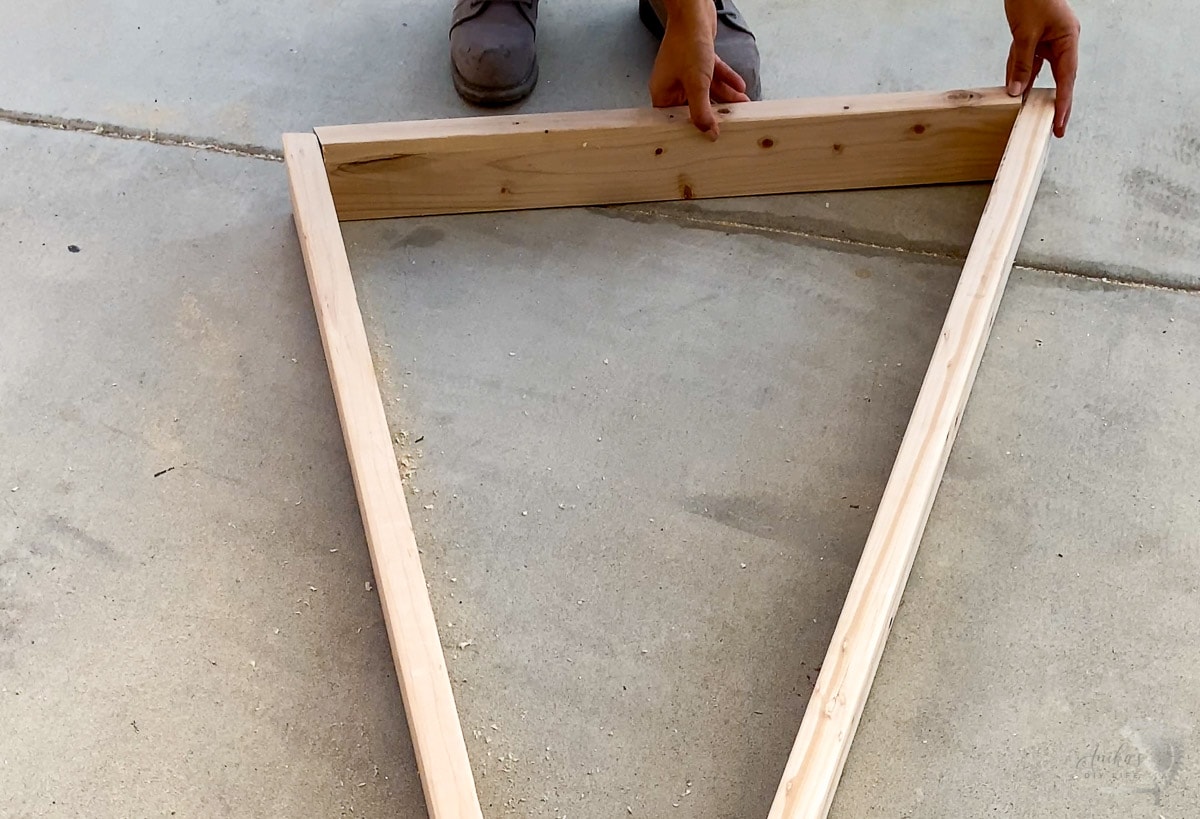
I used trim head screws to attach. These are self-drilling and self-countersinking is definitely my new favorite!
If you use regular wood screws, be sure to pre-drill and countersink them.
Step 3 – Attach the Shelves
All the shelves have 15-degree bevel on the ends.
- Lay them down inside the triangle you built.
- Attach the shelves using wood glue and trim head screws.
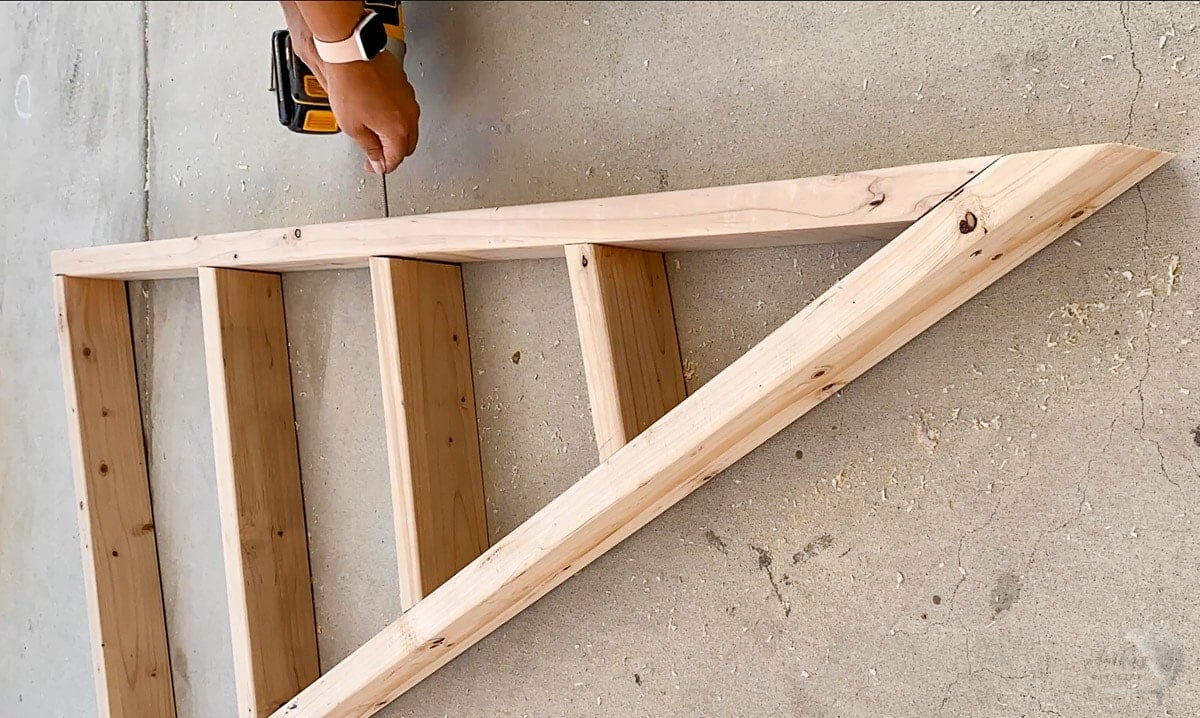
Be sure to keep the shelves straight and flush with the sides as you attach them
You can possibly use brad nails for this step but screws give you a lot more durability and strength.
Step 4 – Attach Bottom Support
To keep the shelf stable, attach a few boards on the bottom of the shelf to make the supports.
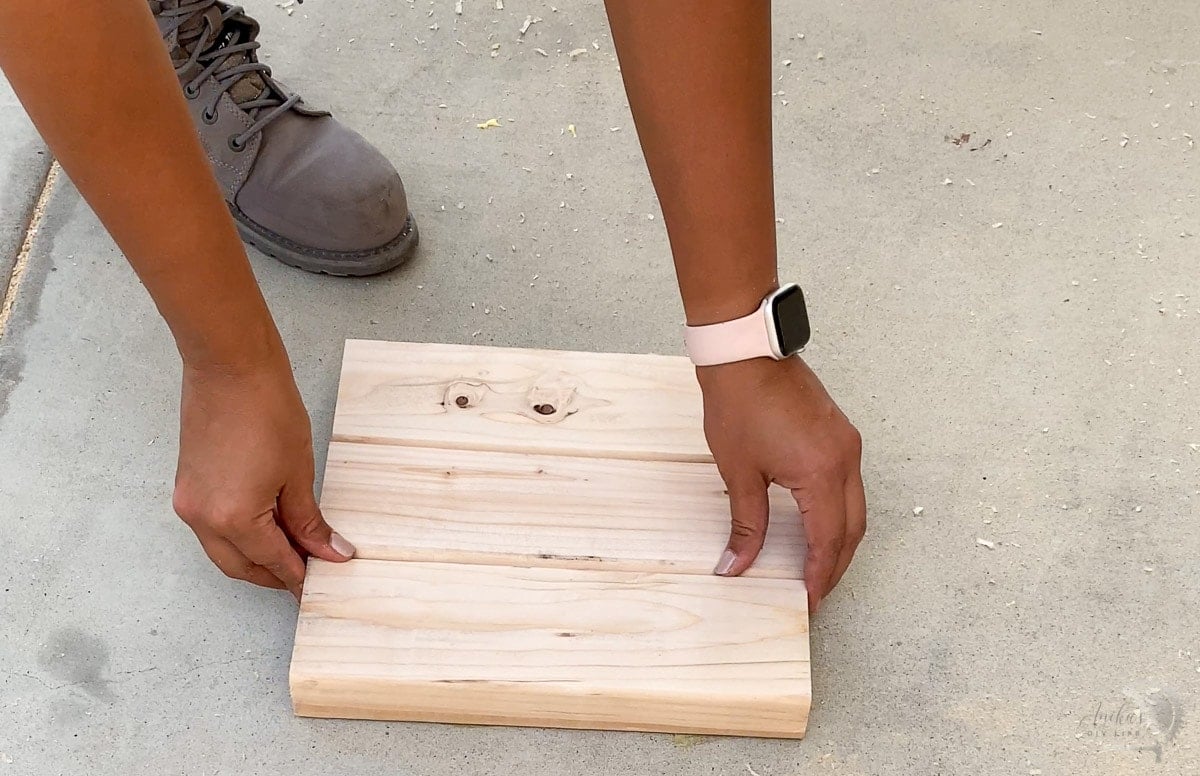
These are simply screwed through the bottom shelf.
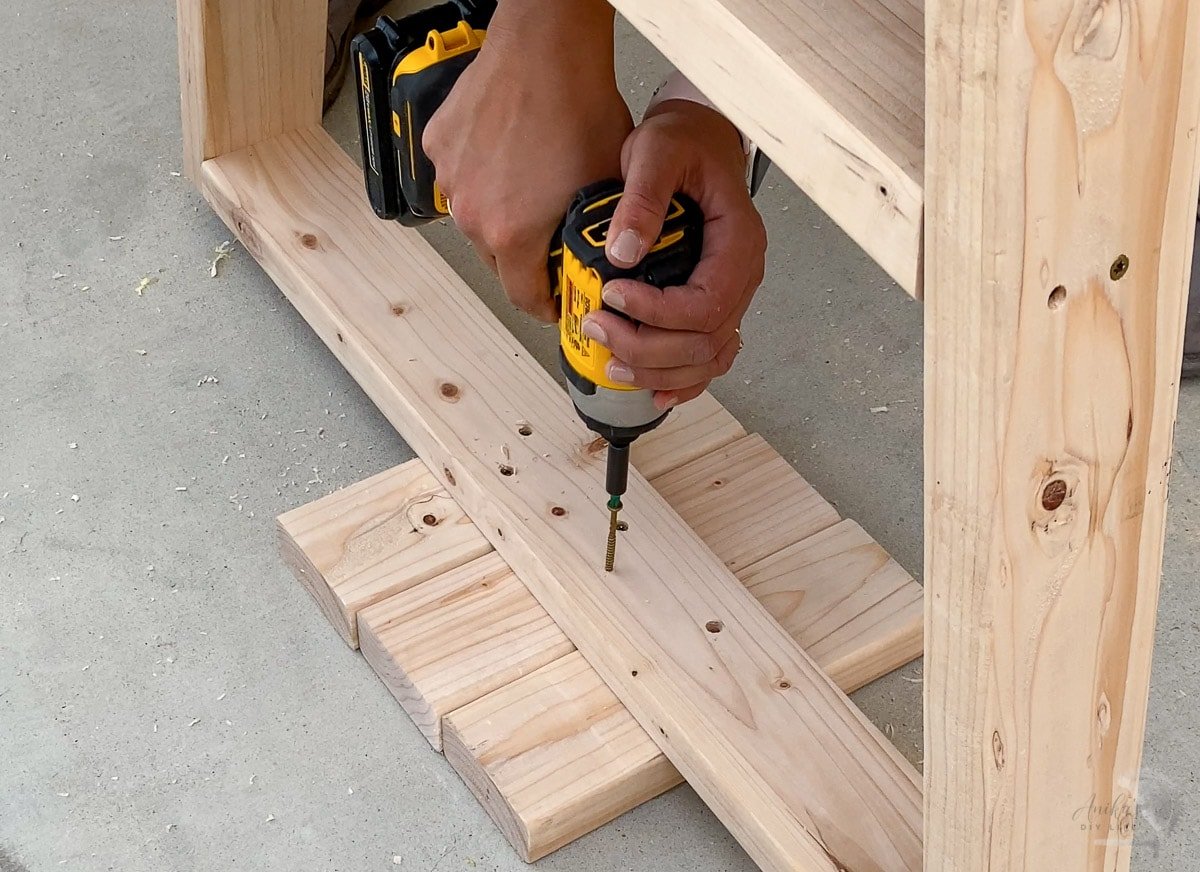
Step 5 – Finish
- Fill any holes with wood filler.
- Stain or paint in the color of your choice. I stained it with Early American mixed with a tiny bit of classic gray.

That’s it!
It’s a simple and fun build and can be used in so many ways!
Printable Plans
You can get the plans for the wooden Christmas tree shelf by clicking the button below.
More Projects You Might Enjoy –
Anika's goal is to inspire and empower beginners with woodworking, DIY, home improvement, and home decor ideas.
She wants everyone to unlock their creative potential and experience the feeling that comes with making something. Nothing feels better better than seeing something and saying "I can make that!"


