DIY Outdoor Bar
Learn how to build a wooden DIY outdoor bar perfect for any deck, patio or porch with step by step tutorial, plans, and video.

If you have always wanted to have a little bar in your backyard, but didn’t have space for a built-in one, here is the solution!
This DIY outdoor bar is a super simple build – made with construction lumber and pocket hole screws.
Plus, all the lumber cost only about $70.
By, the way, you an also use it indoors!
Don’t need a bar? It also works great as a potting station!
DIY Outdoor Bar
Table of Contents
Material Needed
- Lumber per the plans
- Miter Saw
- Table Saw (optional)
- Kreg Jig
- Power Drill
- 2-1/2″ outdoor pocket hole screws
- Wood glue
- Kreg Multi-mark
- Measuring tape
- Various clamps
Wooden Outdoor Bar Plans
The plans for this outdoor bar are available here.
Plus, for a limited time, you can get two more plans along with it for just $5 extra!!

How to Make
Here is a quick video showing how to build the bar. Written step by step instructions follow below.
Click here to subscribe to my YouTube Channel for more great videos!
Step by Step Tutorial
For the lumber, be sure to use kiln dried lumber.
Kiln-dried lumber is just that – it has been dried and all the moisture has been taken out – this reduces the chances of it shrinking with time.
I couldn’t find kiln-dried wider boards in the big box stores so I had to visit a local lumber yard.
Step 1 – Cut Lumber
- Cut lumber per the plans.
Optional – After cutting the boards to length, trim off the rounded edges of the construction lumber on your table saw for a more finished look.
This will reduce the width of each board by about 1/2″.
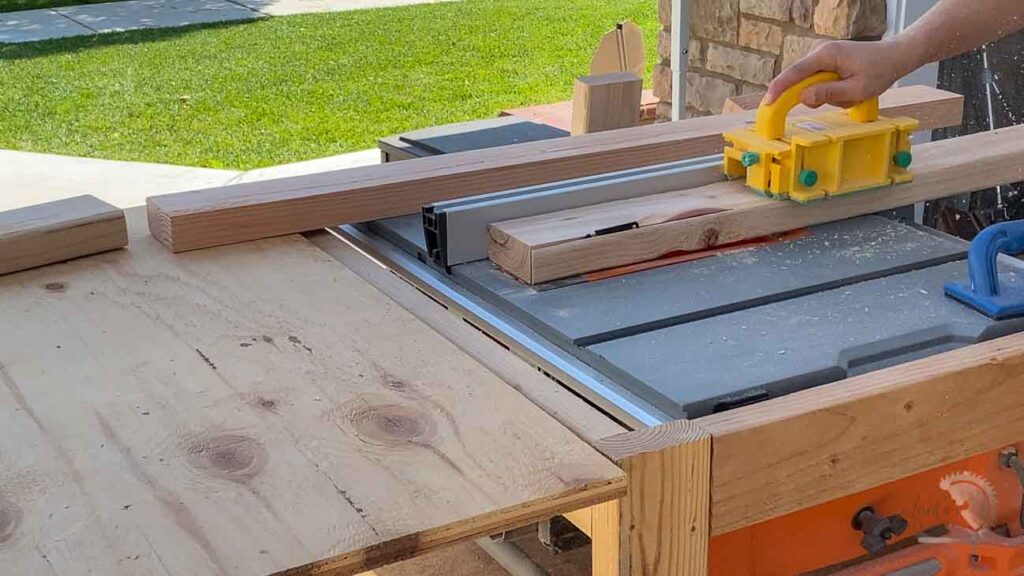
The plans DO NOT take this into account. If you decide to trim the boards, be sure to adjust the length measurements in the plans accordingly BEFORE making the cuts.
Step 2 – Make Pocket Holes
- Make pocket holes as shown in the plans.
Since this is 1-1/2″ thick material, be sure to use the 1-1/2″ setting on the Kreg Jig.
RELATED : How to use a Kreg Jig for beginners.
- This is also the perfect time to sand all the boards. It can feel like a pretty daunting task but a little music really helps!
Pssst – I love using my IsoTunes Pro2.0 Bluetooth hearing protection.. (You can get $10 off with code ANIKA10)
Step 3 – Build Leg Frame
- Attach the slats between the 2×4 legs.
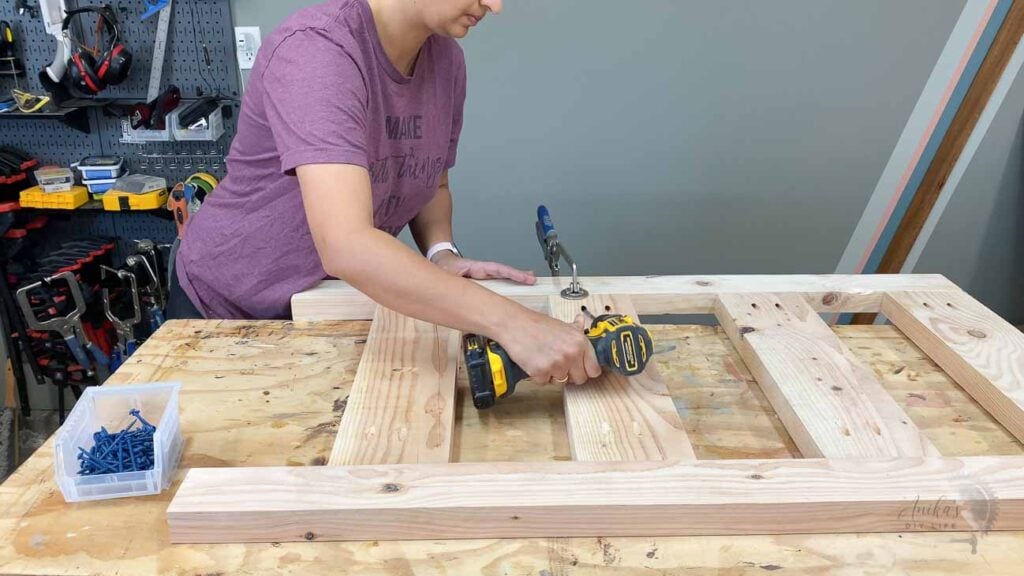
TIP – Use scrap boards to help get exact spacing between them
- Once both the sides are assembled, attach the long front slats between the two legs and create the entire leg frame
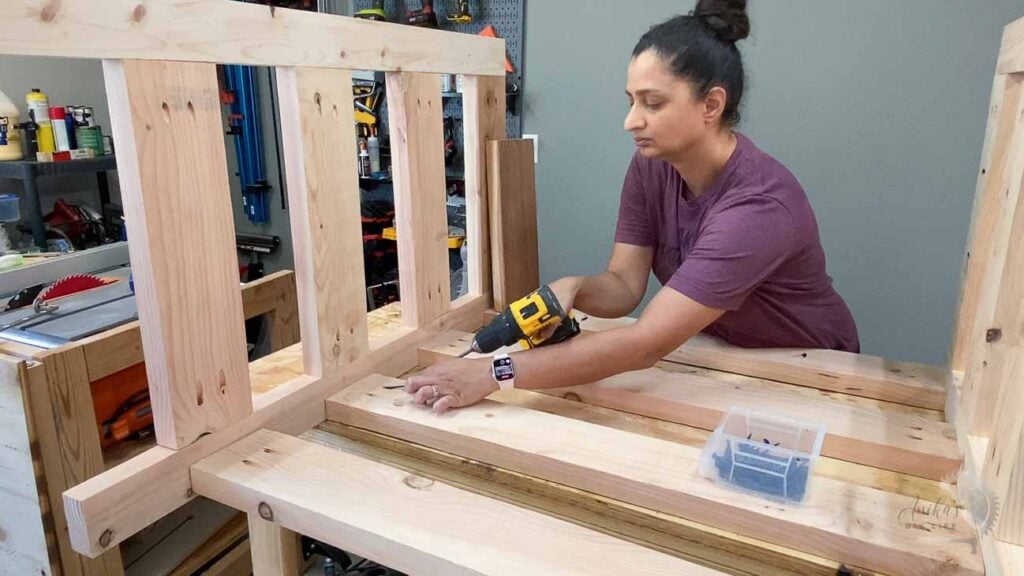
This entire frame gets pretty heavy so be sure to have an extra set of hans available to help move it.
Step 4 – Build Wide Shelf
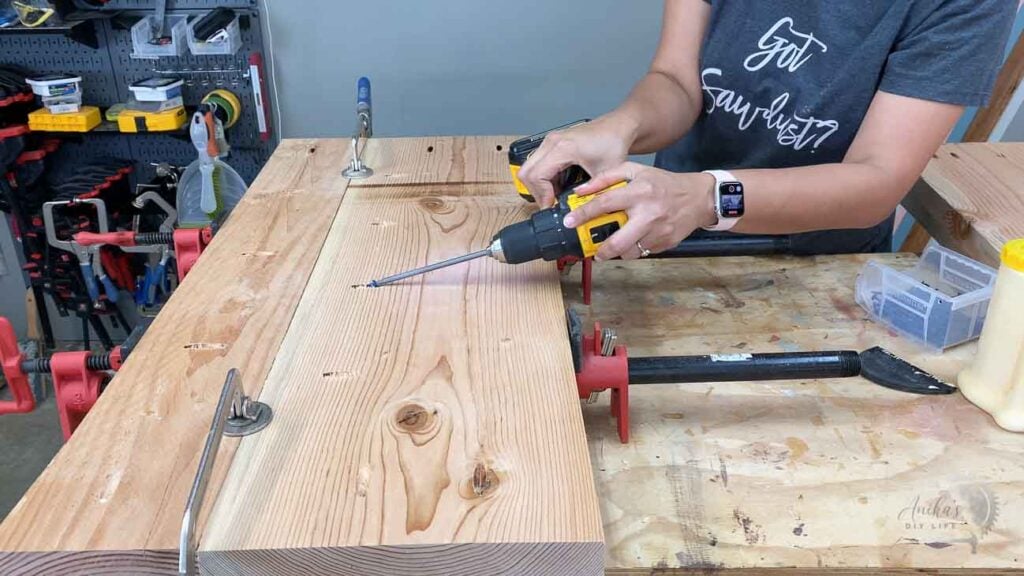
This is a 1×12 and 1×6 joined together to make a wide shelf.
- Lay them out so they are even and then attach using wood glue and pocket hole screws.
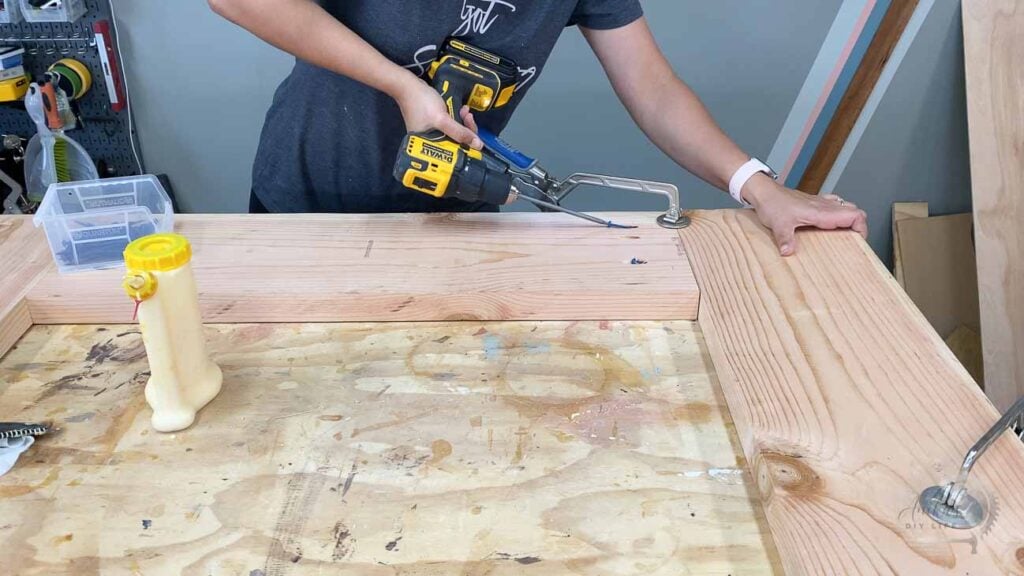
Step 5 – Build Top Counter
- The U-shaped top counter is also put together using pocket hole screws and wood glue.
Step 6 – Attach Counter and Shelves
Lay the top counter upside down on the floor and position the leg frame onto it.
Make sure there is equal overlap on all sides. I like to use my multi-mark tool for this.
- The top counter is simple to attach with 1-1/2″ pocket hole screws.
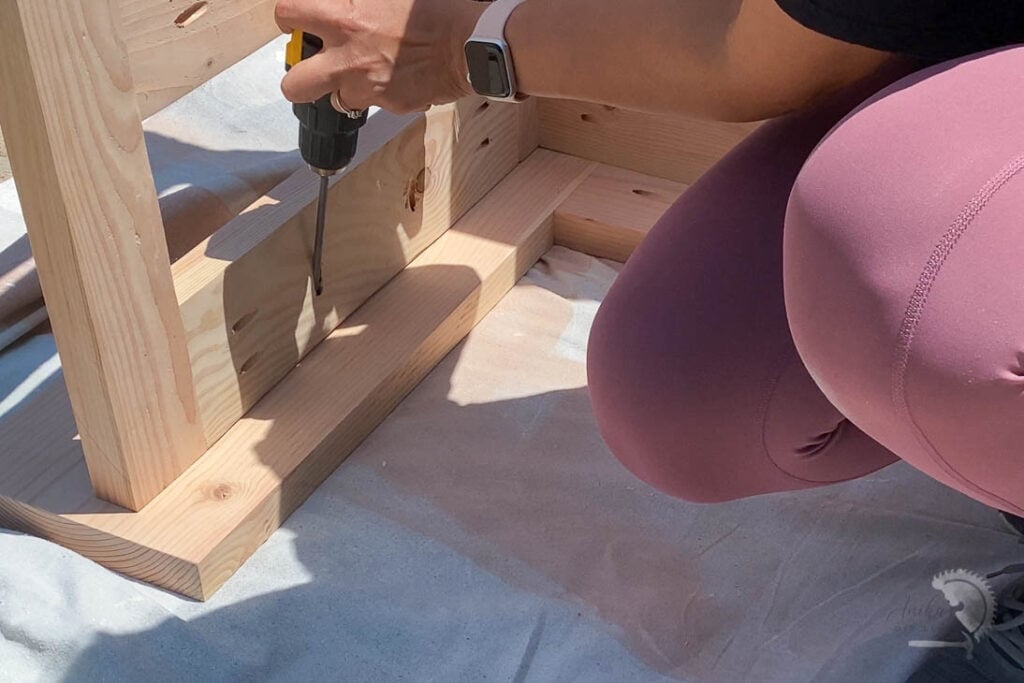
- The wide shelf is 3-1/2″ from the counter. So a 2×4 works well as a spacer.
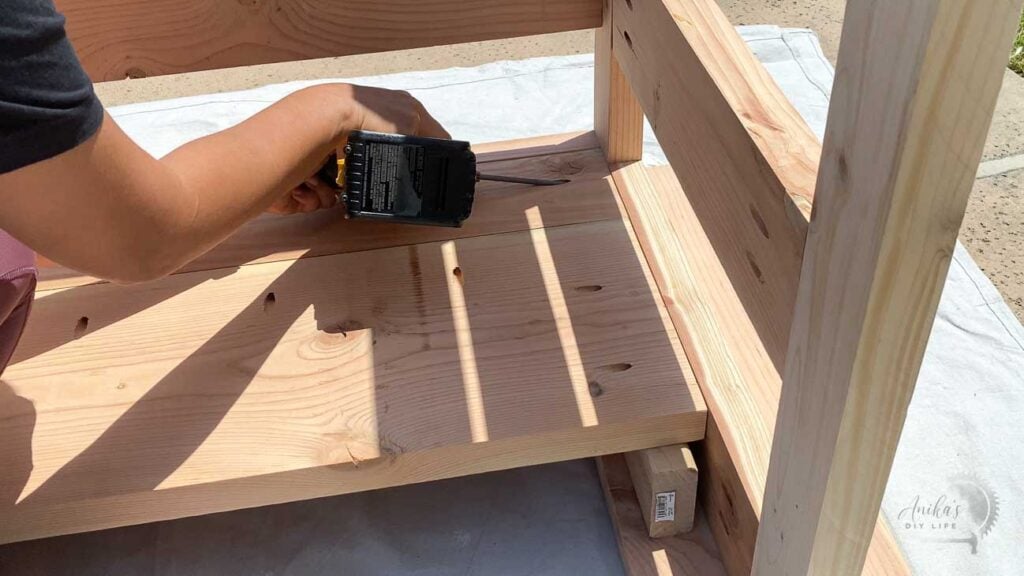
- The second shelf is a bit tricky. I had to use my knee to hold it in place as I added the pocket hole screw. If you have an extra set of hands, that will help too.
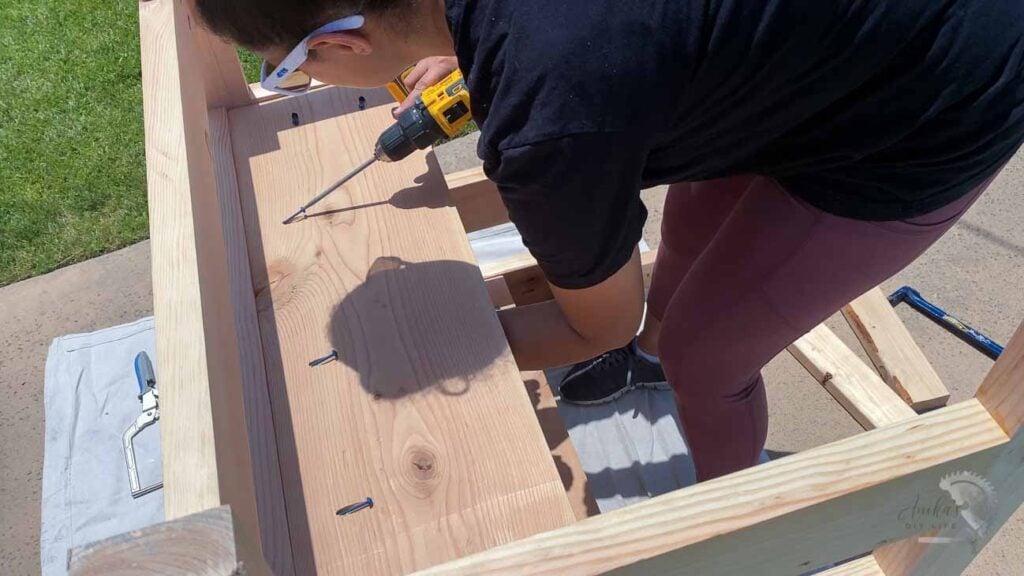
The outdoor bar is ready!
The resulting build is pretty heavy so please be careful as you move it.
I would recommend attaching the counter and shelves out where you would like to place the bar so you don’t have to move it too much.
Step 7 – Finish
- Apply a good quality outdoor finish to the bar.
I recently discovered the color Valaise in Behr Semi-Transparent deck stain and love it so much. It is even waterproof!
That is it!
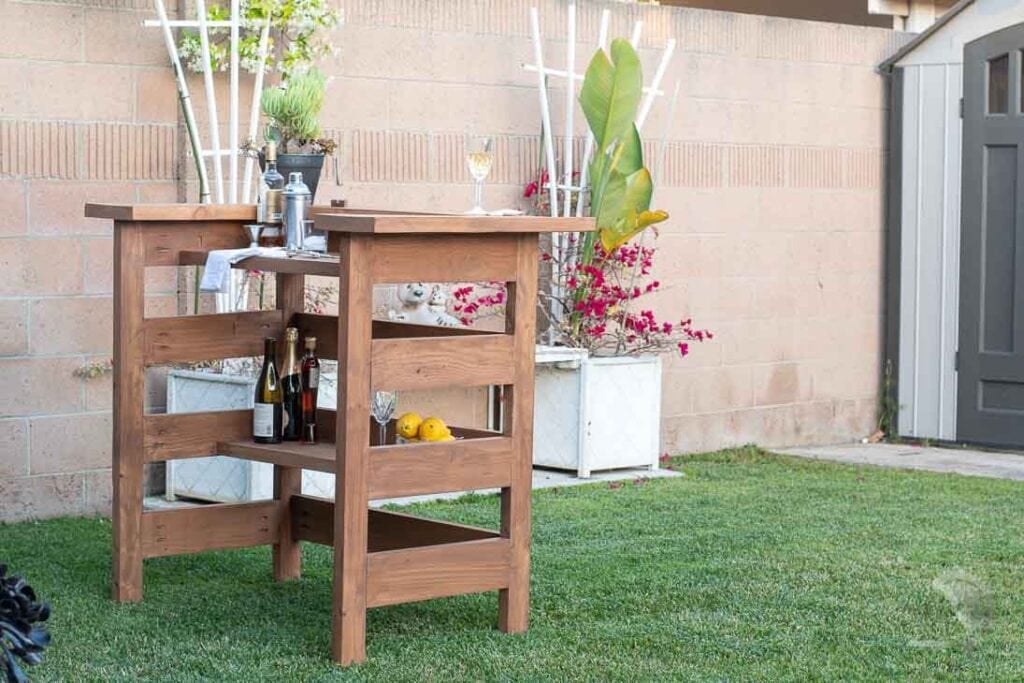
It is a simple modern outdoor bar that can be used anywhere in a backyard, OR even indoors.
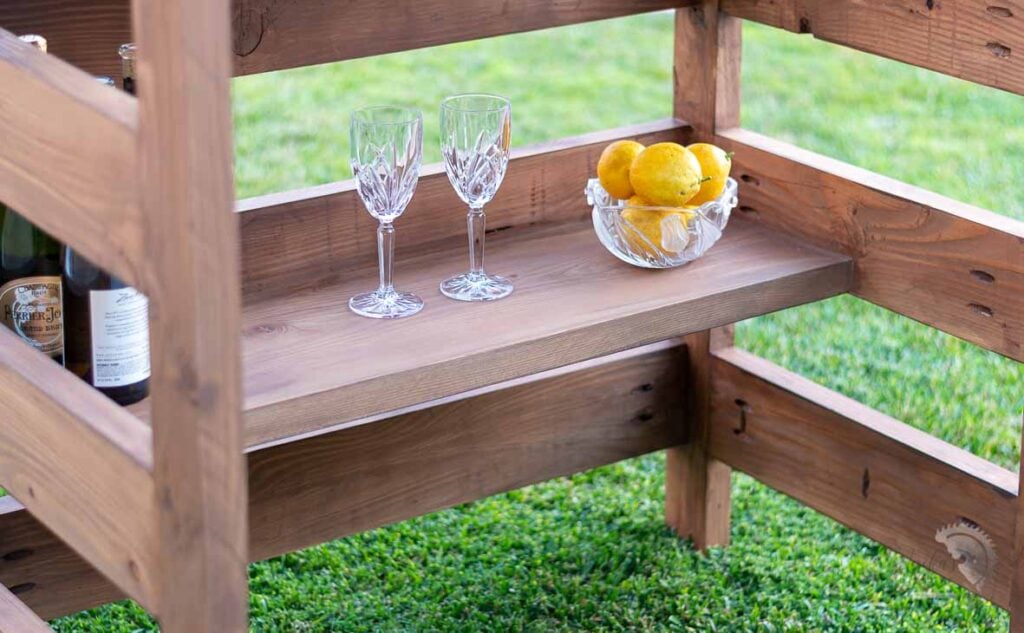
Be sure to pick the plans for this project along with the outdoor chair and planter below.

Or get the plans for the outdoor bar only.
I can’t wait to have parties with lots of friends around it laughing and having fun.
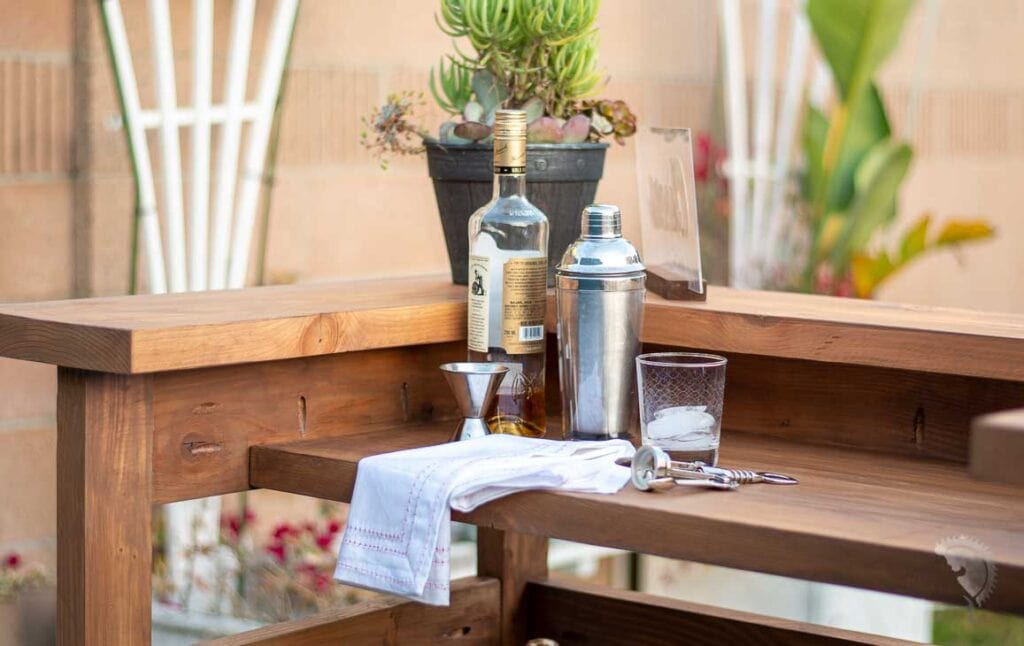
Until then, it is just going to be a little party of me and my family.
More Outdoor Projects You Might Enjoy –
See 23 more easy DIY outdoor woodworking projects.
Anika's goal is to inspire and empower beginners with woodworking, DIY, home improvement, and home decor ideas.
She wants everyone to unlock their creative potential and experience the feeling that comes with making something. Nothing feels better better than seeing something and saying "I can make that!"




Awesome work Anika! 😃👍🏻👊🏻