How to Use a Kreg Pocket Hole Jig
Pocket holes are a beginner-friendly joinery method. Here is a simple step-by-step guide to understanding how to use a Kreg pocket hole jig and build projects using pocket hole joinery.

If you were to ask me what my favorite tool in the workshop is, my answer would be my Kreg Jig.
It was the first tool I bought specifically for woodworking. I already owned a power drill, and I bought the Kreg Jig K4. Using that (and boards cut up at The Home Depot), I built my first projects—the kid’s table and chair set and my workbench.
A Kreg Jig is a pocket hole jig that helps you make pocket holes easily and build projects using pocket hole joinery.
Once you understand how pocket holes work, building projects is very easy. However, all the settings and numbers can be confusing when you are just starting out.
I know.
I have been there.
It took me a few iterations to figure out exactly what I needed to do to get the joints to work. And then, it took a few months before I understood exactly why my pocket hole joints weren’t always the strongest in spite of following all the “rules.”
Pocket holes are very popular in woodworking projects for beginners and advanced woodworkers alike. Although “fine” woodworkers frown on them, they are really easy to use and great for building quick, strong projects.
I am breaking down everything you need to know about using a Kreg Jig so you can start using it with confidence and build ALL THE THINGS!
Table of Contents
***This post contains referral or affiliate links. It is a way for this site to earn advertising fees by advertising or linking to certain products and/or services. Please read my full disclosure here ***
What Are Pocket Holes?
Pocket holes are pre-drilled holes made at an angle – typically 15 degrees. These holes look like a pocket, hence the name pocket holes.
When pocket hole screws are used to join this board to another board, the screws go in at an angle. This creates a stronger joint than if a screw were to go straight into the wood.

Grab Your Free Guide!
Pocket Hole Quick Reference

Master Pocket Holes in 3 Steps!
This step-by-step guide will get you started and ensure you don’t miss any important steps.
BONUS – two important reference tables
Sign up for the newsletter below and get it delivered in your email instantly.
Benefits of Using Pocket Holes
Pocket holes can be made very simply but have a lot of benefits, including:
- They are extremely beginner-friendly! Once you understand the settings, you can make pocket holes and joints in a matter of minutes.
- You don’t need any complicated tools. Just a power drill!
- The joint is super strong. The angled screw produces a huge clamping pressure. When coupled with wood glue it makes a really strong joint.
- There is no clamping and waiting for glue to dry. Make the joint and move on to the next step. It helps get more done in less time.
- It makes the alignment of two boards extremely straightforward.
Pocket Holes 101: Video
If you would prefer to watch a video, I have a detailed video about pocket hole basics, how to make pocket holes, and how to join the boards.
What Is a Kreg Jig?
A Kreg Jig is a woodworking jig made by the Kreg Tool Company that helps make pocket holes. While there are many other pocket hole jig brands on the market, the Kreg Jig is the most popular one, and I love and use it.
The pocket hole jig is a drill guide that guides the drill at an angle so that you can make the pocket hole for your project.
Multiple Kreg Jig models are available at various price ranges, starting at $40 and going up to $400. As the price goes up, the efficiency of the jigs increases. However, they all do the same thing—make pocket holes.

The most common models are –
- The Kreg K4 or K5 – These models are now obsolete.
- Kreg 320 – the $40 version. See how to use a Kreg 320.
- Kreg 520 – the $100 version. See how to use a Kreg 520.
- Kreg 720 – the $130 version. See how to use a Kreg 720.
- Kreg Foreman – the $400 version
If you need help picking a Kreg Jig, be sure to read Which Kreg Jig to Buy.
No matter which Kreg jig or pocket hole jig brand you use, the basics of making pocket holes remain the same.
Parts of a Kreg Jig
The basic parts of a Kreg Jig, or really any pocket hole jig, are as follows –
- The Jig itself (this depends on the model you have)
- A clamp to hold the jig on the board (this can be a part of the jig or separate depending on the model)
- A special stepped drill bit to make the pocket hole
- A depth collar for the drill bit
- A hex key
- A special square drive bit to drive the pocket hole screws
All of the above come as part of the package itself.
Be sure to take a look at Kreg Jig 101 to learn everything you need to know!
Types of Joints You Can Make with Pocket Holes
The main advantage of pocket holes is that they allow you to make joints that would otherwise be impossible without advanced joinery techniques – especially an edge joint.
There are two common types of joints you can make with pocket holes:
- The butt joint – made when the end of the board is joined to the edge of a board
- The edge joint – made when two edges are joined together.
The only type of joint a pocket hole cannot make are end to end joints – you cannot make a board longer using pocket holes.
How to Use a Kreg Jig to Make Pocket Holes
In addition to the pocket hole jig, you will need –
- Pocket hole screws – size and material based on the boards you are joining (more on that below).
- Clamps – to hold the jig and while joining the boards.
Making pocket holes is a simple 5 step process:
- Measure the board thickness
- Set the board thickness on the jig
- Set up the drill bit collar
- Clamp board with the jig
- Drill the holes.
Let’s break each of these steps down in detail.
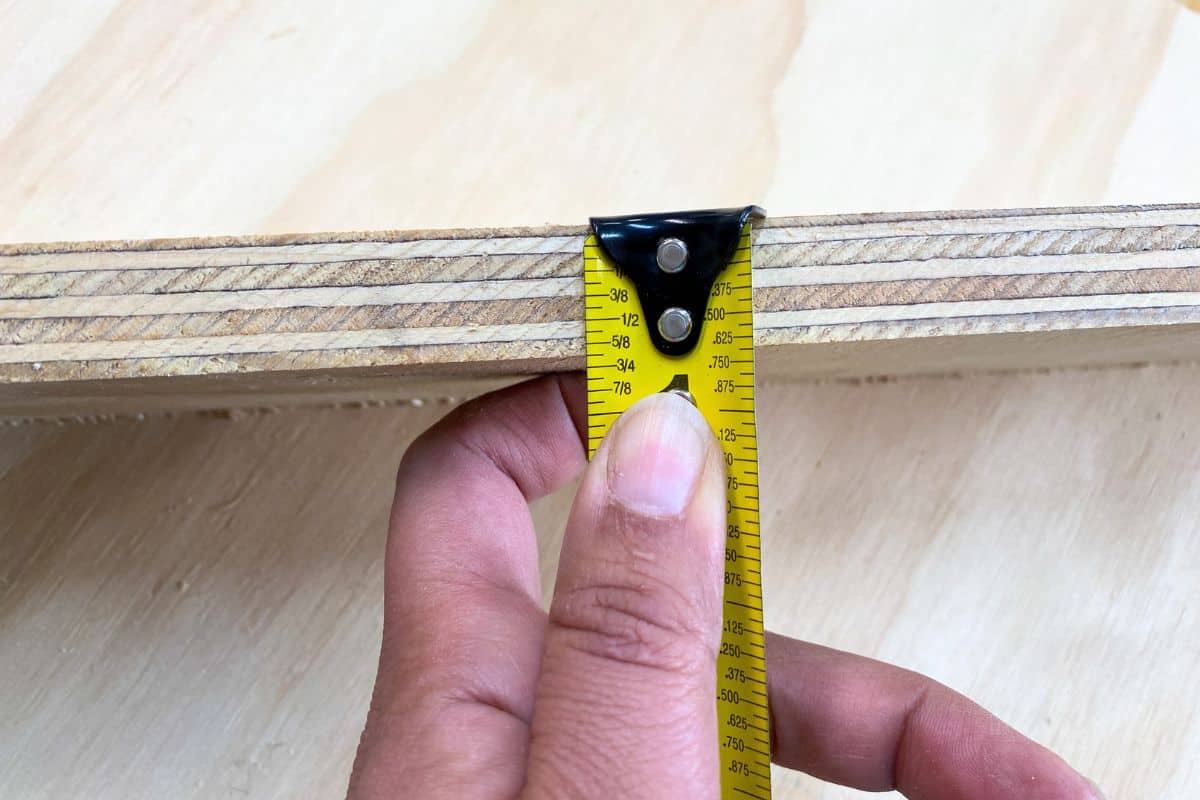
Step 1 – Measure Board Thickness
This is probably the most important step for getting strong pocket holes.
The most common thicknesses you will be working with are ½”, ¾”, and 1½”. Learn more about the nominal and actual thickness of lumber here.
Even though you may pick up a board with a given dimension, not all boards are made equal, and there can be variation from board to board (and even across the same board). It is always a good idea to break out that tape measure and check the thickness.
PS: the new Kreg Jigs come with a thickness gauge tool, so you can quickly check the thickness!

What if you are joining boards of 2 different thicknesses? Use the smallest thickness.
Step 2 – Set the Jig Height
Use the thickness you measured and set the jig height accordingly. On the K4, K5, Kreg 320 and Kreg 520, you need to do this manually.
- On the K4 and K5, you have to open the screw and move the jig to the height indicated on the side.
- On the Kreg 320, you have to move the bottom tabs to the thickness setting. See more here.
- On the Kreg 520, you press and move the tab on the side of the drill guide. See more here
- The Kreg 720 has an automatic jig height adjustment, and it automatically sets up the height when you clamp the board into the jig.
Step 3 – Set Depth Collar on the Drill Bit
Kreg pocket hole jigs come with a special stepped drill bit and a stop collar. The stop collar helps stop the drill bit at the appropriate distance without making the pocket hole too deep.
The stop collar has a small set screw on the side to help tighten and loosen it.
The newer stepped drill bits have easy-set markings for the most common thicknesses – ½”, ¾”, and 1½”. The depth collar can be moved to the required setting so the window is aligned with the marking and tightened.

Older drill bits did not have these markings, and you will need to consult the manual for that jig to see how to set it up. However, I would highly recommend getting an easy-set drill bit because it makes setting up a breeze! It is totally worth it.
How about other thicknesses?
What if you are working with one of the common board thicknesses that aren’t ½”, ¾”, or 1½”? If you are using a Kreg 720, you can easily adjust for the thickness using the markings on the back of the jig. For other jigs, you want to move the drill bit collar to account for the difference.
For example, if the thickness is 1″, you want to set the collar between the ¾” and 1 ½”. In fact, you always want to err on the smaller side, so you can set it slightly toward the ¾” mark.
Always make test holes and joints before using them on the actual project.
Thickness of plywood
Just like all other lumber, the thickness of plywood is usually not exactly as noted. ¾” plywood is rarely exactly ¾” but it is usually 1/32” or 1/16” smaller. With a 1/32” difference, you can get away with a ¾” setting on the drill bit collar. But for larger variations, you can move the collar slightly above the ¾” setting and make the pocket holes.
Step 4 – Position Lumber and Clamp
Position the board you want to drill the pocket hole in on the jig and clamp it, or clamp the jig on the board (for the Kreg 320).
The guide marks at the top of the jig tell you the locations where the pocket holes will be drilled. You want to make at least two pocket holes in a board in order because one pocket hole becomes a pivot point.
Pocket hole placement
Below is the basic rule I use to drill pocket holes. Always do a visual check to make sure that the board is covering the holes on the jig because you don’t want holes along the side of your board.
| Width of material | Pocket hole placement |
|---|---|
| 1″ to 2″ | B and C |
| 2″ to 3″ | A and B |
| 3″ to 4″ | A and C |
Step 5 – Drill the Pocket Holes
Set the drill on the drill setting. Read more about drill settings here.
Drill the pocket holes through the guide holes in the jig. The depth collar automatically stops the drill at the right height.
Important – Make sure that the depth collar is tight. If it moves as you push down the drill, the pocket holes will be deeper than needed, and you will not get a strong joint. A quick visual check at the end of drilling holes on a board to see if the hole is sticking out of the board is a great way to make sure you don’t over-drill.
And you have pocket holes!

Picking Pocket Hole Screws
When building with pocket holes, you always want to use pocket hole screws. These are different from regular wood screws.

Pocket holes have a washer head designed to stop at the end of the stepped pocket hole to create a tight joint.
The countersinking conical heads on wood screws are not meant to be used with pocket holes as they will continue to drive through and crack the pocket hole.
When picking the pocket hole screw, you want to consider a few things:
Application
The other factor to consider when picking screws is the application of the project.
- For outdoor projects, you want to use BluKote pocket hole screws. These are specially coated to withstand the elements and prevent corrosion.
- For indoors, you can use the Zinc-plated pocket hole screws.
Wood Species
Pocket hole screws come in two types of threads – fine and coarse. You want to use Coarse thread on softwoods (like pine, redwood, fir) and fine thread on hardwoods (like walnut, maple, oak).
Thickness of the Board
I typically use ¾” and 1½” thick lumber, so I always have 1¼”pocket hole screws and 2½” pocket hole screws in my supplies.
How to Attach Boards Using Pocket Holes
Always use wood glue when attaching boards with pocket holes. The wood glue adds more power to the joint.
Step 1: Clamp the Boards
I highly recommend using clamps while putting boards together. Clamps are like having an extra set (or two) of hands that hold the boards together really tightly.
I highly recommend having at least one face clamp and one right-angle clamp handy. You can also use other larger F-style clamps for bigger projects.
**You may see me or other makers put joints together without clamps but that is possible after lots of practice and being able to predict the movement of the board while being attached. ***
Since there can be two types of joints with pocket holes, the boards can be clamped in two ways.
- The Edge Joint is best clamped using a face clamp. This helps keep the two boards in the same plane and aligned.

- The butt joint is best clamped with a right-angle clamp. You can also use F-style clamps but you want to be careful to make sure that the board remains perpendicular.

Step 2 – Add the Screws
Set the drill/driver to the drive setting and the torque to around 9-11, and drive a pocket hole screw using the special square drive bit into the pocket hole. See how to use the settings on the power drill.
Be sure to drive until the torque limit is reached. However, be sure to not overdrive the screw or it will strip the pocket hole.
Also, check out all my favorite Kreg Accessories to help you with building using pocket holes and more!
Are you wondering how to use a Kreg Jig to make pocket holes in mitered and angled cuts? See How to make pocket holes in mitered cuts!
Want to know how to fill pocket holes so they can’t be seen in your finished project? See How to Fill Pocket Holes – 4 Simple Techniques
Wondering what types of screws to use for your project? Learn How to Choose Pocket Hole Screws: A Complete Guide
Tips for Strong Pocket Hole Joints
- Measure thickness and double-check settings
- Use Clamps
- Use wood glue
Read 7 more important Pocket hole tips ,including what to do when joining different thickness boards and the special setting when using plywood.
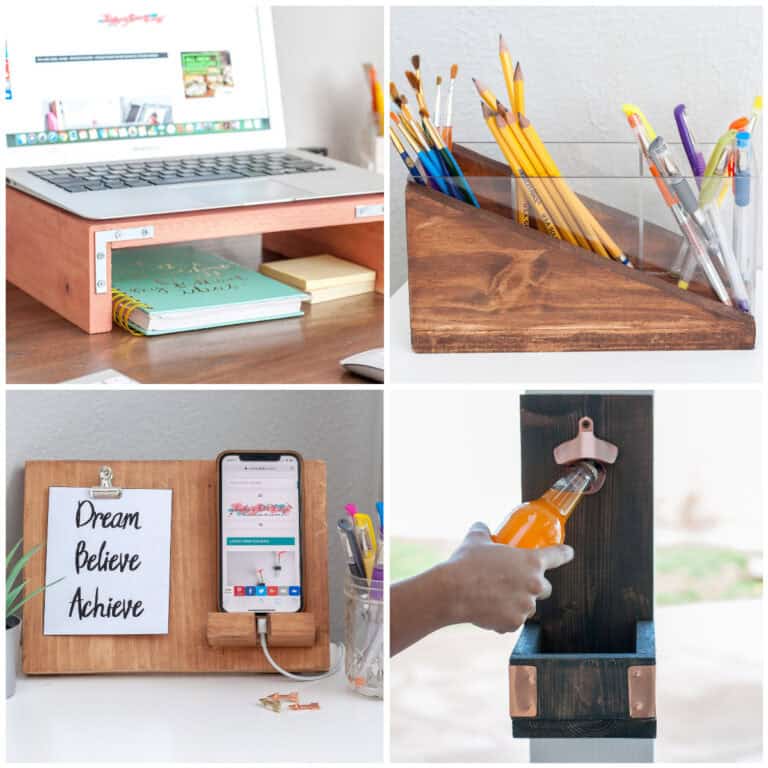
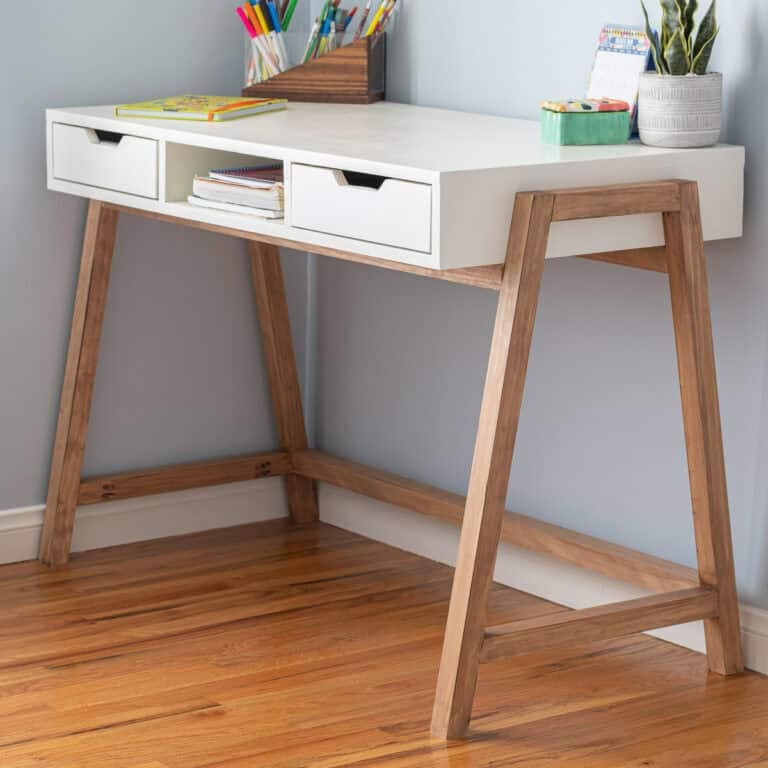
Kreg Jig Project Ideas for Beginners
- DIY Wood Tray Using Only 3 Tools – A simple project but looks like you made it using fancy woodworking skills!
- Storage Bins with Dividers – This easy project can be used in so many ways! Store vegetables, toys, books… the list goes on!
- Under Bed Shoe Organizer – Because you can never have too many shoes or too much storage.
See 40 more project ideas – Amazingly easy Kreg Jig projects for beginners.
Anika's goal is to inspire and empower beginners with woodworking, DIY, home improvement, and home decor ideas.
She wants everyone to unlock their creative potential and experience the feeling that comes with making something. Nothing feels better better than seeing something and saying "I can make that!"


I want to join 2x4s cut at a 45 degree angle to form a 90 degree corner for the frame of a table. How do I set my Kreg jig to do that operation?
You place the 45degree end flush to the bottom – creating a 45 degree angle with the bottom of the Kreg Jig. I hope this helps. I am going to be doing a build with angles next week and will try to get some pictures added to this post.
Anika – great video and I love your workbench – my next project! I only wish my hardware store could cut 2 pieces the same size! Only once when a woman was working the saw were all the cuts I needed spot on. I have a small circular saw but am terrified to use it.
Thanks Debi. I am glad you enjoyed it. Yes, getting the hardware store to cut pieces precisely can be quite a challenge. I would recommend a miter saw instead of a circular saw. It is a lot easier to use and not too overwhelming. A miter saw is the first saw I started out with too.
Continue your great work!! You are an inspiration
Great overview!
I will say that Kreg does not make 1″ blue-coated pocket hole screws. The smallest size for exterior screws is the 1 1/4″ blue-coated screw. If you use picket fences, you’ll need the 1″ size for your projects, so to get the 1″ exterior screw, you will need to go to other manufacturers (I go to Armor Tools).