Easy Lightweight DIY Cornhole Boards
Learn how to build your own lightweight DIY cornhole boards and scorekeeper with this easy tutorial and plans.

Cornhole or (Bean Bag Toss game) is one of the most popular summertime outdoor games. It is the perfect game to have fun with the whole family at any skill level or get competitive if you like.
While the origin of this game is unknown, the game of cornhole has been around for a long time. It is not just fun to play, it is also effortless to build.

Corn hole board game specifications
Did you know that there is an entire association dedicated to all things corn hole board games? The American Corn Hole Board Association has regulations and rules on the size, setup, and style of regulation cornhole boards. Plus, of course, they have all the details of the rules for corn hole tournaments.
For the Corn hole boards themselves, here is what they say –
“Each cornhole board shall be 47.5 to 48 inches in length and 23.5 to 24 inches wide, made of smooth plywood that measures at least 1/2-inch in thickness.”
They recommend only wooden cornhole boards for tournaments as there is significant variance in play between wooden, plastic, and other surfaces.
Lightweight corn hole boards
Cornhole boards are typically built using 2x4s and 3/4” plywood, making them pretty heavy. That is ok if you are going to leave them out or only put them away seasonally.
I wanted something that would be lightweight – easy to take out and put away as needed and wasn’t a workout every time we wanted to set it up.
I decided to build it with 1x3s and 1/4” plywood instead (I know regulation calls for 1/2″ plywood, and you can use that if you want). This made it lighter than a sheet of 3/4” plywood of the same size. The design made sure that it was sturdy as well.
And did I mention, I used only a miter saw, jig saw and power drill?
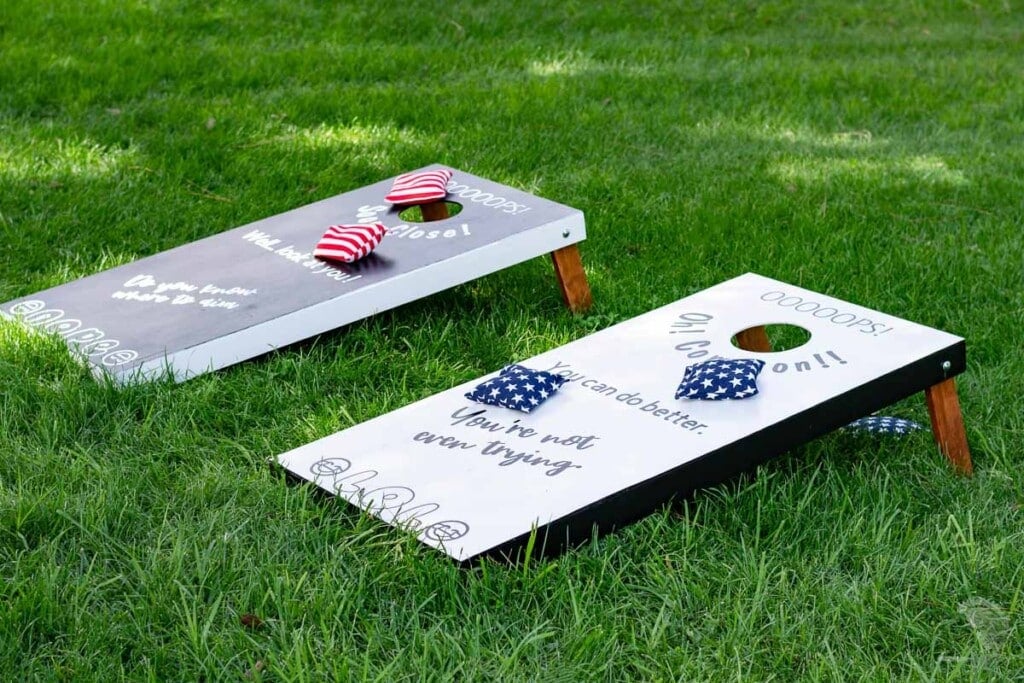
And then of course, I wanted to add a little bit of whimsy to make it fun for the kids to play!

Let’s get to building now!
***This post contains referral or affiliate links. It is a way for this site to earn advertising fees by advertising or linking to certain products and/or services. Please read my full disclosure here ***
Material needed
- Lumber per the plans
- 1 1/4″ finish wood screws
- wood glue
- Cricut Maker 3 – it helps make the large cuts.
- Cricut Smart Vinyl – Permanent. I used black and white
- Cricut Smart Roll Holder
- Cricut Transfer Tape
- Fine point blade + housing
- Weeding tool set
- Compass
- Miter saw
- Jig Saw
- Power drill
- Stain or paint in the color of choice.
- 3/8″ washer, wing nut, and carriage bolts
How to build the cornhole boards
Step 1 – Build the frame
- Make the cuts per the cut list in the plans. The cuts are to build a 2′ x 4′ regulation size corn hole board.
- Using 1-1/4″ finish screws and wood glue, build the frame for the cornhole board as shown below.
Since I am using 1×3 boards and 1/4″ plywood, I added a couple of extra 1×3 boards in the middle of the frame for added support.

I have fallen in love with these finish screws. The screw head is tiny, like a finish nail, but since it screws in, it also has great hold! Plus, they are self-tapping – eliminating the need for pre-drilling.
You can most definitely also use a Kreg Jig for this.
Step 2 – Add the Plywood
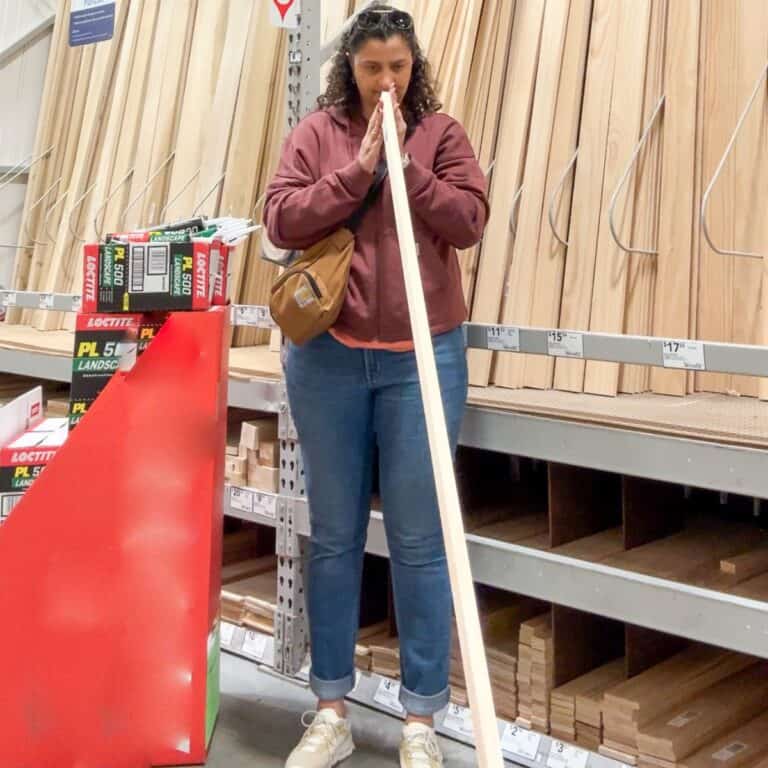
I bought the pre-cut 2×4 plywood directly from the store.
In fact, pre-cut cornhole plywood boards are also available for purchase. It may be a great choice if you want to whip one up really quickly and don’t want to worry about drawing and cutting circles. Plus, the price is not all that different.
- Cut out the hole in the board.
I drew a circle using a compass and cut out the hole using a jigsaw. The size of the hole per regulations is 6″ in diameter. You can also use a hole saw for this instead.
Learn all about using the jigsaw and getting the best cuts.

- Attach the plywood to the frames using the finish screws on all sides.

Step 3 – Attach legs
Building the legs is probably the hardest part of this project.
The top of the legs need to be rounded out so it can be folded without hitting the frame.
- Using a compass, draw a semi-circle at the top with a radius of 1-1/4″ and cut it off using a jigsaw.
- Place the leg inside the frame and clamp it. Once clamped, drill a hole with a 3/8″ drill bit from the inside of the leg all the way through the side.
- Attach with the carriage bolt and wing nuts.

The leg is not yet ready to use. Per the regulation, the top edge of the board should be 12″ from the surface.
To ensure this is the case, prop up the board on your work surface so that the top of the board is 12″ from the tabletop. Move the cornhole board such that you can determine the exact location and angle where the leg needs to be cut.

- Cut using a miter saw. I found that the angle on my legs was a 25-degree angle.
- Once you have one leg, it is easy to repeat and duplicate for all four legs.
Step 4 – Customize
Now for the fun part!
- Fill all holes with wood filler and prime and paint. I painted the boards black and white and stained the legs.
- Add custom quotes/graphics using a Cricut Machine (details below).
How to customize cornhole boards with a Cricut
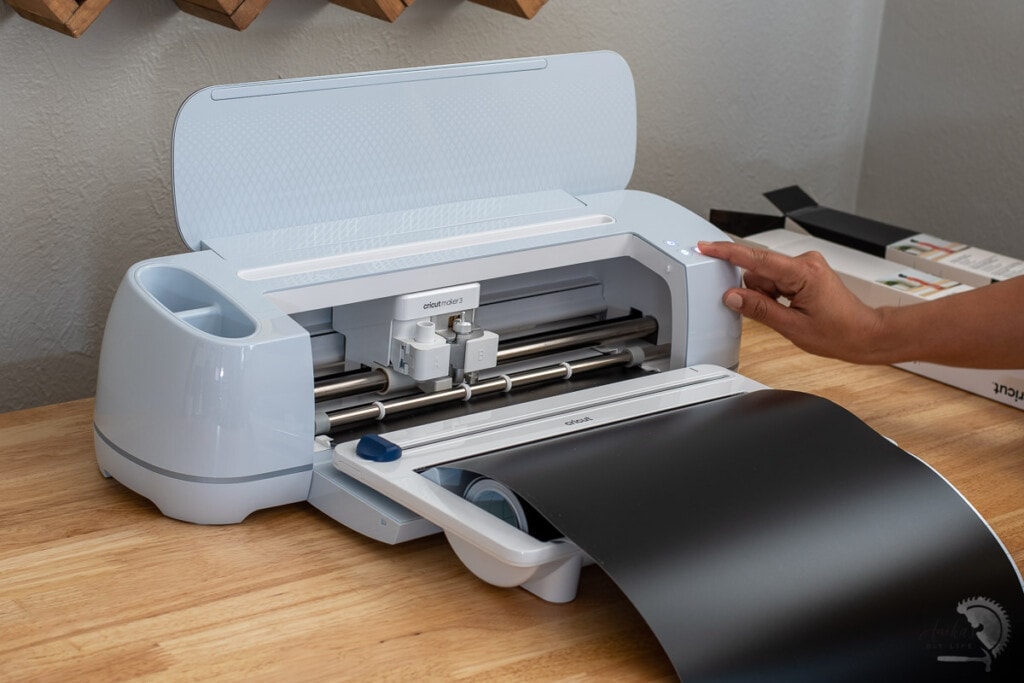
The new Cricut Maker 3 is a great machine to help cut and make large custom graphics to the cornhole boards.
I used the new Permanent Smart Vinyl, which is available in black and white in up to 21ft length.

Step 1 – Design
I designed the cornhole boards in Cricut Design Space.
I decided to go with cheeky quotes to make the game a little more fun. I have seen many boards for drinking games, but I wanted something that would be a little more kid-friendly. You can find it here.

The designs for each color are 41.25″ and 50.75″ in length each.
Once I was happy with the design, I hit “make it” and selected the appropriate material.
Step 2 – Set up the Cricut Maker 3
Since we are making really long cuts, I am using the 21ft rolls of the Smart Vinyl.
I set up the roll holder on the Maker 3 and loaded the roll into the roll holder and fed it into the Cricut machine.

Step 3 – Run the Cricut
Once you hit Go, the machine measures the length of material before it starts cutting (how cool is that?!).

The entire cut for took around a minute for each of the materials. That is crazy fast!!
Once the material was cut, I used the built-in blade in the roll holder to cut the vinyl off of the roll.

Overall in under 5 minutes, I had two long cuts ready to be weeded and transferred.

Step 4 – Prepare material
I weeded the patterns and got ready for transfer tape.

There are two ways to apply transfer tape –
- Cut the designs out and then apply to them individually
- Apply transfer tape to the entire design and then cut it up.
I tried it both ways, and I think the second option was the easiest and fastest process. I applied the transfer tape to the vinyl slowly, making sure it adhered well to the vinyl and stayed straight.

I cut out all the designs as close to their shapes as possible. For the numbers, I cut them really tight, so I could get the best idea for their placement to align them.

Step 5 – Transfer designs
I finalized the design placement and slowly transferred the design onto the boards from the transfer tape.

DIY Cornhole scorekeeper
I also decided to whip up a quick scorekeeper with boards I already had at hand. It is essentially a couple of 2×4 boards with slots to accommodate the 1×6 board. I did this on my table saw, but it can also be done using a jigsaw.

I applied the vinyl numbers I cut on my Cricut Maker 3, ranging from 1 to 21. The numbers are 1-1/2″ in size and have a spacing of 1/2″.

I added little holes at each score to accommodate dowels to help keep track of the score. I also cut up 4″ pieces of 3/8″ dowels and painted them white and black to act as scorekeepers.

I wasn’t quite sure the concept would work but it pretty much did! The tall scoreboard was stable on a flat surface. On the grass, it needed a bit of support while moving the dowels.

That’s it, a simple and easy weekend project that is not just fun to make and play, but also really cute! The kids had an enjoyable time playing with all the quotes.

Did I mention they are also very lightweight – they are just about the weight of a 2’x4′ sheet of 3/4″ plywood.

Printable plans for the Cornhole Boards
Click the link below to get the woodworking plans for this project. The plans have all the dimensions plus step-by-step instructions with illustrations to help you build the cornhole boards.
More Projects with the Cricut Maker
- How to make a reusable wall stencil with Cricut Maker
- DIY dresser with patterned veneer
- DIY acrylic nightlight
More DIY Outdoor Project ideas –
See 21 more outdoor project ideas here.
Anika's goal is to inspire and empower beginners with woodworking, DIY, home improvement, and home decor ideas.
She wants everyone to unlock their creative potential and experience the feeling that comes with making something. Nothing feels better better than seeing something and saying "I can make that!"


This lightweight cornhole would be perfect to haul around for camping. Great idea!!!!!
Looks like it’s a fun game for the summer for young & old alike
Amazing work!! Looking for more from you.