Easy DIY Magnetic Chalkboard for the Kitchen
Make an easy DIY magnetic chalkboard for the kitchen with basic tools. This multifunctional board is perfect to write inspirational quotes, add reminders and also for meal planning! Plus it holds your kitchen towel and apron or keys!
You will also like DIY spice rack and Easy DIY Kitchen Ideas
This easy DIY magnetic chalkboard has added a lot of fun and function to our Kitchen/entryway.
I have been slowly working on getting the entryway (which is really the space next to the garage door in the kitchen) organized.
I wanted a space to be able to doodle, add little reminders and also hang a few things – like an apron and kitchen towel.
The answer was definitely in a magnetic chalkboard with hooks. And since this is the kitchen, it just had to be shaped like a cutting board 🙂
It is a super simple project which needs some basic tools. The overall size is completely up to you and you can make it as large or as small as you like!
RELATED: Easy DIY Magnetic Chalkboard for under $12
**This post contains affiliate or referral links. It is a way for this site to earn advertising fees by advertising or linking to certain products and/or services. Please read my full disclosure here ***
Materials Needed to Make a Framed DIY Magnetic Chalkboard –
- 3/4″ board in the size you need. I used a scrap project panel.
- Galvanized sheet metal magnetic chalkboard sheet or you could get this and skip having to paint it.
- Jig Saw
- Stain or paint of your choice. I used Early American.
- Chalkboard Paint
- Staple gun
- Hooks or knobs of your choice. I used these.
- Suede or jute cord.
How to Make the Easy DIY Magnetic Blackboard –
Step 1 – Draw the cutting board shape on the project panel. I used a plastic lid for the rounded corners.
Leave a 1″ gap on the sides and a 3″ gap on the bottom. Below are the measurements.
Step 2 – Cut out the shape using a jigsaw. For the inner cut, make a couple of holes with a drill to accommodate the jigsaw blade and cut it out. Also, make a hole on the top of the board. Stain or paint it in the color of choice.
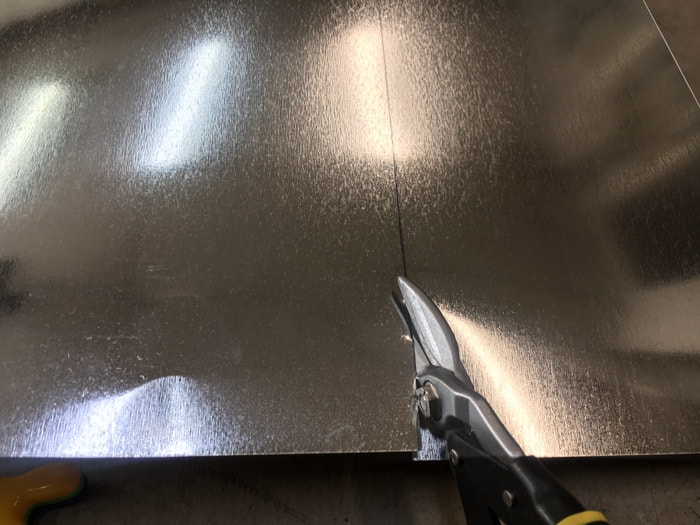
Step 3 – Measure and cut the galvanized sheet metal to fit the size of the opening. Be sure to add about ½” on all sides for overlap.
Step 4 – Scuff the surface of the sheet metal with a sanding block and give it a coat of chalkboard paint. A spray shelter is optional but definitely recommended to keep the overspray contained.
Step 5 – Attach the sheet metal to the back of the cutting board cutout using a staple gun.
Step 6 – Attach your knobs or hooks.
That’s it! I added a green suede cord on the top.
Then, I tried my hand at chalk art with a chalk pen! This was the part I was dreading the MOST!! I am certainly not an artist. It turned pretty well if should say so myself.
Oh and don’t forget to season the chalkboard before you use!
RELATED: Chalkboard laundry room sign
I also love that I can add little notes (or school paperwork) using magnets.
Talking about magnets, how cute are these magnets? I made these out of little wishing stones. Check out the video here.
DIY not your thing? Would you rather just buy something similar? Here are a few similar products. Just click on the product to go to the sales page.
Anika's goal is to inspire and empower beginners with woodworking, DIY, home improvement, and home decor ideas.
She wants everyone to unlock their creative potential and experience the feeling that comes with making something. Nothing feels better better than seeing something and saying "I can make that!"


This is so cute! I love the shape and size is perfect. How creative and lovely! Great work!