Melty beads craft – Back to school gifts
Melty beads crafts are so fun for kids to make! Also called Perler beads, they wonderfully fuse together to create fun back to school teacher gifts!
We moved to a new town which means a new school district and a new school for my kids. They are being exceptionally awesome troopers and I am so proud of them!
We decided to spend some quality time and craft. Bonus – we also made little back to school gifts for the teachers.
Perler beads crafts are so fun for kids. They can let their imaginations run wild and melt them into countless shapes!
We made melty bead office supplies to give to the teachers! And a bonus – we got to support the school by collecting Box Tops for Education. Don’t miss the awesome sweepstakes at the bottom. There are 50 daily instant winners!
***This post contains affiliate or referral links. It is a way for this site to earn advertising fees by advertising or linking to certain products and/or services. Please read my full disclosure here ***
Supplies needed for melty beads crafts –
- Melty beads or Perler beads
- Perler bead boards
- Parchment paper
- Iron
- Paper clips, push pins, magnets or pencils – if making office supplies
How to make Perler bead office supplies –
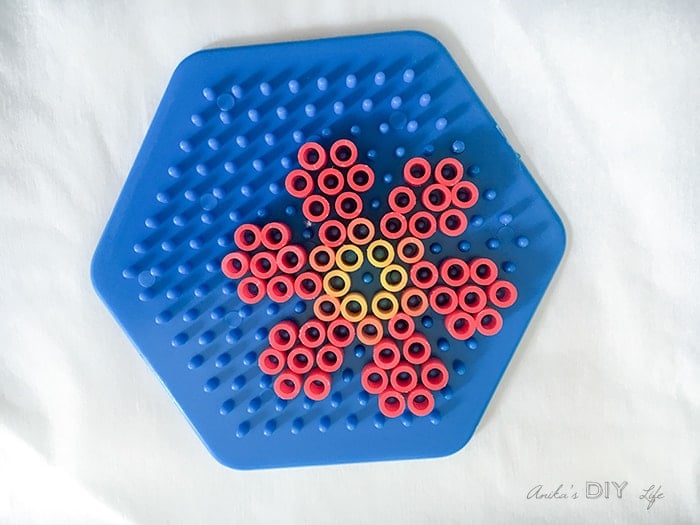
Step 1 – Arrange the Perler beads in the shapes of your choice. We made large flowers, little flowers, triangles and circles. If you are attaching to a pencil, you want to leave space in the middle.
Step 2 – Melt Perler beads between layers of parchment paper using an iron.
How do you iron Perler beads –
Set the iron to medium heat, place it over the Perler bead shape with medium pressure and hold for 10-20 seconds. Turn it over and repeat. Be careful when touching the forms. They can be very hot. Allow to cool.
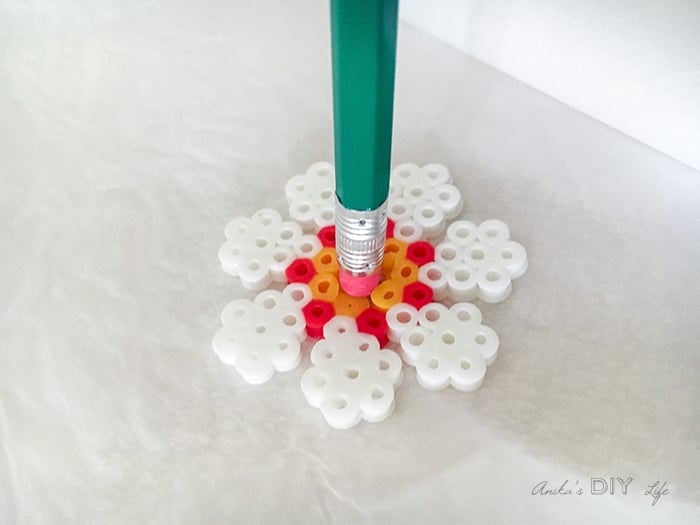
Step 3 – If making a pencil with flower, when the beads are still slightly warm, insert the pencil into the hole.
Step 4 – Attach the magnets, paper clips and push pins using hot glue.
That’s it – fun colorful and cheery office supplies for back to school teacher gift!
Did I mention we also supported and collected a whole bunch of box tops in the process plus got to enter to win $1000 for the school!
You can find Box Tops on most Reynolds Kitchens™ products like Parchment Paper, Oven Bags, Slow Cooker Liners and Bakeware Pans. You can also find Box Tops on Hefty Trash Bags, Hefty Foam Plates and Hefty Cups.
Since we are in the middle of a move, the Hefty Trash Bags, Hefty Foam Plates and Hefty Cups are helping so much!!
Now through August 29 you can enter to be one of 50 daily instant winners and enter to win the grand prize of $1,000 worth of Box Tops for your school! A total of five schools will be chosen for the grand prize and you can enter once a day until 8/29 so bookmark the site and visit often!
Anika's goal is to inspire and empower beginners with woodworking, DIY, home improvement, and home decor ideas.
She wants everyone to unlock their creative potential and experience the feeling that comes with making something. Nothing feels better better than seeing something and saying "I can make that!"


Such a fun creative idea! I bet your daughter had loads of fun making them!
Thank you for sharing your fun project with us over at Waste Not Wednesday!