DIY C-Table With Mirror Accents
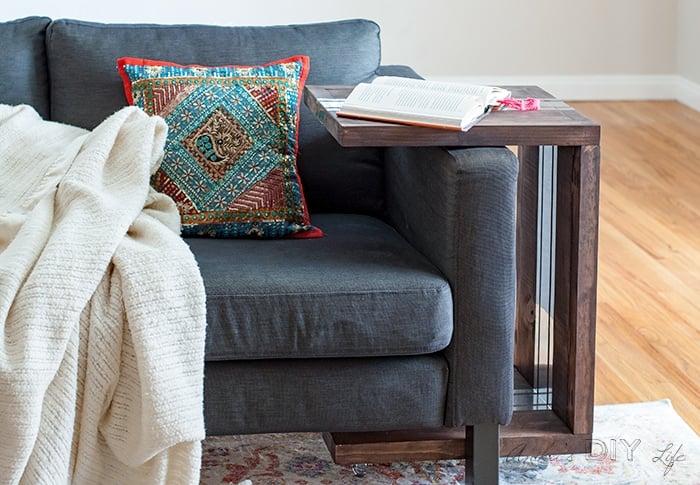
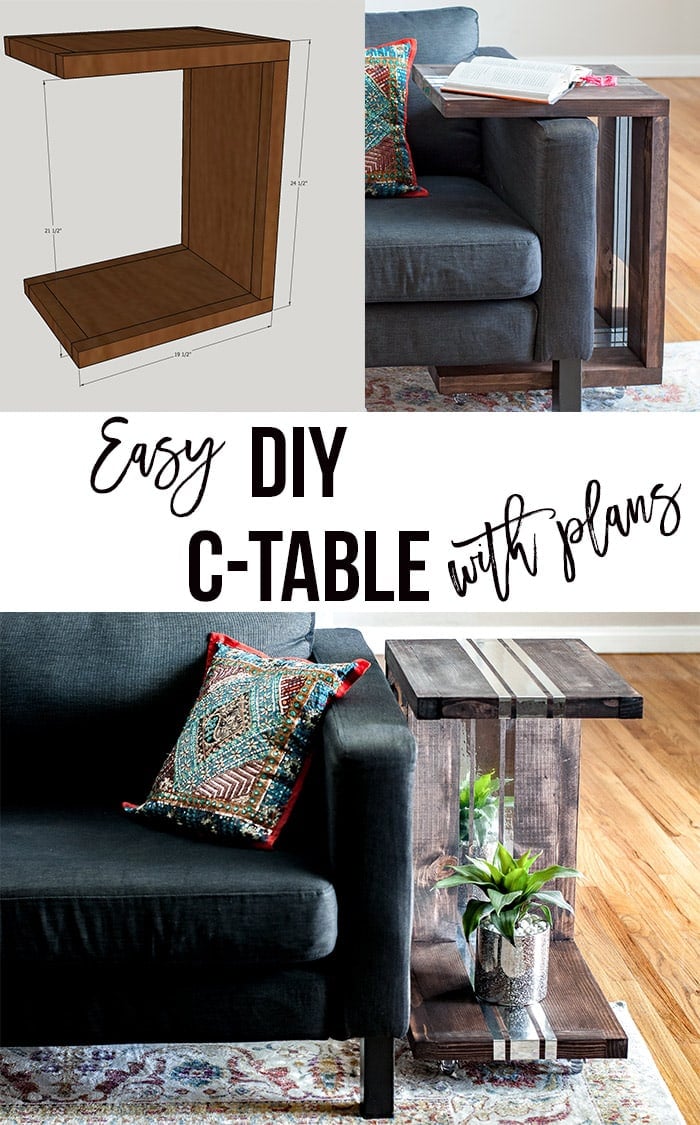
This DIY C-Table makes a perfect addition to any living room. The C shaped table makes it versatile and can be used in so many ways! Add mirror accents to the table to give it a modern touch using a simple trick!

This DIY C-table is the latest addition to our living room.
Not only is it gorgeous, it is practical, modern and versatile!
Apart from being a nice place to put a book or a cup over the sofa arm, it can pretend to be a regular end table too…
Or be the perfect place to put a laptop while binge-watching TV shows and “working”.
*** I partnered with Duck Brand to bring you this fun project. All opinions are my own***
***This post contains affiliate or referral links. It is a way for this site to earn advertising fees by advertising or linking to certain products and/or services. Please read my full disclosure here ***
Ok, so now let’s talk about the stripes of mirrors!
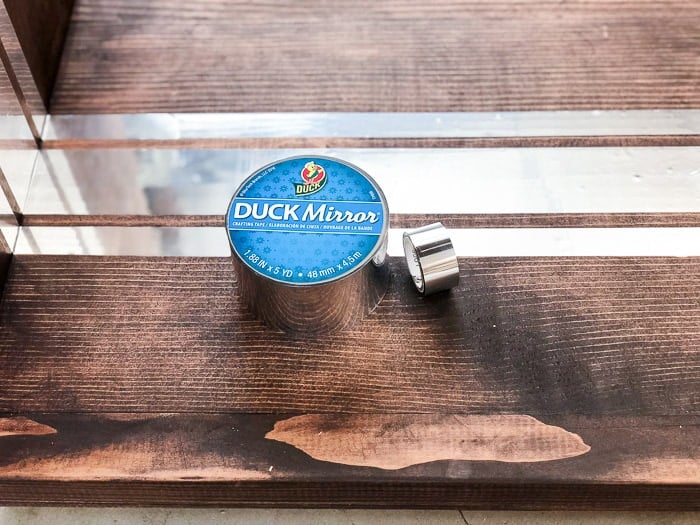
Aren’t they gorgeous? It is Mirror Tape by Duck Brand and I think it completely elevates a simple DIY wood C- table to a whole new level!
RELATED: How to make a DIY Lap Desk with an epoxy top.
Materials Needed for DIY C-Table With Mirror Accents –
- Duck Mirror Crafting tape in silver – 1.88″ wide
- Duck mirror crafting tape in silver – ¾” wide.
- Lumber per the plans
- Wood glue
- Miter Saw
- Power Drill
- Kreg Jig
- 1 ¼″ pocket hole screws
- 2 ½” Pocket hole screws
- Paint or Stain of choice. I use this one.
- Top coat of choice. I used this one.
- Casters
RELATED – Take a look at all my favorite tools
How to Build the DIY C-Table –
You can download the plans for the DIY C- table by clicking the button below.
It is a fairly quick and simple DIY project and I was able to get the whole thing built in one morning.
Here is a quick video showing you how to make the table and add the mirror tape. Step by step instructions follow below.
Step 1 – Make all the cuts and pocket holes per the plans.
RELATED: EVERYTHING YOU NEED TO KNOW ABOUT USING A KREG JIG
Step 2 – Build the top, bottom and side by attaching the 2″x2″ to the 1″ x 12″ boards using pocket hole screws and wood glue.
Step 3 – Add the second layer of 1″x12″ to create the chunky look and to hide the pocket hole screws.
Step 4 – Attach the 3 separate pieces to form a C-table.
Step 5 – Fill in any visible pocket holes and paint or stain and add the top coat to the DIY C table.
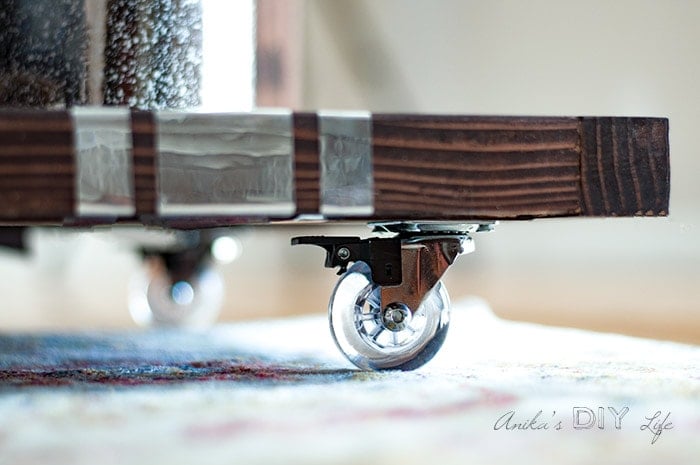
Step 7 – Attach casters to the bottom.
Step 8 – Now for the fun part! Time to add bling!
I measured 6 ¼” from each side and added the 1.88″ mirror tape. Then I add the ¾” tape on each side leaving a ¾” gap from the middle tape. Be sure to leave enough to wrap around underneath. I went around the top to the back in a waterfall effect and on the inside too make it look like the mirror was “embedded” in.
RELATED – HOW TO BUILD A CHUNKY SIDE TABLE
I love how the mirror adheres really well to the wood and adds the perfect amount of personality!
I love having this table in the living room – especially for my late night blogging sessions in front of the TV.
I also love the look of the shiny mirror tape on the table!
What will use mirror tape on? Tag me on Instagram @anikasdiylife and tell me or better yet, show me!
Anika's goal is to inspire and empower beginners with woodworking, DIY, home improvement, and home decor ideas.
She wants everyone to unlock their creative potential and experience the feeling that comes with making something. Nothing feels better better than seeing something and saying "I can make that!"


I have always wanted to make one of these! Love this DIY! We would love for you to come link up for Wall to Wall DIY Wednesday over at R&R at home!
I love this table and think I need one for my home. Great tutorial! Thanks for sharing on To Grandma’s House We Go! I’ll be featuring you next week!
Cute idea! Thanks for sharing at Home Sweet Home!
This is a great idea. Senational and practical.