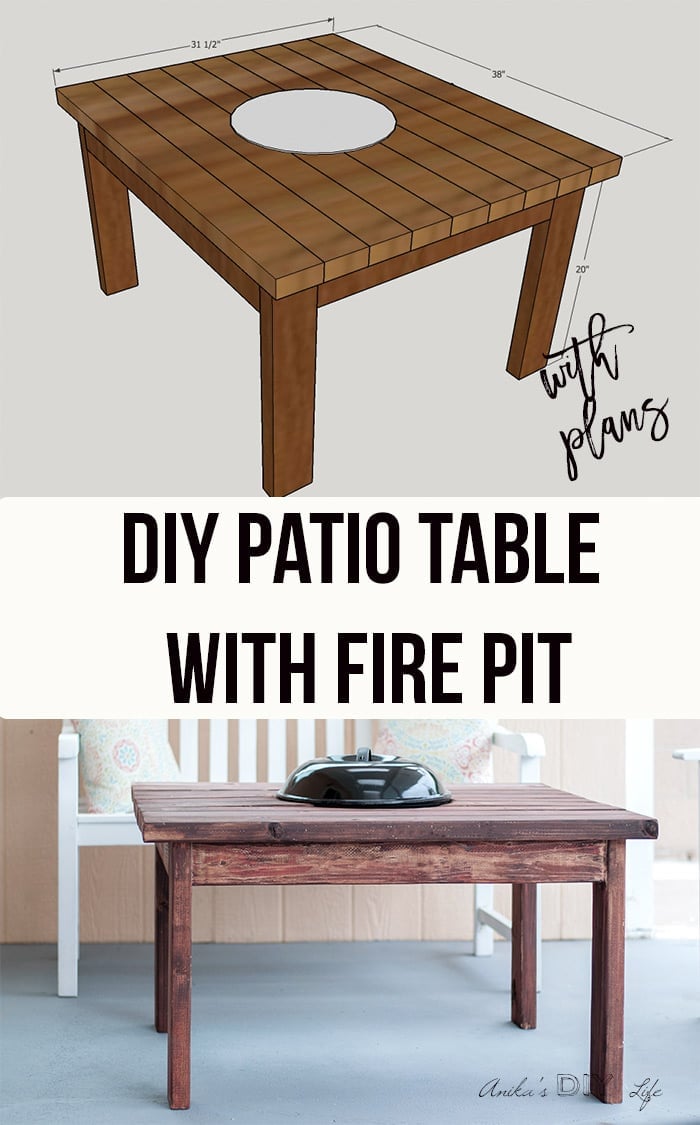
DIY Patio Table With Fire Pit
Build this DIY patio table with fire pit for summer backyard parties! This grill table is a quick beginner project and uses a simple Weber grill together with an easy DIY outdoor table.
RELATED: 25 Easy DIY Outdoor Projects for your Weekend
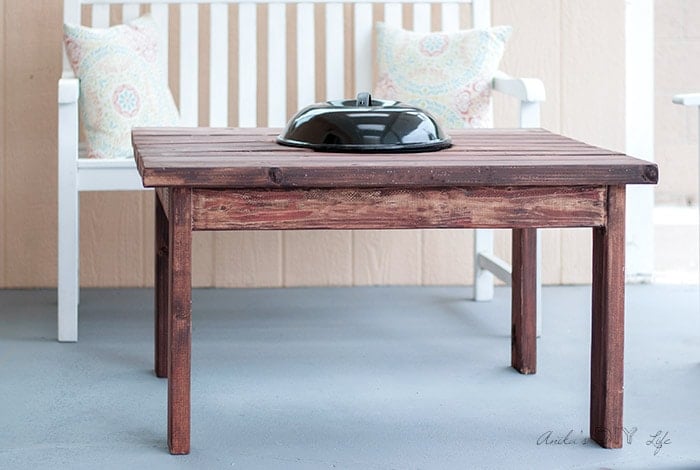
This DIY Patio table with fire pit makes for a perfect addition to any patio.
It is the perfect invitation to gather around and enjoy the cool spring and summer evenings.
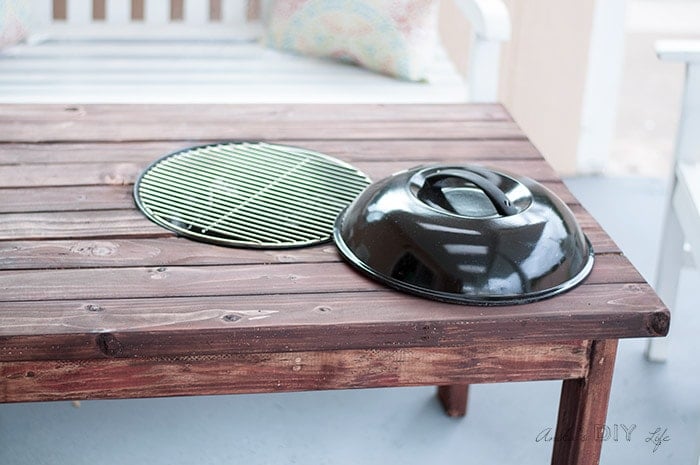
It isn’t a simple fire pit though, it is also a grill – actually, a portable charcoal grill – so you can cook on it too!
I made mine to fit the 14″ version of the grill but you can easily scale this design for any size of grill!
RELATED: Easy $15 Outdoor Coffee Table
*** I partnered with HomeRight to bring you this project. All opinions are my own***
**This post contains affiliate or referral links. It is a way for this site to earn advertising fees by advertising or linking to certain products and/or services. Please read my full disclosure here ***
Materials Needed for the DIY Patio Table With Fire Pit-
- Lumber per the plans
- 14″ portable grill
- Miter Saw
- Jig Saw
- Sander
- Kreg Jig
- Wood glue
- 2 1/2″ pocket hole screws
- 2″ Spax screws
- Drill
- 1-1/4” pocket hole screws
- Outdoor stain and polyurethane
- HomeRight ElectroLight Fire Starter (to enjoy your fire pit table!)
Let’s take a quick detour from the project to talk about the grill. You could totally buy a new grill for this project.
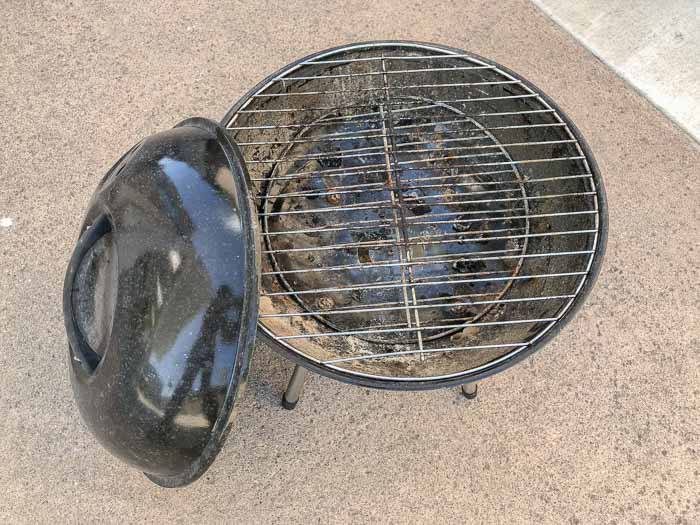
I inherited an old mini Weber grill from the previous owners and I held on to it in spite of it being quite gross looking because I knew I could do something with it down the road…
How to clean a charcoal grill without chemicals:
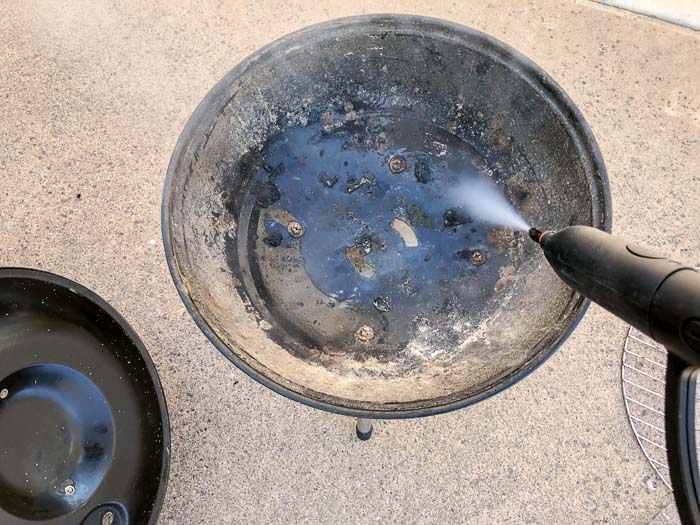
It was super easy and quick to clean using the HomeRight SteamMachine. A few bursts of steam and the wire brush attachment and a quick water rinse took all the grime off! Best part – NO chemicals!
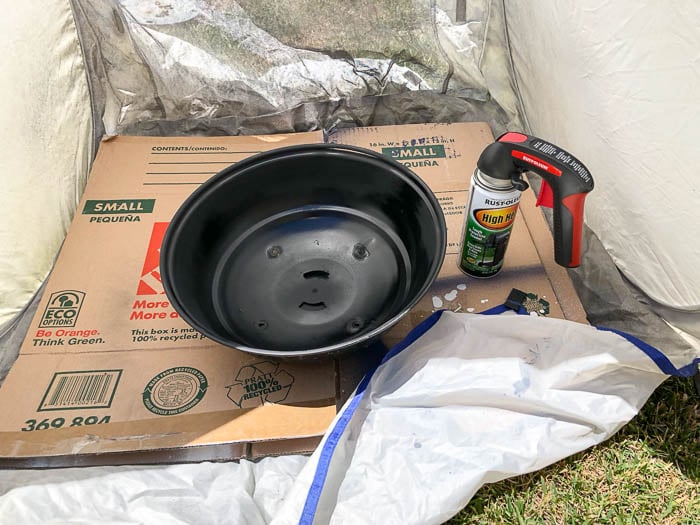
To give it a brand new look, I gave it a coat of heat-resistant spray paint
Once the grill looked almost new, I added new charcoal and grilling grates.
How to Build an Outdoor Table With Fire Pit –
It is a simple table with a hole in the middle for the grill and you can get the printable pdf plans along with all the dimensions in your email by clicking below.
Get the Printable Plans
Here are a few tips and steps on how to build the patio table
- Mark the location of pocket holes on the aprons before you start building. To do this, lay out the table top slats, aprons, and legs on a flat surface. Mark pocket holes such that each slat gets attached to the apron or leg.

- Use lots of wood glue between the table top slats. Clamp them if you can.
- Use a nail in the middle attached to a string and pencil to draw the circle for the grill cutout. You can also use the lid of the grill to guide you for the size
- Attach the bottom supports as close to the hole for the grill as possible. Make sure to drive the 2″ spax screws into every slat.
- VERY IMPORTANT SAFETY TIP – Add 1 ¼” wood screws to the inside rim of the hole. These support the grill and also create a ring of air insulation around the grill. I added 6 of these screws and it really is up to you for how many you need in order to feel comfortable with the support. The grill never comes in contact with the wood.


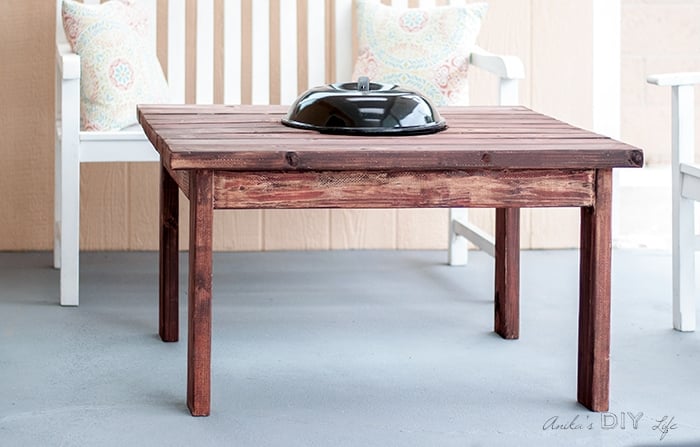
That’s it! Easy DIY patio table and firepit! Fits in perfectly with my curbside rescued patio furniture!

We used the HomeRight ElectroLight fire starter to start the fire in about 3 minutes.

It blows hot air at 1300°F and built-in blower to fan the flames. Take a look at all the awesome things it can do on HomeRight’s website.

And where there is a fire (pit), there cannot not be smores!

Hanging out in the backyard just got a lot more fun!

What is your favorite combination for smores? We love ours with strawberries inside!
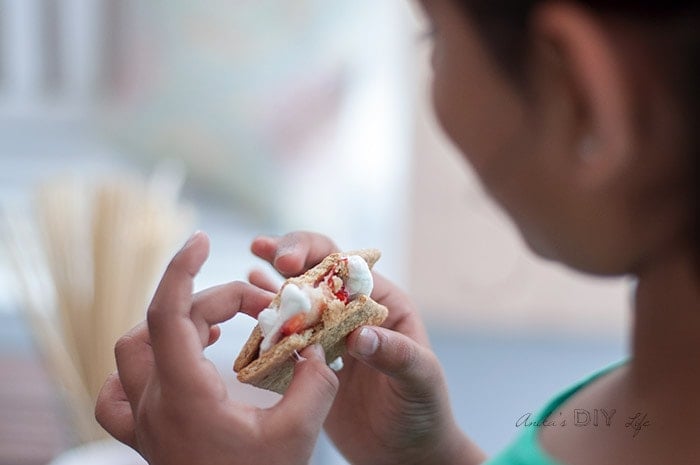
Well actually, my kids only add strawberries and no chocolate. They aren’t fans of chocolate (!!!!)… they get that from their dad… Me? I could eat chocolate for every meal 🙂

So yeah, I normally have a tough time taking care of all the candy at Halloween and Easter 😉
If you enjoyed this easy outdoor project, check out these fun projects for more ways to bring in some fun this summer!
- More DIY fire pit ideas
- Build a DIY freestanding outdoor towel rack for all the wet towels this summer.
- This DIY outdoor/indoor bench is perfect for any room or backyard!
- Add a simple DIY Outdoor Coffee table to any patio
Anika's goal is to inspire and empower beginners with woodworking, DIY, home improvement, and home decor ideas.
She wants everyone to unlock their creative potential and experience the feeling that comes with making something. Nothing feels better better than seeing something and saying "I can make that!"


This reminds me of the fabulous Korean BBQ tables in a restaurant we used to frequent in Chicago! This is an awesome idea! I can see cooking so many things on this 🙂
This is really fun! I love that the kids are making s’mores and having fun. What a great project!
Niceeeeee! I am so lovin this project.
Such a great idea! Thanks for sharing on To Grandma’s House We Go!
Great way to reuse that old grill. Thank you for sharing at Party In Your PJs!