How to Make an Easy DIY Wood Centerpiece
Build a DIY wooden centerpiece in easy steps—perfect for beginners! Add charm to any table with this simple, versatile project

Today, I have a simple and easy project perfect for everyone – even if you have never built anything before. This easy wooden centerpiece is versatile enough for any season or occasion, whether you’re hosting Thanksgiving, a holiday gathering, or just want to add a little charm to your table year-round.
The best part? All you need are two tools – a saw and a drill (or a nail gun) to build it. It’s a great opportunity to practice using basic tools without feeling overwhelmed!
If you’ve been around here, you know I believe that the best way to learn building skills is by actually building. I recently taught this project during an “Introduction to Woodworking Basics” workshop, where attendees built it along with me while learning basics of things like lumber, wood glue, and drill.
By the end, you’ll have a beautiful centerpiece you love and a bit more confidence with power tools. Let’s get started!
***This post contains referral or affiliate links. It is a way for this site to earn advertising fees by advertising or linking to certain products and/or services. Please read my full disclosure here ***
Materials Needed
- Lumber per the plans
- 1 1/4″ wood screws if using a drill (trim head screws are recommended for a cleaner finish)
- 1 1/4″ finish nails if using a nail gun.
- Sanding blocks
- Sandpaper for sander in various grits upto 220 grit.
- Wood glue
- Tape measure
- Stain or paint in the color of your choice
- Top coat. I used this one.
Tools Needed
- A saw – you can use a miter box, miter saw, circular saw or even a jigsaw.
- A power drill or a nail gun.
How to build the wooden centerpiece
I have the full video from the “Introduction to Woodworking Basics” class where I walk you though simple woodworking concepts as we build the centerpiece below. The detailed step-by-step tutorial is below.

Step-by-Step Tutorial
Step 1: Prepare the boards
- Make the cuts per the plans.
To make the cuts, you can use any saw you can confidently us.
The miter box is an easy-to-use hand saw to make accurate cuts. Here’s how to use a miter box.
The limitation here is that you will not be able to cut the 1×8 board in the miter box – meaning you will end up having to cut that free hand – something that is possible but can be a little harder.
If you are using a jigsaw or circular saw, I highly recommend using a straight edge to guide the saws to prevent kickback and get accurate straight cuts.
- Sand the boards starting at 80 or 120 grit (depending on the roughness) up to 150 Grit.
It is always best to sand the boards before putting them together so you can get an even smooth surface and you don’t have to worry about getting into the tight corners or spots. See how to sand wood.
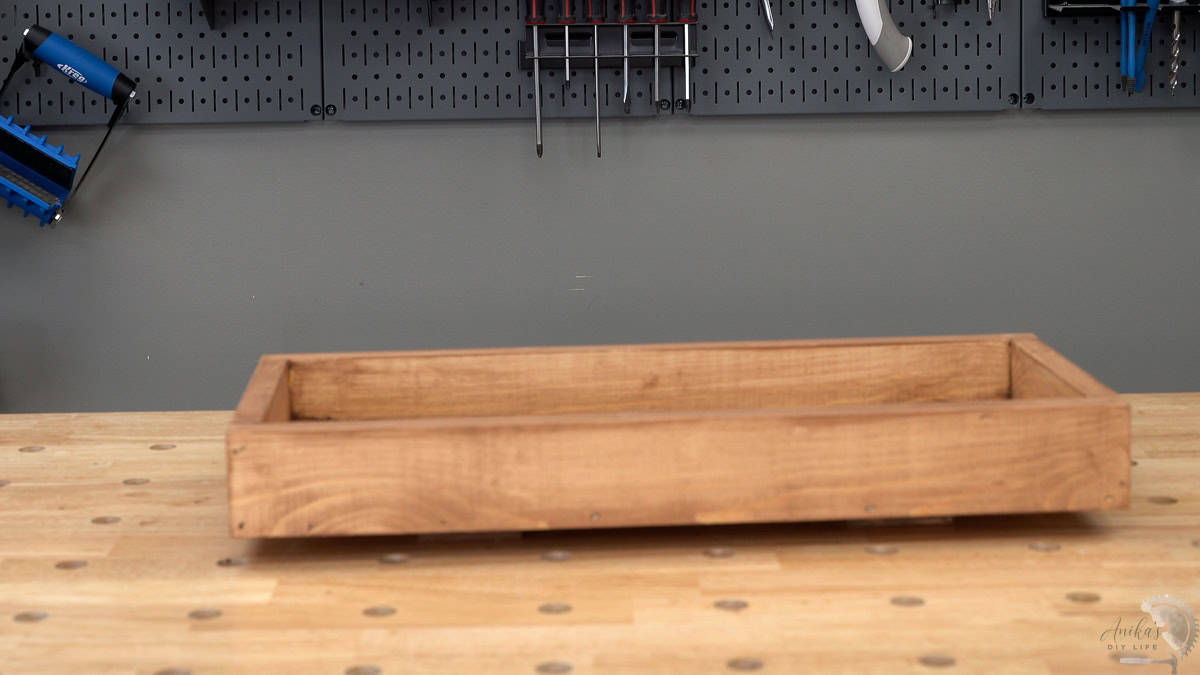
Step 2: Attach the sides
- Attach the short sides to the two ends of the 1×8 board using wood glue and finish nails or wood screws. See how to use a nail gun. and how to use a power drill.

If you are using a power drill and wood screws, I highly recommend using trim head screws which have a small head and are less visible. They are a little pricier though so if you want to stick with regular wood screws, that will work too.

You do want to try and countersink them (where the head sits below the surface of the wood). This will give it a better look. To do this, you can use a countersinking drill bit to predrill, or some good quality screws self-countersink when you drive them.
Be sure to use wood glue because that makes the joint strong. The screws and nails are just acting as clamps while the glue dries.
- Attach the two long sides to both ends of the 1×8 board.

This makes for the basic wood box of the centerpiece.
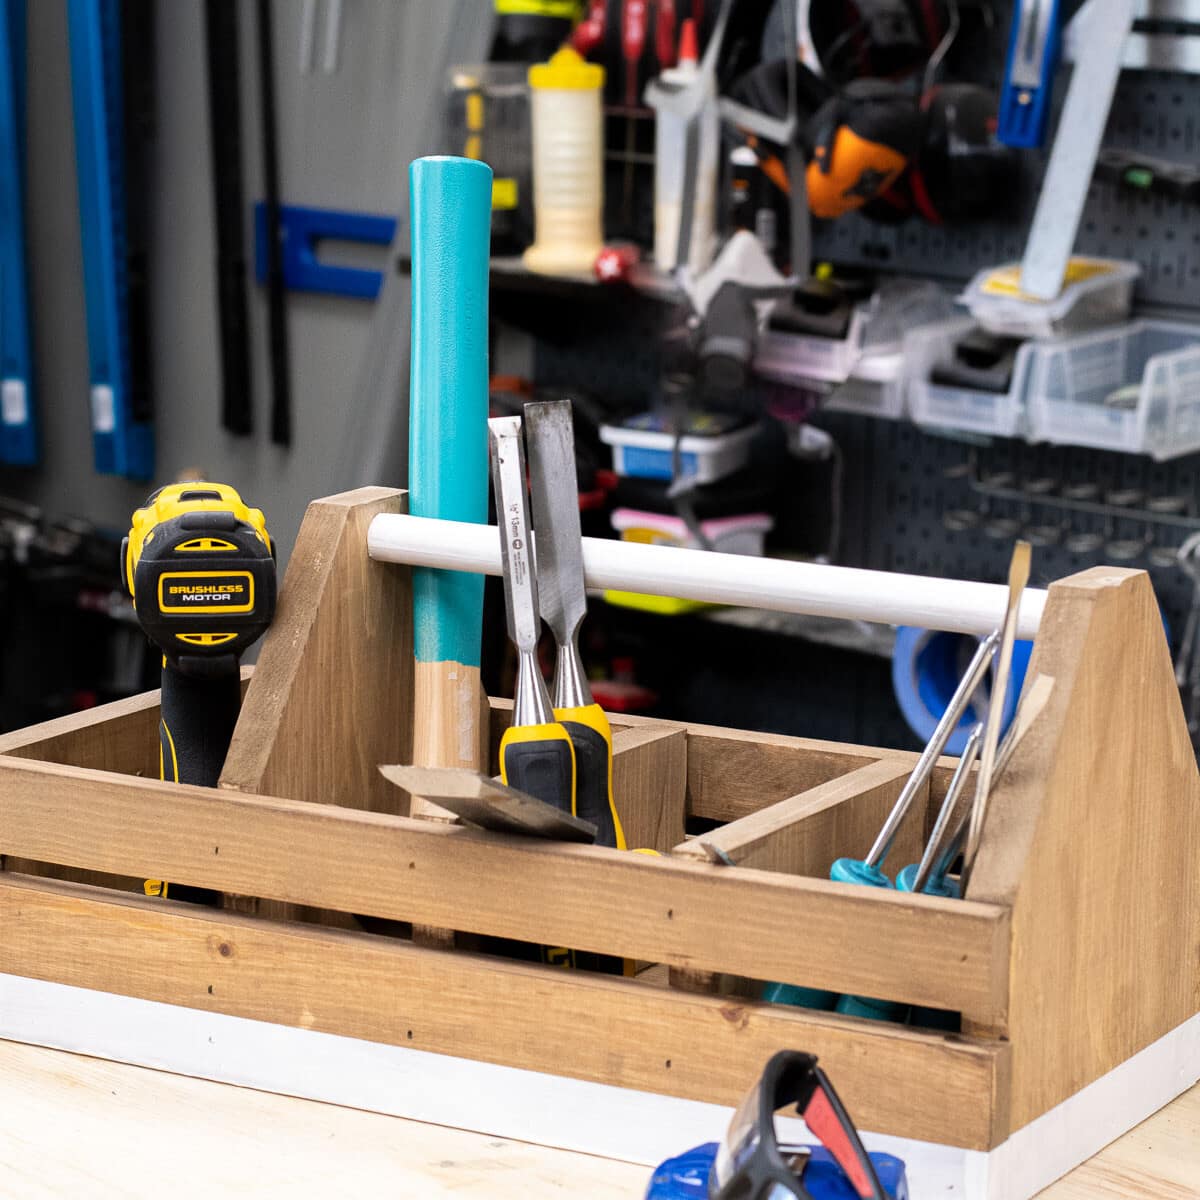
Optional Step: Add handles to each end, transforming it into a tray!
Step 3: Attach the feet
I opted to add small feet underneath.
- Attach the feet to the bottom using wood glue and finish nails or wood screws.

I like that the feet aren’t visible underneath and give the centerpiece a “floating” look.
Step 4: Finish
- Paint or stain in the color of your choice.
I decided to apply pre-stain conditioner, stain it, and seal it. Here’s everything you need to know about staining wood.
If you decide to paint it, be sure to use 2 coats of primer and sand between coats. Here’s how to paint wood.
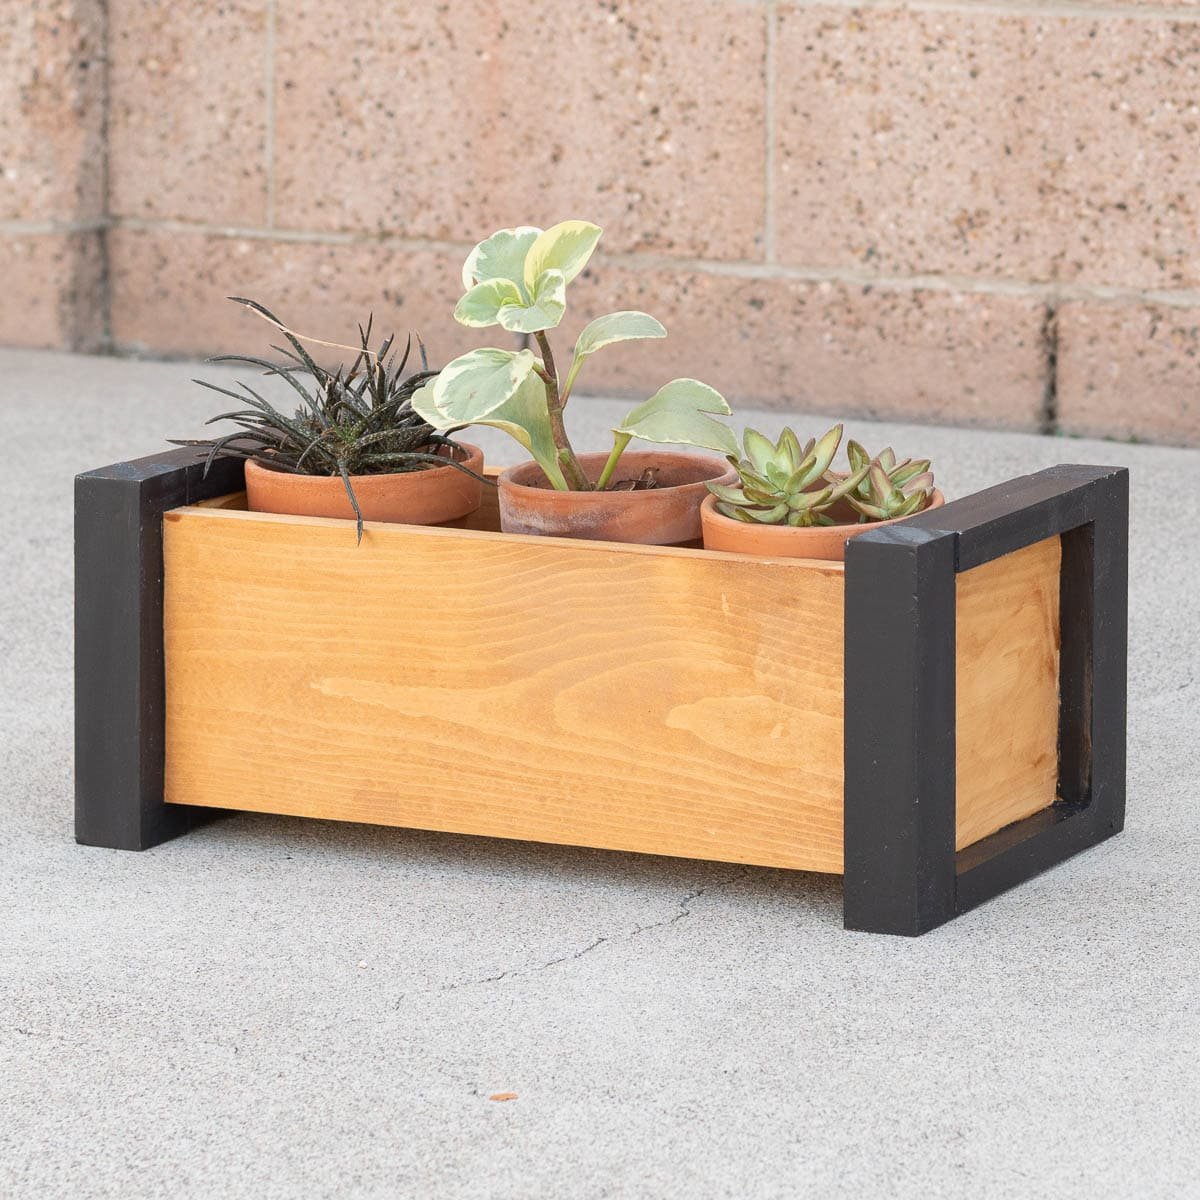
And it is done! As I mentioned, this is an extremely versatile project and can be used for all types of occasions and decor:
- Add faux fall leaves and pumpkins (like I did)
- Add candles and rocks
- Add Holiday themed decor
- Add small succulents for a year-round display.
Really, you can decorate it however you like!

Plans for the wooden centerpiece
Get the full printable plans, including the cut list and detailed schematics, below. These step-by-step instructions make building your DIY wooden centerpiece even easier!

It’s amazing how a few simple tools and some creativity can transform your table decor. Don’t forget to share your finished centerpiece with me—I’d love to see how you style it for different occasions!
You might also like:


Anika's goal is to inspire and empower beginners with woodworking, DIY, home improvement, and home decor ideas.
She wants everyone to unlock their creative potential and experience the feeling that comes with making something. Nothing feels better better than seeing something and saying "I can make that!"


