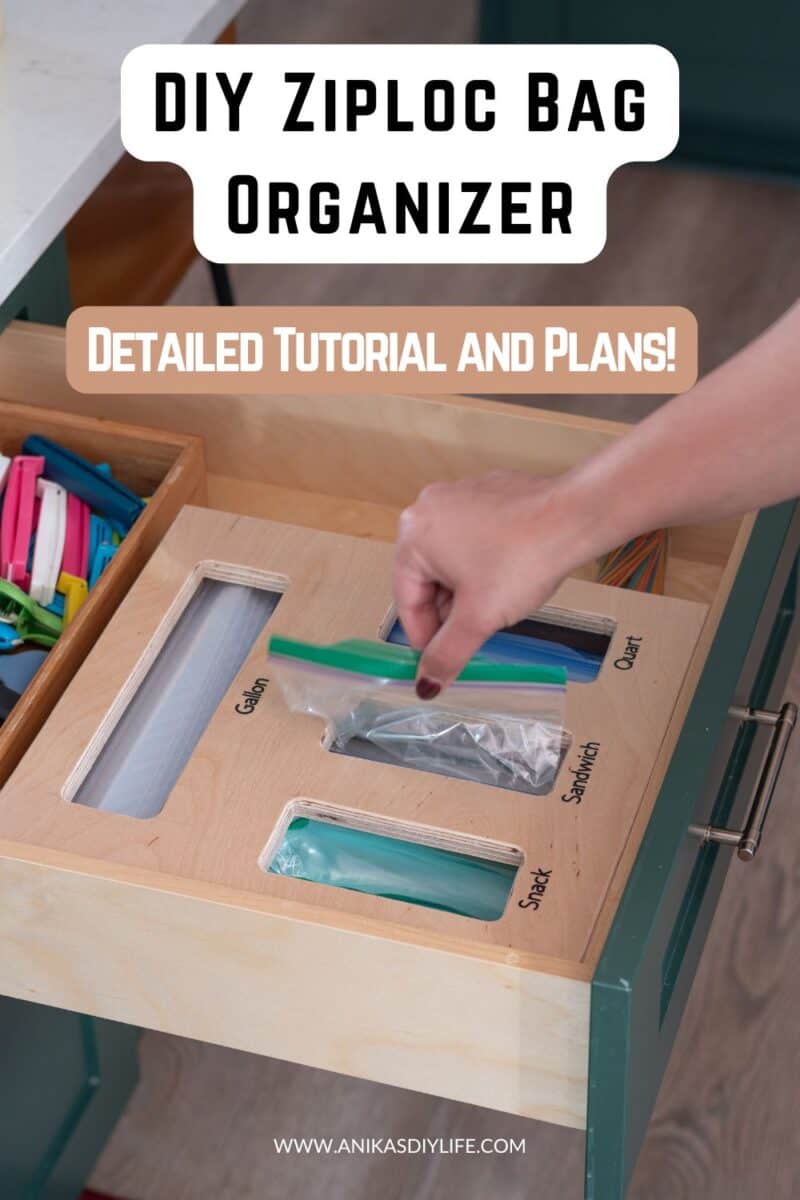
How to Build a DIY Ziploc Bag Organizer
Organize your kitchen with this DIY Ziploc Bag Organizer! Learn how to build a food storage bag organizer with compartments and a magnetic lid for easy refilling.
Let me tell you a little secret — my Ziploc bag drawer is a total disaster.
You know the kind of mess where sandwich bags, gallon bags, and quart bags are all shoved together in their original boxes, spilling out every time you try to grab just one? That’s my drawer.
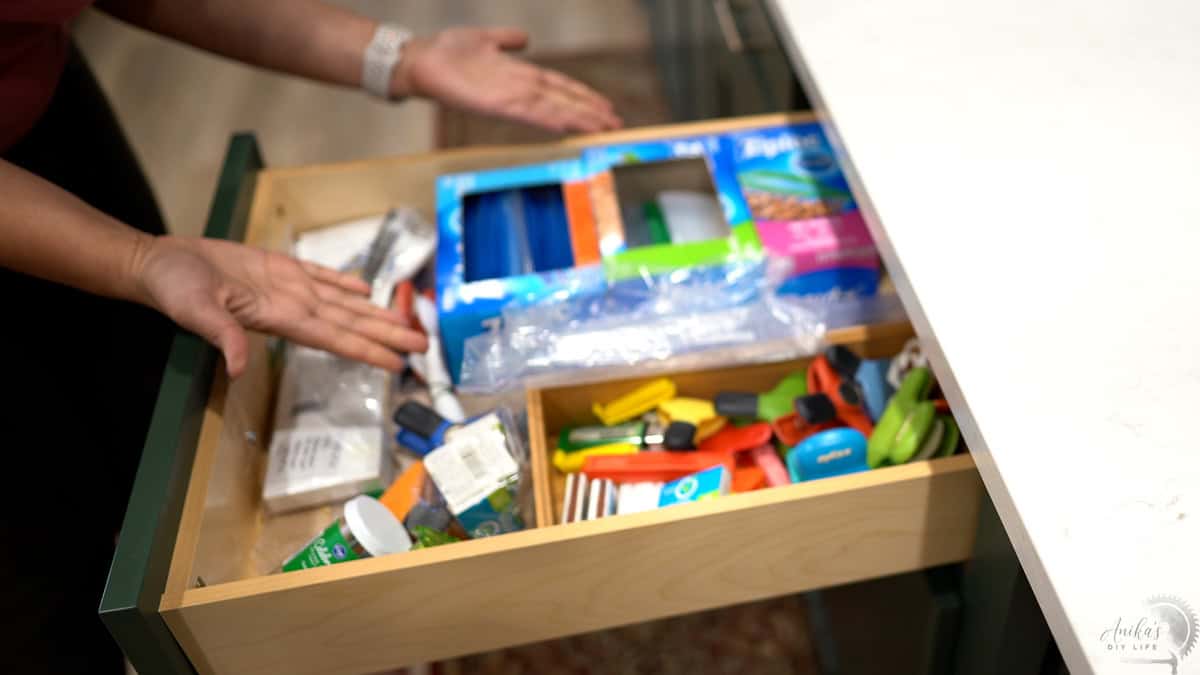
Every time I open it, I cringe at the chaos but push the mess aside because, honestly, who has time to deal with it?
Finally, in my goal to complete all the pending kitchen projects, I decided to build a DIY Ziploc Bag Organizer.
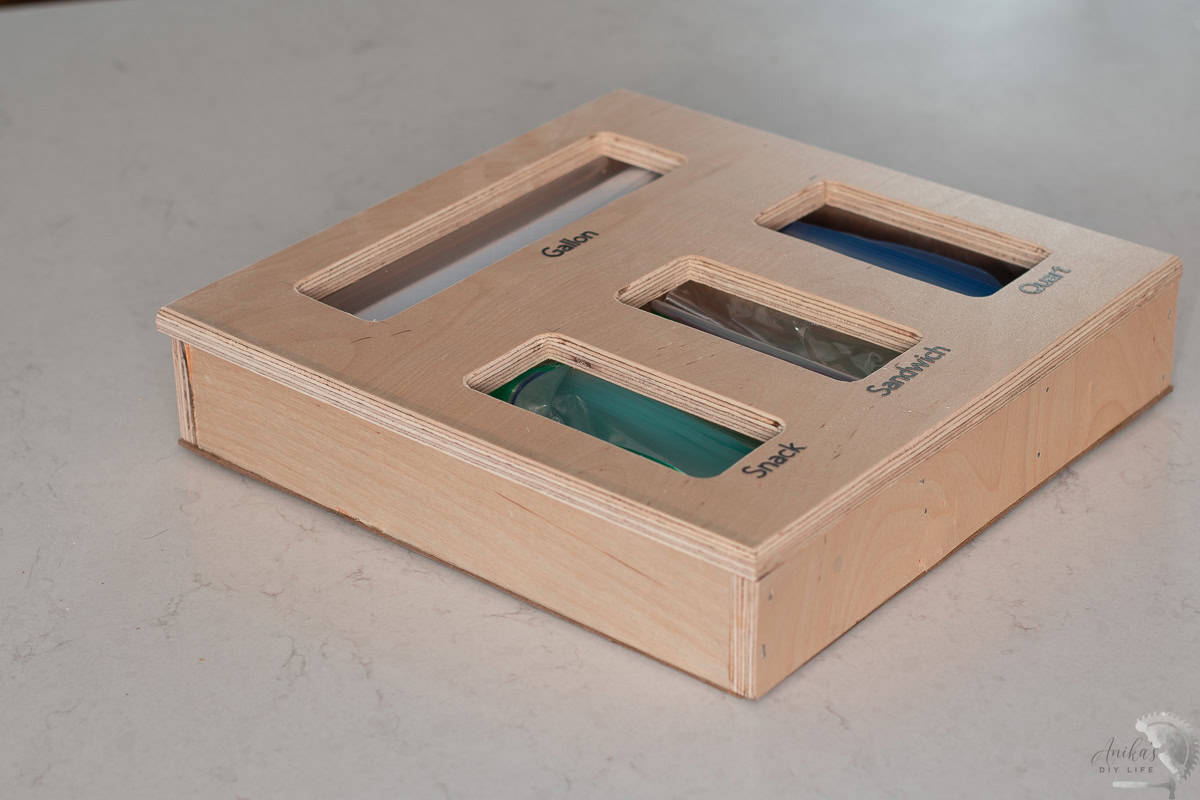
This DIY food storage bag organizer is a simple yet functional solution that keeps all those food storage bags neat, accessible, and organized.
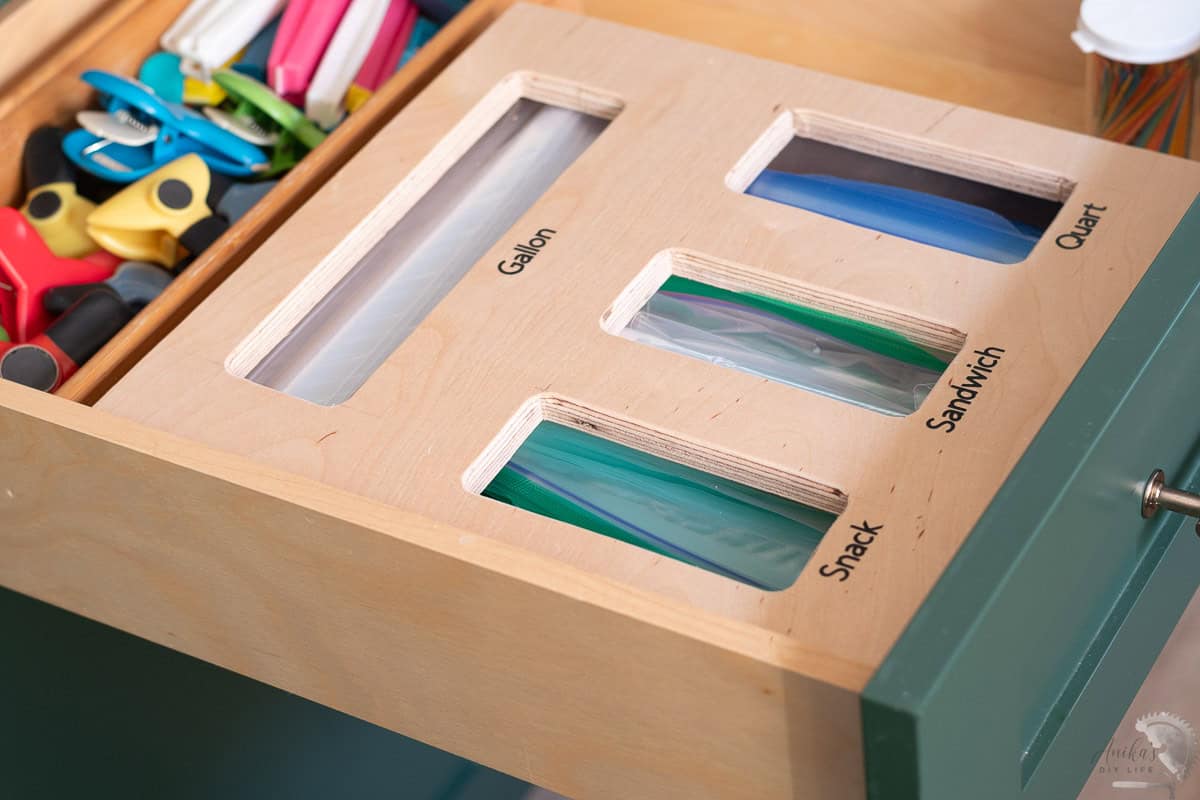
Built using ½” plywood, it has compartments to separate bags by size and a magnetic lid that makes it easy to refill.
***This post contains referral or affiliate links. It is a way for this site to earn advertising fees by advertising or linking to certain products and/or services. Please read my full disclosure here ***
Material Needed
- ½” plywood, ¼” plywood
- Wood glue
- 1 ¼” brad nails
- ¼” round over router bit (optional)
- Top and Bottom Cut blade
- Magnets
- Sandpaper
- Wood finish or paint (your choice)
Tools Needed
- Miter saw/ miter box
- Circular saw
- Jigsaw
- Nail gun or hammer
- Plam router (optional)
- Measuring tape
- Clamps
Plans for the Ziploc Bag Organizer
As always, I have detailed plans for you including the cut list, schematics and step-by-step printable. You can download it by clicking the button below.
How to Build
Step 1: Plan and Measure
- Measure the length and width of your sandwich, quart, and gallon bags. These measurements will determine the size of each compartment.
- Create a simple sketch or template for your organizer.
- Decide the height of the organizer. My drawers are about 3.5″ high. I had to make sure that the overall height of the organizer wasn’t more than 3″. If you have deeper drawers, you can make it higher and that will give you more storage space for your food storage bags.
If you have standard sizes, I have the detailed plans available for the food storage bag organizer I built. You can also add more compartments if you have more sizes.
Step 2: Make the Cuts
I used prefinished 1/2″ plywood that I had already left from a previous project, and I ripped it into 2.5″ wide strips. Alternatively, you can also use 2.5″ wide and 1/2″ thick hobby boards from the home improvement store.
- Cut the 1/2″ plywood strips to size for the sides of the box using a miter saw or miter box.
- Cut out a piece of 1/2″ plywood to act as the top. This can be cut using a circular saw.
- Cut the plywood for the bottom. I used 1/4″ plywood for the bottom because I wanted to keep the thickness of the entire organizer under 3.5″. But you can also use 1/2″ thick plywood if your drawers are deeper.

See how to use a miter saw.
See how to use a circular saw.
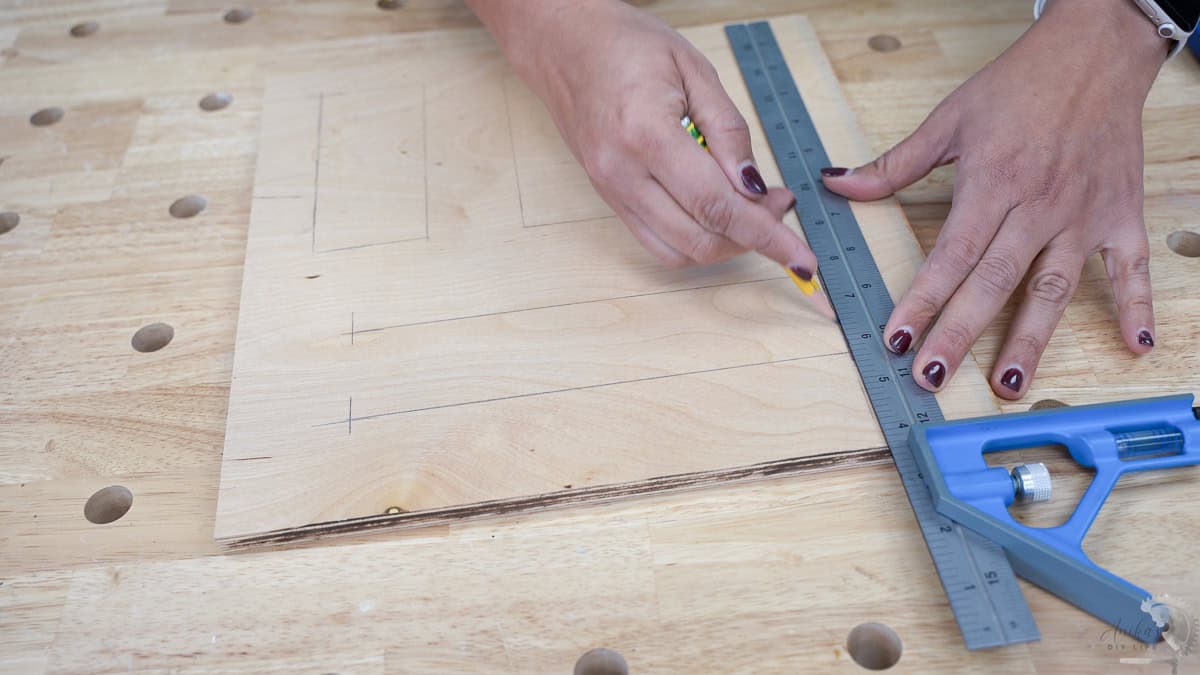
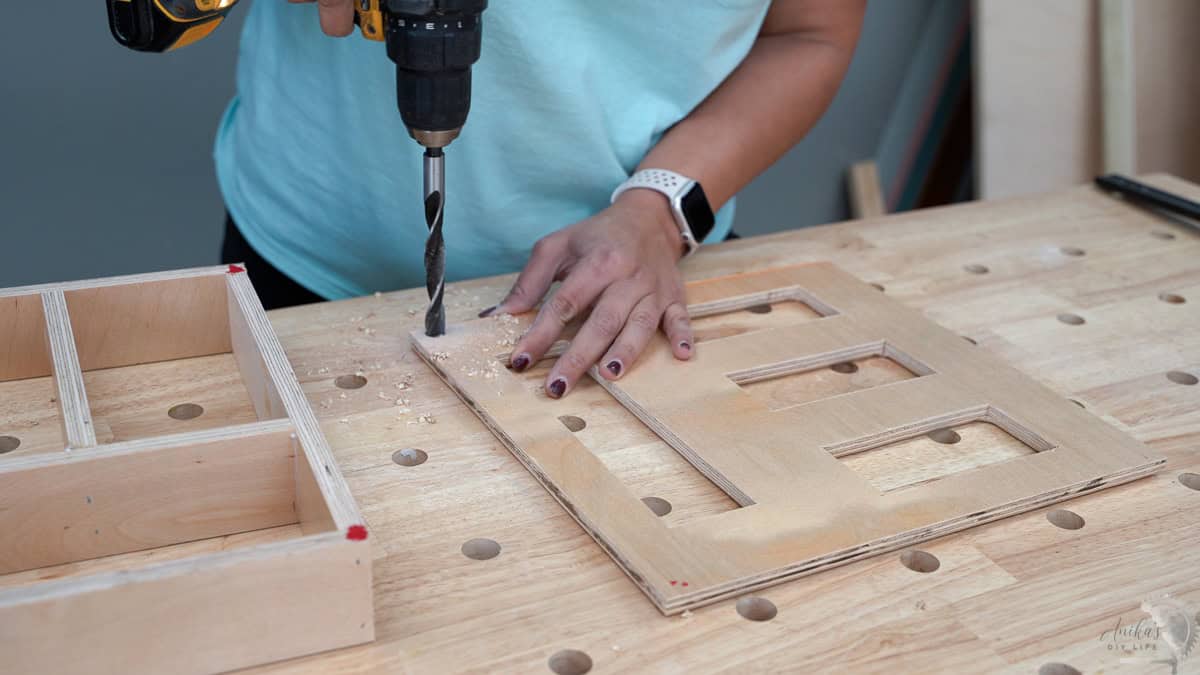
- Map out the cuts for the top. See the plans for the exact dimensions I used.
- Make a starter hole, and then use a jigsaw to cut them all out.
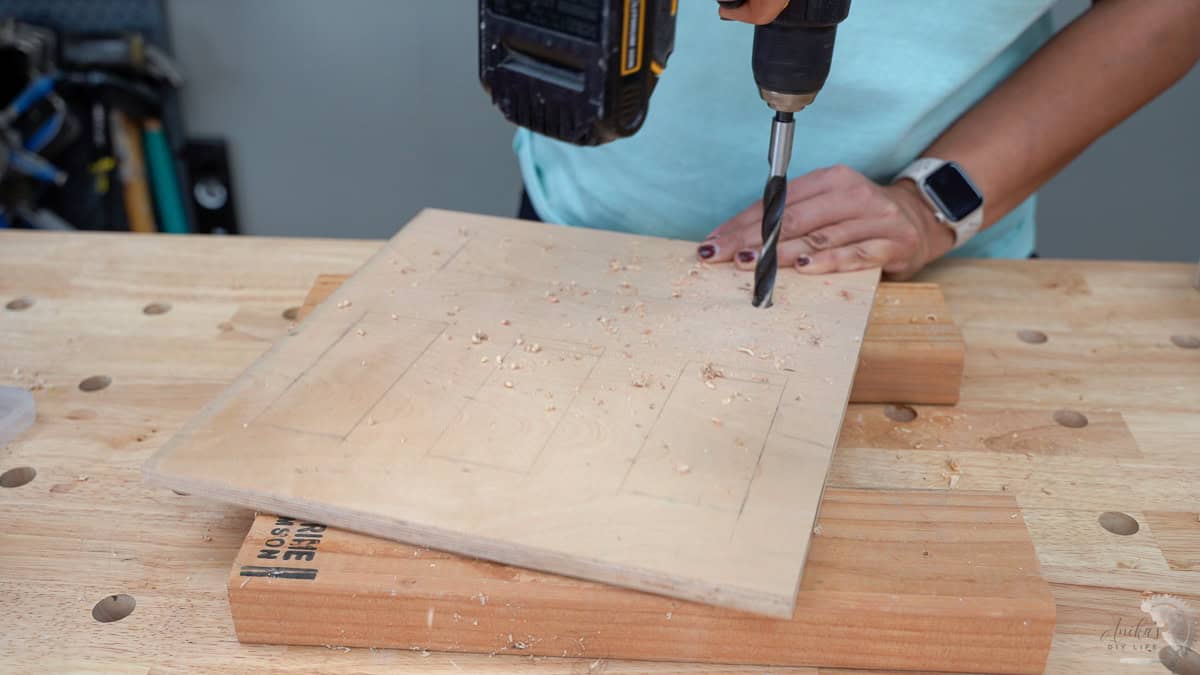
Be sure to use a top and bottom cut blade in the jigsaw to get the best finish on both sides of the plywood.
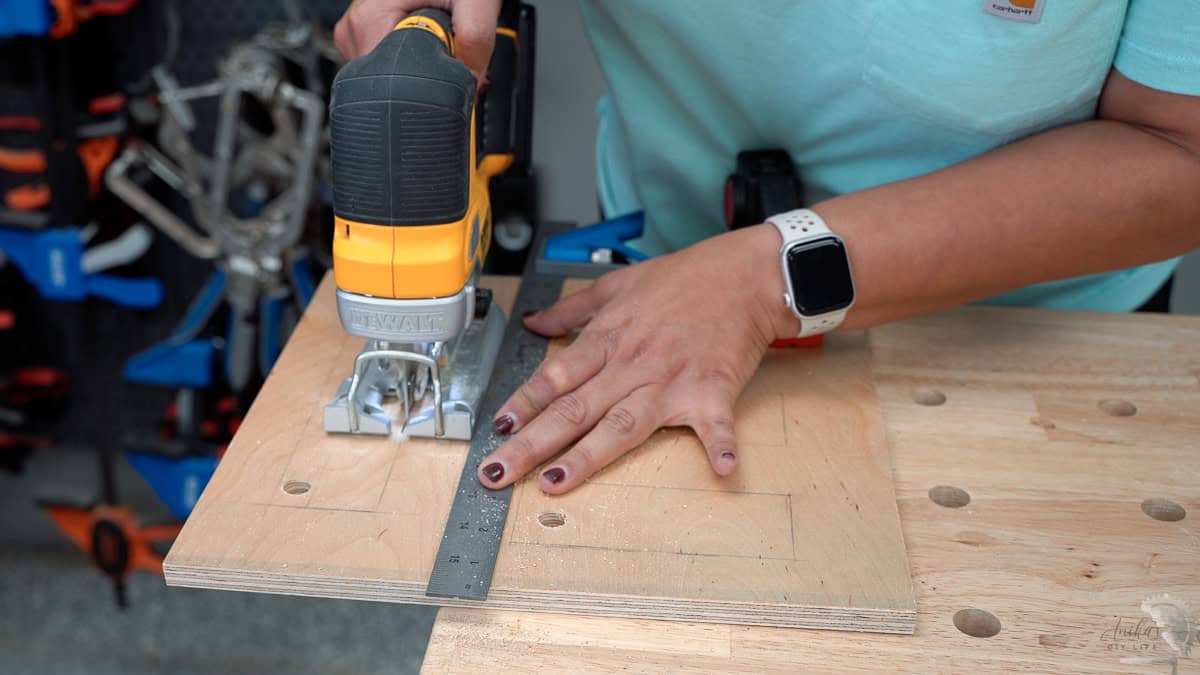
TIP: Use a straight edge as a guide to cut along the straight line because, no matter what, it is humanely impossible to cut a perfectly straight line freehand with a jigsaw.
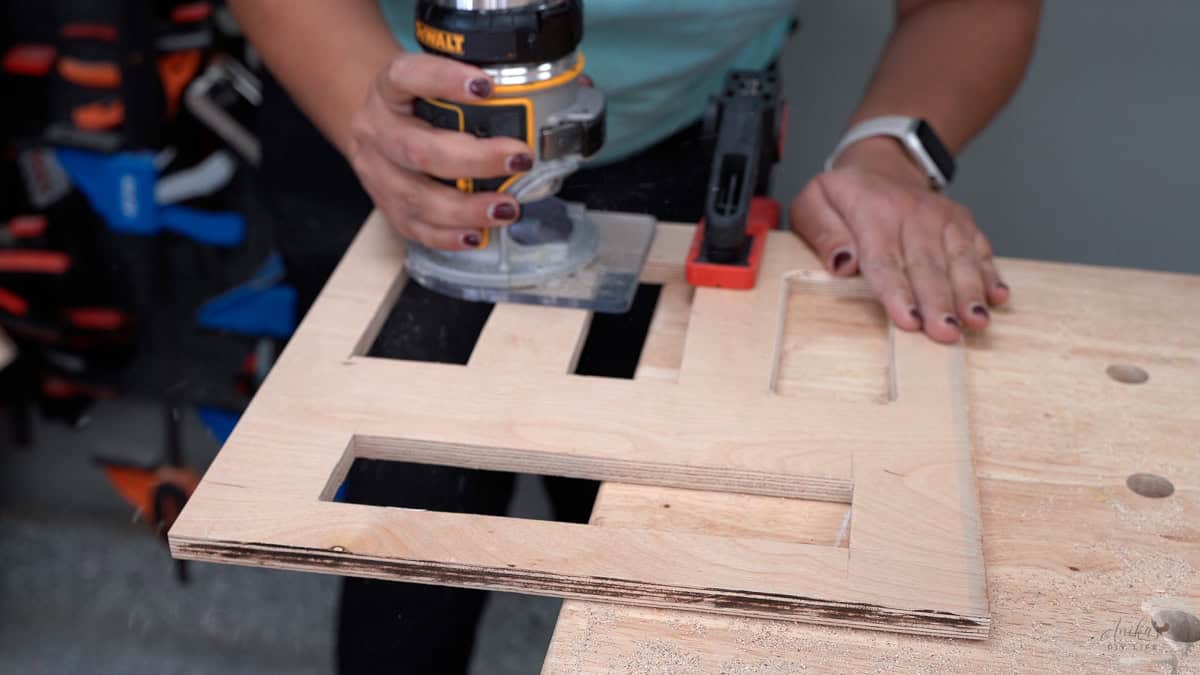
- Route the edges of the slots and the top with a 1/4″ round over bit. This is completely optional. I think rounding over elevates the organizer.
Step 3: Assemble the Box
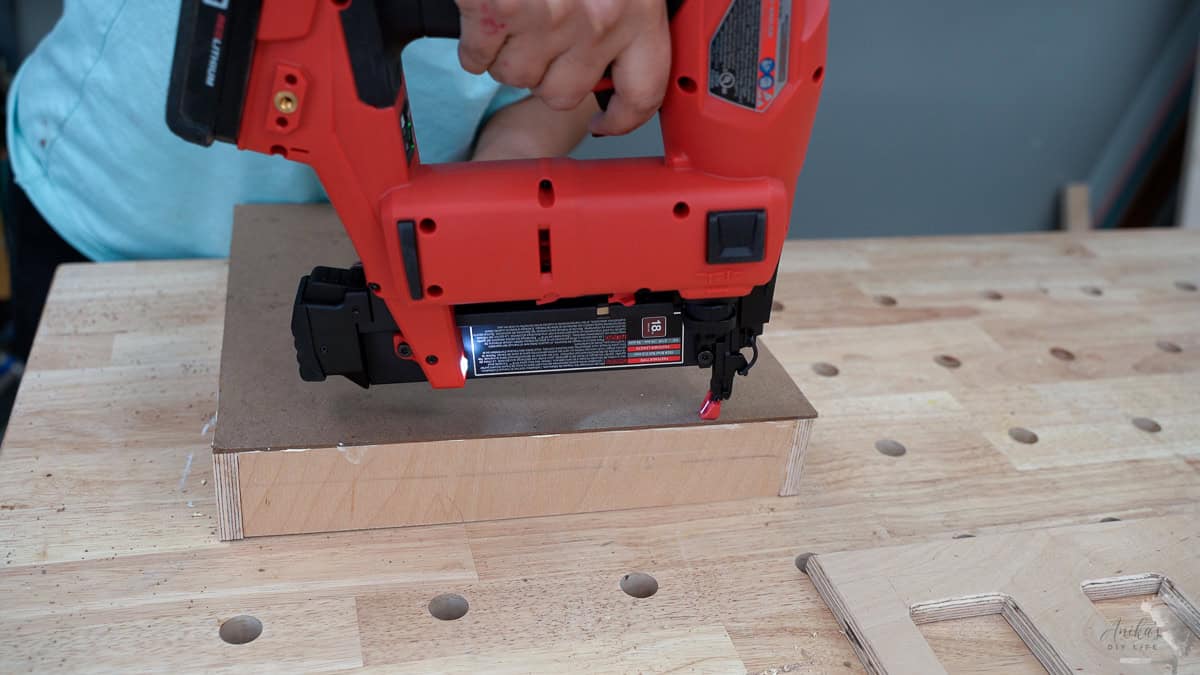
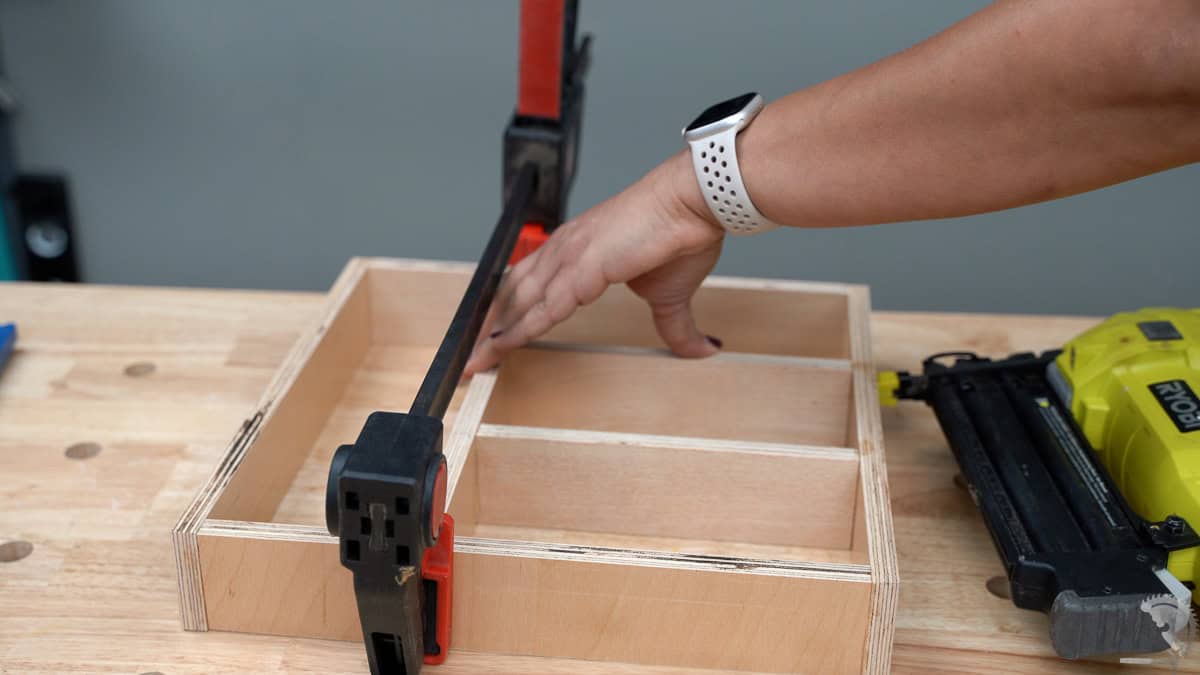
- Attach the sides together using wood glue and 1 1/4″ brad nails.

I used a strong, quick dry glue because I was using prefinished plywood, and wood glue will not get absorbed into the grain to create the strong joint.
Important: Check that the box is square using a speed square on the corners or by measuring diagonally across the corners. See how to check for square.
- Attach the bottom plywood using wood glue and brad nails.
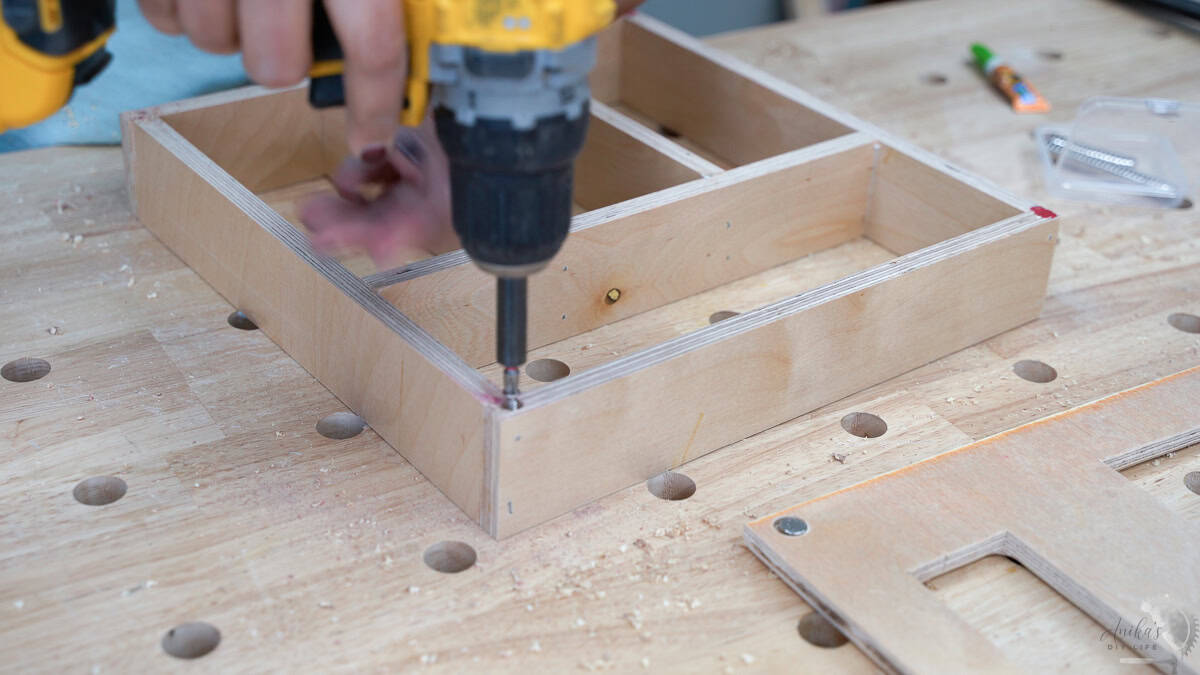
Step 4: Add Dividers
- Assemble the dividers by attaching them using wood glue and brad nails. Make sure they are evenly spaced. See the plans for the details of what I used.
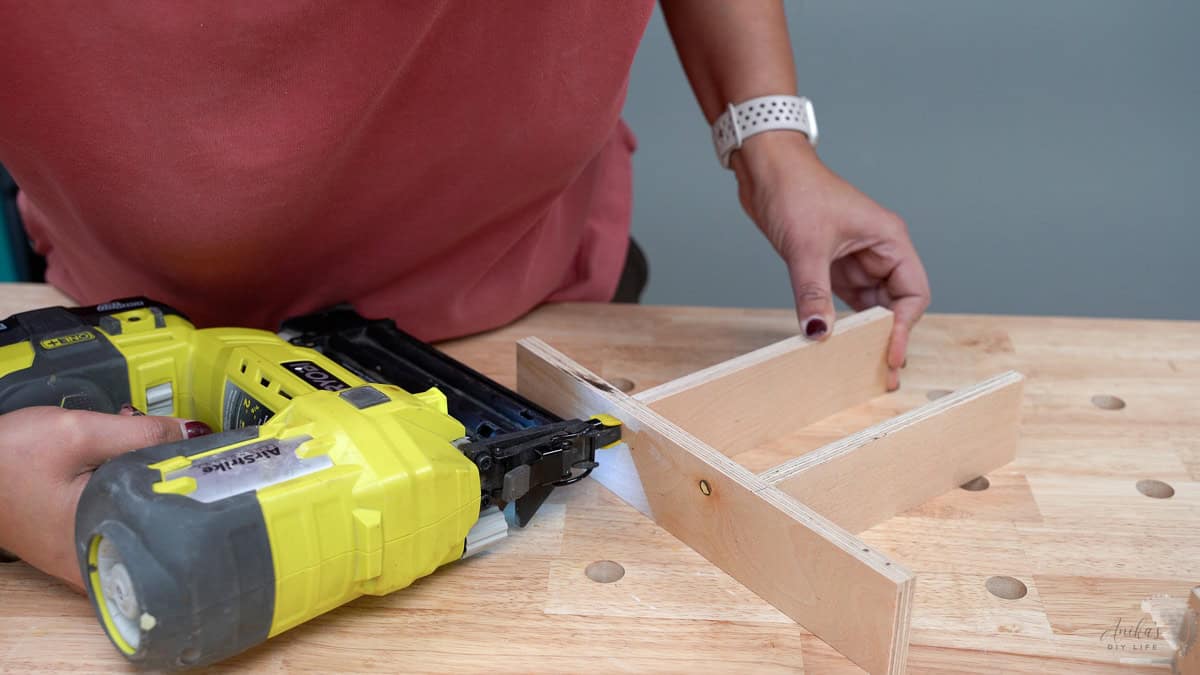
- Apply wood glue to the edges of the dividers and position them inside the box.
- Secure them with brad nails.
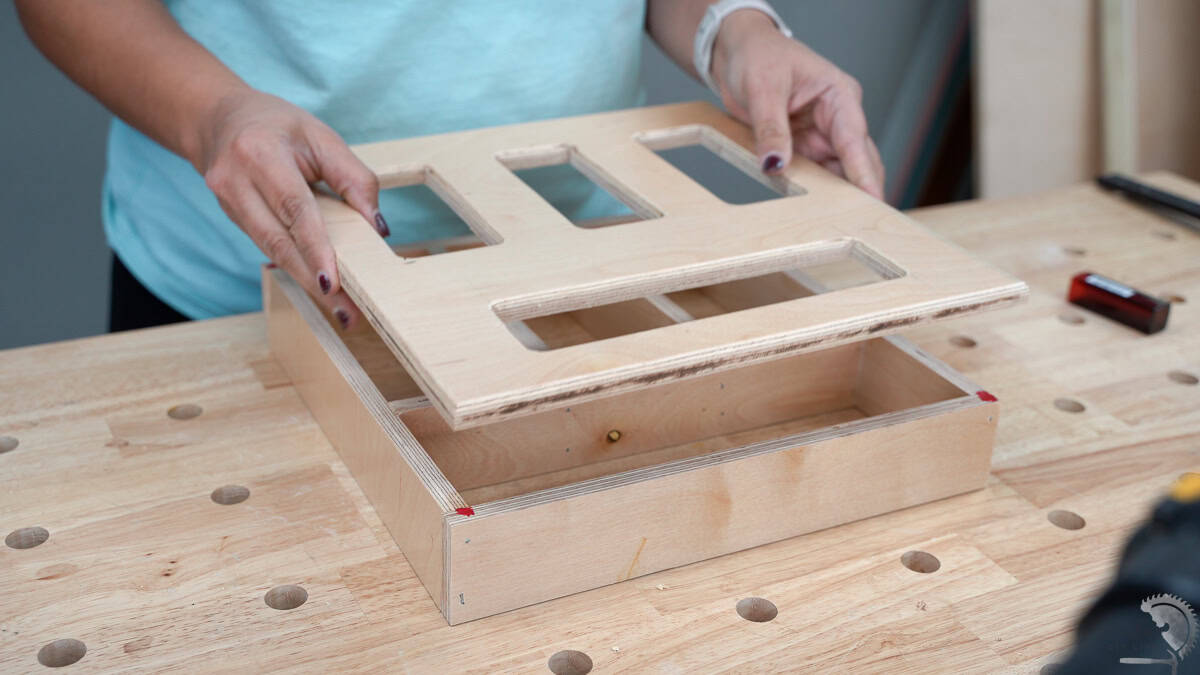
Step 5: Add the Magnets
I added magnets to the Ziploc Bag Organizer to create a lid that’s both secure and easy to remove to refill the bags.
The magnets are installed on all four corners of the lid. The 1/2″ plywood was not wide enough to accommodate the magnet, so I decided to use a few screws instead.
- Mark the location of the magnets and screws.
I marked the corners with my secret workshop weapon – lipstick. Then, I aligned the lid and pressed it down to transfer the marks. This tells me the exact location the magnets and screws need to be added.
- Drill shallow holes for the magnets. I used a 1/2″ bit for the top. Be very careful with the depth. It is better to go a little at a time than to go too deep. The magnets should sit flush with the surface and not below it to work the best.
- Attach magnets using super glue.

- Predrill a countersunk hole in each of the corners and add the screw. You want to keep the screw flush with the surface as well.
This feature adds convenience and functionality to the storage bag organizer. The magnets keep the lid securely in place during everyday use but make it quick and easy to remove when it’s time to refill the compartments.
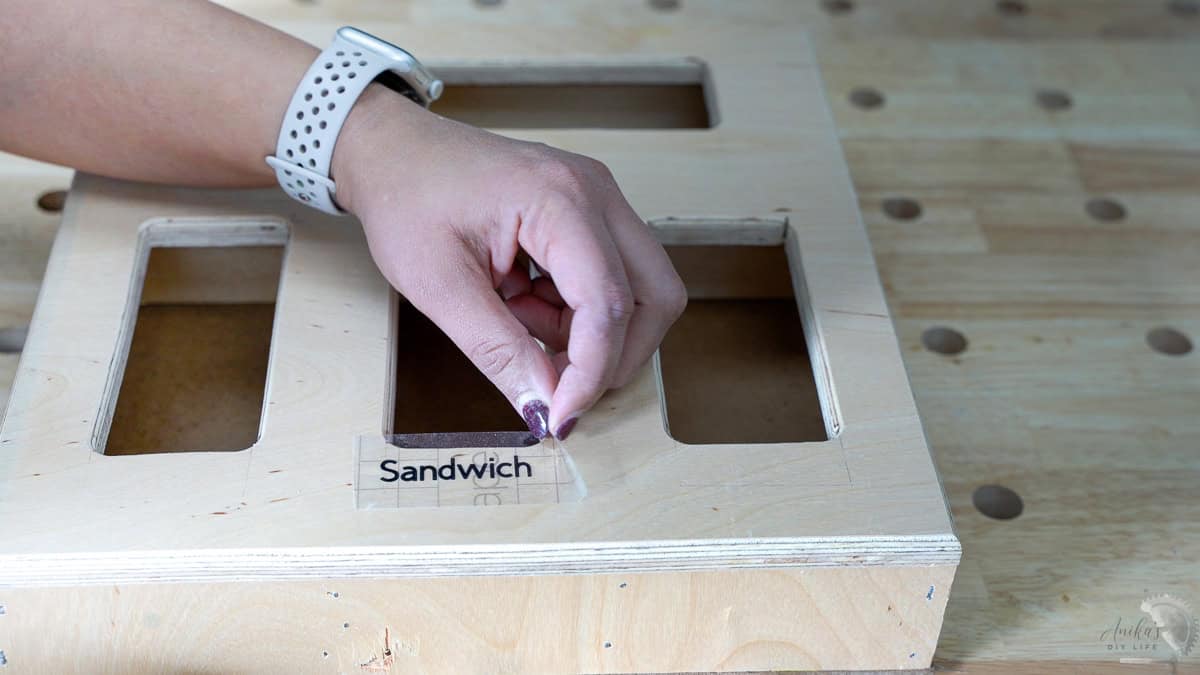
Step 6: Final Finishes
- Add labels to identify which compartment holds what size bags. I cut mine on the Cricut, but you can also stencil it or just write it freehand with a Sharpie.
I used prefinished plywood, so I didn’t need to apply any top coat. If you are planning to apply a top coat, I highly recommend this one. You can also paint or stain it to match your kitchen decor.
You can also add keyhole hangers to the back if you would like to hang this up on the wall. I plan on putting mine in the drawer.
That’s it!
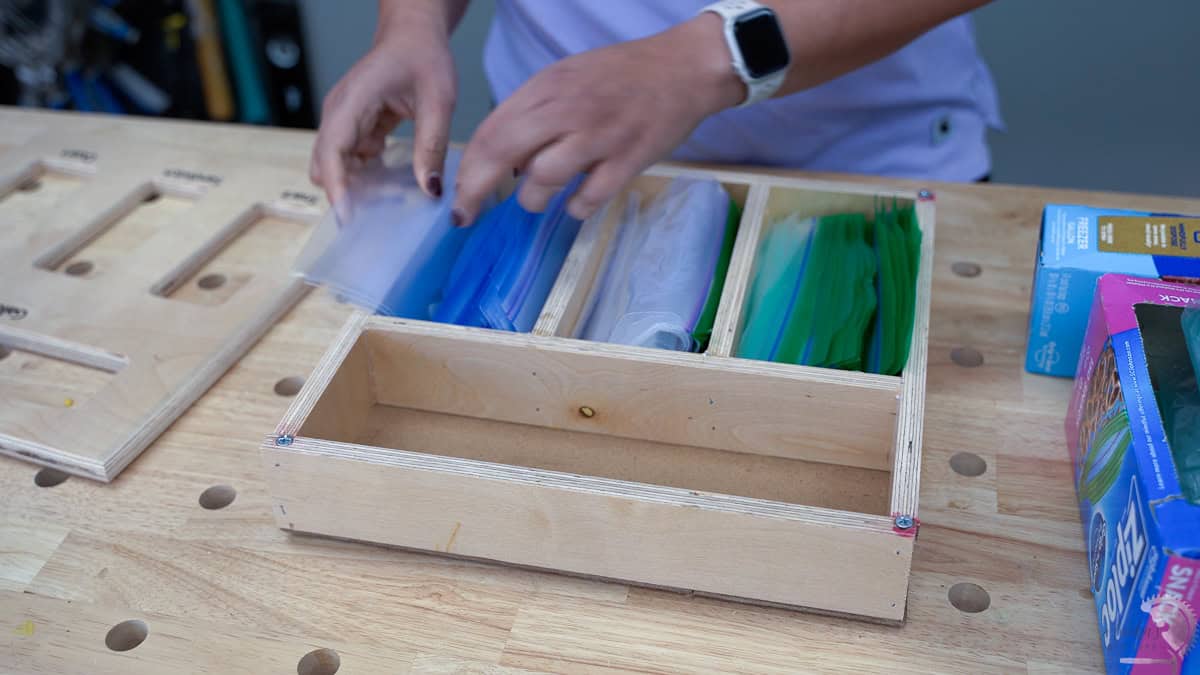
I loaded up all the Ziploc bags, and now I have a newly organized kitchen drawer, and I absolutely love it!
No more messy drawers or digging around for the right size bag—everything stays neat, organized, and ready to grab.
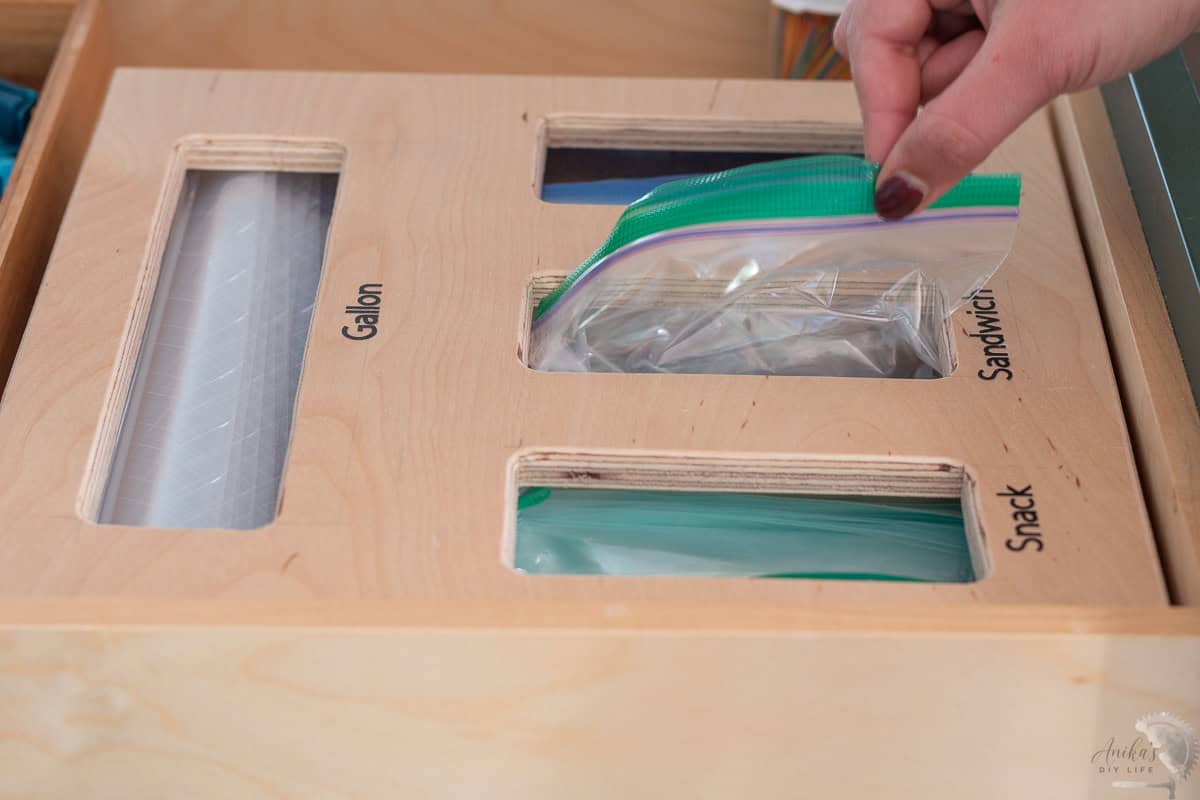
Plus, the magnetic lid makes refilling a breeze, so you can keep things running smoothly without any hassle.
If you are looking for more ideas to organize the kitchen, check out these projects:


Anika's goal is to inspire and empower beginners with woodworking, DIY, home improvement, and home decor ideas.
She wants everyone to unlock their creative potential and experience the feeling that comes with making something. Nothing feels better better than seeing something and saying "I can make that!"


Nice,
I made similar for zip lock bags and rolled product dispensers, I ripped down 1 X 6 boards and the tops and bottoms were 5/16 finished plywood, installed left over magnetic cabinet closures to hold the tops on. Didn’t have any magnets, that was a good idea on your part.