DIY Coastal Wreath Under $10
Its that time again – time to change out the DIY patriotic wreath on the front door. This time, I decided to go with a DIY coastal wreath since we are totally loving the summer and the beach and not to mention that we just came back from spending 2 days by the pool!
If you have been following me for a while, you know that I am not a fan of spending $$$ on a wreath that we change every so often. My goal is to always make a wreath for under $5 or at the most $10. And guess what, this time, I succeeded in making it for FREE!! See how it turned out! 
I just re-used a bunch of things I already had in my craft stash. But, if you were to buy product to make it, it would still be under $10 (provided you had the grapevine wreath already)!
***This post contains affiliate or referral links. It is a way for this site to earn advertising fees by advertising or linking to certain products and/or services. Please read my full disclosure here ***
Materials Needed for DIY Coastal Wreath –
- Grapevine wreath – I reused my old one.
- Assorted Star fish – I had these left over from an old project. You can also find them here
- Welcome wood cutout – re-used from my spring wreath.
- Mini drink umbrellas
- Hot glue gun
How to Make the DIY Coastal Wreath –
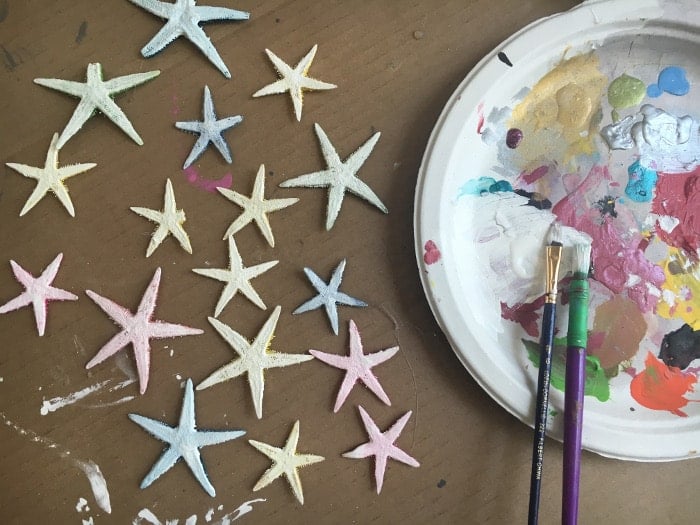
Step 1 – The sea stars I had were a really bright color, I started by painting them with white craft paint. I went with just one coat of paint since that gave a nice pastel color to the star fish. 
I also had my little helper with me, who basically painted most of the sea stars. 
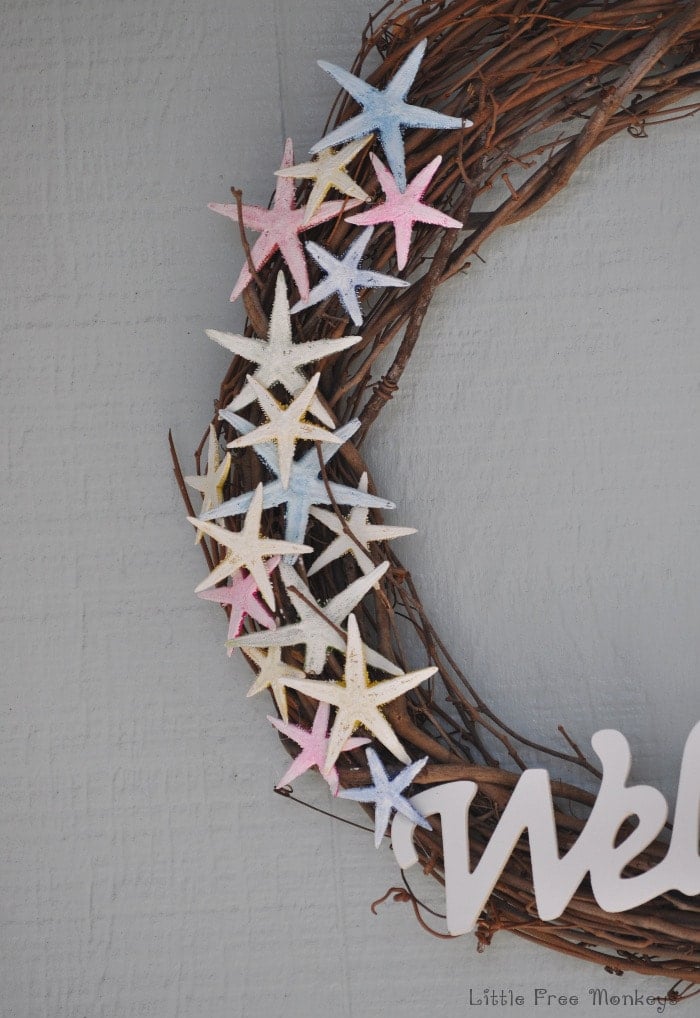
Step 2 – Glue the painted sea stars to the wreath. Use a small dab of the hot glue, so it is easy to remove them when it is time to reuse the wreath.

Step 3 – Attach the wood “welcome” cut out. This was originally unfinished wood that I had painted yellow for my spring wreath. I simple re-painted it white. I used 2 little dabs of hot glue on each end to attach it.

Step 4 – Time to attach the mini umbrellas. I used 3 of these. Add a little hot glue to the tip of the umbrella and insert it.

That’s it! The DIY coastal wreath is ready!! It only took about half an hour to make it – including all the painting. And I love how it turned out! Here is a close up of the painted sea stars. the pastel colors add a nice touch of color to the wreath.

And the tiny umbrellas bring a relaxing touch of the beach to it!

Thanks for reading! If you enjoyed this DIY coastal wreath, please do share it with your friends, I love you for it!

If you enjoyed this DIY coastal wreath, you might also like –
You might also enjoy these DIY coastal decor articles –
Anika's goal is to inspire and empower beginners with woodworking, DIY, home improvement, and home decor ideas.
She wants everyone to unlock their creative potential and experience the feeling that comes with making something. Nothing feels better better than seeing something and saying "I can make that!"


This turned out super sweet! Unique and summery…love the little umbrellas!