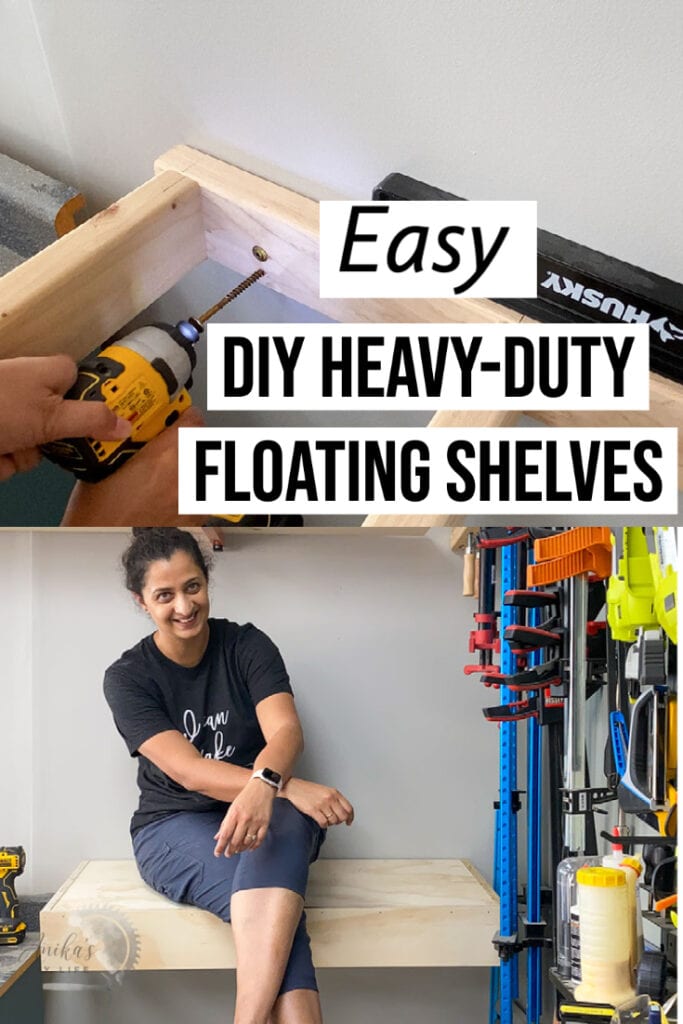
Easy DIY Floating Shelves
Learn how to make heavy-duty DIY floating shelves with this easy to follow tutorial for beginners (including plans and video!)
I have made many shelves to date but I haven’t made a simple floating shelf!
I needed to build a floating shelf in my garage to organize it a bit better and to get rid of a flimsy old plastic shelf.
I decided to take this opportunity to find the easiest possible way to build this shelf so anyone can build it. I have you covered with all the tips and tricks you need to know AND the plans and video!
Table of Contents
- The basic DIY floating shelf structure
- How do you attach floating shelves to the wall
- Do you need studs to attach to the wall
- Are floating shelves easy to put up?
- Are floating shelves strong?
- How do you measure for floating shelves?
- Material needed for floating shelves
- DIY floating shelves video
- How to make floating shelves
- DIY Floating shelf plans
- Pin this to Pinterest
***This project is sponsored by The Home Depot and is part of their ProSpective program.***
The Basic Floating Shelf Structure
Typically floating shelves are made of two parts –
- The frame or the brace – this is the internal skeleton of the shelf and has to be strong. A shelf is only as strong as the frame.
- The box – this covers the frame and can be made of plywood or 1x boards depending on your requirements.
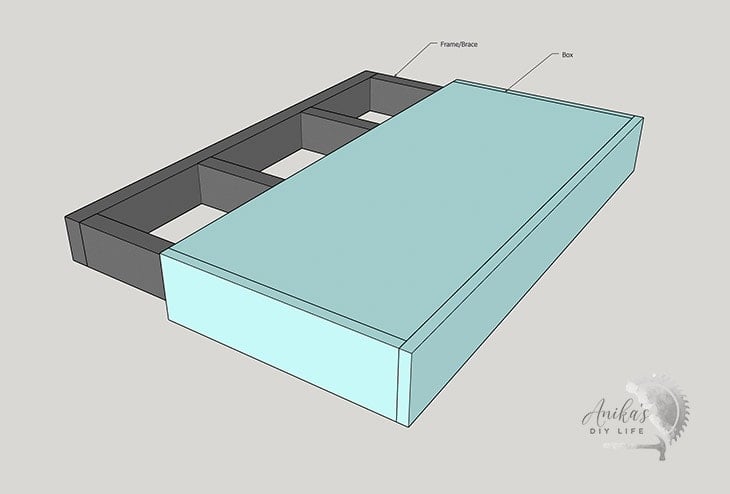
The frame is attached securely to the wall and the box slides over it to make the shelf. If you need to remove the shelf, you can simply slide off the box and remove the frame from the wall.
How Do You Attach Floating Shelves to the Wall
How you attach floating shelves to the wall has a direct impact on how strong the shelf is. How you attach the shelf depends on what the wall is made of. If it is drywall, you want to attach it to the stud. This is the best bet for strong shelves.
If you do not have studs available in the area you want the shelf, you can use anchors. However, the quality and type of anchors will determine the strength of your shelf.
If attaching to the studs, typically lag bolts are used but in this tutorial, I will be using the 4″ GRK Rugged Structural screws (RSS) which are a great replacement and VERY easy to use.
These GRK RSS screws have a lot of great features –
- Star drive – prevents stripping
- Special thread design and built-in washer – help draw the boards in and pull them tight
- Self-tapping tip
- Self-countersinking
You will see how easy they are to use and how they make this project a breeze!
Do You Need Studs to Attach to the Wall?
Short answer – that would be perfect. This is your best bet for strong heavy-duty shelves.
Can you use anchors? Yes, you can but the stability of the shelf would depend on how strong the anchors are.
Are Floating Shelves Easy to Put Up?
They are! I built and installed the floating shelves all by myself – within a couple of hours.
The only challenge I faced was when it was time to hang the frame/brace to the wall. It was a challenge to balance the brace, make sure it was level and attach at the same time. 10 minutes of fumbling later, I finally figured out how to attach one screw into the wall stud.
After the first screw, it was a lot easier to level the frame and add the remaining screws.
Are Floating Shelves Strong?
YES! If built and attached the right way, the floating shelves can be super strong and support a large amount of weight. I put the shelves I built to the test – I sat on it. Watch the video below to see what happens.
How Do You Measure for Floating Shelves?
Like every project, measuring accurately is the most important starting point.

How to Determined the Length
Like I mentioned a few times – you really want to do your best to hit the studs. You want at least 2 studs per shelf.
Typical stud spacing is 16″ which means that the shelf will be at least 32″ long. The shelf will extend out a few inches on each end and I ended up with a 38″ shelf.
How to Determine the Depth
The depth is really your choice! It can be dictated by the material you have available to build the shelf box. I used ¾” plywood since I was going for a deep shelf and 1x material, would end up being very expensive.
Let’s go ahead and start building the shelves!
Material Needed
- Lumber per the plans.
- 4″ GRK Rugged Structural Screws
- Finish Nailer – I used the Paslode 16-gauge angled finish nailer
- 1¼” finish nails
- Miter Saw (Check out my full guide on how to use a miter saw for beginners!)
- Circular saw or table saw
- Drill-driver or Impact driver
DIY Floating Shelves Video
As always, I have a detailed video showing you exactly how I made the shelf below. Step by step tutorial follows below. Watch it till the end to see me test out the shelf!
How to Make Floating Shelves
Building floating shelves is a really easy and quick project and involves a few cuts and boards.
Step 1 – Measure and Make the Cuts
Check out the plans for guides to building your own shelf. You can always modify the width and depth to fit your needs.
- Cut up the boards for the frame/brace on the miter saw
- Make the cuts for the box using a circular saw or a table saw.
Make sure to measure for shelves to determine the perfect size needed for your situation. See my notes above.
Note – I used 2×4 boards for the frame because I already had enough in my scrap pile. Using 2×3 boards will give a shelf that is just as strong but thinner. Also, I used plywood because of the depth of my shelf. You can also use 1×8 or 1×10 board for narrower shelves or better-finished edges.
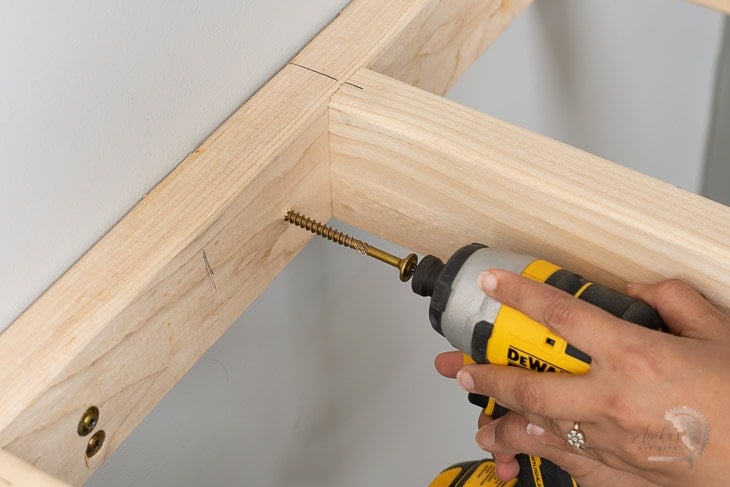
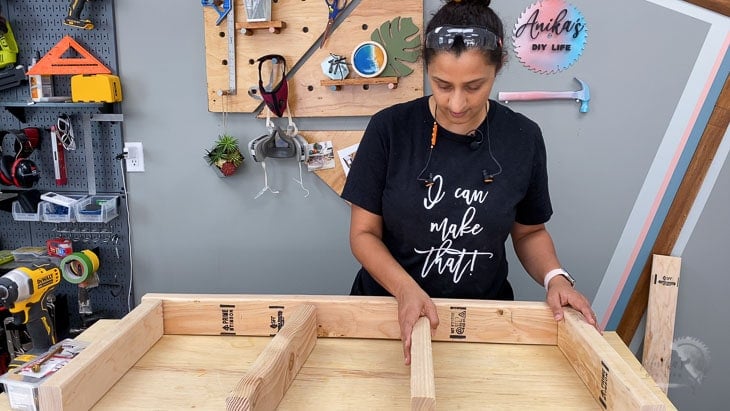
Step 2 – Build the Frame
- Set up the boards for the frame – two on each end and others approximately 8-12″ from each other. Make sure to leave enough space around the area where you want to attach to the studs.
- Attach the boards using the strong structural screws. Add 2 screws at each location!
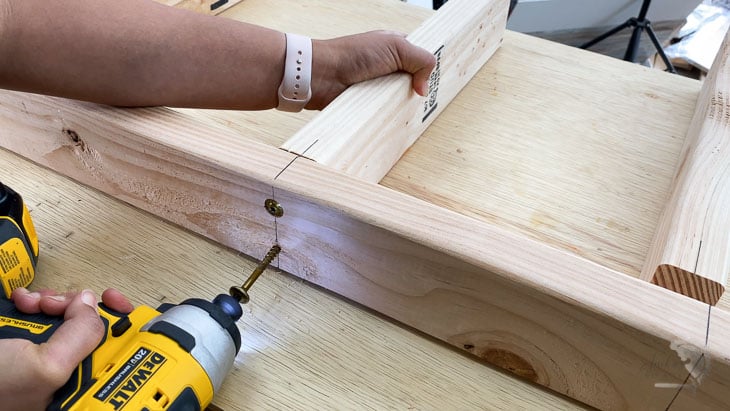
Tip – in order to make sure you attach the boards at the right spot, draw a line through the middle of the joint and extend it down to the sides.
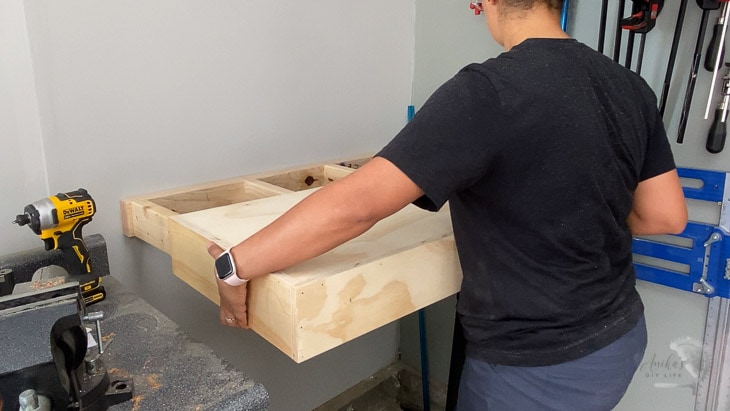
Step 3 – Build the Box
- Build the box by attaching the plywood or material for the box using wood glue and finish nails.

Tip – use the frame to set up the box. This will make sure you have everything aligned. Just be careful not to nail your box to the frame by accident.
About the Paslode finish nailer I used- This is a really powerful finish nailer! It uses a fuel cell to power the nails and the no-mar tip doesn’t damage the surface. It is a great nailer to use to build or add trim and baseboards or board and batten as well!
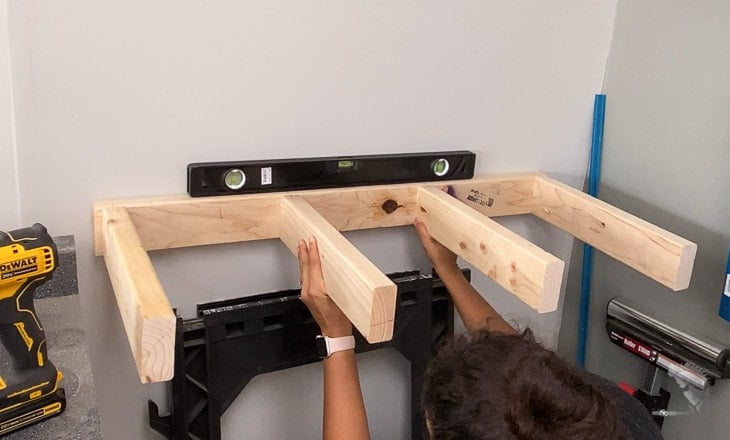
Step 4 – Attach the Frame to the Wall
This is the most critical part for strong shelves. I highly recommend attaching to studs or using extremely good quality anchors.
- Attach the shelf to the wall by driving fasteners directly through the back of the frame and into the studs or anchors.
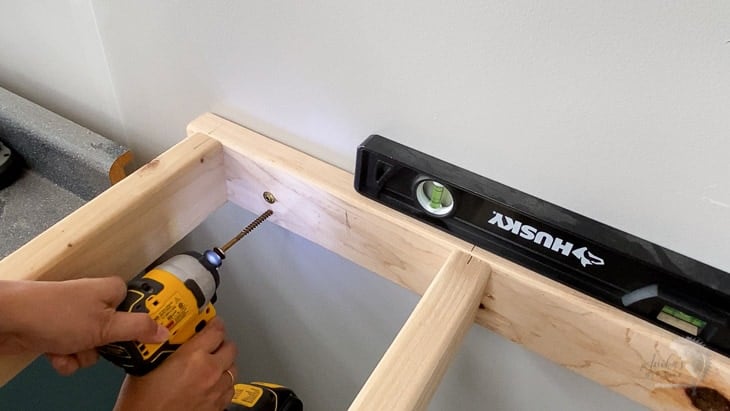
I used the GRK RSS fasteners to attach directly into the studs and the shelves are super strong.
Important – Be sure to add 2 screws each for the maximum strength.
Step 5 – Put It All Together
- Slide the box onto the frame to complete the shelf!
If you want to paint or stain the shelf, do so before you slide it on.
That’s it!
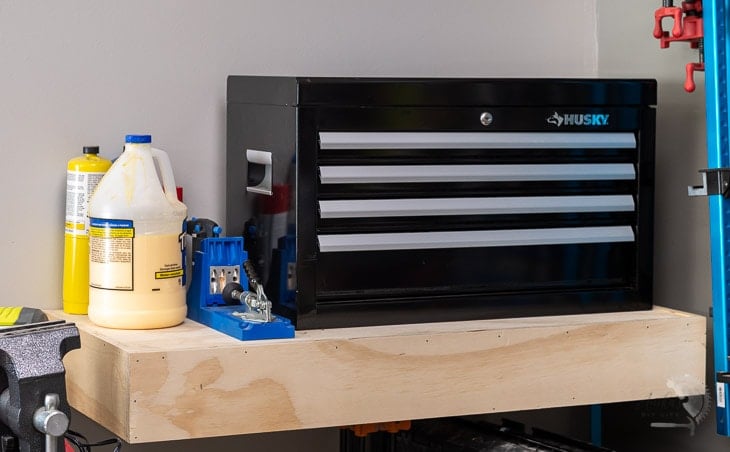
A simple, easy and strong shelf.
And yes, I did put it to the test! It is still going strong!

DIY Floating Shelf Plans
You can get the floating shelf plans by clicking on the link below.
You Might Also Enjoy These Projects –
- 15 Easy DIY Garage Shelves With Build Plans
- DIY Floating Ladder Shelves
- DIY modern wall shelf
- Easy DIY modern display bookshelf
- How To Build Thin Floating Shelves For A Nook
Anika's goal is to inspire and empower beginners with woodworking, DIY, home improvement, and home decor ideas.
She wants everyone to unlock their creative potential and experience the feeling that comes with making something. Nothing feels better better than seeing something and saying "I can make that!"


