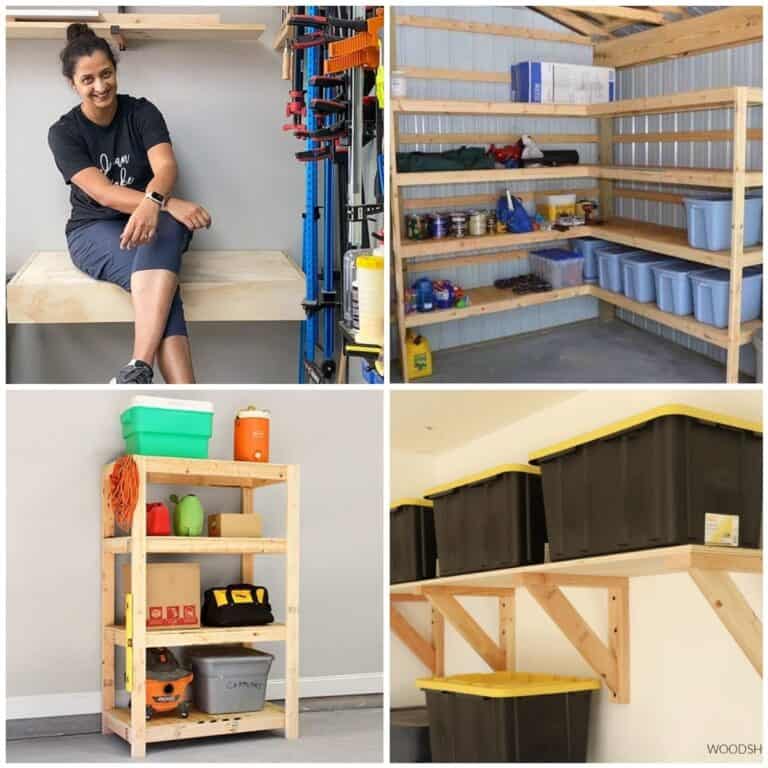
How to Build an Easy DIY Scrap Wood Organizer
Learn how to build a simple DIY scrap wood organizer to keep your workshop tidy and maximize storage space with this project.

Any woodworker, new or experienced, knows how scrap wood organization can become a problem. One minute, you are creating a beautiful piece, and when you look around, you find yourself surrounded by a pile of wood cut-offs and scrap wood!
I had this exact situation.
I didn’t even realize my scrap pile had grown so much!
I had totally lost track of the size and pieces I had in there! I decided I had to get it under control before starting on the next build. So, I came up with this solution in about 45 minutes.
But first, here is what my pile started out as:

See how bad the situation was—and yes, my pile of picture frames is in the mix there as well! It is so much better now, and the best part is that I used only wood from my scrap pile to make the organizer.
***This post contains referral or affiliate links. It is a way for this site to earn advertising fees by advertising or linking to certain products and/or services. Please read my full disclosure here ***
Materials Needed
- 1 x 12
- Lots of scrap 1 x 3, 1×4, pretty much any boards that fit the size you need.
- 1/4″ plywood or hardboard
- wood glue
- Kreg jig I used the Kreg K4 for this project. See which Kreg Jig is right for you.
- Power Drill
- 1¼” pocket hole screws
- miter saw or miter box
- circular saw
- 1 ¼” wood screws
- Brad nailer and 1 1/4″ finish nails
How to Build
Step 1: Make the Cuts
- Make the cuts according to the cut list.
I started with a 1 x 12 board which, is going to be the side of the organizer. You can also use plywood in place of this.
- I had a 66″ board, so I cut it to 33″ for each.

I had bought this for a project and it sat in the garage for a few months. When I got to it it was warped like crazy!! I have been trying to figure out what to do with and this was the perfect opportunity because it does not need to be perfect for this project.
Step 2: Add the Dividers
- I used 11½” for the width of the organizer. This was because I already had a piece of 1×8 of that size. You can pick any size that works for you.
- Cut the remaining pieces for dividers to 11½”. I used a mix of scrap 1×3 and plywood.
You can also use a 1×8 board for the front if you want it to hold smaller pieces of wood.
- Make pocket holes with the Kreg Jig set to ¾” on all the dividers and attach them to the side using 1 ¼” pocket hole screws. I spaced them evenly at 11″ each with a gap of about 1″ between them.
See how to use pocket holes to build projects.

See how warped the bottom board is, you can see that the dividers are not straight. But I don’t care because it is just going to be used for scrap wood storage.

Step 3 – Attach the Other Side.
- Attach the other 1×12 side to the dividers.
The boards were very warped and I tried my best to align the divider boards.

Step 4: Add the Bottom
- Attach the boards to the bottom using finish nails or screws.
Ideally, it would be nice to have one large piece of wood attached to the bottom. But I was trying to use up what I had and didn’t want to go out and buy a sheet of plywood. I attached ¼” plywood and hardboard sheets.
Important: If you were planning to add casters to this. I recommend using ¾” plywood for the bottom.

That’s it! We have the organizer ready! You can add locking casters to the bottom to make it mobile.

I took this opportunity to also sort out all the junk treasures I had accumulated in that area. And now, look at this corner!
I can see all the scrap wood I have and it didn’t cost me a cent! I store tiny cuts in the front bin until I can toss them. Anything under 2 feet in the middle bin and all the longer boards in the third bin. This will really make my life so much easier! The wider boards and plywood are stored in the back.
You might also like:


Anika's goal is to inspire and empower beginners with woodworking, DIY, home improvement, and home decor ideas.
She wants everyone to unlock their creative potential and experience the feeling that comes with making something. Nothing feels better better than seeing something and saying "I can make that!"


You are really rocking those power tools Anika, this is a great way to have all that scrap wood organized! Love it! I wish I had a spot to DIY, our place is so small… and btw. I almost didn’t recognize the site, your new header is awesome!
Thanks Katrin! Your prijects are so beautiful! Yes it was about time I changed the name of the blog 🙂
What a fabulous project! I think I will have to build one so my husband will be happy with the mess I keep making in the garage! LOL!
Thank you so much for sharing your clever project over at Waste Not Wednesday!