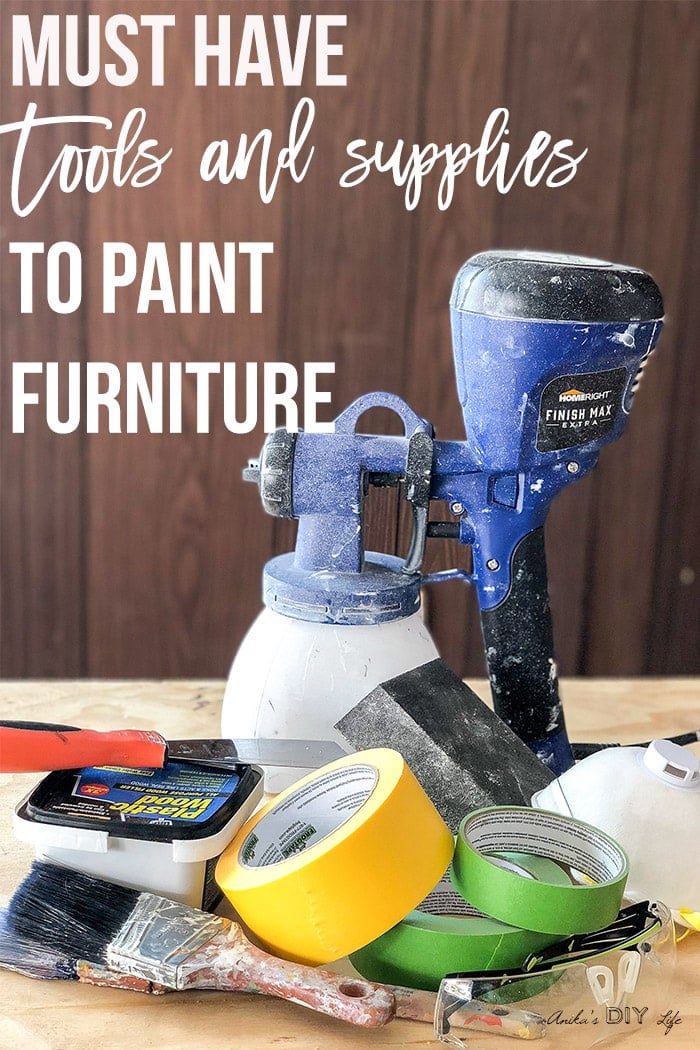
7 Essential Supplies Needed to Paint Furniture
7 essential supplies needed to paint furniture. This list of painting tools is all you need to paint wood furniture for a professional look!
You will also love 7 Essential woodworking tools for beginners and How to paint a room quickly
I love painting furniture – whether its a new build or furniture transformation.
Over the years, I have come to trust and use a few tools and supplies that are absolutely essential to me for getting the perfectly painted look!
And guess what it isn’t a very long list!
Today, I am sharing with you 7 basic tools needed for painting that will make painting furniture not just quick but also perfect!
Essential Painting Supplies for Wood Furniture
***This post contains affiliate or referral links. It is a way for this site to earn advertising fees by advertising or linking to certain products and/or services. Please read my full disclosure here ***
I talked about how to paint unfinished wood furniture a few months ago.
Here, I am covering the essentials DIY painting tools for painting wood furniture – be it a brand new build or a curbside find!
DIY Painting Tools
1. Protection
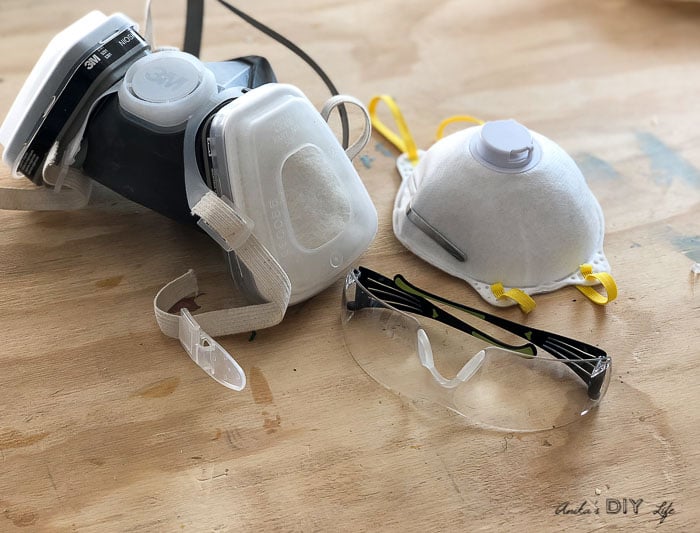
First things first – you need to protect yourself from the harmful dust or fumes when you are sanding and painting!
A good quality mask is essential! I like this mask while I am sanding but if I am using oil based stains, poly or paints, I use this mask!
Next is eye protection. Good quality eye protection is important.
Need I say how important your eyes are to take chances with sanding dust flying in and blinding you?
2. Wood Filler

Wood filler makes all of us perfect! Really!
I love using sandable and stainable wood filler on bare wood furniture to fill up holes and imperfections.
It is also great to use on old furniture when you are swapping out hardware or fixing cracks or dents.
I also like using caulking for gaps and spaces where it is hard to get the wood filler in.
Also, I have found that the perfect sized putty knife is 1½“.
3. Sanding Sponge

Assuming you have already started off with a smooth, sanded surface, when you need to sand between coats – sanding sponges are the best!
They are easier to hold than single sheets of sandpaper.
Make sure you get one with an angled edge. It makes it so much easier to get into corners!
The best part is they last a long time!
When they start getting dirty, you can just wash them out and they are like new again! I have had my current set for almost 2 years now.
I also love these contour sanding grips. They make sanding detailed areas so much easier!
4. Tack Cloth
As important as it is to sand the painted surface, it is even more important to get all the dust off!
My favorite thing to use for this is a tack cloth!
They are basically just sticky clothes that pick up all the dust as you wipe it.
Tip – use a paper towel to hold them. you don’t want that tacky stuff getting on your hands!
5. Painter’s Tape
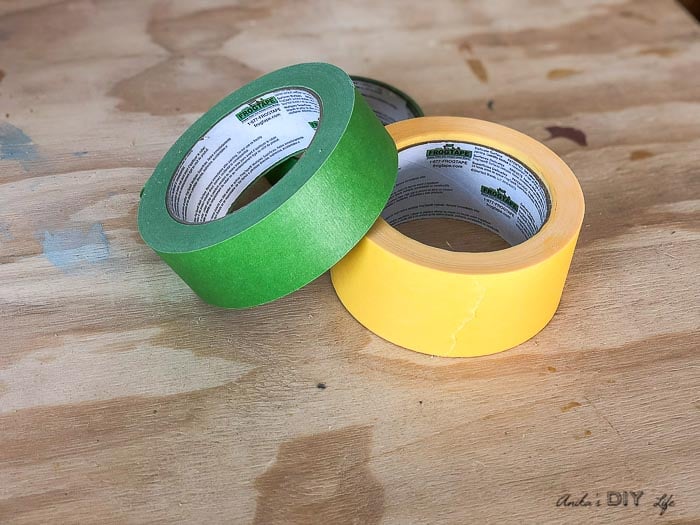
I love Frog Tape for masking areas you don’t want to paint.
After trying a bunch of brands ranging from the dollar store to more expensive ones, I have finally found my favorite!
I use both the green and yellow frog tape and it gives perfect lines every time!
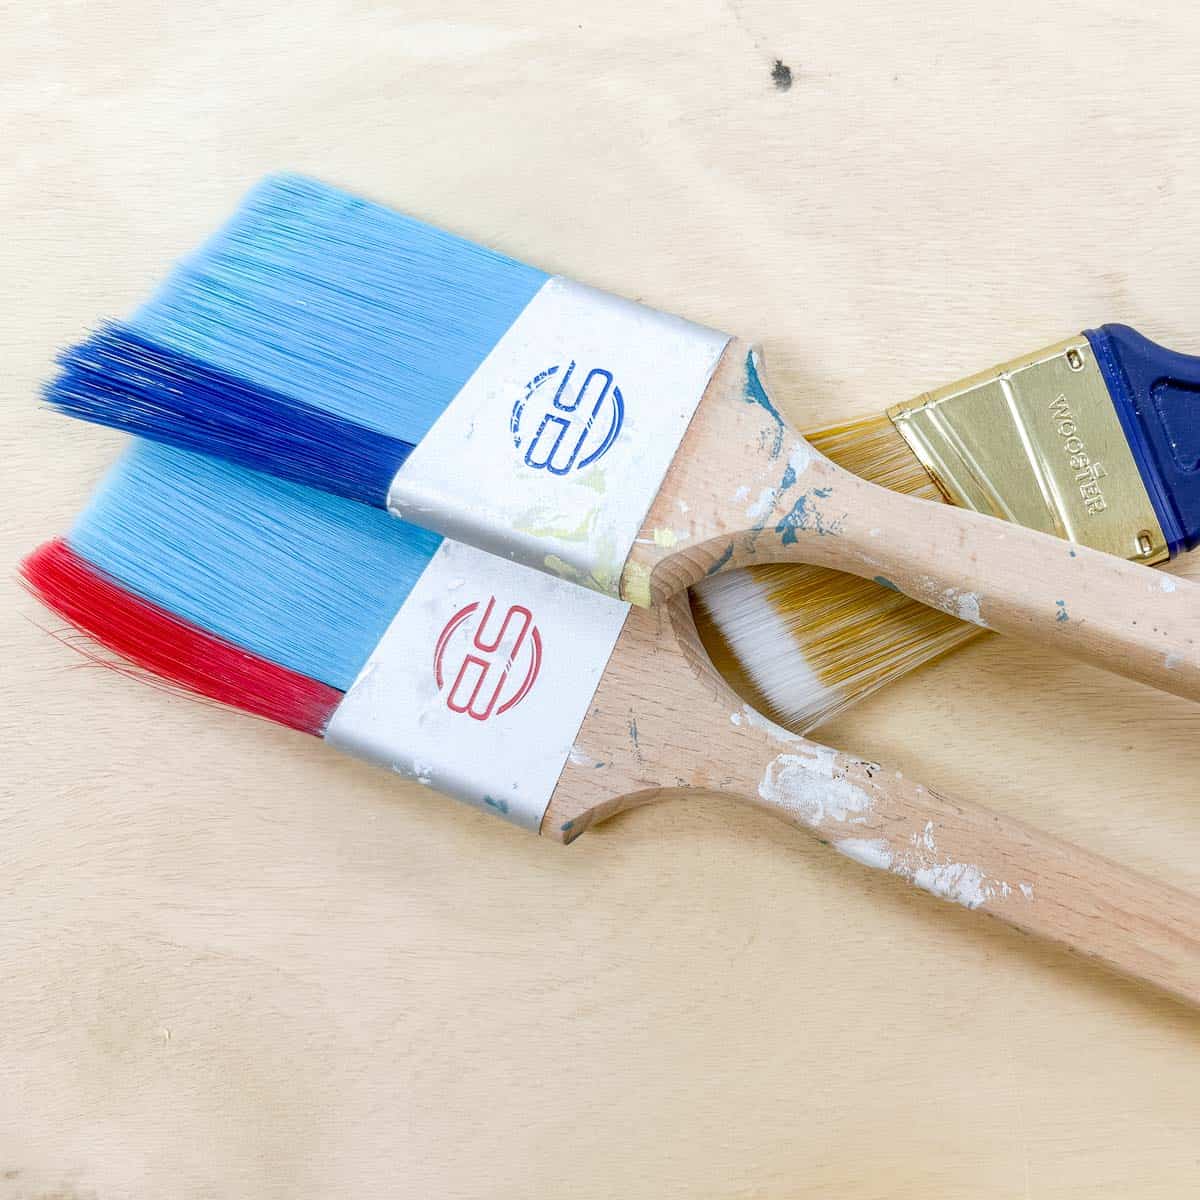
6. Good Quality Paintbrush
Your paint job is going to be only as good as the paintbrush.
My favorite one is this Purdy paint brush.
They are so durable! I have owned 3 for almost 6 years and they are still going strong!
Oh and don’t forget paintbrush covers for when you need to take a break during painting!
7. A Paint Sprayer

I swear by the HomeRight FinishMax.
If there was one tool I had to pick that makes my painting life so much easier, its this paint sprayer.
I use it for primer, paint, and poly – basically from start to finish.
It has helped complete a whole ton of project so fast! There have been times when I have completed a coat of paint on a huge piece in under an hour including set up and clean up.
I can’t even imagine painting by hand anymore. Plus now they have a paint sprayer where you don’t even have to worry about diluting the primer or paint.
Bonus – A Spray Shelter
While not essential, you are going to love them! Because who likes overspray?
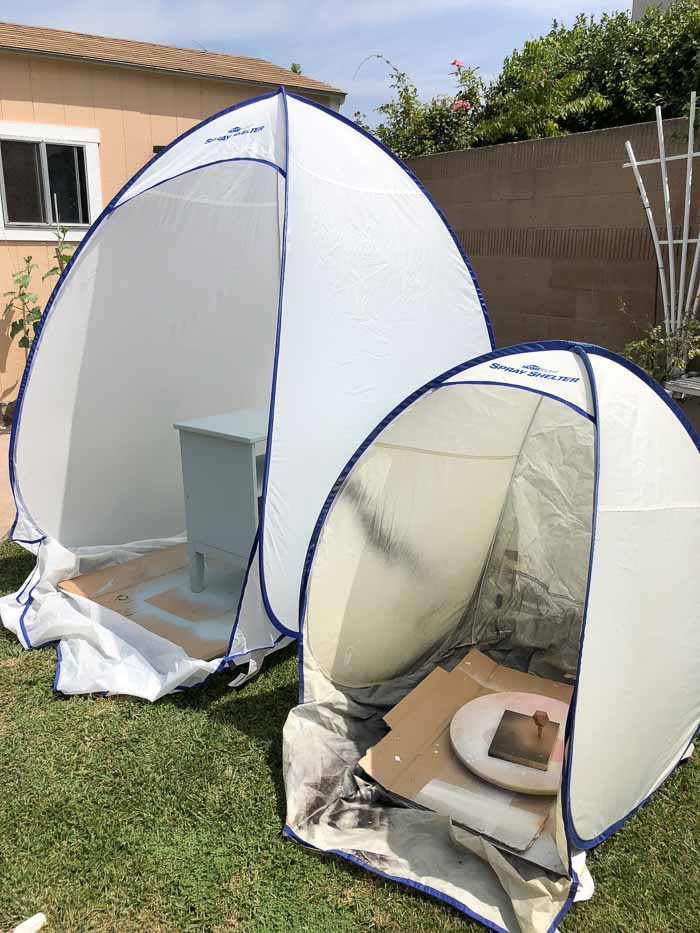
They come in 3 sizes – small, medium and large so you can use whatever size you need for your project! Or get one that you might use the most.
RELATED: Tips and Tricks to paint a room quickly
What Are Your Favorite Tools for Painting?
Summary of painting tools for furniture –


Anika's goal is to inspire and empower beginners with woodworking, DIY, home improvement, and home decor ideas.
She wants everyone to unlock their creative potential and experience the feeling that comes with making something. Nothing feels better better than seeing something and saying "I can make that!"


I really appreciate your article. I’ve been painting and building for years and found this very helpful.
Thank you for this list – I am gearing up try some furniture painting – and this list of tools is very helpful. Visiting from Waste Not Wednesday.
Hi Anika … for the last couple of finishing off sanding (raw timber), grab a fine mist spray bottle and very lightly dampen your wood project and let fully dry.. what this does… makes the wood fibers stand up and allows you to sand to a ultra fine finish… you may need to do this a couple of times… ideal if going to stain your timber.
That is a great tip! Thank you Keith!