DIY Planer Stand With Storage and Folding Outfeed Table
Learn how to build an easy DIY planer stand with storage for another tool, a drawer, and a folding outfeed table with rollers. It is perfect for a small workshop!

About 7-8 months ago, I purchased a planer and it was the best decision ever! A new tool is always fun to purchase and I can never wait to use it.
It weighs 90 Lbs! It has been sitting on a dolly to use as a tool cart – which makes it easy to cart it around for sure but it’s hard to use.
Every time I have to use the thickness planer, it’s a great leg exercise and my back does not like it.

I have been planning this stand for a few months now…and finally built a planer cart for it.
If you have been around, you know that I have a small workshop – half of a two-car garage that doubles as a workshop.
My requirements with the planer stand were –
- Compact – for my small workshop.
- Easy to move around – because I usually pull it all out into the driveway.
- Storage – because you can never have enough!
Planer Stand Design
After a few iterations, I finally came up with the design with the following features –
- At waist height to make it easy to use.
- Four lockable casters to make it easy to move around and lock in place while using.
- Compact with the smallest possible footprint – Just slightly larger than the planer itself.
- A shelf to store another tool or tools.
- A drawer for storage of small tools or blades etc.
- A folding outfeed table to help work alone
- Outfeed rollers to help when working with long boards.
Let’s get building!
***This post contains referral or affiliate links. It is a way for this site to earn advertising fees by advertising or linking to certain products and/or services. Please read my full disclosure here ***
Materials Needed
- Lumber per the plans (2×4 and plywood)
- 2 1/2″ pocket hole screws
- 1 1/4″ pocket hole screws
- 4 locking casters and washer/screws to attach them
- Drawer Pull
- 16″ drawer slides
- Kreg Quick Flip or another countersinking bit
- 24″ clamp
- Speed square (see how to use it here)
- Folding Table brackets
- 7/8″ dowels
- 1″ PVC pipe
- 3″ wood screws
- 4″ screws
Tools Needed
- Power Drill/Driver
- Pocket hole jig. I used the Kreg 720. You can see a comparison of all the pocket hole jigs here.
- Miter saw. I used this one. See how to use one here.
- Circular saw, Table saw or Track saw. See how to use a circular saw here.
By the way, I am using this Dewalt Thickness Planer which is absolutely awesome!
Video
As always, I have a full detailed video showing you exactly how I built this. A full written step-by-step tutorial follows below along with pictures.
Click here to subscribe to my YouTube Channel for more great videos!
How to Build the Planer Stand
STEP 1: PREPARE THE BOARDS
- Make the cuts per the cut list in the plans.
I cut the 2x4s on the miter saw and the plywood using a circular saw and the straight edge guide. You can also use a table saw for the plywood.

- Make pocket holes in the 2×4 side pieces or aprons.
I used the Kreg 720 to make the pocket holes. See how to use a Kreg 720 here. The setting on the drill bit collar is 1 1/2″.

STEP 2: BUILD THE FRAME
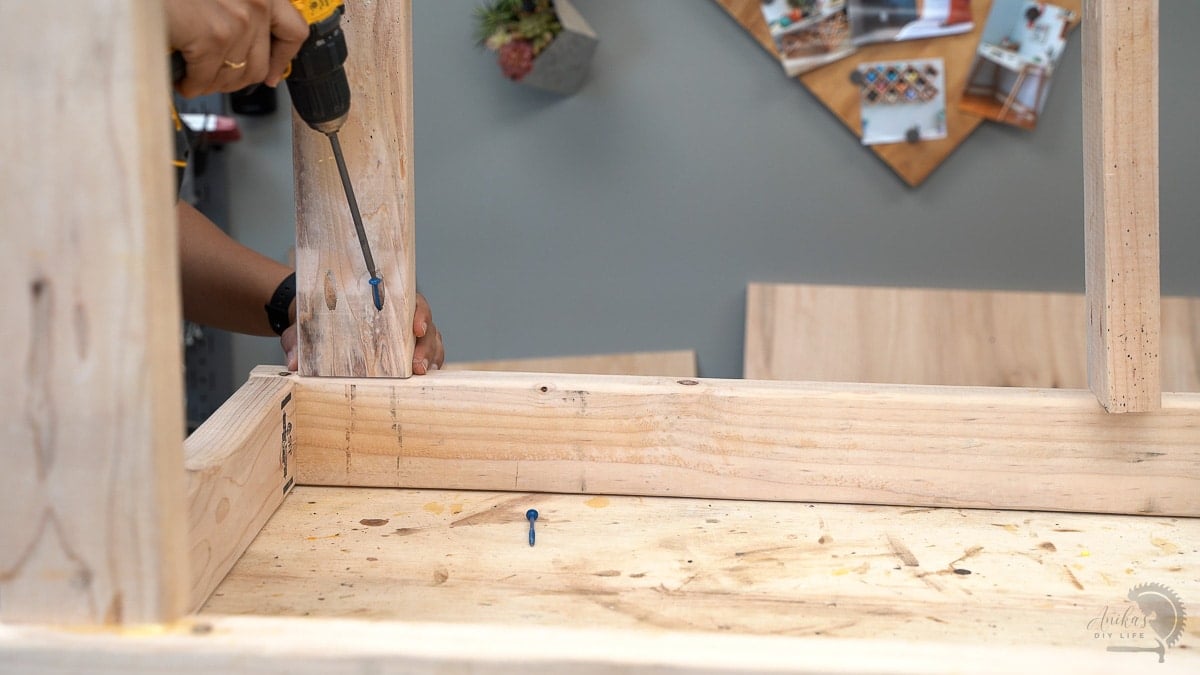
The entire frame is built using 2x4s with 2 1/2″ pocket hole screws and wood glue.
- Attach the short and long aprons to the legs to build the bottom of the frame.
Casters will be attached to the long aprons and drawer slides will be attached to the short aprons (hence the offset).

- Attach the next set of aprons for the middle shelf.

- Finally, attach the top supports.
I also added extra support in the middle to help support the weight of the planer.

This is a good time to add casters to the frame. I used heavy-duty locking casters on all four corners. You can turn the frame upside down to attach the casters, I just put it on its side on top of my workbench and attached them.

And that completes the mobile base.
STEP 3: BUILD AND ATTACH THE DRAWER
- Build the drawer box using 3/4″ pieces of plywood and pocket holes.
You can build the drawers in multiple ways.
The simplest is to make a box. Ensure it is square and attach the bottom 1/4″ plywood using brad nails and wood glue. This is how I have previously built drawers for years. See my guide to building drawers for beginners here.
Another way is to make a groove in the box to inset the drawer bottom. I have recently started making drawers this way.

To do this,
- Set the table saw to the desired distance and make the first pass on all the boards.
- Adjust the table saw blade by 1/8″ to make the groove 1/4″ .
- Make another pass with all the boards. This creates a 1/4″ groove for the base of the drawer.
- Assemble the 3 sides of the box using pocket screws – ensuring that the groove is aligned.
- Insert the 1/4″ plywood bottom into place
- Attach the fourth side to complete the drawer.
- Install the drawer onto the frame using drawer slides. Watch the video for a detailed look at how to do this.

The slides are installed on the short apron we offset to help make space for the slides. I used full extension drawer slides.
- Install the drawer front using 1/8″ spacers all around and install the hardware

STEP 4: ATTACH THE SHELVES
- Cut out the corners of the middle shelf using a jigsaw to accommodate the 2×4 legs.
- Attach the middle and the top shelves using countersunk wood screws.

I used the Kreg Quick swap drill bit and countersunk pocket hole screws. You can also attach the screws from the bottom. I decided to simply go from the top because this is going to be in the workshop and I don’t mind the screws being visible.
STEP 5: ATTACH OUTFEED TABLE
- Attach the folding table brackets to the frame and attach the outfeed table.

Ensure that as you attach the outfeed table, it stays level with the top of the stand. These folding table brackets are pretty easy to use and close completely flat.
STEP 6: ATTACH THE OUTFEED ROLLERS
This is optional but definitely recommended. Outfeed rollers make it super easy to handle longer boards.
I followed the tutorial from my friend Elisha at Pneumatic Addict for the DIY outfeed rollers.
The rollers are made from dowels and PVC pipes and are super easy to make. It took me only about an hour to put them together.
I attached them to the outfeed table permanently.

That is it! That’s the planer stand with storage, folding outfeed table, and outfeed rollers.

We loaded the Dewalt planer onto the stand and secured it with lag screws to the stand.
The outfeed table easily folds down when not in use.
It is compact and easy to move around.

I can store another small tool on the middle shelf and other small tools or blades and other accessories in the drawer.

Truth is, this is a great tool cart and can be used as a platform for all kinds of tools as well instead of the thickness planer. It can also make a great workbench or workstation.
Downloadable Plans for the Planer Stand
You can build your own planer stand with detailed plans which include the cut list, diagrams, and step-by-step illustrations. Click the button below to access the plans.
DOWNLOAD PLANER STAND PLANS HERE
If you build it, I would love to see it! Feel free to email photos to me at [email protected] or tag me on Instagram @anikasdiylife for a chance to be featured on social media! I can’t wait to see what you build!
More workshop ideas
You might also like:
Anika's goal is to inspire and empower beginners with woodworking, DIY, home improvement, and home decor ideas.
She wants everyone to unlock their creative potential and experience the feeling that comes with making something. Nothing feels better better than seeing something and saying "I can make that!"


