How to Build a Drawer for Beginners
This is a complete beginner’s guide on how to build a drawer. Learn three beginner-friendly techniques to build and install the perfect drawers every time.
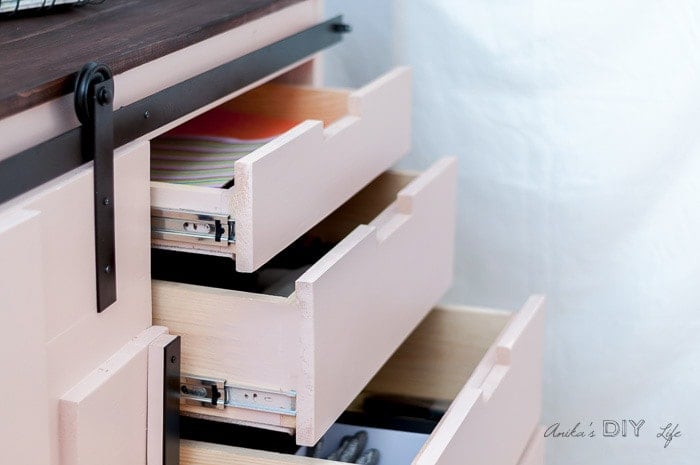
Building drawers are almost like a rite of passage for woodworkers.
The very first time I built a drawer was for this X-leg accent table and literally made a box in a box and didn’t even bother with drawer slides.
The next build with drawers was the Clara bedside table. It took me forever and 3 versions of the drawer box to finally get one drawer square and working!
When I built the Emerson buffet, I was extra careful from the very beginning and focused on keeping everything square and it worked!! The very first time!!
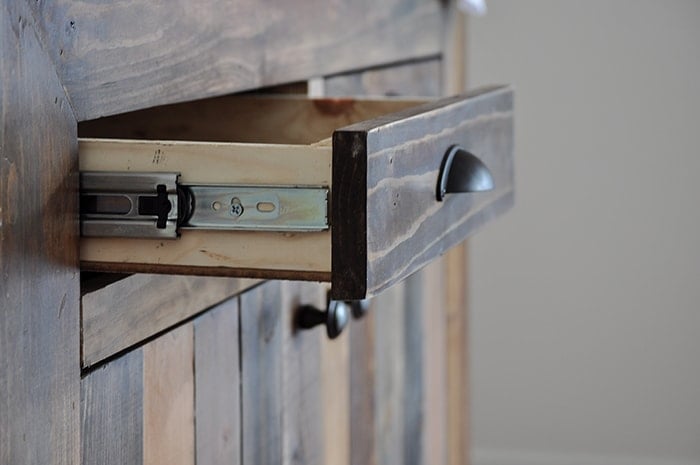
Since then, I have built many many drawers and I no longer fear a drawer in my build. In fact, I love building them.
Let’s dive into everything you need to know to build drawers with confidence.
***This post contains referral or affiliate links. It is a way for this site to earn advertising fees by advertising or linking to certain products and/or services. Please read my full disclosure here ***
How to Build Furniture With Drawers
The ONE key thing to remember when building drawers is:
Square – this is the most important thing when building anything with drawers.
You want to make sure that the box where your drawer is installed is square AND the drawer box is square.
Not sure what “making it square” means? Here is how to check for square and how to fix it.
This means that your preparation for a drawer starts from the very beginning of the build. You want to make sure all the boards are
- Straight and flat
- Cut accurately
- Attached precisely and at a right angle.
***This post contains referral or affiliate links. It is a way for this site to earn advertising fees by advertising or linking to certain products and/or services. Please read my full disclosure here ***
Basics of Drawer Design
When you are designing a piece of furniture with drawers, there are a few things to consider.
What Is the Overall Look of the Drawer?
Is the drawer inset or overlay? This will determine the dimensions of your drawer front and how you attach the drawer slides.
Personally, I love making inset drawers but overlay drawers are great in situations like in a kitchen or just depending on the look of the furniture.
I used overlay drawers on the cane nightstand and inset drawers on this simple nightstand.
What Is the Best Wood to Make Drawers Out Of?
Dimensional boards of solid wood and plywood are both great options for drawers.
1/2″ and 3/4″ materials can both be used to build the drawers.
I usually use 3/4″ because I use them for my projects and usually have enough for the drawers.
What Are the Best Drawer Slides to Use?
There are many options for drawer slides.
My favorite is the ball-bearing full-extension drawer slides. These are durable and easy to install and the full extension makes the drawers easy to use. These are also available in soft-close versions.
Let’s dive into how to figure out the actual dimensions of the drawer you need for your project.
How to Calculate the Size of the Drawer Box
- Width of the drawer box: Take into account the thickness of the drawer slides and decide the width of the drawers accordingly. The drawer slide should come with information on that.
- The ball-bearing slides that I use are usually 1/2″ on each side. Therefore, my drawer box width is 1″ smaller than the opening.
- Depth of the drawer box. This will depend on if the drawer front is inset or overlay.
- With an overlay, you can use almost the entire depth of the opening for the box.
- With the inset, you have to subtract the thickness of the drawer front.
- Dimension of the drawer front
- If making an inset drawer, you want to leave a 1/8″ gap all around the drawer front to help in movement.
- For overlay drawers, the dimensions will depend on your overall project.

How to Build the Drawer Box
There are many ways to build drawer boxes – from using basic joinery to dovetails.
Here I am sharing three of the simplest ways to make drawer boxes that are perfect for beginners.
Technique #1: How Do You Make a Simple Drawer
The simplest way to build a drawer is with simple nails or screws and glue.
After all, it is just a box 🙂
What you need
- Boards for drawer box
- 1/4″ plywood for your base
- 1 1/4″ wood screws or 1 1/4″ trim head screws
- 1 1/4″ panel nails and hammer or Brad nailer and 1 1/4″ finish nails
- countersink bit
- Wood Glue. I like to fill the glue in my favorite glue dispenser.
- Power drill/driver
- miter saw or circular saw to make the cuts
- speed square
- tape measure – this is my favorite one with printed fractions and decimals
How to build
Step 1: Make the cuts
- Make all the cuts you need for the drawer box.
The key is to make sure that the two opposite sides are EXACTLY the same length. This will help keep the drawer square. Even a difference of 1/16″ can cause problems later.
Step 2: Attach the sides
- Apply wood glue on the edge of the front and back and attach to the side pieces using countersunk wood screws or trim head screws.
- Make sure to align the pieces to 90 degrees using a square. This is very important.

This is the perfect time to check for square and make any adjustments if needed.
Step 3: Attach the bottom
- Apply glue on the bottom and attach the bottom using wood glue and nails. Staples are recommended but nails work too. You can even use the trim head screws.

Be sure to check for square at this point as well.
And that is the simplest possible DIY drawer.
Technique # 2: Building a Drawer With Pocket Holes
Building a drawer box using pocket holes is very straightforward and easy. It is pretty much exactly like the simple box except that the joints are made using pocket holes.
The advantage of using pocket holes over countersunk screws or nails is that pocket holes are stronger and can make for heavy-duty drawers.
What you need
- Boards for drawer box
- 1/4″ plywood for the base
- Pocket hole jig(see which Kreg Jig is right for you)
- 1 1/4″ pocket hole screws
- 1 1/4″ panel nails and hammer or Brad nailer and 1 1/4″ brad nails
- Wood Glue. I like to fill the glue in my favorite glue dispenser.
- Power drill/driver
- miter saw or circular saw to make the cuts
- speed square
- tape measure – this is my favorite one with printed fractions and decimals
How to build
I am assuming you are using ¾” thick stock. Adjust the pocket hole jig settings and screws according to the thickness of your material.
Step 1: Make the cuts and pocket holes
- Make the cuts required for the drawer box ensuring that the cuts are precise.
- Make pocket holes on both ends of the front and back pieces.
Step 2: Build the box
- Build the drawer box using wood glue and 1 ¼” pocket screws keeping all the sides square.

Step 3: Attach the bottom
- Glue and nail a ¼” plywood base cut to the size of the drawer box.

Ensure that the box is square and fix for square as needed.
That is it! That is a simple drawer using pocket hole screws.
Technique #3: Building a Recessed Bottom Drawer Using Pocket Holes
This is a little bit of an advanced technique and involves cutting a groove in the drawer fronts and sides.
I have recently started using this technique and although it needs a couple of extra steps, it is easy to make sure everything is square.
What you need
- Boards for drawer box
- 1/4″ plywood for base
- Kreg Jig (see which Kreg Jig is right for you)
- 1 1/4″ pocket hole screws
- Table Saw or router table
- Dado stack (optional – I will show you how to do without it)
- Wood Glue. I like to fill the glue in my favorite glue dispenser.
- Power drill/driver
- miter saw or circular saw to make the cuts
- speed square
- tape measure – this is my favorite one with printed fractions and decimals
How to build
Step 1: Make the cuts and pocket holes
- Make the cuts required for the drawer box. Make sure that the cuts are accurate.
Step 2: Make the grooves
This can be done using a table saw or a router table. Here is how I do it with a table saw and without a dado stack:
- Set the blade height to 3/8″. This is about half the thickness of the plywood or board you are using for the drawer box.

- Set the fence at 3/4″ from the blade. This is where the groove will be created.
- Pass the board through the blade and make the cut. This will result in a groove. The groove is not wide enough for the 1/4″ plywood yet.
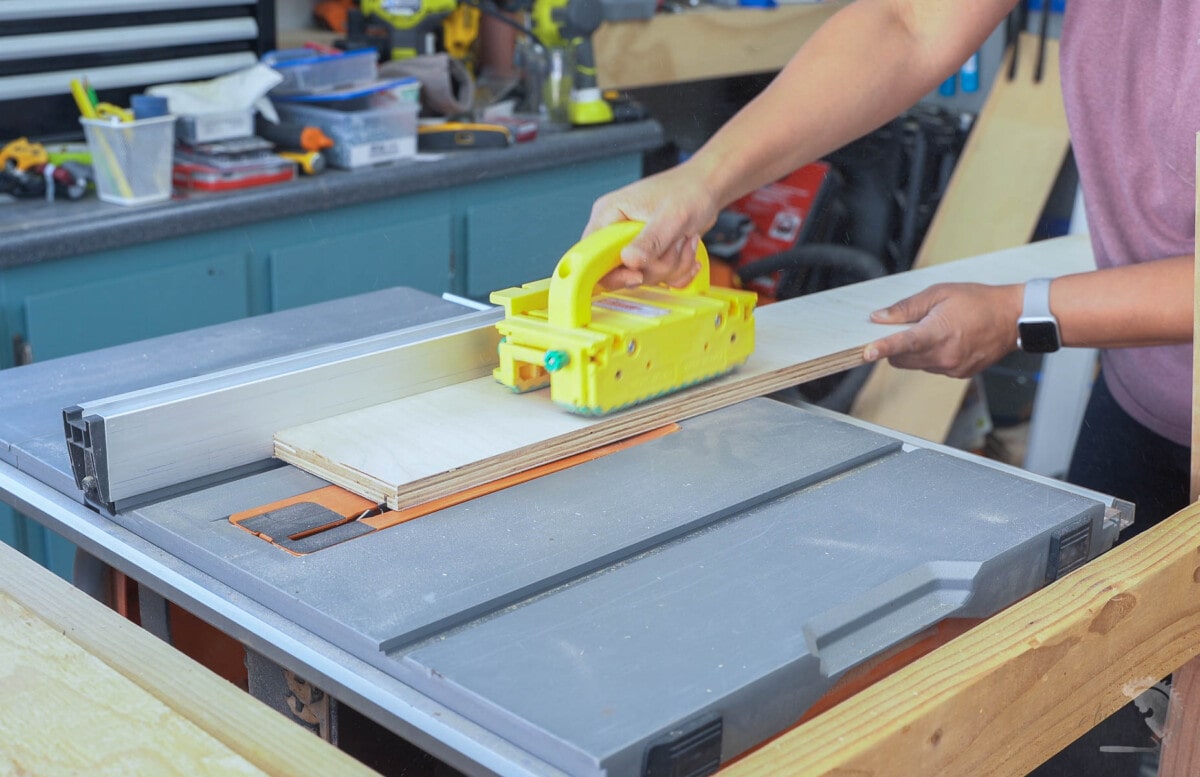
- Pass all the boards through to make sure you get the groove at the same distance from the fence.
- Move the fence by 1/16″ towards the blade.
- Pass the board through again. Check to see if the 1/4″ plywood fits.
- If it doesn’t fit, move the fence 1/16″ towards the blade again and test.
- Once the plywood fits, pass all the boards through and make the cut.
You should now have all the sides with a groove for a 1/4″ plywood.
Step 3: Make pocket holes
- Make pocket holes on the front and back of the drawer box. The pocket holes are made with a 3/4″ setting and on the face that does not have the groove.
Step 4: Build the three sides
- Assemble the three sides of the drawer box – the front and the two side pieces using wood glue and 1 ¼” pocket screws.
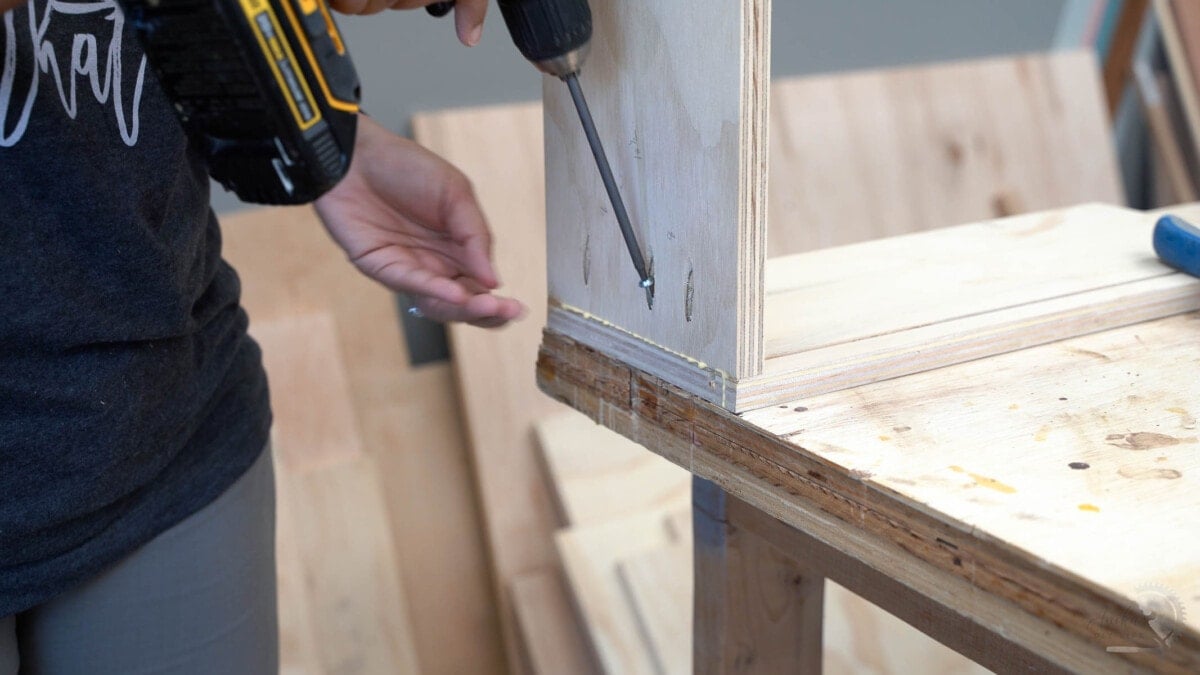
Ensure that the grooves line up on the inside.

Step 5: Attach the bottom of the drawer
- Slide in the 1/4″ bottom panel.
- You can add a little wood glue in the grooves to make the base stronger.
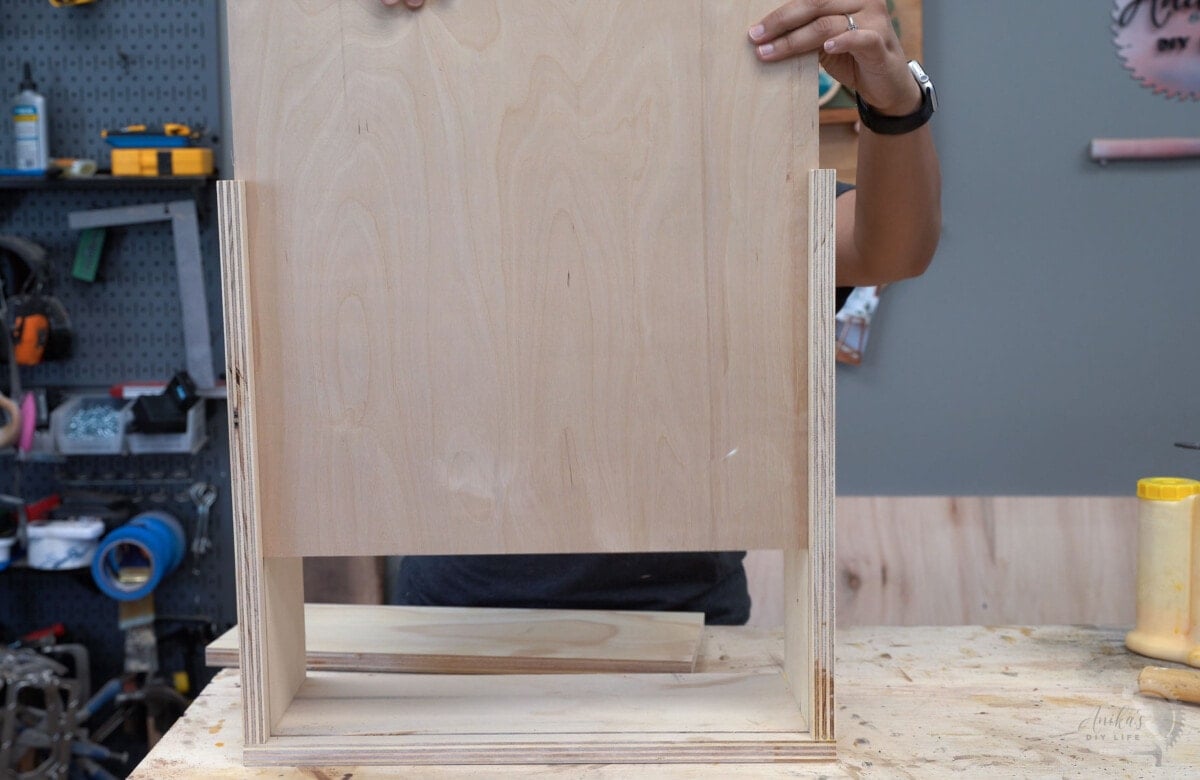
Step 6: Attach the last side
- Add the back of the drawer box using pocket hole screws and wood glue.

This is the drawer box.
Since we made sure that the grooves were cut perfectly at the same places, it is very easy to get a square box.
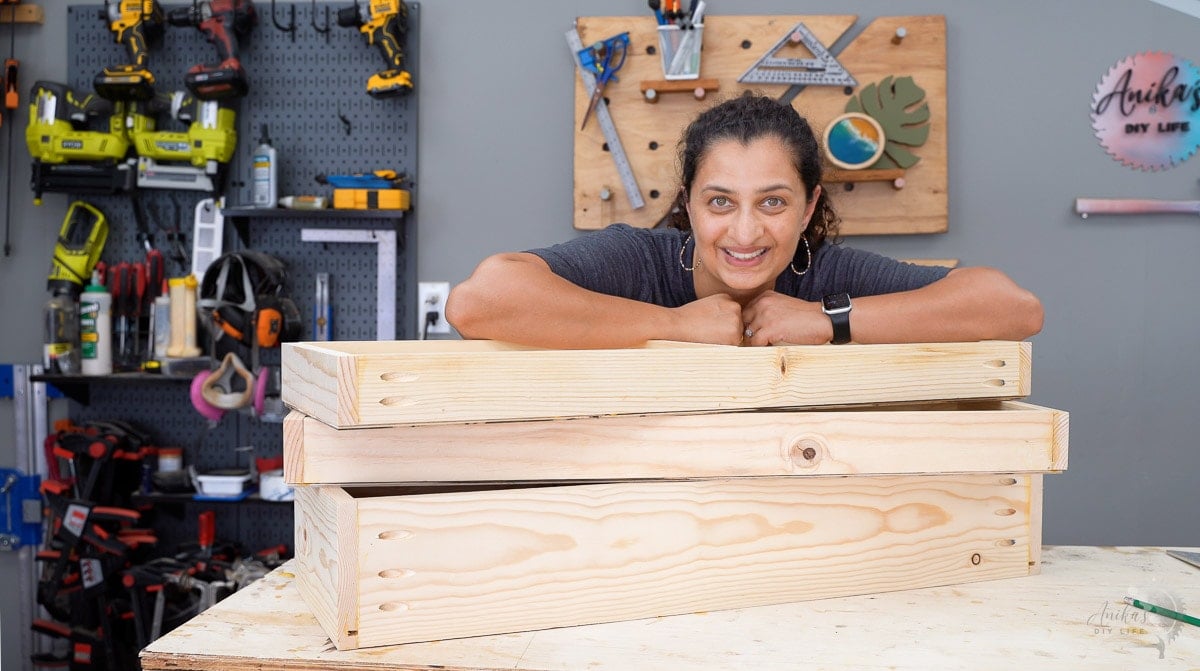
There you have the 3 ways to build a drawer box. You can get started with technique #1 and work your way up to technique #3.
How to Attach Drawer Slides
Once the drawer box is ready, it is time to attach them.
I will be covering ball-bearing slides here since those are the ones I use 99% of the time.
Other types of slides can be attached using similar principles.
Step 1: Separate the drawer slide.
- Squeeze the black tab to separate out the two parts of the drawer slide.
Step 2: Attach the frame side
Before attaching the slides to the frame, you want to decide if you have an overlay or inset drawer front.
- For an inset drawer, you need to leave space for the drawer front on the inside of the frame.
- For an overlay, you don’t have to leave any space.
For an inset drawer –
- Mark the thickness of the drawer front on the side.
- Use a drawer slide jig or a scrap board to support the drawer slide level on the frame.
This is very important. The drawer slide needs to be perfectly level to be able to work smoothly. If not, it will stick.
- Line up the drawer slide to the thickness mark.

- Attach the drawer slide using the screws provided with the drawer slide. Attach with at least 3 screws.
For an overlay drawer –
Follow all the steps above except align the front of the side to the front of the frame.
Step 3: Attach slide to drawer
- Add the other part of the slide back into the slides on the frame.
- Support the drawer box in place. This can be done using scrap boards.
- Pull out the drawer slides and align them with the front edge of the drawer box.

- Attach slides using at least two screws.
- Once the 2 screws are in place on both sides, pull out the drawer and add a third screw to the back.

That’s it! Add the drawer back into the slides on the frame and done!
How to Install the Drawer Front and Hardware
The drawer box is built and installed!
Now for the finishing touches – the drawer front and the hardware.
There can be two situations-
- You will be using hardware like cabinet knobs or pulls.
- You will not be using hardware and will be going with cutouts.
Drawer front when using hardware:
Step 1: Make the holes for the hardware on the drawer front.
- Measure, mark and make the holes for the hardware. I like using the Kreg hardware jig for this. But you could also do this by simply measuring with a tape measure and pencil.

Step 2: Attach the drawer face to the box
- Apply wood glue on the drawer front and place it on the drawer box (while it is installed in the frame).
- Add shims to create a 1/8″ clearance all around. I like using these reusable plastic spacers.
- Add temporary screws through the holes for the hardware into the drawer box. These can be pretty long screws.

- Once attached, open the drawer and add countersunk screws from the inside of the drawer box.

Step 3: Add hardware
- Remove the temporary screws from the front.
- Make the hardware holes all the way through.
- Attach the hardware.

When not using hardware:
- Use hot glue and place the drawer front into its place. Hot glue gives you a little time to align the drawer front but cures quickly enough and holds the board in place.
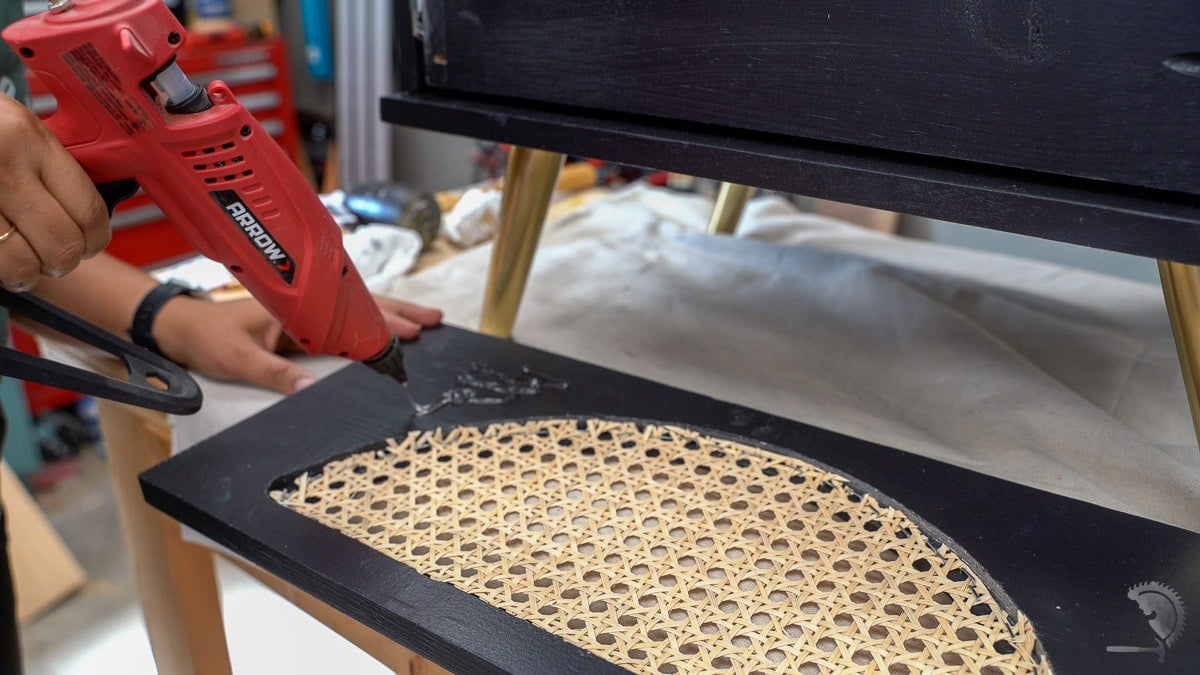
- Open the drawer and add countersunk screws from the inside. You can also use a clamp at this time to make sure the drawer front is pulled in tight.
That is it!
I promise drawers are not that hard.
It is all about practice.
Once you get a hang of it, you will be building lots and lots of drawers. Because you can never have enough storage. Am I right?!
If this inspires you to build drawers, be sure to share it and tag me on social media or email it to me at [email protected]. I can’t wait to see!
Learn how to make a drawer organizer here.
Projects for you to try your drawer-building skills:
Anika's goal is to inspire and empower beginners with woodworking, DIY, home improvement, and home decor ideas.
She wants everyone to unlock their creative potential and experience the feeling that comes with making something. Nothing feels better better than seeing something and saying "I can make that!"


The only thing I would change, is your box layout.
The sides of your drawer should alway go the full length. The front and back pieces should sit between the sides.
This allows for an easier build (no need for the pocket screws this way).
Also will not allow the front of your drawer to be pulled off after extended use.