DIY Table Runner Using Scrap Wood
Learn how to build a DIY table runner using scrap wood with the step by step instructions. This wood block table runner can be easily customized in any color you like.
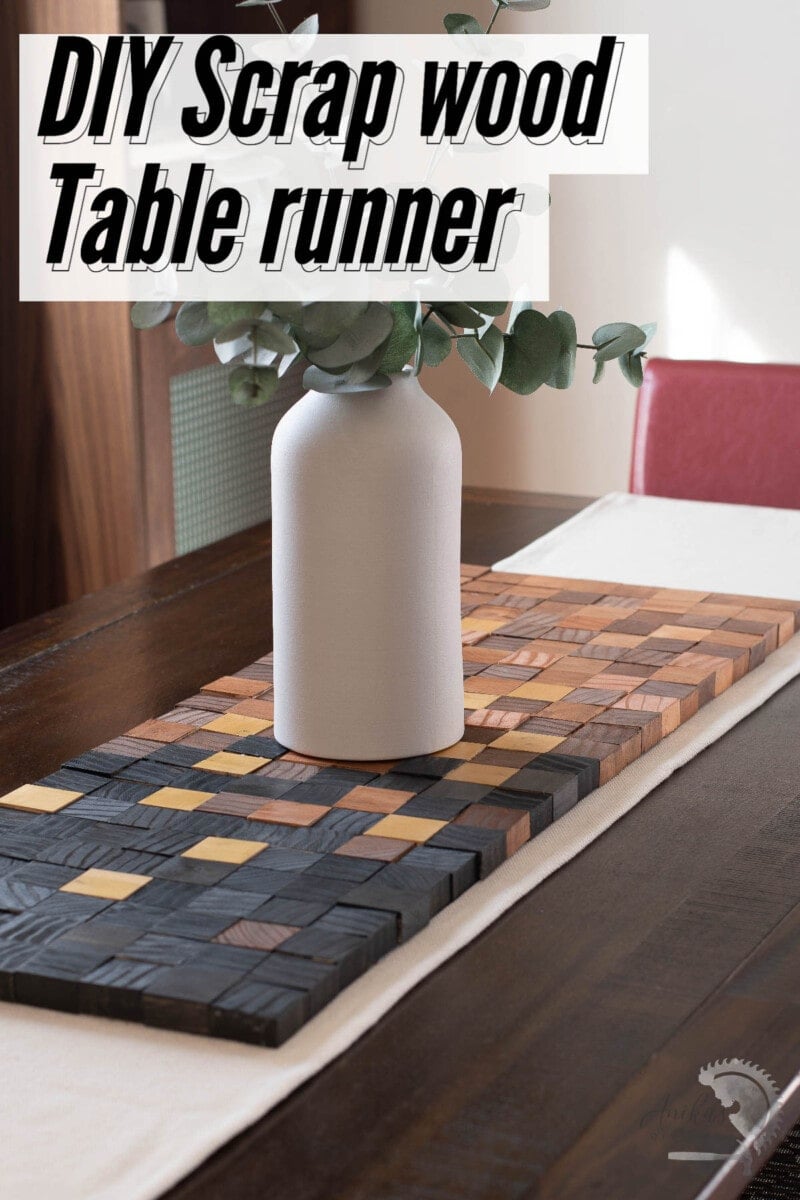
Adding a table runner to your tablescape can elevate the experience.
Although table runners are mostly decorative, I think everything on the table should have a function.
This table runner is:
- made using scrap wood
- Acts as an insulator between the hot pots and the table top aka works like a trivet as well.
- Can be easily customized with colors and length to match your visual style.
- It can be rolled up for storage as well!
I made this table runner short (12″ x 36″) to sit on top of a fabric runner because that’s the amount of scrap wood I had but you could easily make it as long as you need!

You will not believe how easy this project is! It does take a little bit of patience but the end result is totally worth it!
***This project is sponsored by Arrow Fastener. Thank you for supporting the brands that make it possible to bring you new projects.***
***This post contains referral or affiliate links. It is a way for this site to earn advertising fees by advertising or linking to certain products and/or services. Please read my full disclosure here ***
Material Needed
- Scrap boards. I used 1×2 and 2×2 boards
- Thick canvas duck cloth
- Arrow Glue Sticks
- Stain and paint in the color of your choice. I used:
- Sanding block with 220 grit sandpaper
- Tack cloth
Tools Needed
How to Make the Wooden Table Runner
The best thing about this table runner idea is that you do not need to stick with exactly the boards I used. You can make these with any size board.
Step 1: Identify the Boards
I went through my scrap wood pile and sorted the boards by type. I realized that I had many 1×2 and 2×2 boards that could be used. I also briefly considered using the 2×4 and 2×6 boards I had.

I decided to keep the table runner 3/4″ thick. This meant using 1×2 boards and cutting down the 2×2 or other sizes into 3/4″ thick pieces.
Step 2: Make the Cuts
Be sure to use a good blade for this step to eliminate a whole bunch of sanding later on. I use an 80-tooth miter saw blade which produces a 220-grit sanded equivalent finish.

- Set up a stop block on your miter saw.
- Cut the 1×2 boards into 1 1/2″ pieces.
- Cut the 2×2 boards into 3/4″ thick pieces.
I was low on the 2×2 boards so I ripped up some 2×4 scrap boards to make the 2x2s which I then cut down for the blocks.
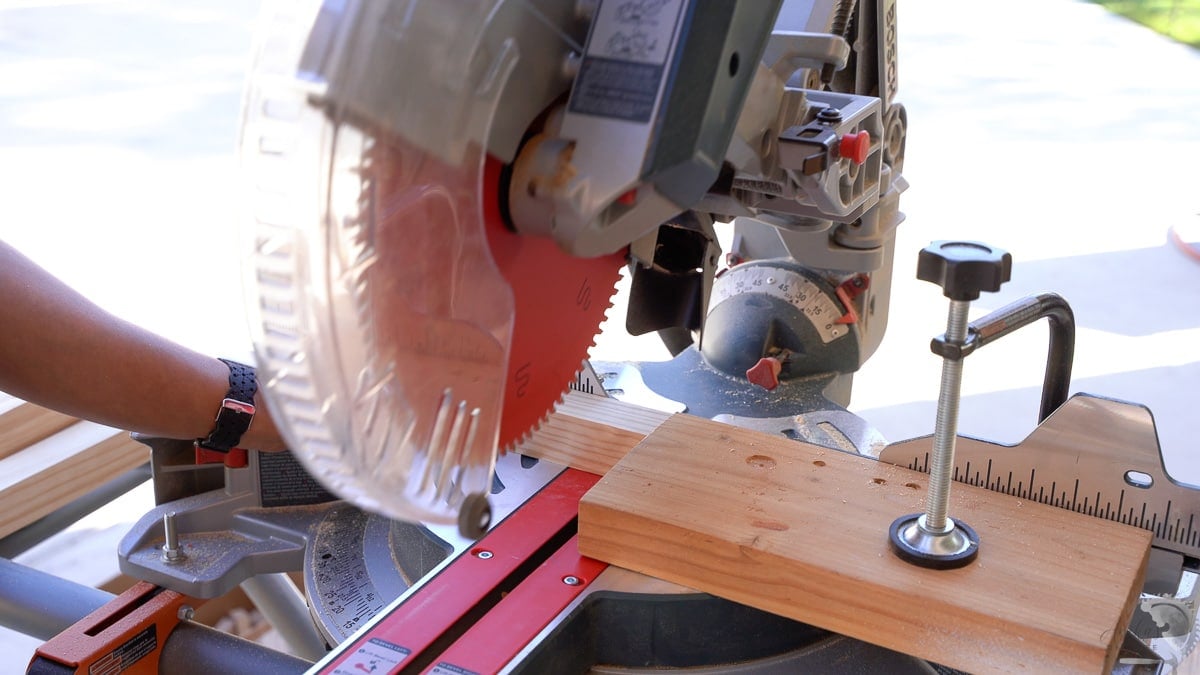
VERY important: A safety precaution:
- Always let the miter saw come to a complete stop before picking up the blade. If the blade is still in motion, it will kick back the tiny pieces, nick them and they will fly off creating a hazard.
- Do not cut shorter than 3″ pieces on the miter saw.
Step 3: Clean up the Blocks
If you use a good quality blade to cut, this will be a very short step.
- Clean up any splinters
- Give it a light sanding with 150-grit sandpaper.
- Wipe down with a tack cloth

Step 4: Stain
- Stain the blocks in colors of your choice.
I chose to go with ebony, natural walnut, and gold and created a gradient from black to light brown.
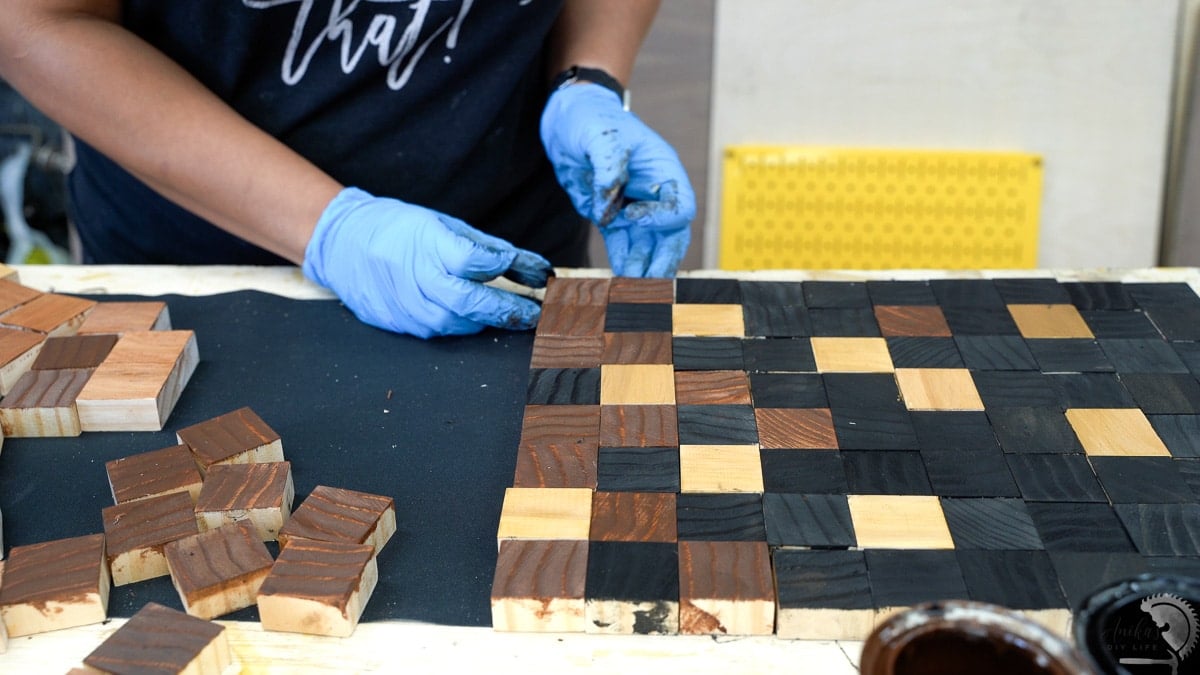
Additionally, the end grain and the face grain take stain differently. This is a great way to also create variations of color.
I stained and arranged the blocks as I went so I got an idea of how many blocks were needed for each color. I was running low on the blocks and didn’t want to end up staining it a color I didn’t need.

I did not stain the sides of the blocks but I later realized that it would have been good to do so. When you pick up the runner, you can see the unfinished edges.
Step 5: Glue the Blocks
- Glue the blocks using the Arrow GT300 Glue gun.
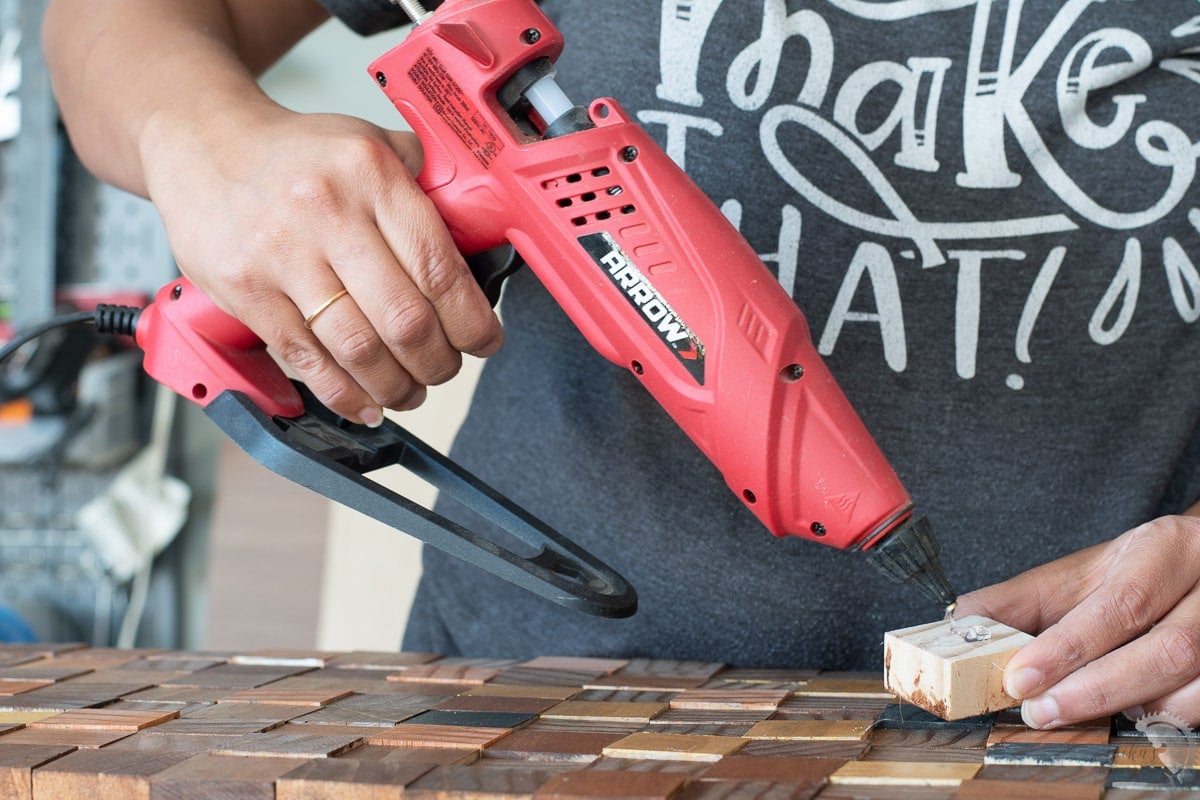
Once the blocks were arranged, I used a nice dab of hot glue and glued them to the bottom fabric.
The GT300 is a high-temperature glue gun with a glue control knob making it easy to use. I used the Arrow Glue sticks with the glue gun.

The hot glue has a very strong hold. In fact, I had made a test glue-up with a scrap 2×2 and I could not take it off without ripping the canvas.
Step 6: Top Coat
- Clean and apply top coat
Once all the blocks are glued, clean up to remove any hot glue webs.
Wipe down with a tack cloth and apply the top coat finish.
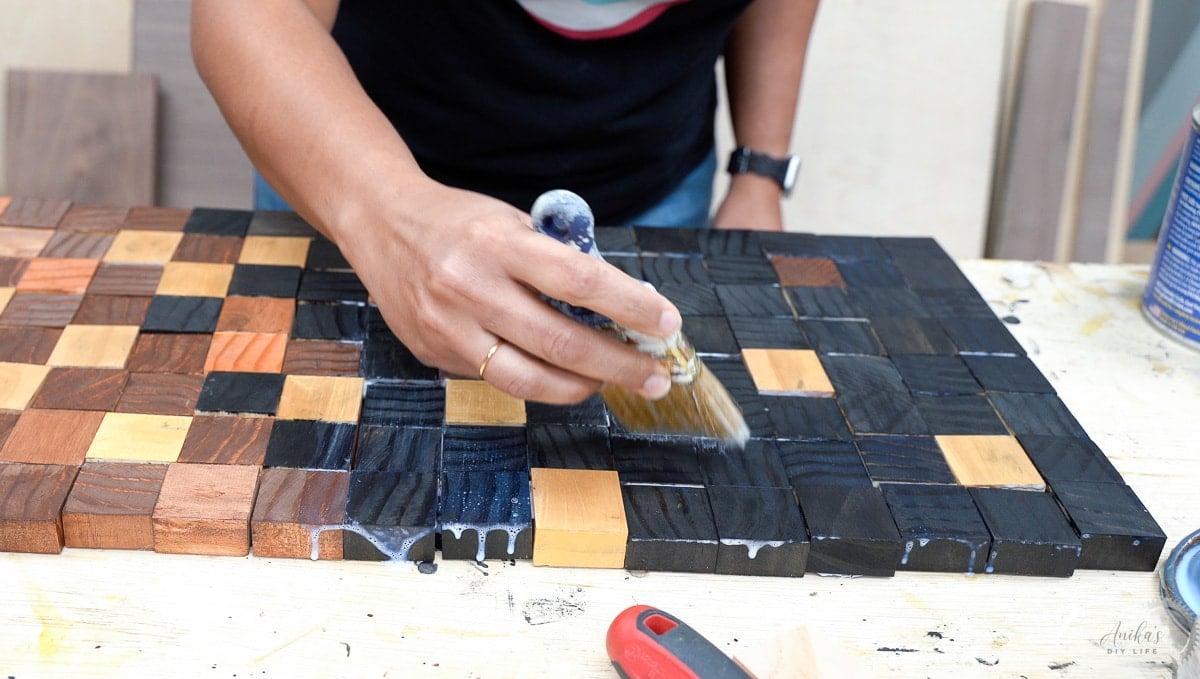
I used a brush on the finish but in retrospect, I should have gone with a spray sealer. It would have made it so much easier to apply the finish.
And done!
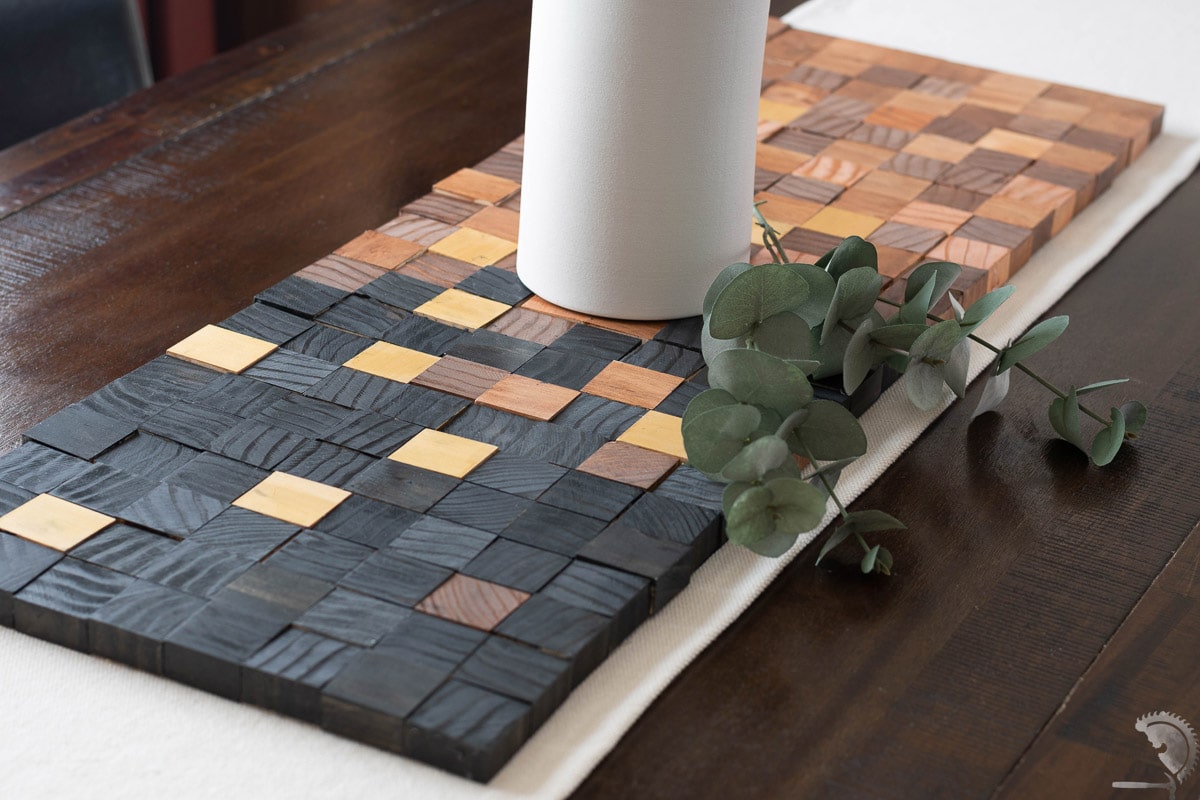
Lay it on the table and layer it with a fabric table runner if desired.

It makes a great statement piece to have on your table or a family meal. The face grain and the end grain absorb stain differently which leads to a natural variation of color. Plus, I like to see the various orientation patterns of the end grain.
Anika's goal is to inspire and empower beginners with woodworking, DIY, home improvement, and home decor ideas.
She wants everyone to unlock their creative potential and experience the feeling that comes with making something. Nothing feels better better than seeing something and saying "I can make that!"


