DIY Upholstered Metal Bench – No-Weld!
Learn how to make a simple DIY Upholstered metal bench using Aluminum brazing. This easy technique and simple project is perfect for beginners so they can incorporate metal into their projects without welding!

I am really excited about this project today!
I have wanted to work with metal for a while and this is sort of like my first baby step into working with metal.
I partnered with Bernzomatic to make this metal bench using Aluminum brazing.
Yes – NO welding involved here!
What Is Aluminum Brazing?
Wikipedia says –
Brazing is a metal-joining process in which two or more metal items are joined together by melting and flowing a filler metal into the joint, the filler metal having a lower melting point than the adjoining metal.
Basically, it is like soldering but it’s slightly different because of the high temperatures involved.
After reading a lot about Aluminum brazing, I was excited to try it and see if I could build a simple project.
It turned out to be quite easy and the joints were surprisingly strong!
So strong, in fact, that I built a bench and it has held up really well!
Speaking of new materials, the theme of this month’s DIY Challenge is “mixed materials” and some of my very talented blogger friends are bringing you lots of inspiration! Check them all out at the bottom of the post!
Now let’s talk about the bench!
DIY Bench Using Aluminum Brazing
***This post is sponsored by Bernzomatic. All opinions are my own. Thank you for supporting the brands that make this blog possible. ***
Materials Needed for Aluminum Brazing
- Aluminum tube – I used 1″ square tubes – total of 15′
- Bernzomatic BZ8250HT Hose Torch
- Bernzomatic Aluminum Brazing Rods
- Bernzomatic MAP-PRO hand torch cylinder
- Flat metal file
- Wire brush
- Miter Saw
- Drill
- Speed Square
- Metal F-clamps
- Heat resistant gloves
- Plywood for benchtop
- Foam, batting, and fabric for upholstery
- Staple gun
- 1-1/2″ self-tapping metal screws
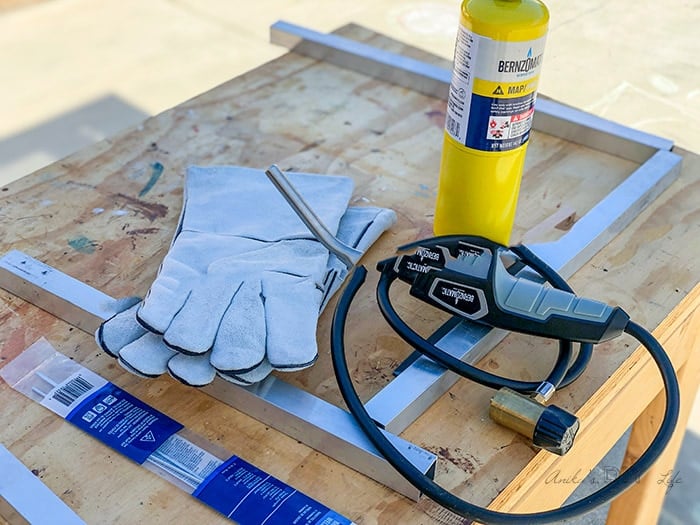
How to Make a Metal Bench
Watch the video for a full tutorial and to see the Bernzomatic torch and brazing in action.
The full written step-by-step tutorial along with tips and tricks follows.
Click here to subscribe to my YouTube Channel for more great videos!
Tutorial for DIY Metal Bench
Step 1: Cut Aluminum to Size
Cut the Aluminum tubes to required lengths on a saw. Cut the Aluminum tubes to required lengths on a saw.
You can find the full cut list and a diagram for the project here
Aluminum is a very soft metal and it can be easily cut using woodworking blades and saws. I used my miter saw to cut it.
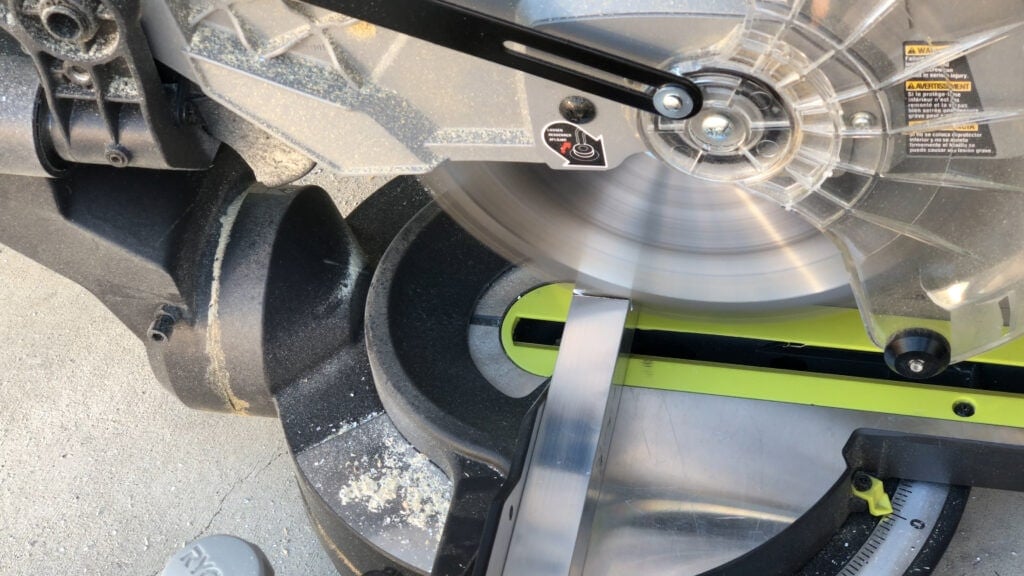
Tip – be sure to cut really slow through the metal
Step 2: Prepare the Aluminum Tubes
- Clean all the tubes using acetone to remove any residue, gunk or oils.
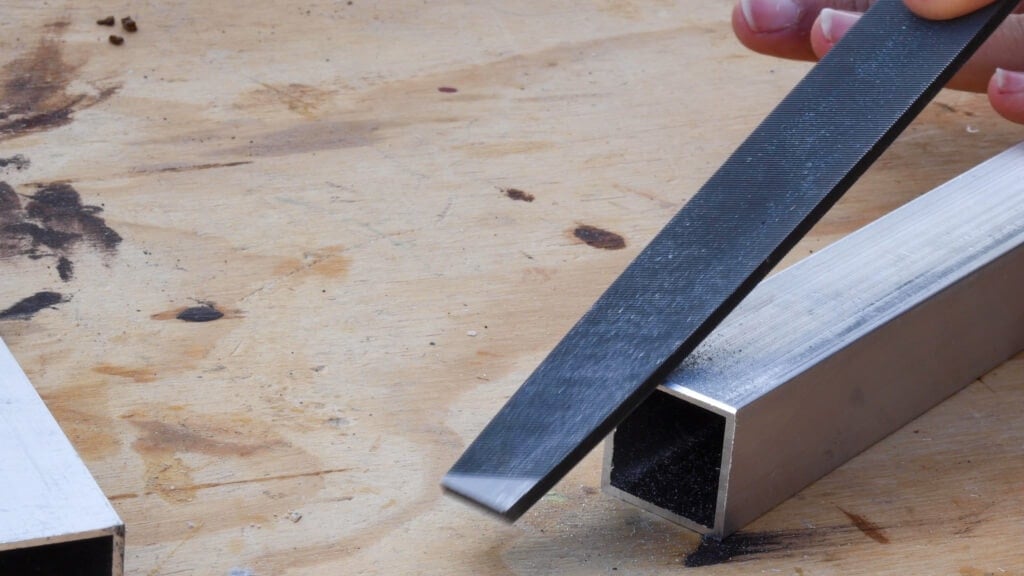
- Using a metal file, create a “channel” on the edge of the end that will get joined. This is where the brazing material will sit. Be sure to do this on all sides of the tube.
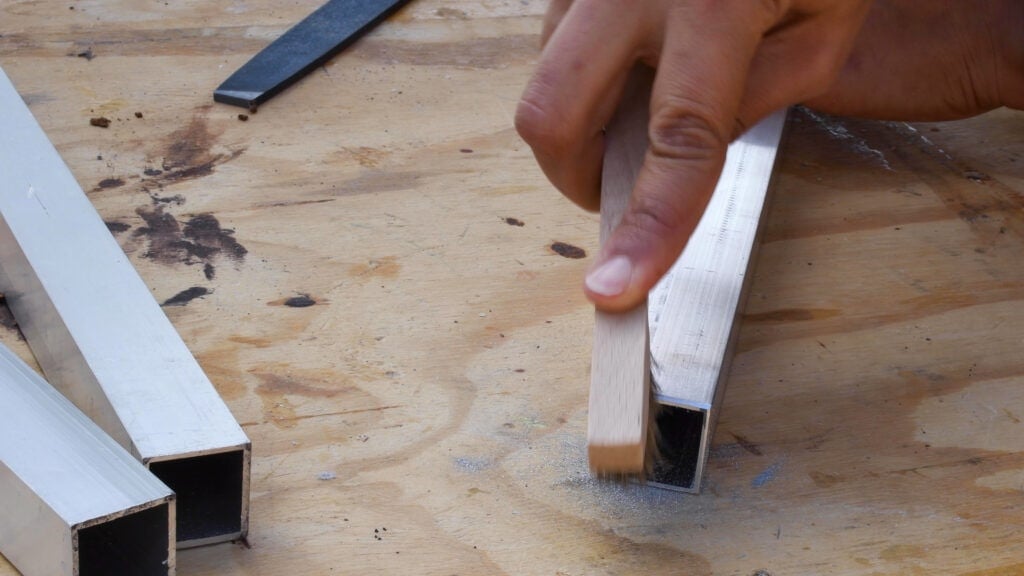
- Use a wire brush to remove all particles and clean it.
Step 3: Set up Joint
Using a speed square, set up the metal pieces you want to join and hold them together using a metal clamp.
Be sure to use a speed square to keep everything square.
It is key to use a metal clamp for this project as the aluminum tubes get really hot and the clamp comes in contact with the flame. Plastic will just not survive.
Step 4: Braze!
This is the fun part! And I have to warn you, although the technique is quite easy, it also takes a lot of patience.
Use the Bernzomatic BZ8250 Hose Torch for Accessibility and Mobility hooked to a Bernzomatic MAP-PRO gas fuel cylinder to heat up the joint.
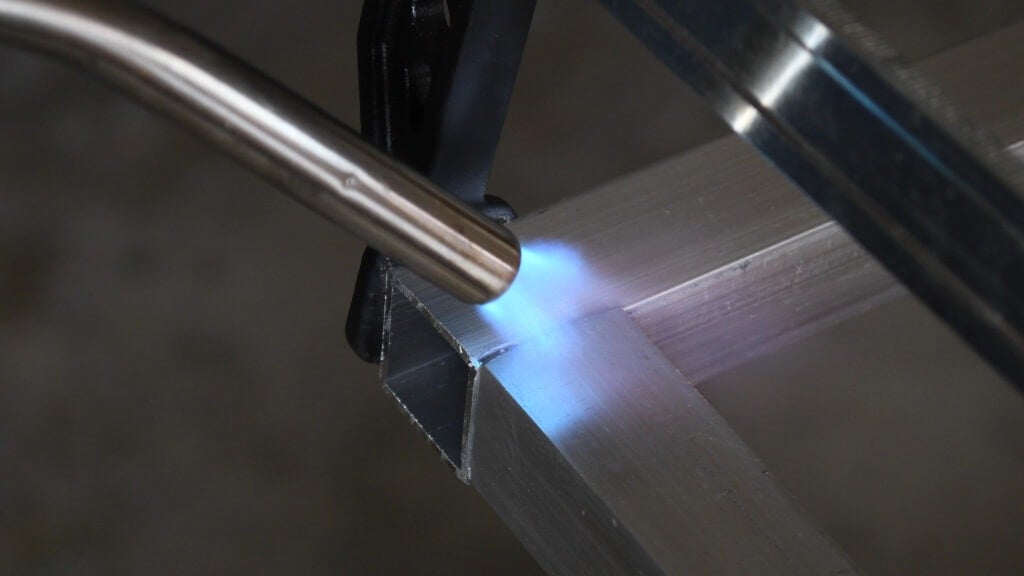
For a new joint, it took about 3-5 minutes to get the aluminum hot enough to melt the brazing rod.

Very important – The aluminum tubes should get hot enough to melt the brazing rod on contact. The brazing rods should NOT be melted directly using the heat from the torch. This will not make a strong joint.
Once you get one side brazed, you can continue to braze the other 3 sides of that joint. This is slightly faster because the aluminum tubes are already slightly hot.
Once you get a hang of it, it doesn’t seem as intimidating at all!
To attach the second tube on the sides, I used 2×2 blocks cut to 5″.
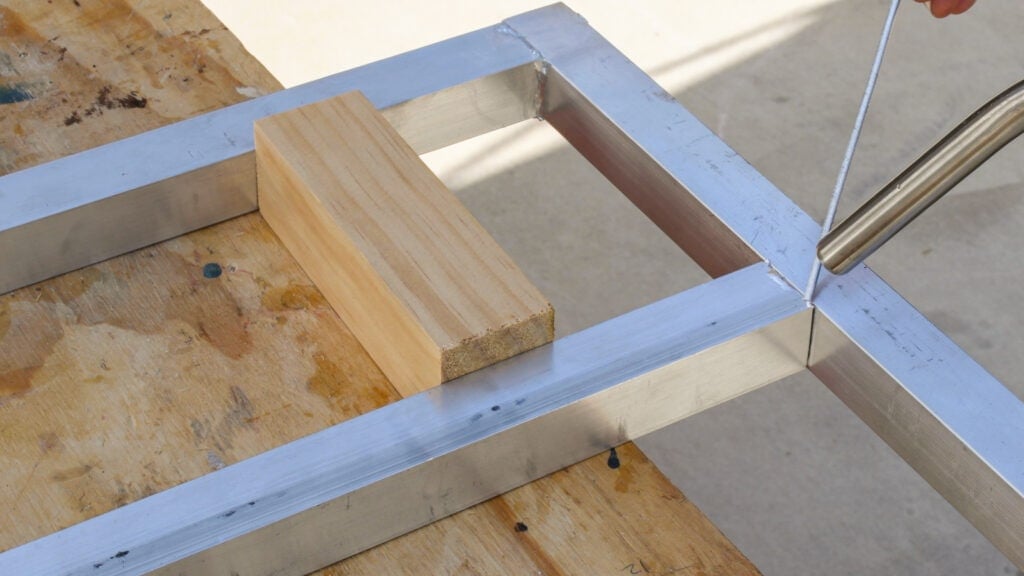
Remember- The tubes as well as the clamp can get really hot! Even though I was wearing heat resistant gloves, I had to wait for a little while before I touched it to move.
I have to admit, I was really amazed at how strong and sturdy the joints turned out!

Step 5: Clean and Paint
- You can file away some extra brazing compound if needed but be careful not to do too much of the joints might break.
- Wipe down once again with acetone to remove any residue and dust.
- Spray paint the little bench frame in the color of your choice. I decided to go with Satin Bronze for a muted yet glamorous effect.
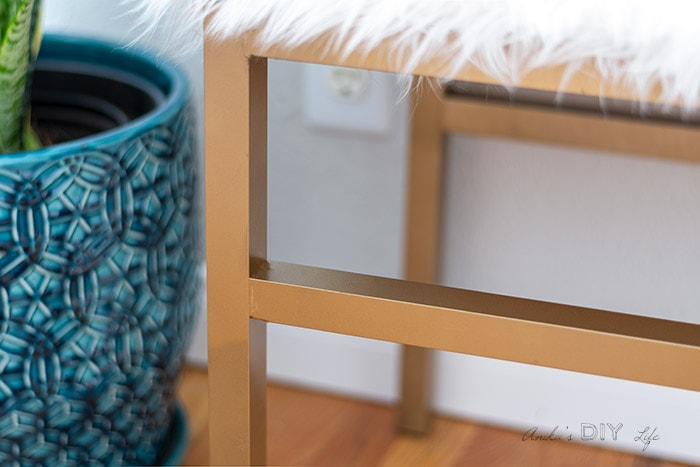
Step 6: Attach Top
- Cut plywood to the size of the bench and upholster it using foam, batting and fabric of your choice.
- I decided to go with the fur to add the simple yet glamorous look.
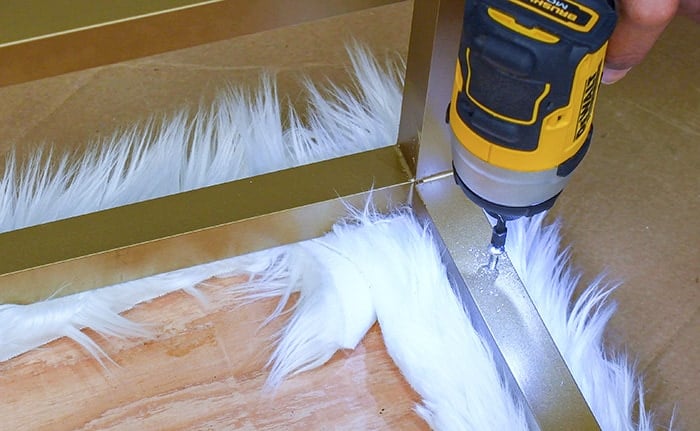
- Attach the upholstered top to the metal bench using 1-1/2″ self taping screws from the inside.
DIY Metal Bench Using Aluminum Brazing
That is it!
A simple yet glamorous little upholstered metal bench.
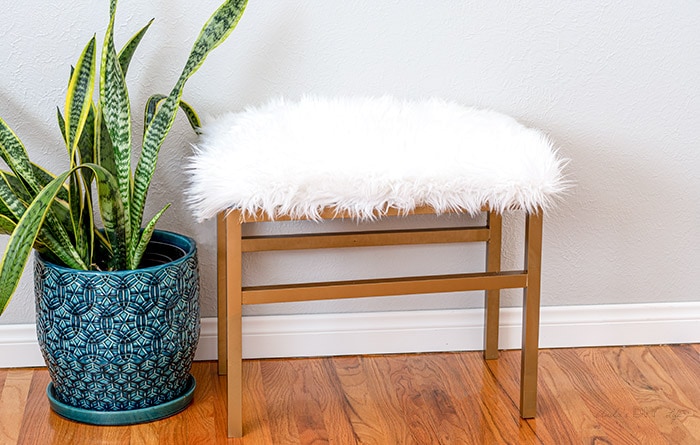
Did I tell you how sturdy this thing is?!
I tested it a LOT. It holds up really well!
Did I convince you to give brazing a try? It does need a bit of patience, and hence time, but the process and technique itself is extremely simple and straightforward!
If you build it, I would love to see! Feel free to email photos to me at [email protected] or tag me on Instagram @anikasdiylife for a chance to be featured on social media! I can’t wait to see what you build!
And now! Here are a few more brilliant DIY projects using multiple materials from some of my very talented friends –
- How to Build a Faux Fireplace by Katie @ Addicted 2 DIY
- DIY Firewood Holder by Cara @ The Inspired Workshop
- DIY Wood and Acrylic floating picture by Mindi @ My Love 2 Create
- Antique Sewing Machine Table by Gail @ My Repurposed Life
- Wood and Leather Ornaments by Sarah @ Ugly Duckling House
You Might Also Like –
Anika's goal is to inspire and empower beginners with woodworking, DIY, home improvement, and home decor ideas.
She wants everyone to unlock their creative potential and experience the feeling that comes with making something. Nothing feels better better than seeing something and saying "I can make that!"


Anika, this pretty awesome! I have tried brazing before, but mine was not nearly as clean as you did here! Lol! You did an amazing job and I love this bench!
This is motivating me even more to work on my aluminum project! Thanks for the tip on the clamps!
Anika,
I had never heard of this kind of technique. You make it look so easy, and your bench is beautiful. thanks for all the great tips.
pinning!
Stunning Writing!! Keep up the good work.