How To Trim A Window With Bullnose Corners
Adding trim around a window can completely elevate the look of the window. Learn how to trim a window with bullnose or rounded corners.

This window has been on my to-do list for over 2 years – basically ever since we moved in.
It is VERY outdated with VERY faded brown blinds. I cringe every time I see it.

A zillion times, I have pulled up a step stool to take it down or to measure for a window treatment.
We couldn’t make up our minds on what we wanted the window to look like.
And that brings us to this day!
*** This post is sponsored by Handy Products. All opinions are my own. Thank you for supporting the brands that make it possible to bring all the great projects! ***
Trimming windows with bullnose corners
The challenge with the windows in our home is that they all have very narrow bullnose or rounded corners.

This also limits the window treatments possible. You cannot install inset blinds or shades.
To trim the windows with the rounded corners and add a clean square edge to the window, I installed thin plywood all around it.
I decided to go with the 5mm underlayment because there wasn’t much space available for anything thicker. See more details on how to install it below.
Materials needed for installing window trim
- Handy Paint Pail
- Handy Paint liners
- Paint Brush
- 5mm underlayment
- Boards to trim the window – your choice. I used 1×4’s and 1×2’s
- Construction adhesive
- 2″ nails
- Brad nailer or Nail gun
- 1″ staples
- Crown stapler
- Measuring tape. This one is my new favorite!
- Miter Saw or miter box
- Jigsaw
- Table saw or Bladerunner X2
- Wood putty
- Paintable caulking
- Fine sanding sponge
- Paint (color of your choice)
How to install the window trim
I used pre-primed boards to install the trim instead of regular pine boards even though they were slightly more expensive. There are a couple of reasons for that –
- It was so much easier to find straight flat pre-primed boards
- More importantly, I didn’t have to worry about sealing the knots and priming. If you decide to go with regular pine boards, be sure to read my guide on painting pine wood so you get a durable and long-lasting finish.
Step 1 – Measure width of inside trim
Use a scrap piece of your outer trim and get the exact width of the inner trim needed.

It is critical to measure accurately as it will directly determine how clean the finished window edges look.
Tip – Measure the width on ALL 3 sides of the window – both sides and top. In my case, they were all different (!!) I cut up all my strips to one measurement and then had to go back and cut more.
Step 2 – Cut inside trim
Rip the underlayment into strips of the width measured in step 1.
I ripped the inside trim using my table saw but a Bladerunner X2 or a circular saw with a straight edge jig will work too.
Step 3 – Install the inside trim
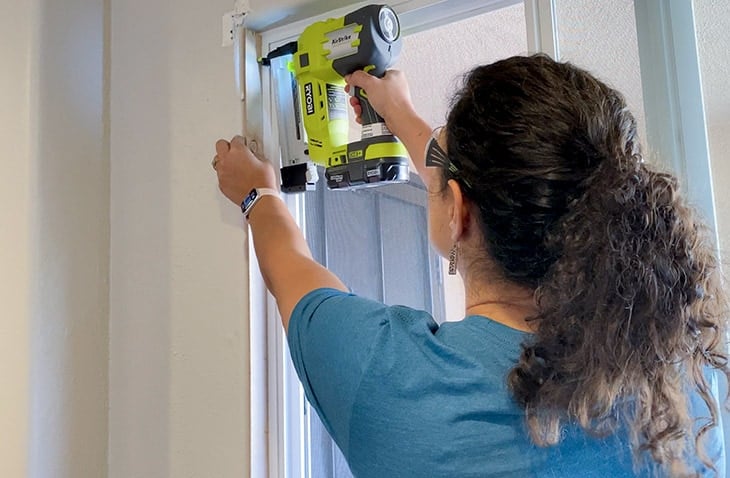
Measure, cut and install the inside trim on both the sides of the window using the staple gun and 1″ staples.

Once the sides are installed, measure the length of the top and cut and install the inside trim accordingly.
I also used construction adhesive on all the trim to make sure it stayed flat against the wall.
Step 4 – Measure and cut Window Ledge
Measure the total length of the window sill. This is the length of the bottom of the window plus the width of the trim that will be installed around it plus the overhang you want.

In my case, I was installing 1×4 boards and 1×2 boards on the outside and that was 4-1/4″ width for the trim plus 1″ overhang – which meant 5-1/4″ x 2 = 10 1/2″ in addition to the length of the window.
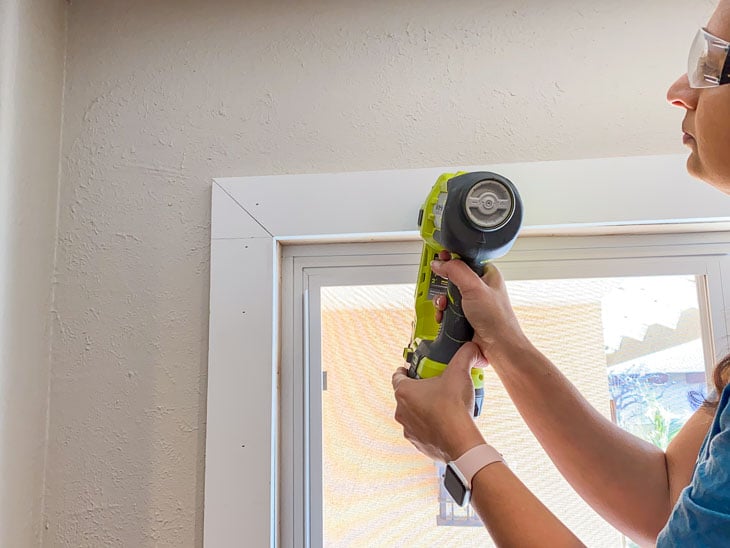
Next, measure the thickness of the window and trim. Mark and cut that out on both ends of the ledge using a jigsaw.
Step 5 – Install window ledge
Attach the ledge to the window using construction adhesive and 2″ nails on the window.

Note – If you have very curved sill around the windows, the ledge might slope downwards. In that case you might want to use shims to level it out.
Step 6 – Install outside trim
Measure and cut the trim for around the window.
Be sure to measure from the corner where the inside trim boards meet.

Attach them with construction adhesive and 2″ nails.
I used 1×4’s and 1×2’s and cut the joints at 45-degree angles for a more finished look.

In the corners, I didn’t have space to use the nail gun to attach the 1×2’s, so I applied the construction adhesive and clamped overnight.

Step 7 – Prepare to paint
Fill all the nail holes with wood putty and caulk all the seams.
Once the wood filler is dry, sand everything down using a fine sanding sponge on the wood filler and the entire trim.
Be sure to wipe off all the dust before painting.
Step 8 – Paint!
Paint the trim in the color of your choice.
I used Alabaster by Sherwin Williams which is the trim color in the rest of my house.
For small jobs like painting trim, I love using the Handy Paint Pail.

It is super comfortable to hold with the adjustable strap. No more fear of spilling paint and making a mess or your hand getting tired.
The genius part is the magnetic brush holder! You don’t have to worry about where to keep the brush.

The Handy Paint Pail comes with a disposable liner that fits like a glove. Sometimes I forget that it is even there!
When you are done, you can simply take it out and throw it away or switch out the liner for the next color!

Less mess, less clean up… sign me up!
On a side note – if you have been following my projects, you have seen me use my favorite Handy Products in the past. Did you notice the sleek new branding?! I am loving this brand new look!
And that is it! Brand new windows!

Not really… but they sure feel like it!
With this quick project, the look of windows and the room has completely changed!
Here is a before and after for you!

So, how long did it take to trim the window? It took me a little over an hour to attach the trim and then another hour to fill and caulk everything and about 15 minutes to paint. Not bad at all!

I trimmed 2 windows and I am already eyeing all the other windows in our home!
Watch out kitchen window!
More easy update ideas for your home –
- Easy and quick DIY staircase makeover
- How to paint a front door
- How to use gel stain – update cabinets without sanding
Anika's goal is to inspire and empower beginners with woodworking, DIY, home improvement, and home decor ideas.
She wants everyone to unlock their creative potential and experience the feeling that comes with making something. Nothing feels better better than seeing something and saying "I can make that!"


What a great update! It really is impactful!
What a great idea & it looks great!