Easy Dry Erase DIY Menu Board for Meal Planning
Make a super easy DIY menu board to take control of the week with meal planning. This dry erase board is perfect for any kitchen!
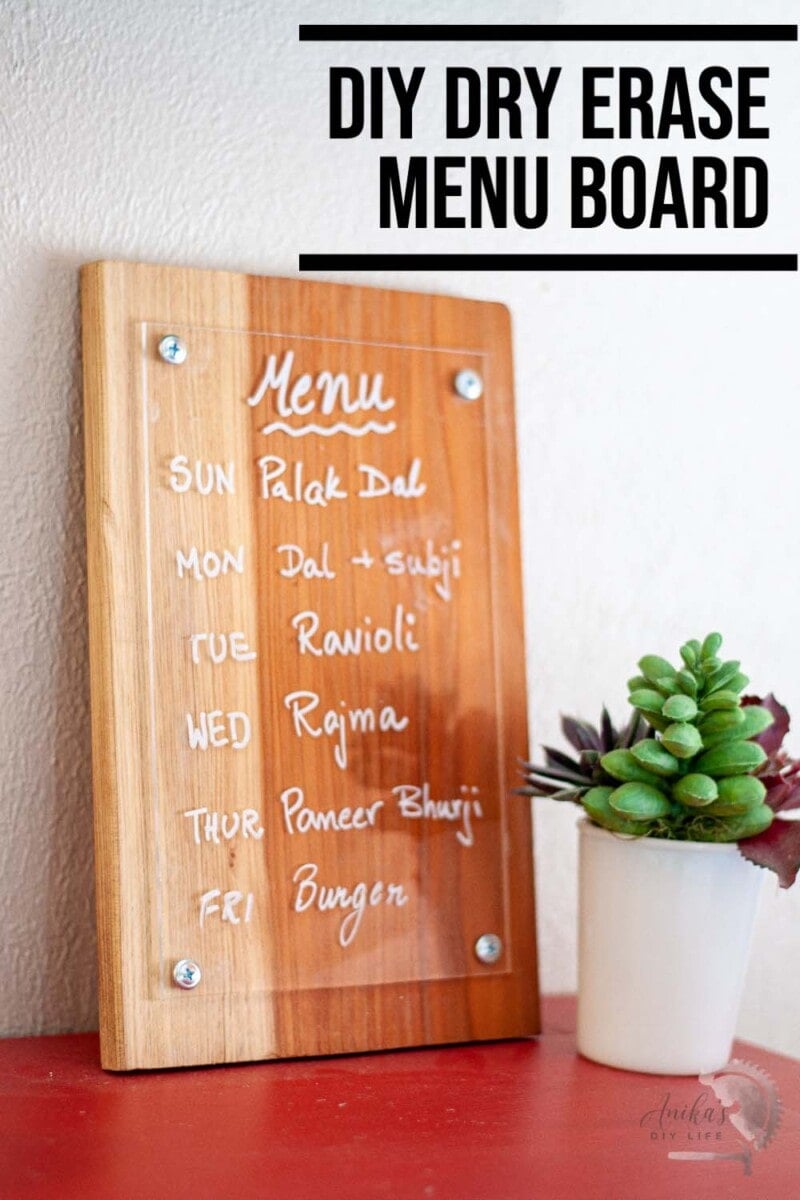
A couple of years ago we started meal planning and created a system to do that.
It completely changed our lives!
By simply implementing the meal planning system we eliminated a whole bunch of stress inducers in our home –
- No more trying to decide what to make for dinner on the day
- No more wasted produce
- No more kids’ tantrums about food.
Doesn’t all of that sound amazing? It totally has been.
Our Meal Planning System
Here is the meal planning system we implemented –
- Every weekend, we sit down and decide the dinner menu for the week (by day of the week).
- Everybody gets to pick one thing to put on the menu. The rest are collaborative picks
- We shop only the ingredients that are needed for the menu (plus a few staples of course)
There are a few basic rules though –
- You can’t pick the same thing you picked last week (or my kids will pick pasta every time)
- Since you get to pick what you want, you can’t not eat what others pick.
This has totally rocked our life.
- I no longer need to open the fridge and wonder what to cook only to realize I don’t have all the ingredients I needed for that one thing I thought about cooking.
- The kids have been open to eating whatever is cooked since they get their choice once a week. They also cannot say “you never make what I like!”
- Since we only purchase what we need, there is no wastage of groceries getting spoiled or expired.
After using a piece of paper for many weeks, for a while we were using a small old piece of wood painted with chalkboard paint. Chalkboard vinyl is a good option as well. That started to get a bit hard to clean.
I finally whipped up a super easy DIY menu board to handle our meal planning.
DIY Menu Board
When making a menu board, you want to design it so that –
- It is easy to write and erase – dry erase or chalkboards make a great option
- It is easily accessible and readable.
- Is simple enough to use.
Keeping that in mind, I decided to make a quick and easy project with material I already had at hand.
The best part about this menu board is –
- I used scrap wood to make it. Plus a piece of acrylic.
- It is a dry erase board and you can use dry erase markers or chalk markers.
- You can make it as large or small you like. I made it pretty small – the size of a sheet of letter paper but it can be made huge to put up on the wall as well.
***This post contains referral or affiliate links. It is a way for this site to earn advertising fees by advertising or linking to certain products and/or services. Please read my full disclosure here ***
Material Needed –
- Wood board – size of your choice.
- Acrylic sheet – 1″ smaller than wood board on four sides.
- Washer head screws
- Power drill
- Stain or paint + sealer – Finish in color of your choice.
How to Make a DIY Menu Board
This is a super easy project that I knocked out in under 30 minutes and is literally a two-step project.
We have been using it for almost 3 years now with absolutely no problems!
Step 1: Prep the Board
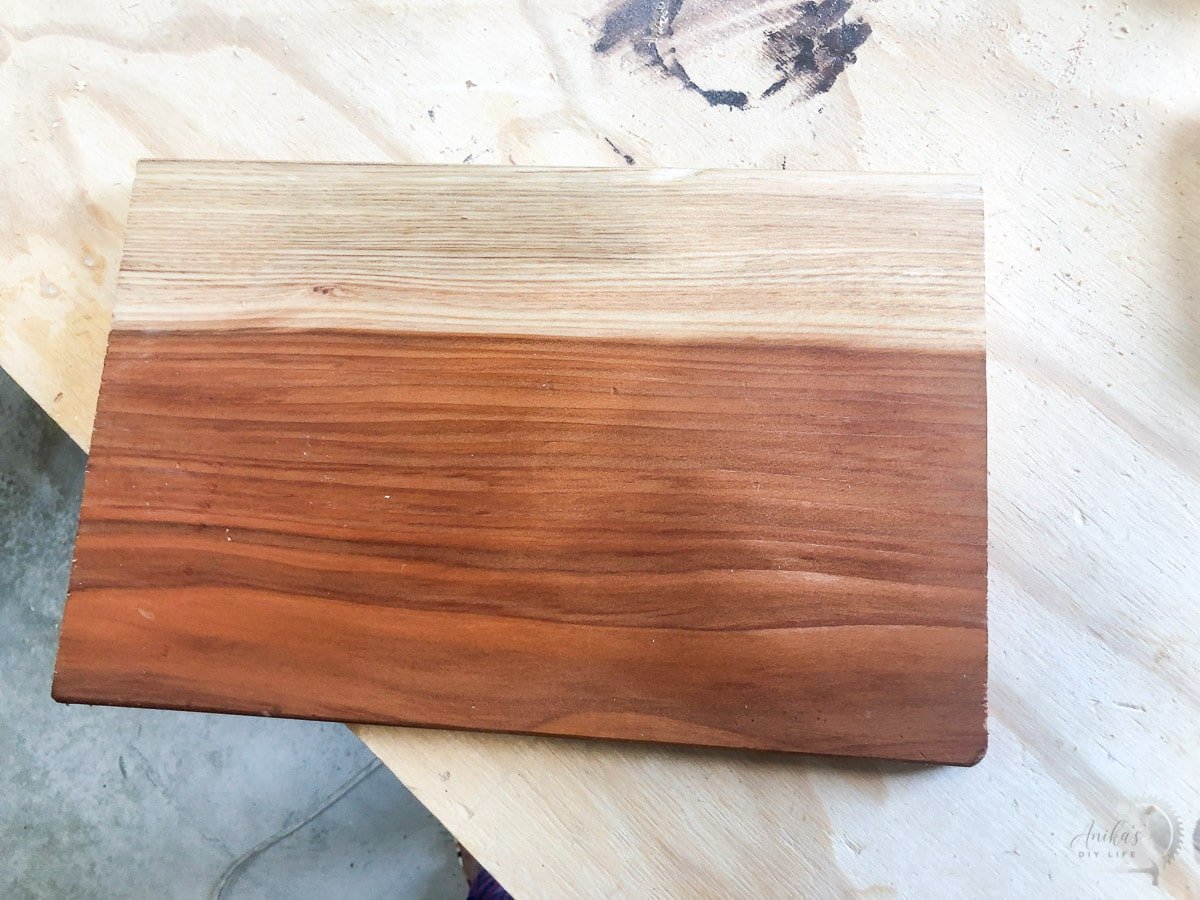
- Finish and seal the board. You can paint or stain it but it needs to be sealed.
I decided to use a scrap piece of redwood board I had and gave it a few coats of finishing oil to seal the wood.
Step 2 – Attach Plexiglass
- Cut plexiglass or acrylic sheet to size. I cut it to be about half an inch smaller than the size of the board on all sides.
The plexiglass or acrylic sheet is easy to cut with a jigsaw. I typically use my BladeRunnerX2. The key is to make sure both sides are well supported and don’t vibrate too much.
- Remove the bottom protective film from the plexiglass
- Place the plexiglass in its final position aligned with the board and hold in place using masking tape.
- Drill a hole through the plexiglass with a drill bit that is the same size as the thickness of the screw.
When drilling through plexiglass/acrylic, you want to always apply a masking tape to the location and drill very slowly.
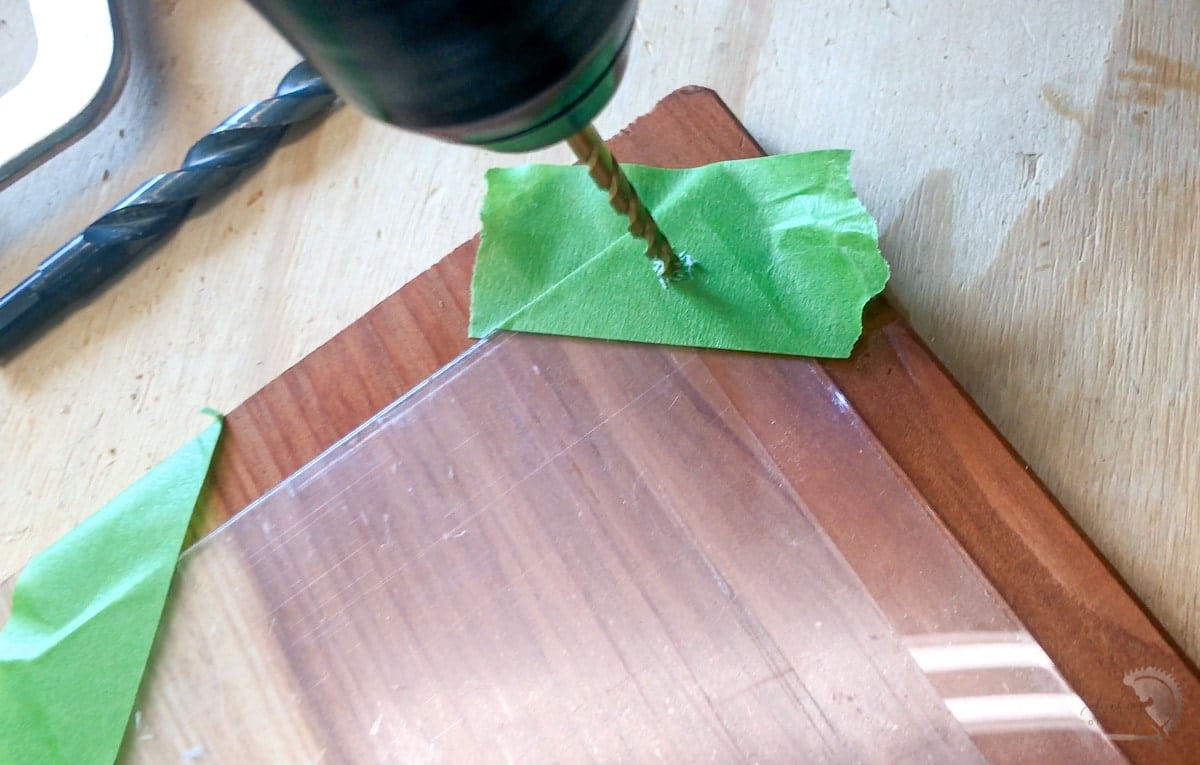
- As soon as the bit goes through the plexiglass, stop and use a thin drill bit to drill the pilot hole in the wood board.
- Carefully pull back the protective plastic from the plexiglass and add the screw. Be sure to not over-tighten as that can crack the plexiglass.
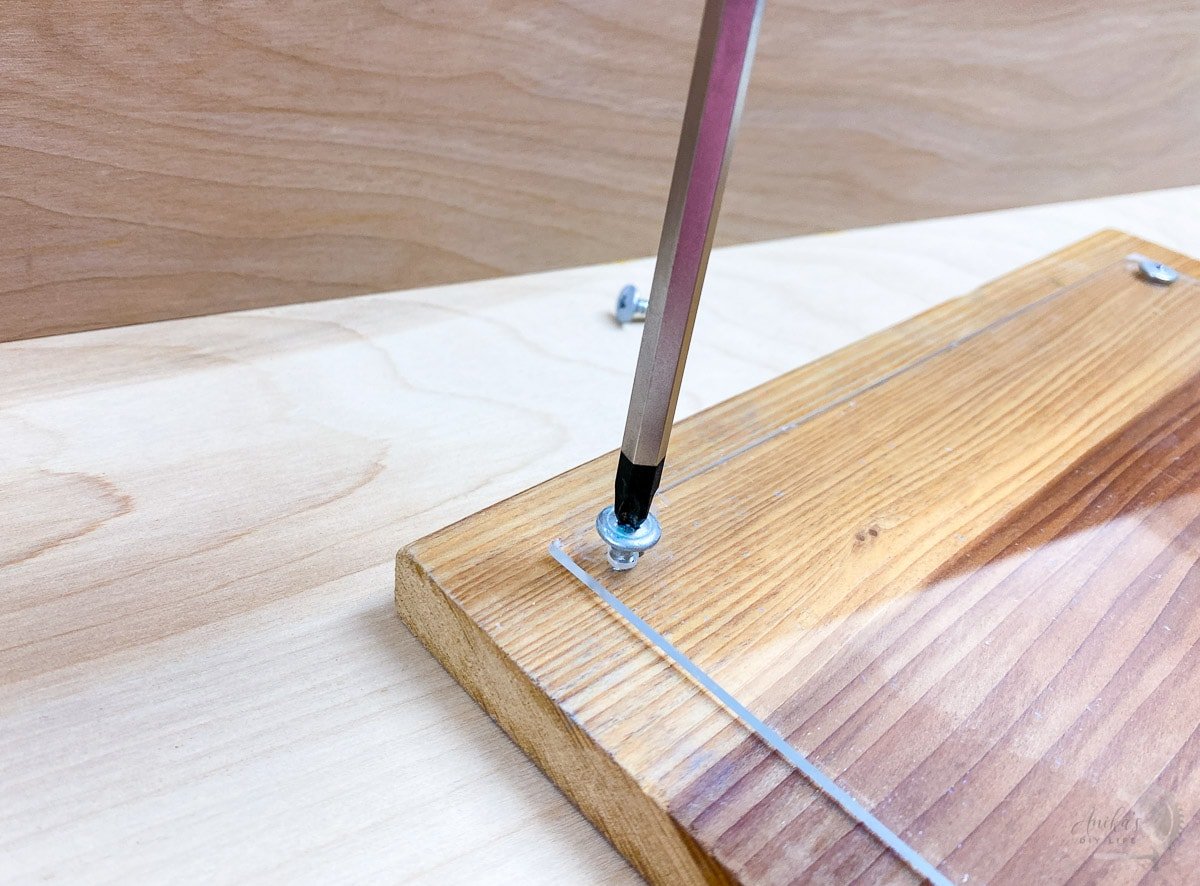
Once the plexiglass is attached, you can remove the protective film from the front.
And DONE!
It really is that easy.
You can add hooks to the back to hang it up. I simply use it on a shelf.
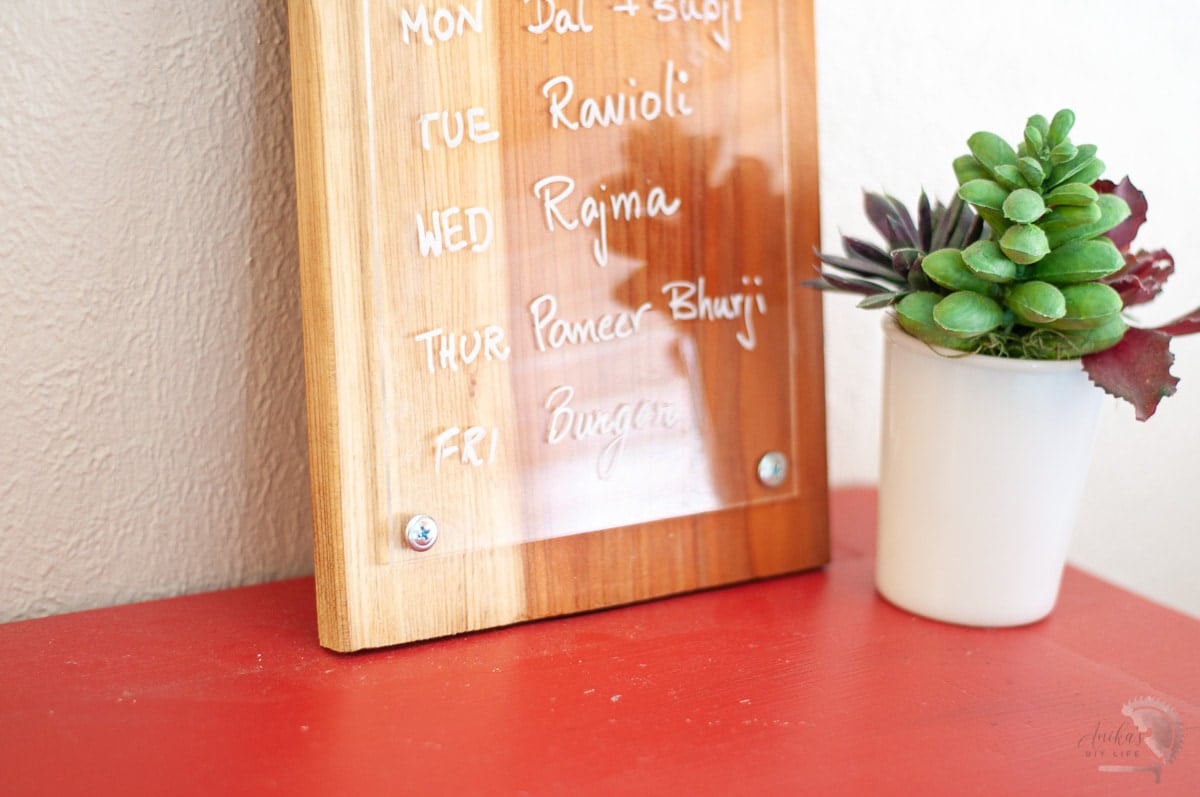
You can write on this with a dry erase marker or chalk marker.
I like writing with a chalk marker because the colors are more vibrant and it looks amazing!
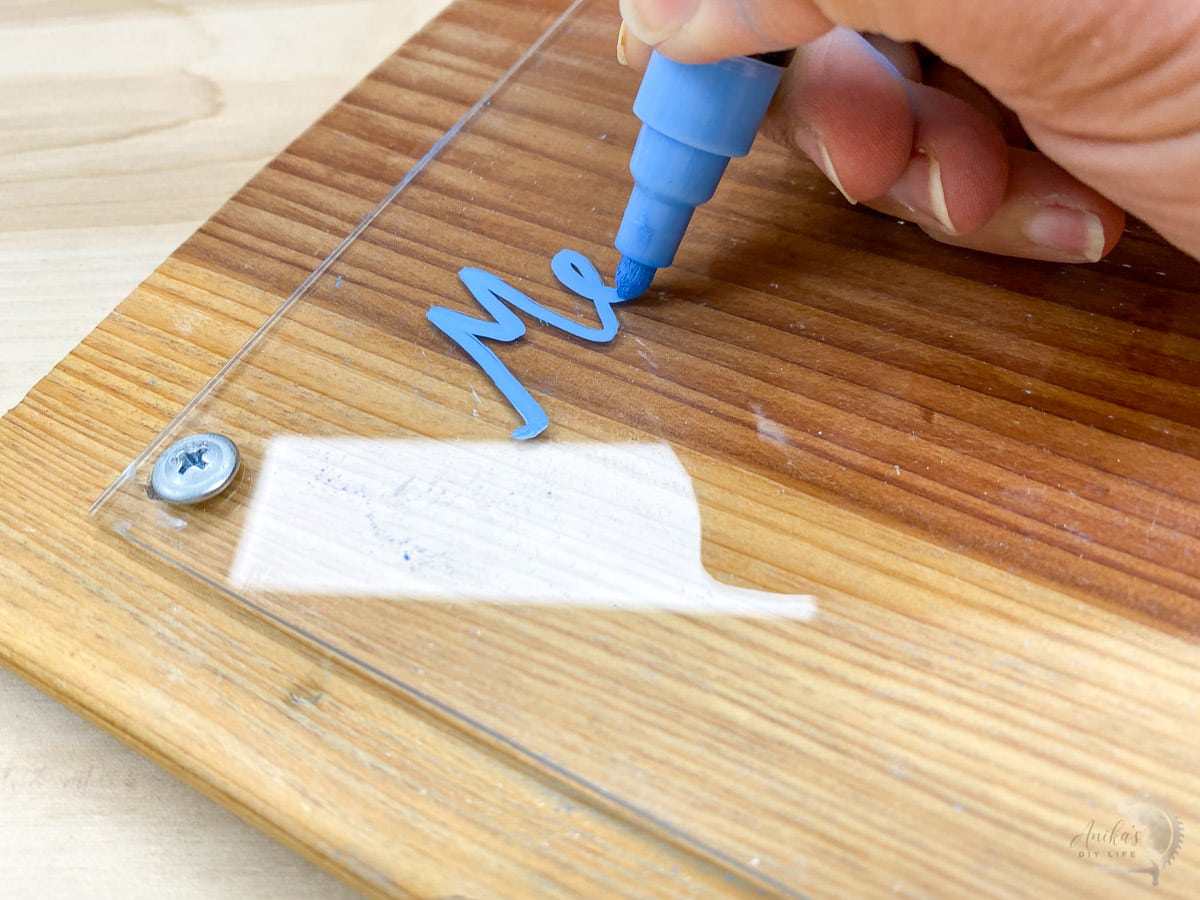
Once the chalk ink dries, you can rub it off with a dry paper towel and write again.
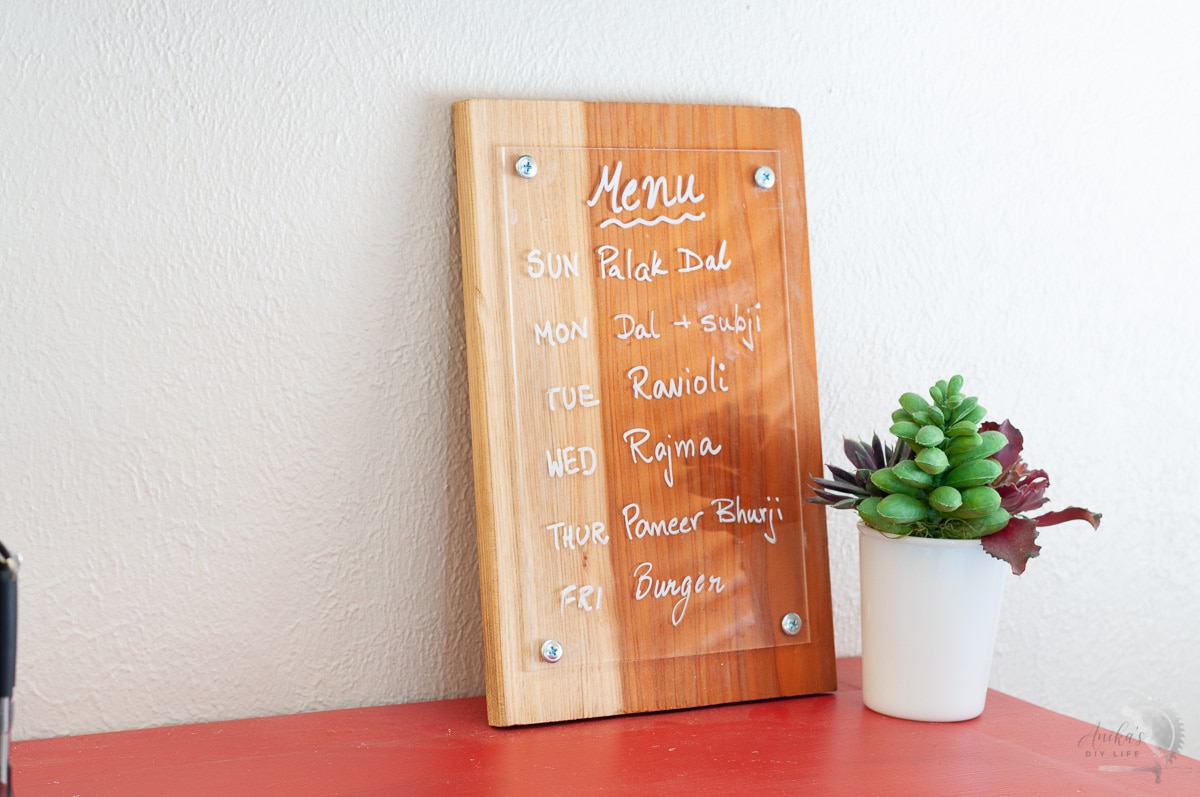
Having the menu planned out has definitely been a lifesaver plus, this little menu board blends perfectly with my decor.
Not just for daily/weekly meal planning, I also love to write out special menus when we have guests.
It still sits on my kitchen shelf and we use it every week!
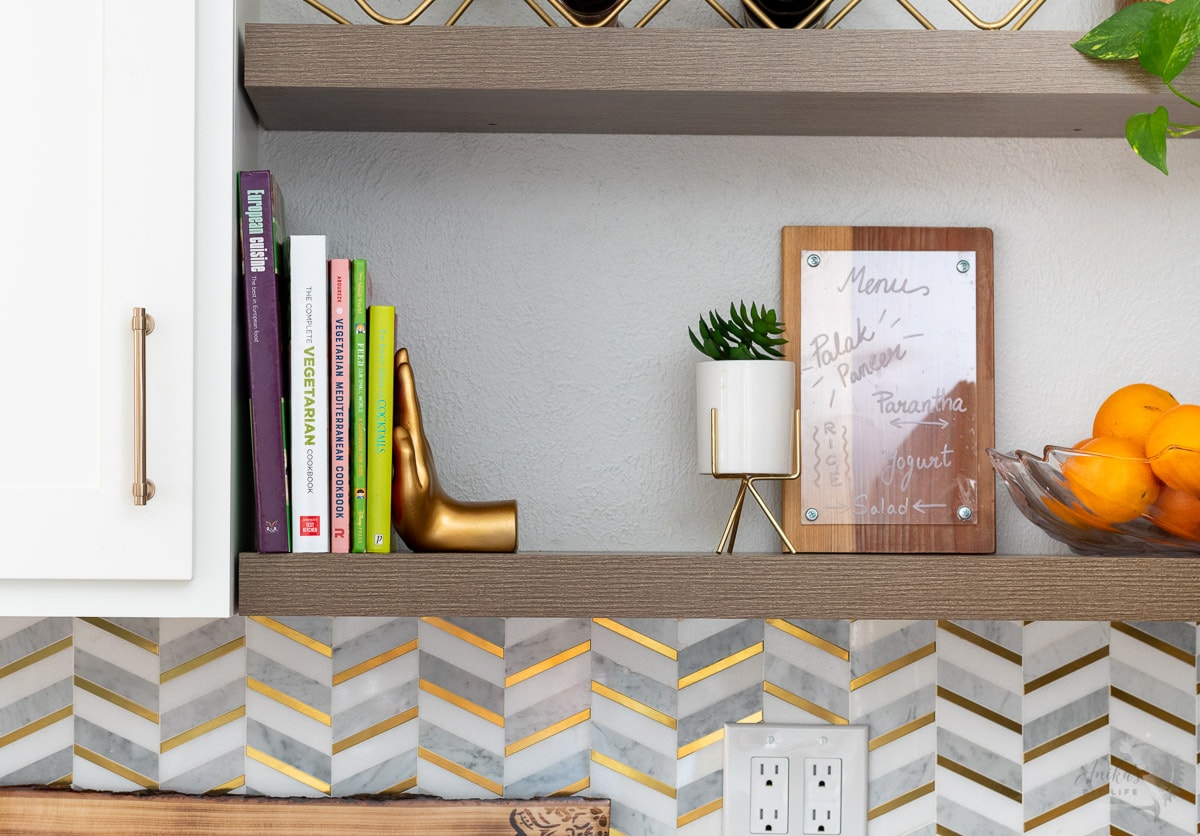
DIY projects that are not only quick and simple but also extremely functional and useful are the best!
More Kitchen Ideas
More Helpful DIY Kitchen Project Ideas
Anika's goal is to inspire and empower beginners with woodworking, DIY, home improvement, and home decor ideas.
She wants everyone to unlock their creative potential and experience the feeling that comes with making something. Nothing feels better better than seeing something and saying "I can make that!"


I like this very much…simple, clean, useful! Can drill a couple holes at the top and hang on the wall as well. Also can make it any size! TY for the creativity.
Thank you! Yes, there are so many possibilities with this simple project.