10 Beginner Woodworking Tips and Tricks
The simple beginner woodworking tips and tricks no one tells you and I wish I had known when I first started! Get better projects right off the bat!
When I started woodworking almost 8 years ago, I learned everything by following a few of my favorite builder bloggers.
When I stated out, my first few projects weren’t much to write about.
One side was shorter than the other side.
Boards didn’t line up like they should.
Does that sound familiar?
Every newbie goes through it.
Beginner Woodworking tips
Over time, I learned simple little tricks that make life so much easier. AND make my projects look a LOT better.
Honestly, these aren’t “tricks”… they are basic concepts that get lost in translation when it becomes second nature to someone who has been doing this for a long time.

Here are the basic woodworking tips to will help you get better results right off the bat.
***This post contains affiliate or referral links. It is a way for this site to earn advertising fees by advertising or linking to certain products and/or services. Please read my full disclosure here ***
1. Cut off factory edges
If you don’t start with a good edge, you will never get a good edge!
Next time you use a board from the lumber store, check the edge using a speed square.
Most often than not, it will not be square.

It is important to cut off the ends to create a perfectly square edge to start with. Just cutting off 1 to 1-1/2″ on both ends will give you the perfect starting edge.
2. Account for the Kerf on your saws
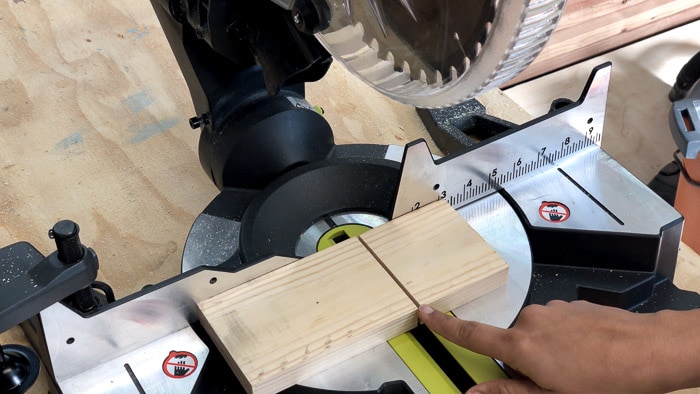
Kerf is very important concept in any saw and is very rarely discussed. It plays a pivotal role in the accuracy of your cut.
Confession – Before I really understood the concept, I would guess where my blade should fall to make the cut. The result – not very well-fitting projects.
Kerf is the width of the blade and should be accounted for when making the cuts because that width disappears.
3. Sand BEFORE assembly
Sanding is the most important step in the finish of your project. No matter how great your project, if the finish isn’t done well, it loses its impact.
When I started, I used to only sand after assembly so I could get away with simply sanding the visible parts.
I was SO wrong!
Sand the boards BEFORE you assemble them!
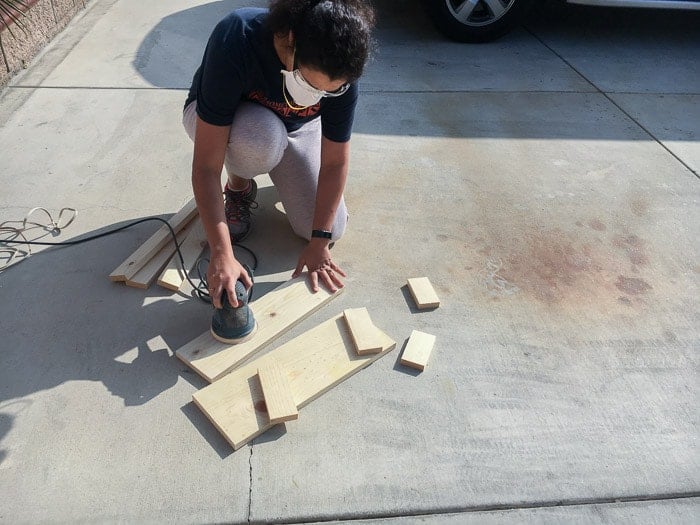
It is so much easier without worrying about getting into corners. Plus, it makes for a more professional finish because you can pay close attention to all the details on a plain board vs. when it is assembled.
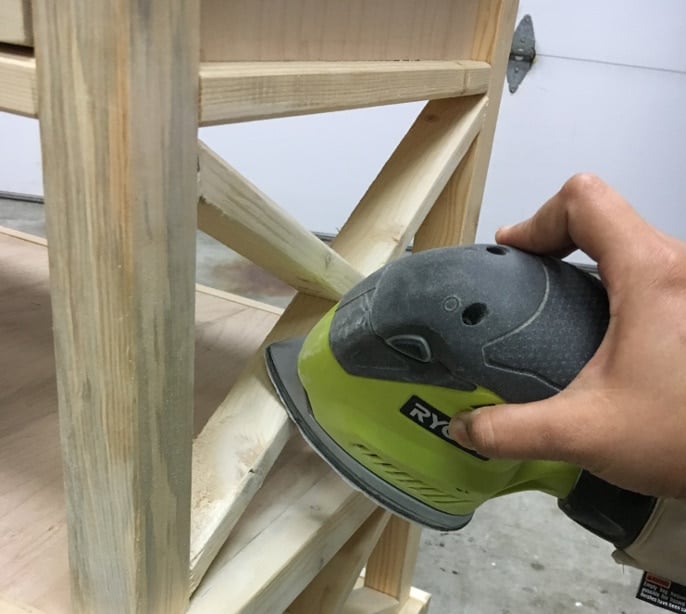
Look at the project above. Even with a corner sander, it is impossible to get into that little nook.
Take a look at all the tools I own – Shop my Workshop!
4. Keep baby wipes around
Yes! You read that right!
I use them for everything – to wipe off extra wood glue, clean up paint drips and even wipe down my tools!
It is awesome to have a wet rag at hand whenever you need them.
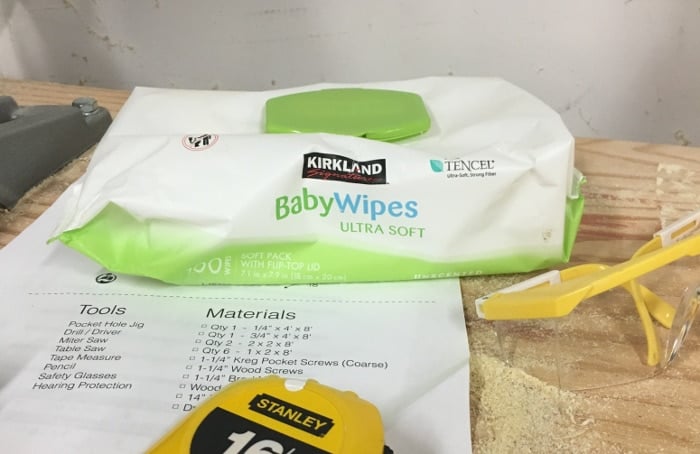
I use these wipes from Costco and I love their pop up lid.
And bonus, if you ever forget to close the lid and they dry out, they make excellent lint-free cloths and I have used them for staining projects and wipe down sanding dust too!
5. Caulk and filler always win
Caulk and filler makes me and everything look perfect!!
It is the most important part of the process, if you are going to be painting the piece.
I use this acrylic latex caulk from DAP. I love that it is Fast Dry and I can paint in 30 minutes!

Simply apply the caulk with a finger and wipe away the excess with a wet rag (aka baby wipe)! I could never show off my furniture on the web if it were not for caulking 😉
What about wood filler?
Wood filler does the same thing but for large fill areas – like pocket holes. However, wood putty often contracts when it dries, and you have to add more to get a nice level surface. But once it is completely dry, it is stable.
Caulk is terrible for filling large holes in wood because it will shrink over time causing a divot. On the other hand, wood filler is a terrible choice for filling gaps in trim – it would take forever to apply and can be very hard to sand smooth.
Therefore: large areas = wood filler. Small seams = caulking.
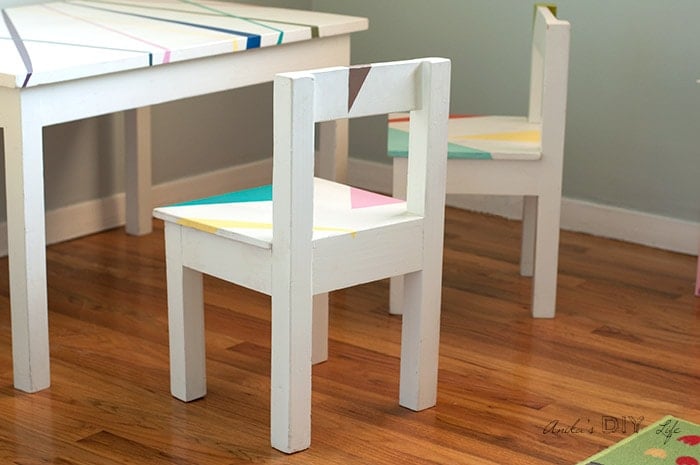
See the project below? Could you guess that all the pocket holes on joints were facing outside?
I like using this wood putty.
It takes a few passes but once sanded it definitely makes for a nice smooth surface in the end.
6. Don’t make all the cuts at once
When you get a woodworking plan, all the cuts are usually listed at the top altogether. No matter how tempting and efficient it might be, don’t make all the cuts right away.
Measure and cut as you go.
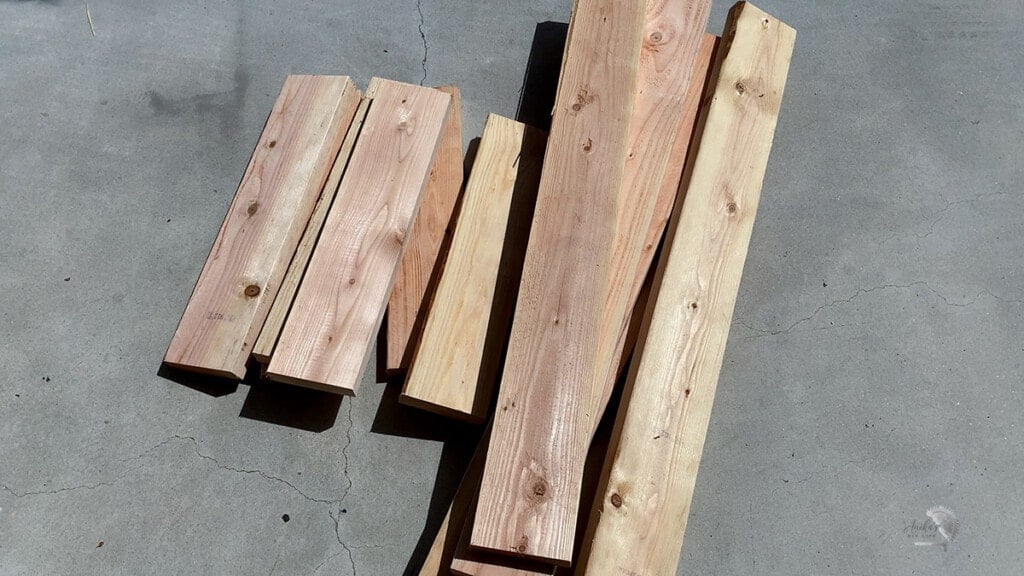
There can be variations in the thicknesses of boards. Also, you might make small errors in measurements. If you make a 1/16″ error twice – that is a 1/8″ error, which can be significant.
The best approach is to measure the spacings and sizes and make the cuts as you go so you can account for any variations.
Here is what I do – I make cuts for a given set of boards at a time – so if I am building a table, I will cut all the legs and aprons, build the frame and then make the cuts for the tabletop.
7. Don’t let the boards fly
In tip #3, we talked about sanding the boards before assembly. When you sand the boards on a surface, the boards tend to move. If you hold it down on a hard rough surface, it can get scratched on the opposite side as you sand.
Use a nonskid surface under the board you are sanding. I use this silicone mat, but an old yoga mat or even a rubber shelf liner or non-skid pad is a great option.

Trust me, this simple addition makes the entire process so much easier!
8. Stop Plywood from splintering
One way to keep the plywood from splintering is to use an expensive saw blade. The other way to do that is to use painter’s tape.
All you have to do is apply painter’s tape at the cut line (of course, you will have to mark the cut line on top of the tape) and then cut. The painter’s tape keeps the plywood veneer from splintering.
This technique can also be used for making crosscuts in a regular board if you run into rough ends.
9. Hot glue is your friend
Hot glue is great for crafts, but it is a huge helper in the woodshop as well. It glues things quite quickly and hence can act as a clamp.
Hot glue is obviously not strong enough to be used in place of wood glue. But, you can add a few dabs of hot glue along with wood glue to help hold pieces in place while the wood glue dries and does its thing.
One of the most common places this can be used is in adding drawer fronts.
10. Don’t worry about scratches
Sometimes, you might inadvertently end up with scratches on your workpiece as you build. Don’t fret. It is easy to remove them.
Keep a damp towel on the scratch and put a hot iron on it. The steam will expand the wood fibers and fill the scratch. When it dries, you won’t be able to see the scratches at all!
Bonus – Tape measure
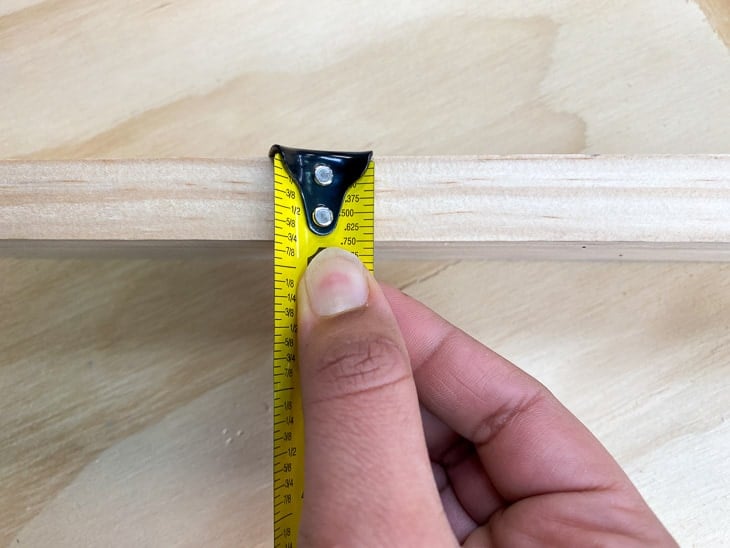
While I have you, I thought you will definitely enjoy this little tape measure.
It has markings for fractions and decimals for easy reference!
And there you have it.
These 5 simple tips will help your woodworking projects reach a whole new level right away and make it much more efficient to build!
More articles for Beginner Woodworkers
- How to use a Kreg Jig
- How to use a Miter Saw
- The only beginner woodworking tools you need
- Scrap wood project ideas
- 2×4 project ideas
- 7 Tips for Professional-Looking DIY Wood Projects
See all my beginner woodworking articles – Starting guide for beginner Woodworkers
Anika's goal is to inspire and empower beginners with woodworking, DIY, home improvement, and home decor ideas.
She wants everyone to unlock their creative potential and experience the feeling that comes with making something. Nothing feels better better than seeing something and saying "I can make that!"




A great piece of information. I think this is what I was exactly looking for. All tips in a single click. I would definitely try to follow these suggestions. I really enjoyed this post and I hope you will keep posting this kind of post in future.
I think for any small project everybody can use miter saw. I also like this saw very much.
Thank you so much. It was very interesting to read!
Thank you Anika.and you are so right, no one tells you these things.I have made all these mistakes in every project I have done and now I know why they were never “quite right”. Now I know so there should be major improvement when I build several of your planters in the next week. Also, really appreciated your tutorial on how to use a miter saw. Dad has one in the garage that I tried to use some time ago and it scared me no end. I do believe I shall give it another try now that I know the right way to use it.
Thank you for the tips. I have recently started working with wood and your emails with tip and tricks have kept me from getting discouraged.